Quick Links
Apple's MacBook Air is one of the most popular laptops, featuring a competitively slim design and powerful internals. If you own this notebook, there's a high chance that you will need to factory reset it at least once during its lifetime. However, the process will differ depending on the macOS version you're running. Worry not, though; we will cover all the cases in this comprehensive guide.
Why you may want to factory reset your MacBook Air

Before we get to the steps, you may wonder why factory resetting a MacBook Air is sometimes needed. For starters, this process completely wipes your personal data and preferences and restores your Mac to an out-of-the-box state. As a result, it could fix some common Mac problems, such as not having enough storage, bloat, glitches, and slow performance. It's essential for those who plan on reselling or giving away their MacBook Air machines, as it deletes your locally stored, private information.
Create a backup
The first step is to create a complete backup of your MacBook Air that will include all your personal data, including apps, music, photos, and documents. You can create a backup using Time Machine, the built-in backup feature on your Mac. All you need is an external storage device compatible with macOS and enough storage to back up all your data.
- Connect the external storage device to your MacBook
- Open Time Machine Preferences from the Time Machine menu in the menu bar.
-
Select the external storage device using the Select Backup Disk button.
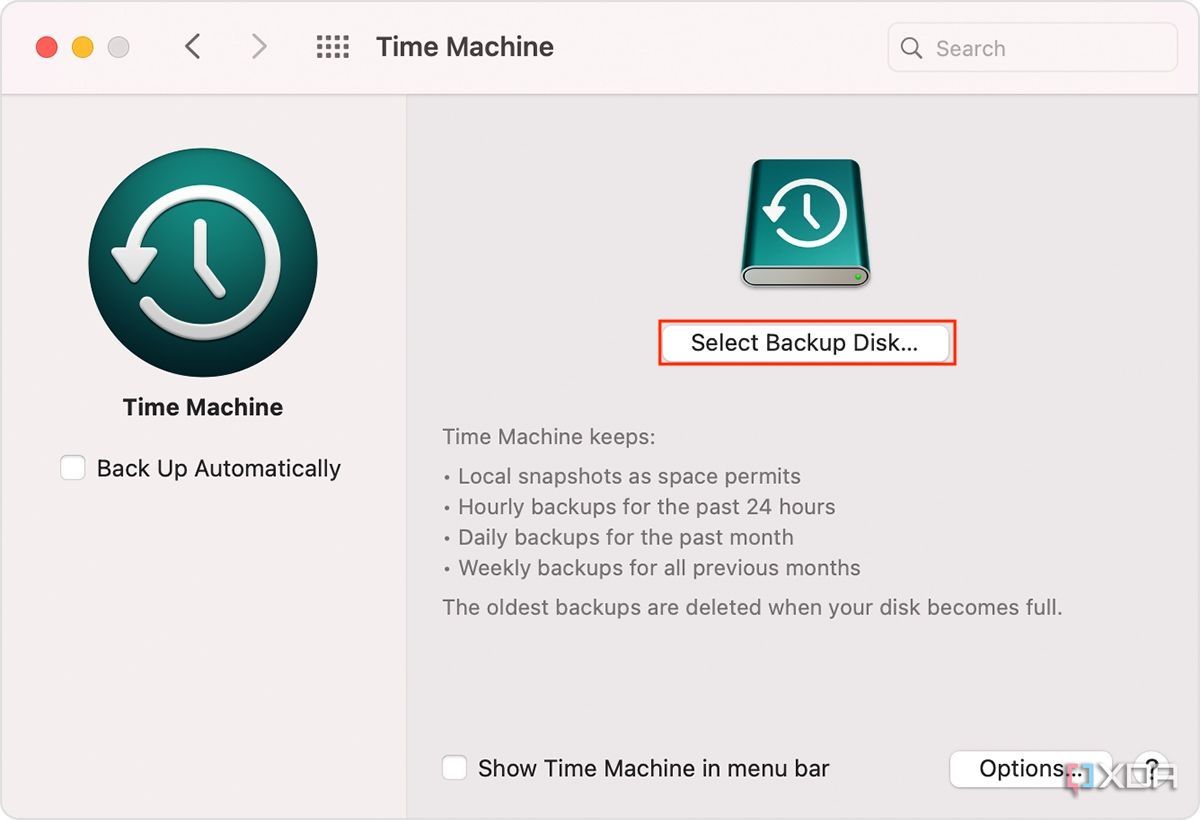
- Click on Encrypt backups and Use Disk.
- After you select a backup disk, Time Machine should immediately begin making a backup.
- To start a backup manually, choose Back Up Now from the Time Machine menu in the menu bar. Use the same menu to check the status of a backup or skip a backup in progress.

Sign out of iCloud and other services
Once you have successfully created a backup, you should sign out of all services, such as iTunes, iCloud, and iMessage.
- Launch the System Preferences app on your Mac.
- Click on Apple ID if you are using macOS Catalina or later. If you're using an older version of macOS, click iCloud instead.
- On the left side, select Overview, and click the Sign Out button at the bottom. Earlier versions of macOS should directly have the Sign Out button.
- Next, sign out of your Apple Music account (or iTunes account if your MacBook Air is running on macOS Mojave or earlier). Open the Music/iTunes app.
- On the top menu bar, you should see the option for Account.
-
Open the drop-down menu, click on Authorizations, then Deauthorize This Computer.
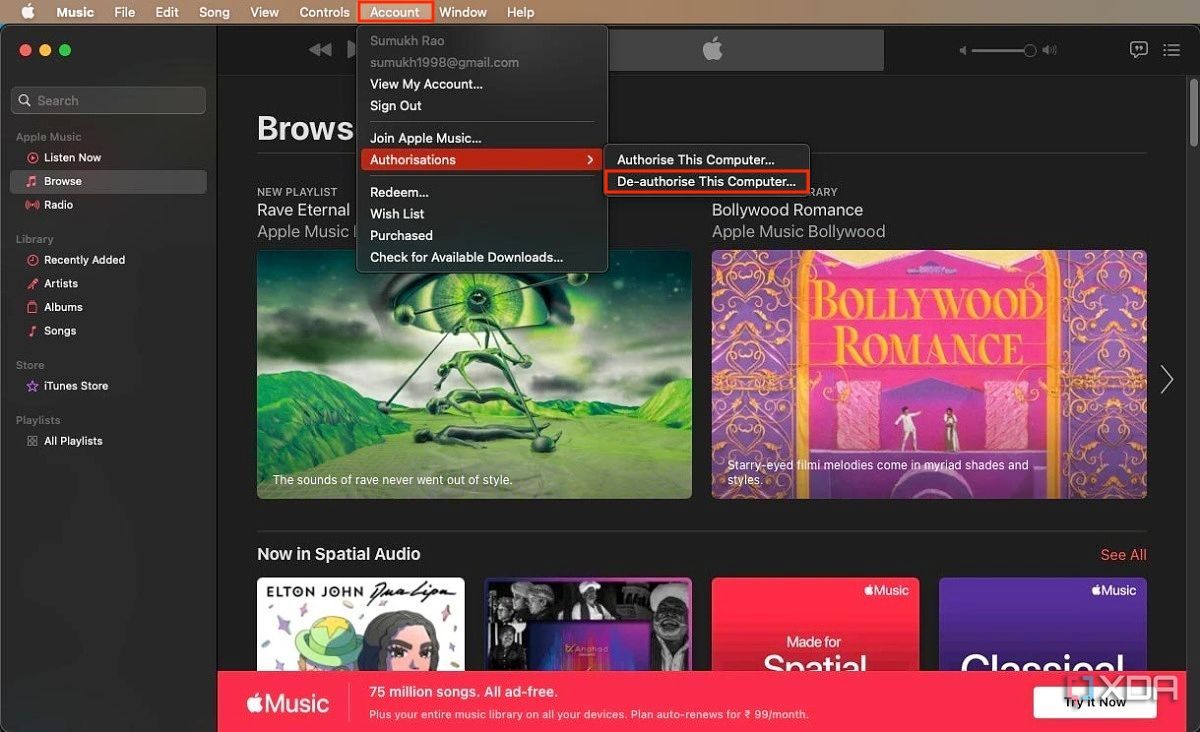
- You will be asked to enter your Apple ID and password to confirm.
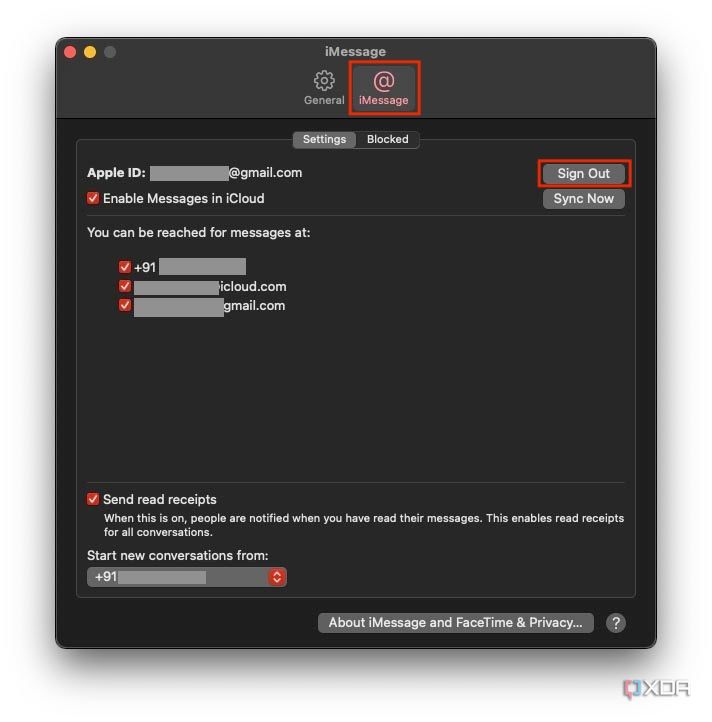
- Finally, you should sign out of the Messages app.
- Open the Messages app on your MacBook Air, click Messages from the top menu bar, and choose Preferences.
-
Click on the iMessage tab, and you should see the option to Sign Out next to your Apple ID.


Factory reset on macOS Big Sur and earlier
Now, you should be ready to factory reset your MacBook Air, which will wipe all your data, apps, and preferences. If you're running macOS Big Sur or a newer OS version, follow these steps:
- Power up your MacBook Air into recovery mode. This can be done by turning on your Mac and immediately pressing and holding the Command and R keys.
- If asked, select a user for whom you know the password, then enter their administrator password.
- From the utilities window, select Disk Utility and click Continue.
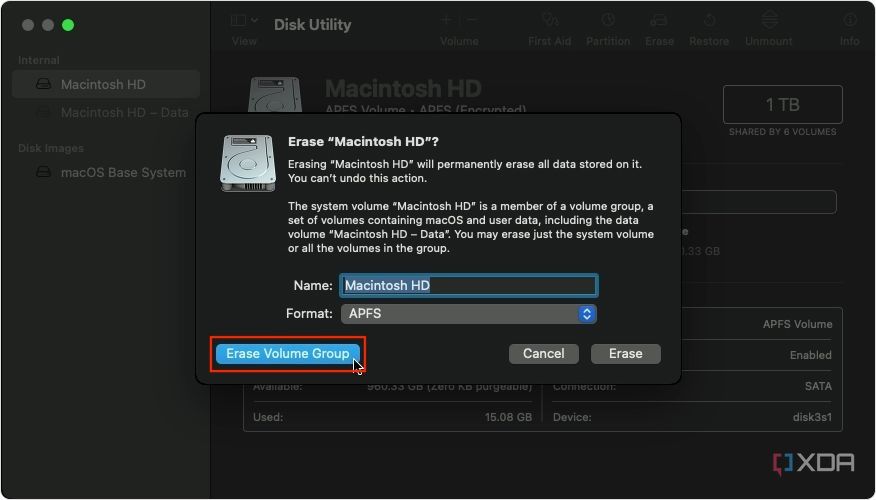
- Select Macintosh HD in the sidebar of Disk Utility and click the Erase button in the toolbar.
- Select the disk format as APFS if you're running macOS High Sierra or later. It's also better for newer SSDs. If you have an older MacBook Air, select Mac OS Extended (Journaled).
-
Click Erase Volume Group. If you don't see this button, click Erase instead. After the erasure concludes, select any other internal volumes in the sidebar, then click the delete volume button in the toolbar to delete that volume.
- Once you have erased your disks, quit Disk Utility and return to the utilities window.
- Select Reinstall macOS in the utilities window, then click Continue and follow the onscreen instructions to reinstall macOS.
- Make sure you don't close the lid while the OS is being installed.

Factory reset on macOS Monterey and later

If you're running macOS Monterey or later, head to this guide to erase all your data. That's because with macOS Monterey, Apple overhauled the factory resetting process on all new Mac models, and this was further tweaked in macOS Ventura. No matter which version you're running, we've got you covered.
With the updated process, Apple has simplified the factory reset flow. Instead of manually performing some of the steps above, you hit a single button, which automatically signs you out from iCloud, wipes your data, and restores your MacBook Air's original preferences and state. Not only does this make the process faster, but it's also easier for those who find the retired method above too advanced.
Factory resetting your Mac is simple
As you can see, factory resetting a MacBook Air isn't a complicated process. You shouldn't face any issues or obstacles as long as you follow our listed steps. If you plan to upgrade to a new Apple computer, here's a list of the best Macs you can buy now. But make sure you transfer your data to the new computer before factory resetting your current MacBook Air.