Quick Links
Overclocking is one of the best things you can do to improve the overall output of your CPU and squeeze that extra performance out of your PC without spending any money. Combine that with an overlocked GPU, and you may end up with a significantly better performing PC that'll yield better framerates in games, faster render times in various editing programs, and more. Most Intel and AMD CPUs out there in 2024 have a little extra performance headroom which you can safely explore without worrying about damaging them. Modern processors usually have boosting technologies included that allow for some degree of stock overclocking, but you can push them further with overclocking methods, provided you have the supporting hardware.
Prerequisites
What you need to overclock a CPU
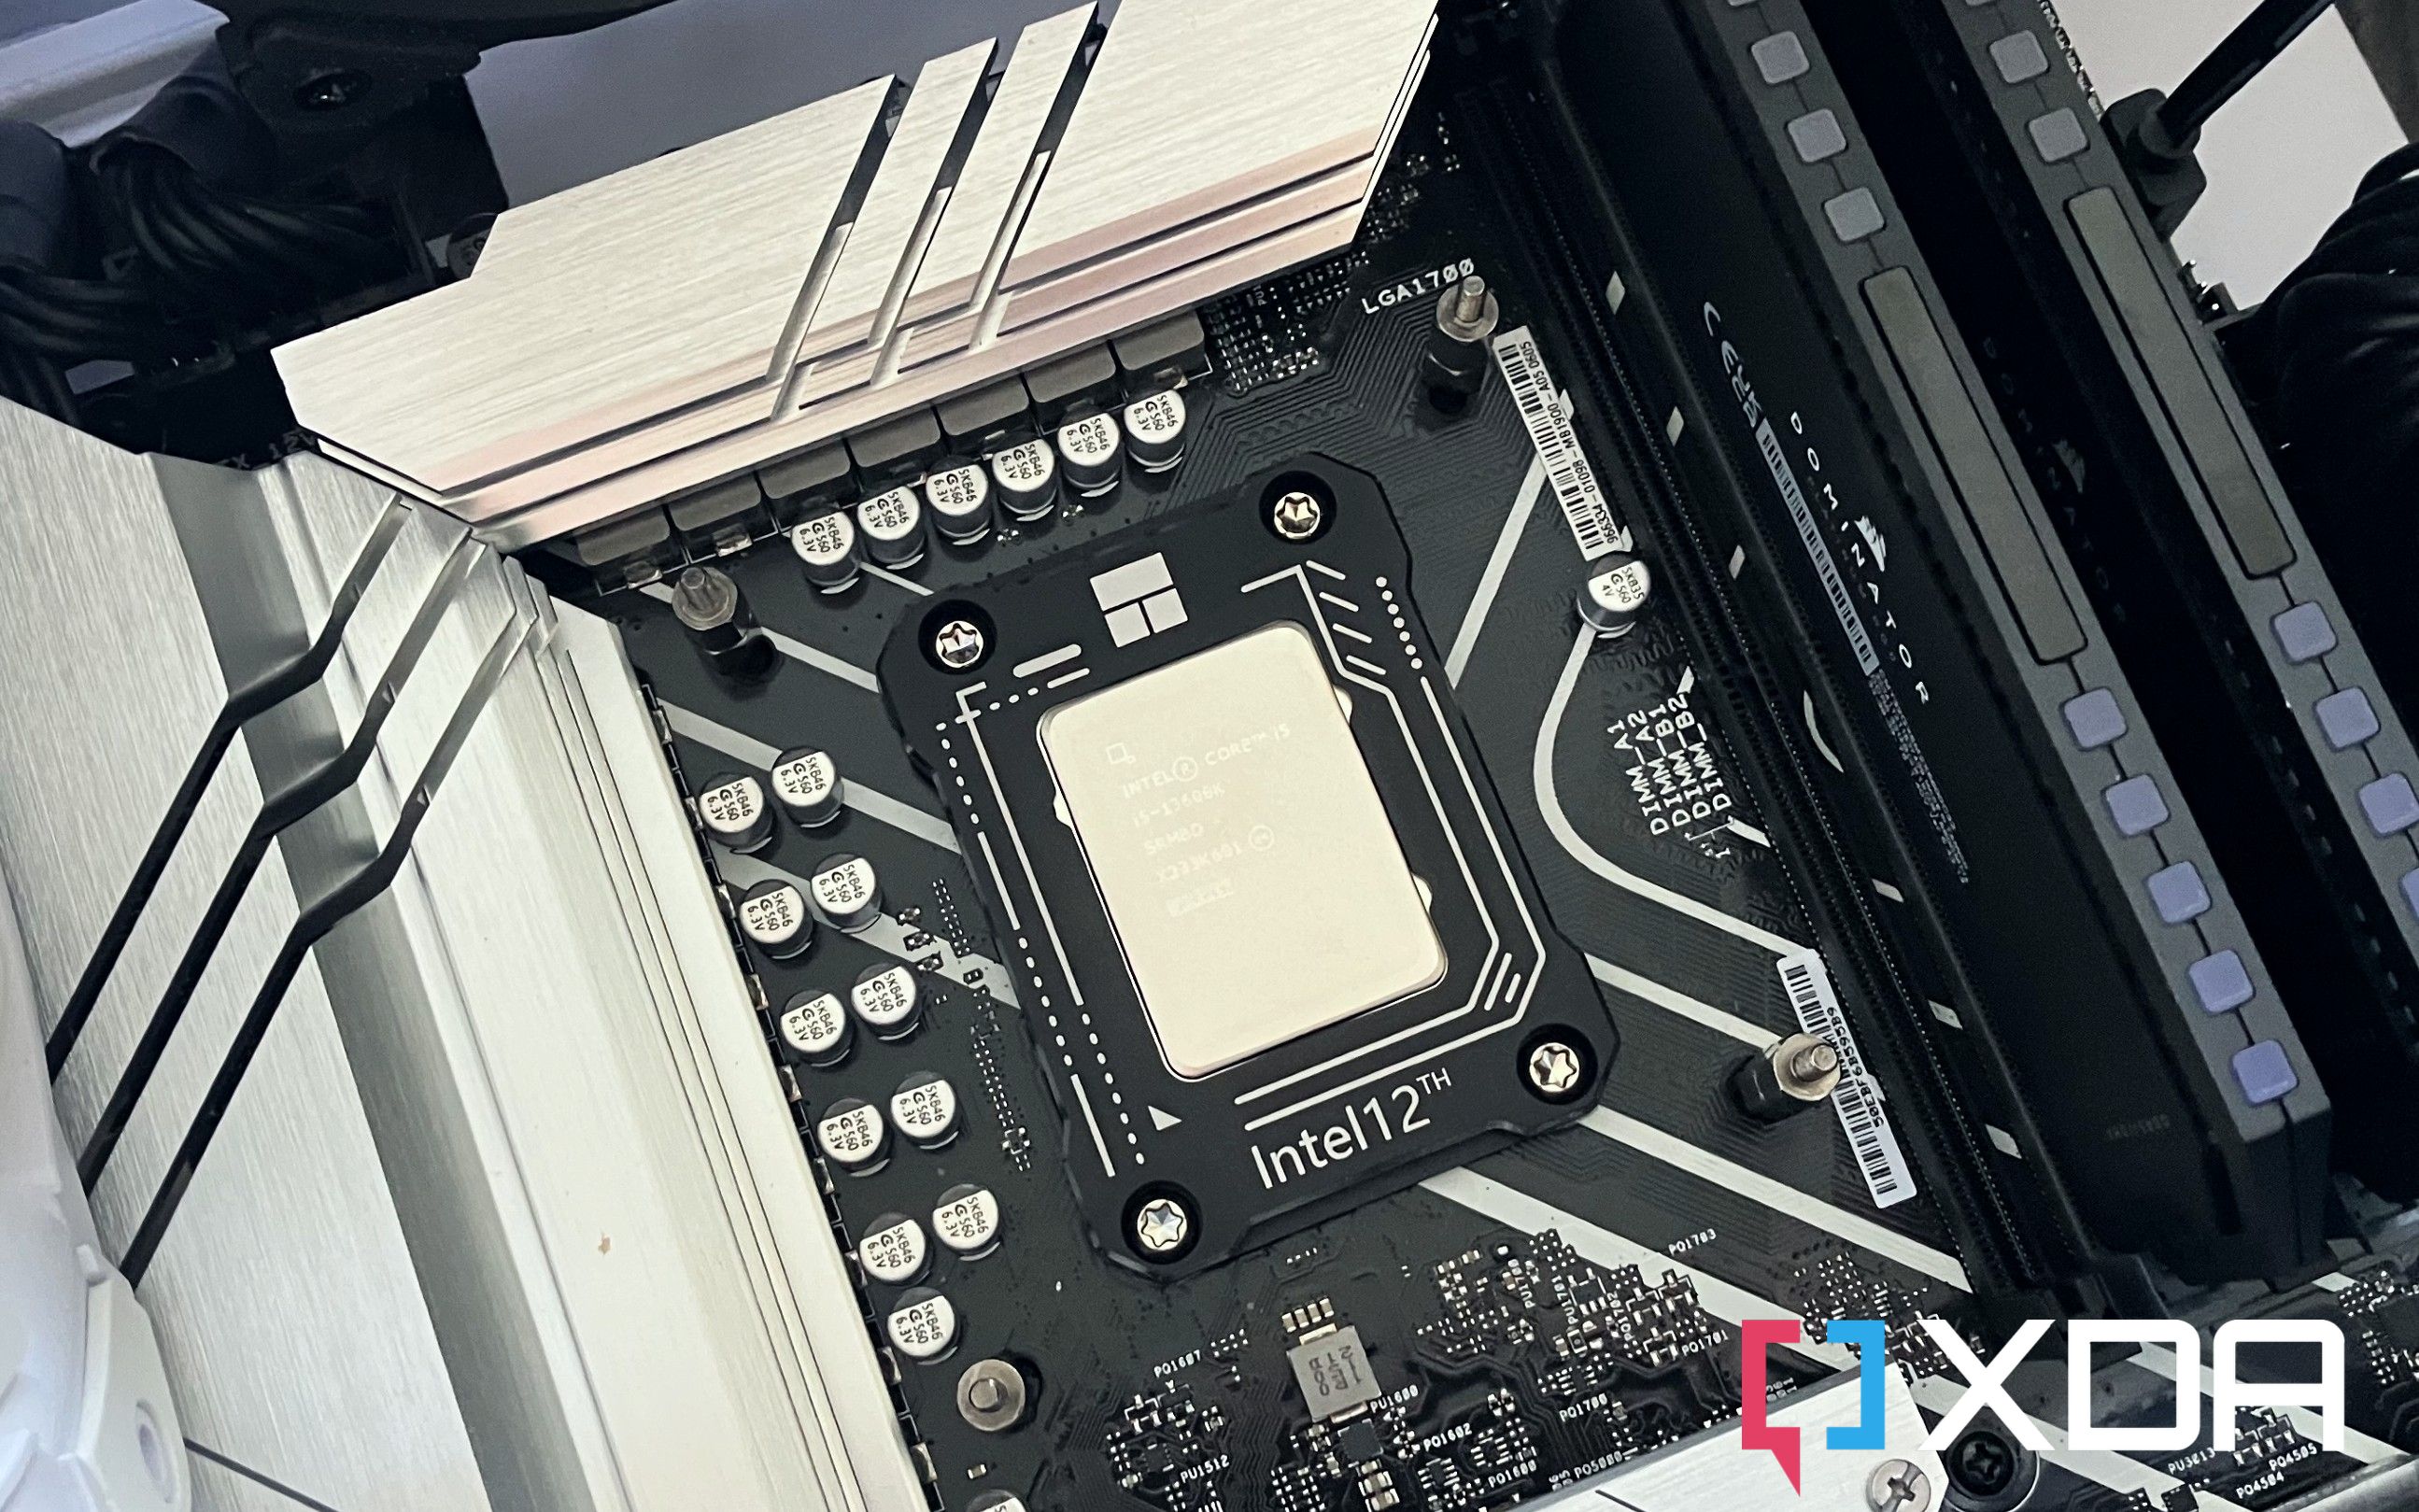
The most important part of overclocking a CPU is to ensure it actually supports this feature, because not all processors out there are capable of being overclocked. Intel designates Core CPUs that are capable of overclocking with the "K" suffix — like the Intel Core i5-14600K and the Core i9-14900K. A "KF" processor would also support overclock but does not come with integrated graphics. Things are more straightforward for AMD's lineup, as just about every desktop Ryzen processor can be overclocked. If you do have a locked processor, we'd recommend against doing any kind of overclock. In fact, Intel had previously warned against overclocking its non-Alder Lake CPUs.
It's important to also ensure your motherboard is capable of delivering enough stable power to the chip and will be able to handle overclocking. A $150 motherboard won't be able to push the latest AMD and Intel processors as hard as a $500 board, for instance. It's also worth noting that the chipset on the motherboard plays a huge in overclocking, and some are just unable to perform any overclocking or are limited to memory modules. For instance, you can only overclock Intel processors with its Z-series of chipsets.
You're going to require a decent CPU cooler if you're planning to push your CPU beyond the limits set by the manufacturer. It doesn't necessarily have to be a top-of-the-line cooler, but please ensure that its supported TDP should be higher than the default that's listed for your chip. We'd recommend an AIO with at least a 240mm radiator. Do NOT use the included stock cooler.
Last but not least, it's important to evaluate the power consumption to see if your PSU's capacity is enough to keep the show running. You may have to pick one of the best power supply units out there in case your existing isn't enough to get the job done.
How to overclock an Intel CPU
Intel's Extreme Tuning Utility (XTU) tool
Intel's Windows-based Intel’s Windows-based Extreme Tuning Utility (XTU) is among the best tools out there for beginners who don't have much prior experience of overclocking. It's a free software that's specifically designed to help you overclock an Intel CPU, and you can download it from Intel's website.
Baseline performance & temperature tests
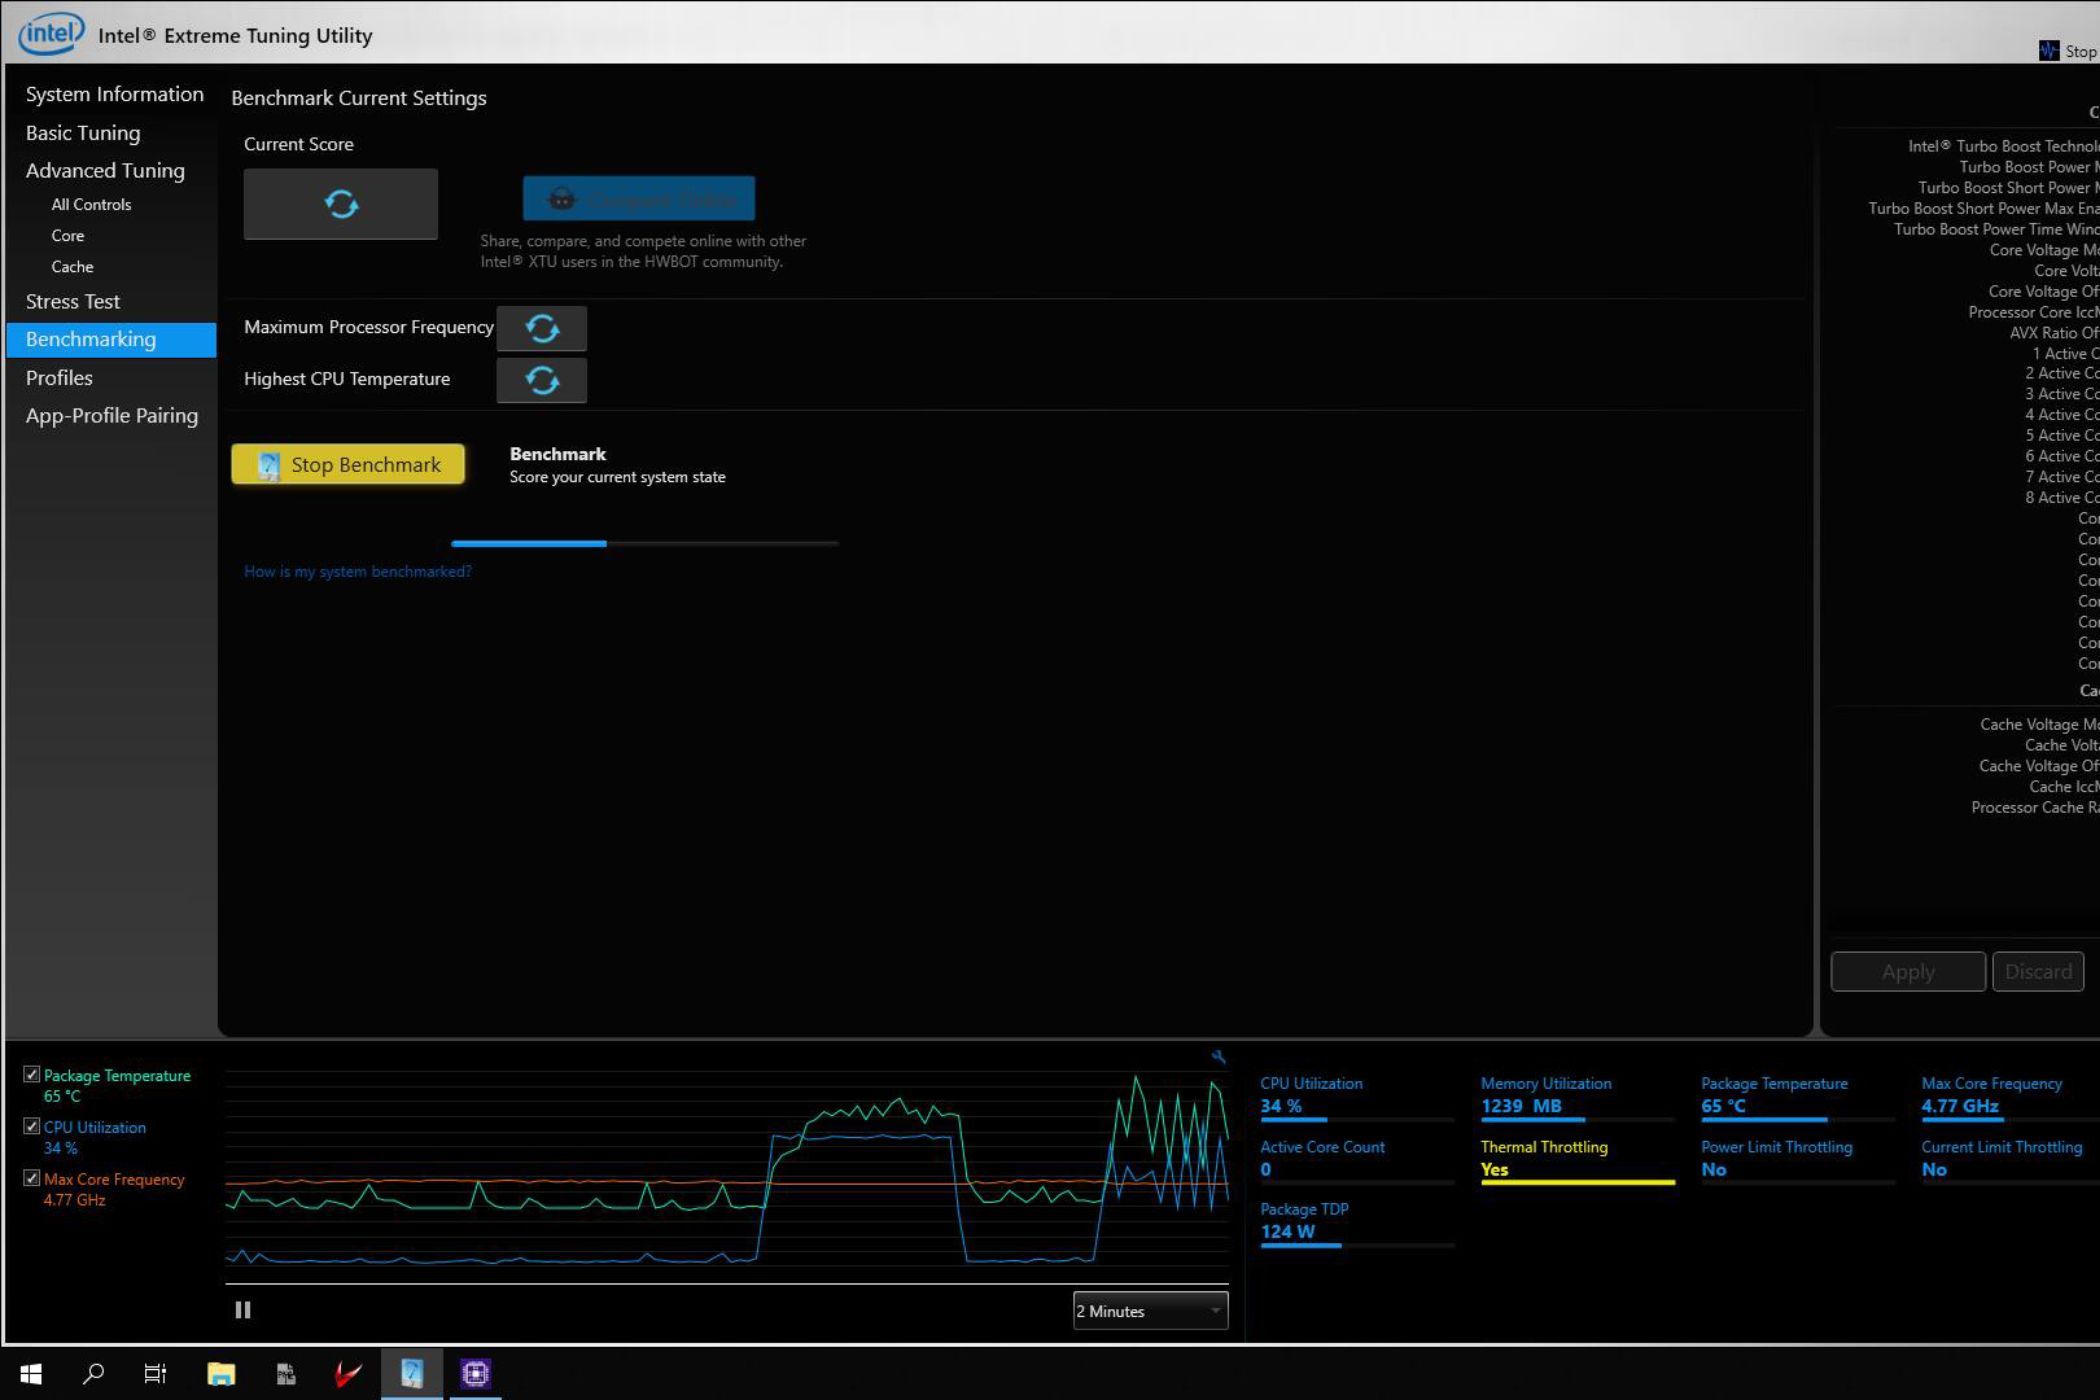
One of the first things you need to do is find out the baseline temperature and performance of your CPU. This will allow you to quantify the performance gains after a successful overclock. You can hit the “Run Benchmark” button in the Benchmarking tab to find out a few things about your CPU, like its maximum frequency and maximum temperature. You'll also get a score at the end of this test, which can act as the baseline score before overclocking.
If your CPU temperature crosses the 80-degree mark during the baseline test, it's probably not a good idea to proceed further without upgrading your cooler. Overclocking the CPU from this point will only increase the temperature and push it further toward TJMax values. Hitting TJMax may be considered "by design" with the latest CPUs, but we'd always recommend running the chip cooler, if possible.
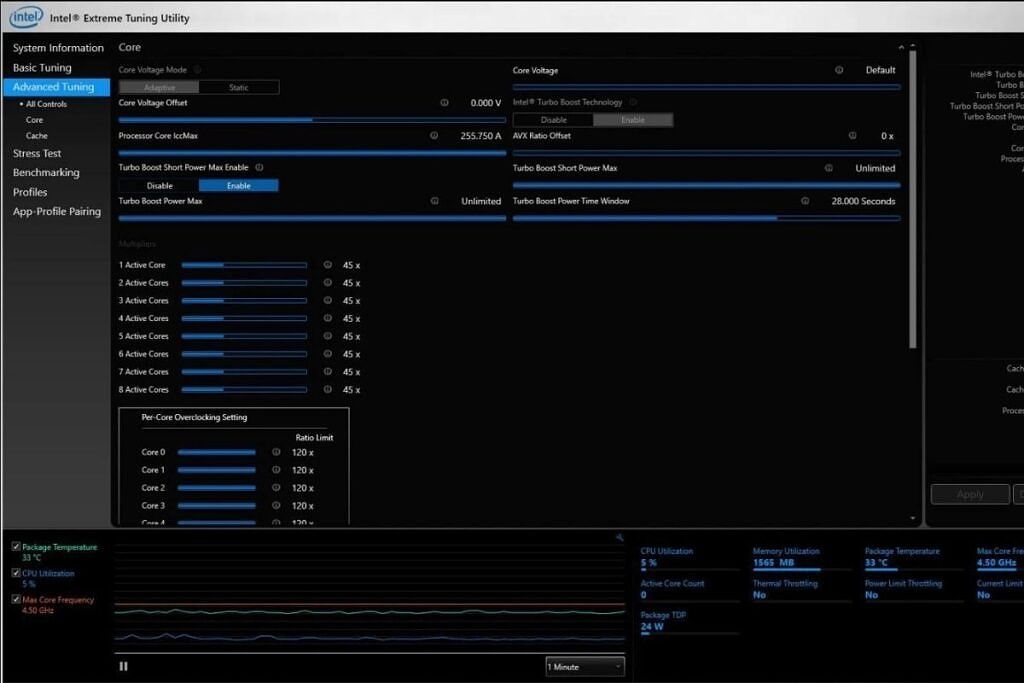
From here, you can either start with the "Basic Tuning" to adjust a limited selection of parameters or dive deep into the "Advanced Tuning" to tweak more options, including Vcore, Core Ratio, and more.
Basic Tuning with Intel's Extreme Tuning Utility (XTU)
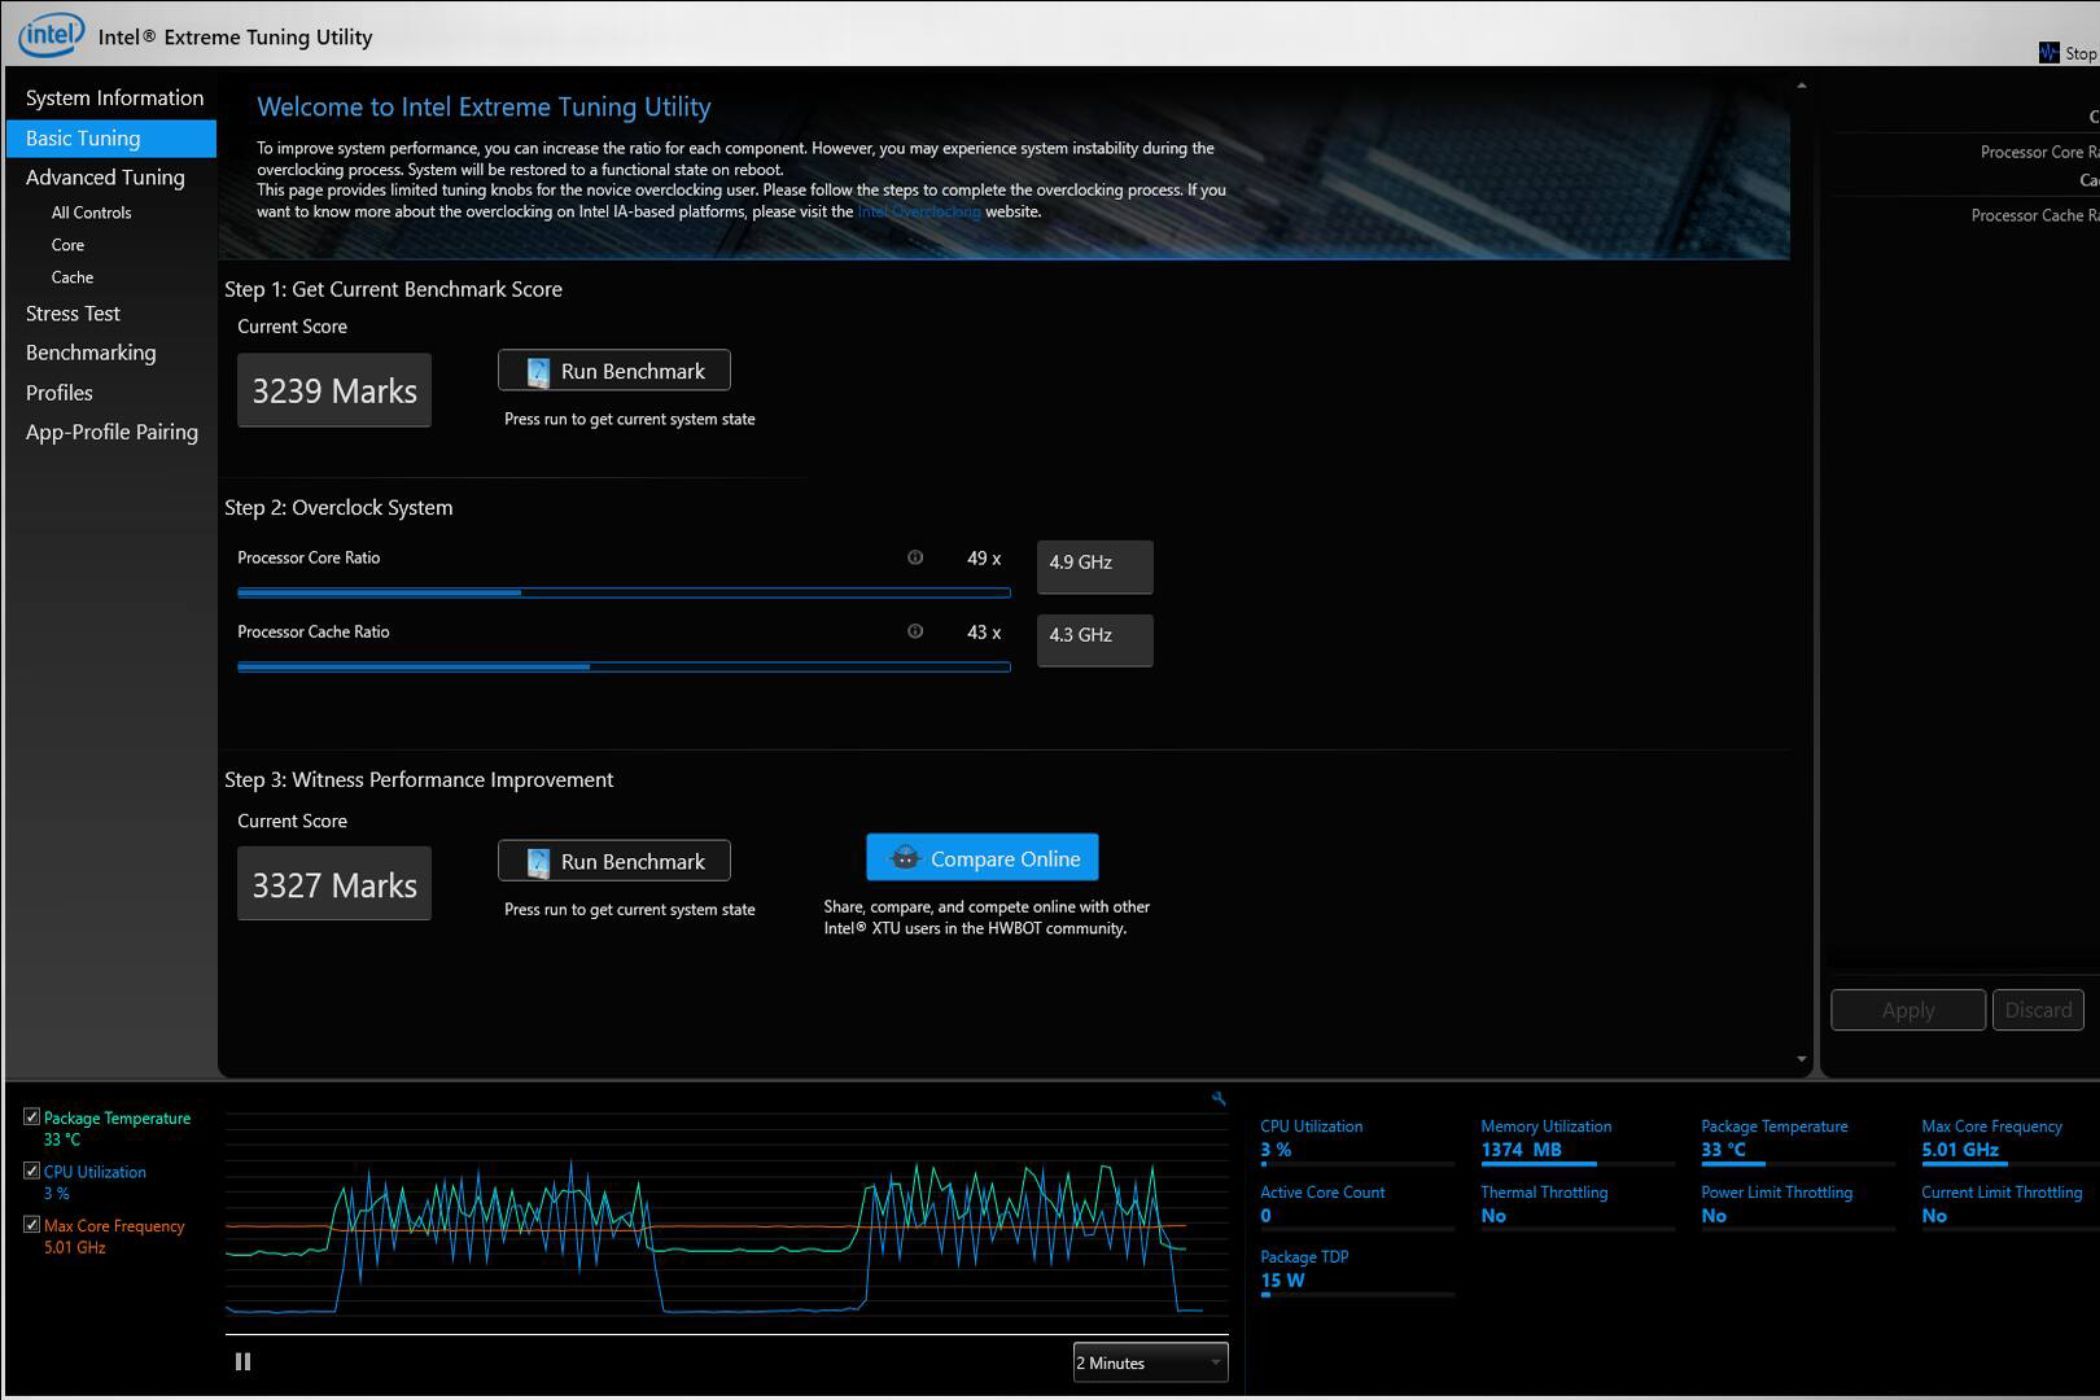
When it comes to basic tuning, you'll see the "Processor Core Ratio" and the "Processor Cache Ratio" sliders. In both cases, we recommend increasing the slider progressively in small increments. Increase it by 1x, reboot, and check for stability before increasing again, rather than making drastic changes. The "Processor Cache Ratio" slider adjusts the frequency of the part of the CPU that connects the core to the processor cache. We recommend keeping both sliders at roughly the same frequency, but you're free to experiment as long as you don't make drastic changes at once.
Advanced Tuning with Intel's Extreme Tuning Utility (XTU)
This particular tab will allow you to dive deep into more settings, but we don't recommend tweaking these unless you know what you're doing. It's designed for more advanced users, so it's best to stick with basic tuning if you're new. Under this setting, you'll be able to change things like the Processor Core Ratio per individual core, the Vcore (Core Voltage), and more. You can also change the multiplier of all the CPU cores at once, so feel free to explore that option.
The Vcore adjustment is crucial for overclocking, as the CPU demands more power to run at faster speeds and remain stable. Here, you can also use the Core Voltage Offset if you don't know the default Vcore of your CPU. As is the case with every other change, it's best not to exceed changes of 0.05V at a time while increasing the Vcore. Even under the Advanced tuning setting, we only recommend the Processor Core Ratio, Processor Cache Ratio, and Core Voltage changes for most users.
Once you think you've made enough changes and ensured everything is stable, it's time to see how much of an improvement it is compared to the baseline numbers. You can check for performance improvement by running the XTU benchmarks again. You can keep tuning until you reach the desired performance level for your system.
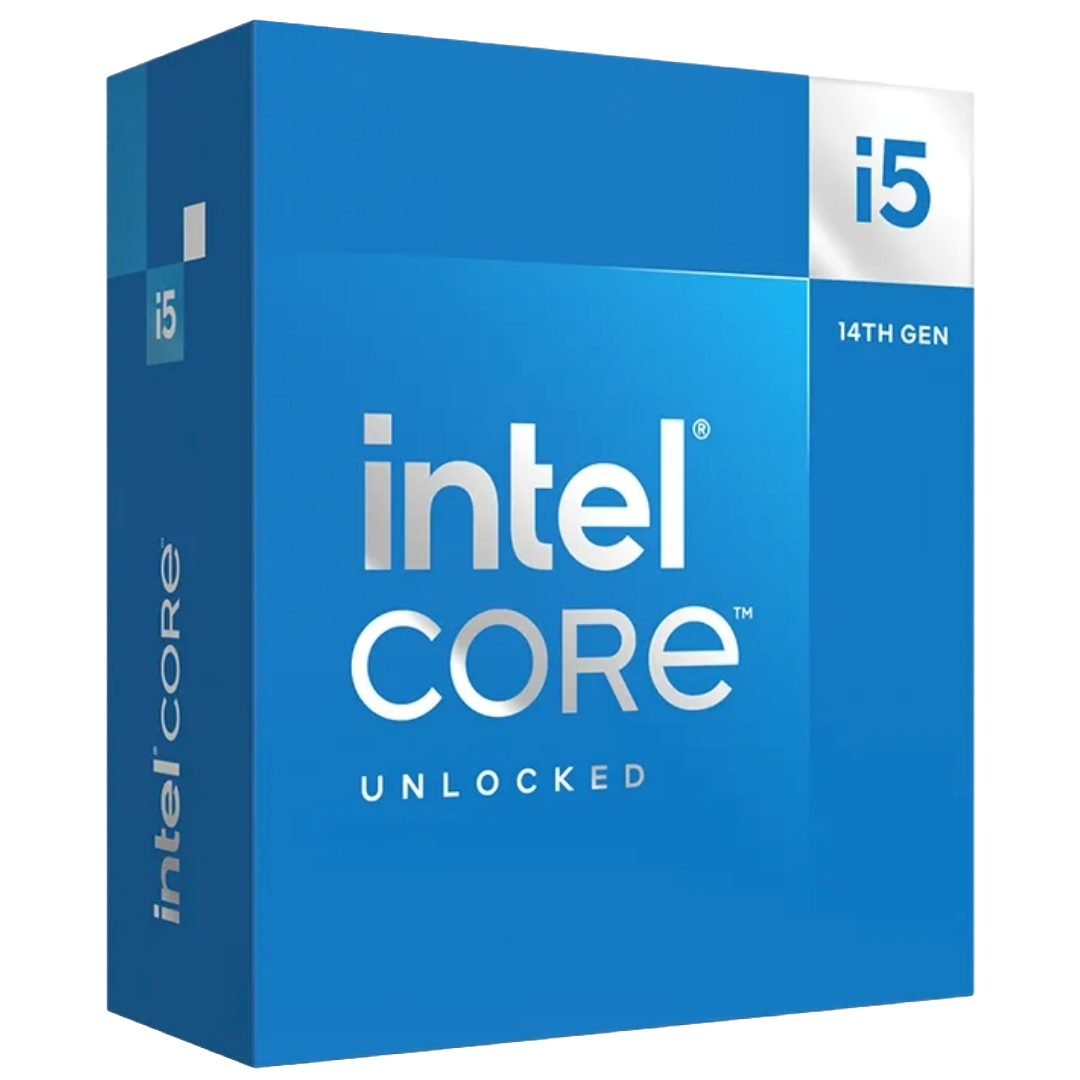
Intel Core i5-14600K
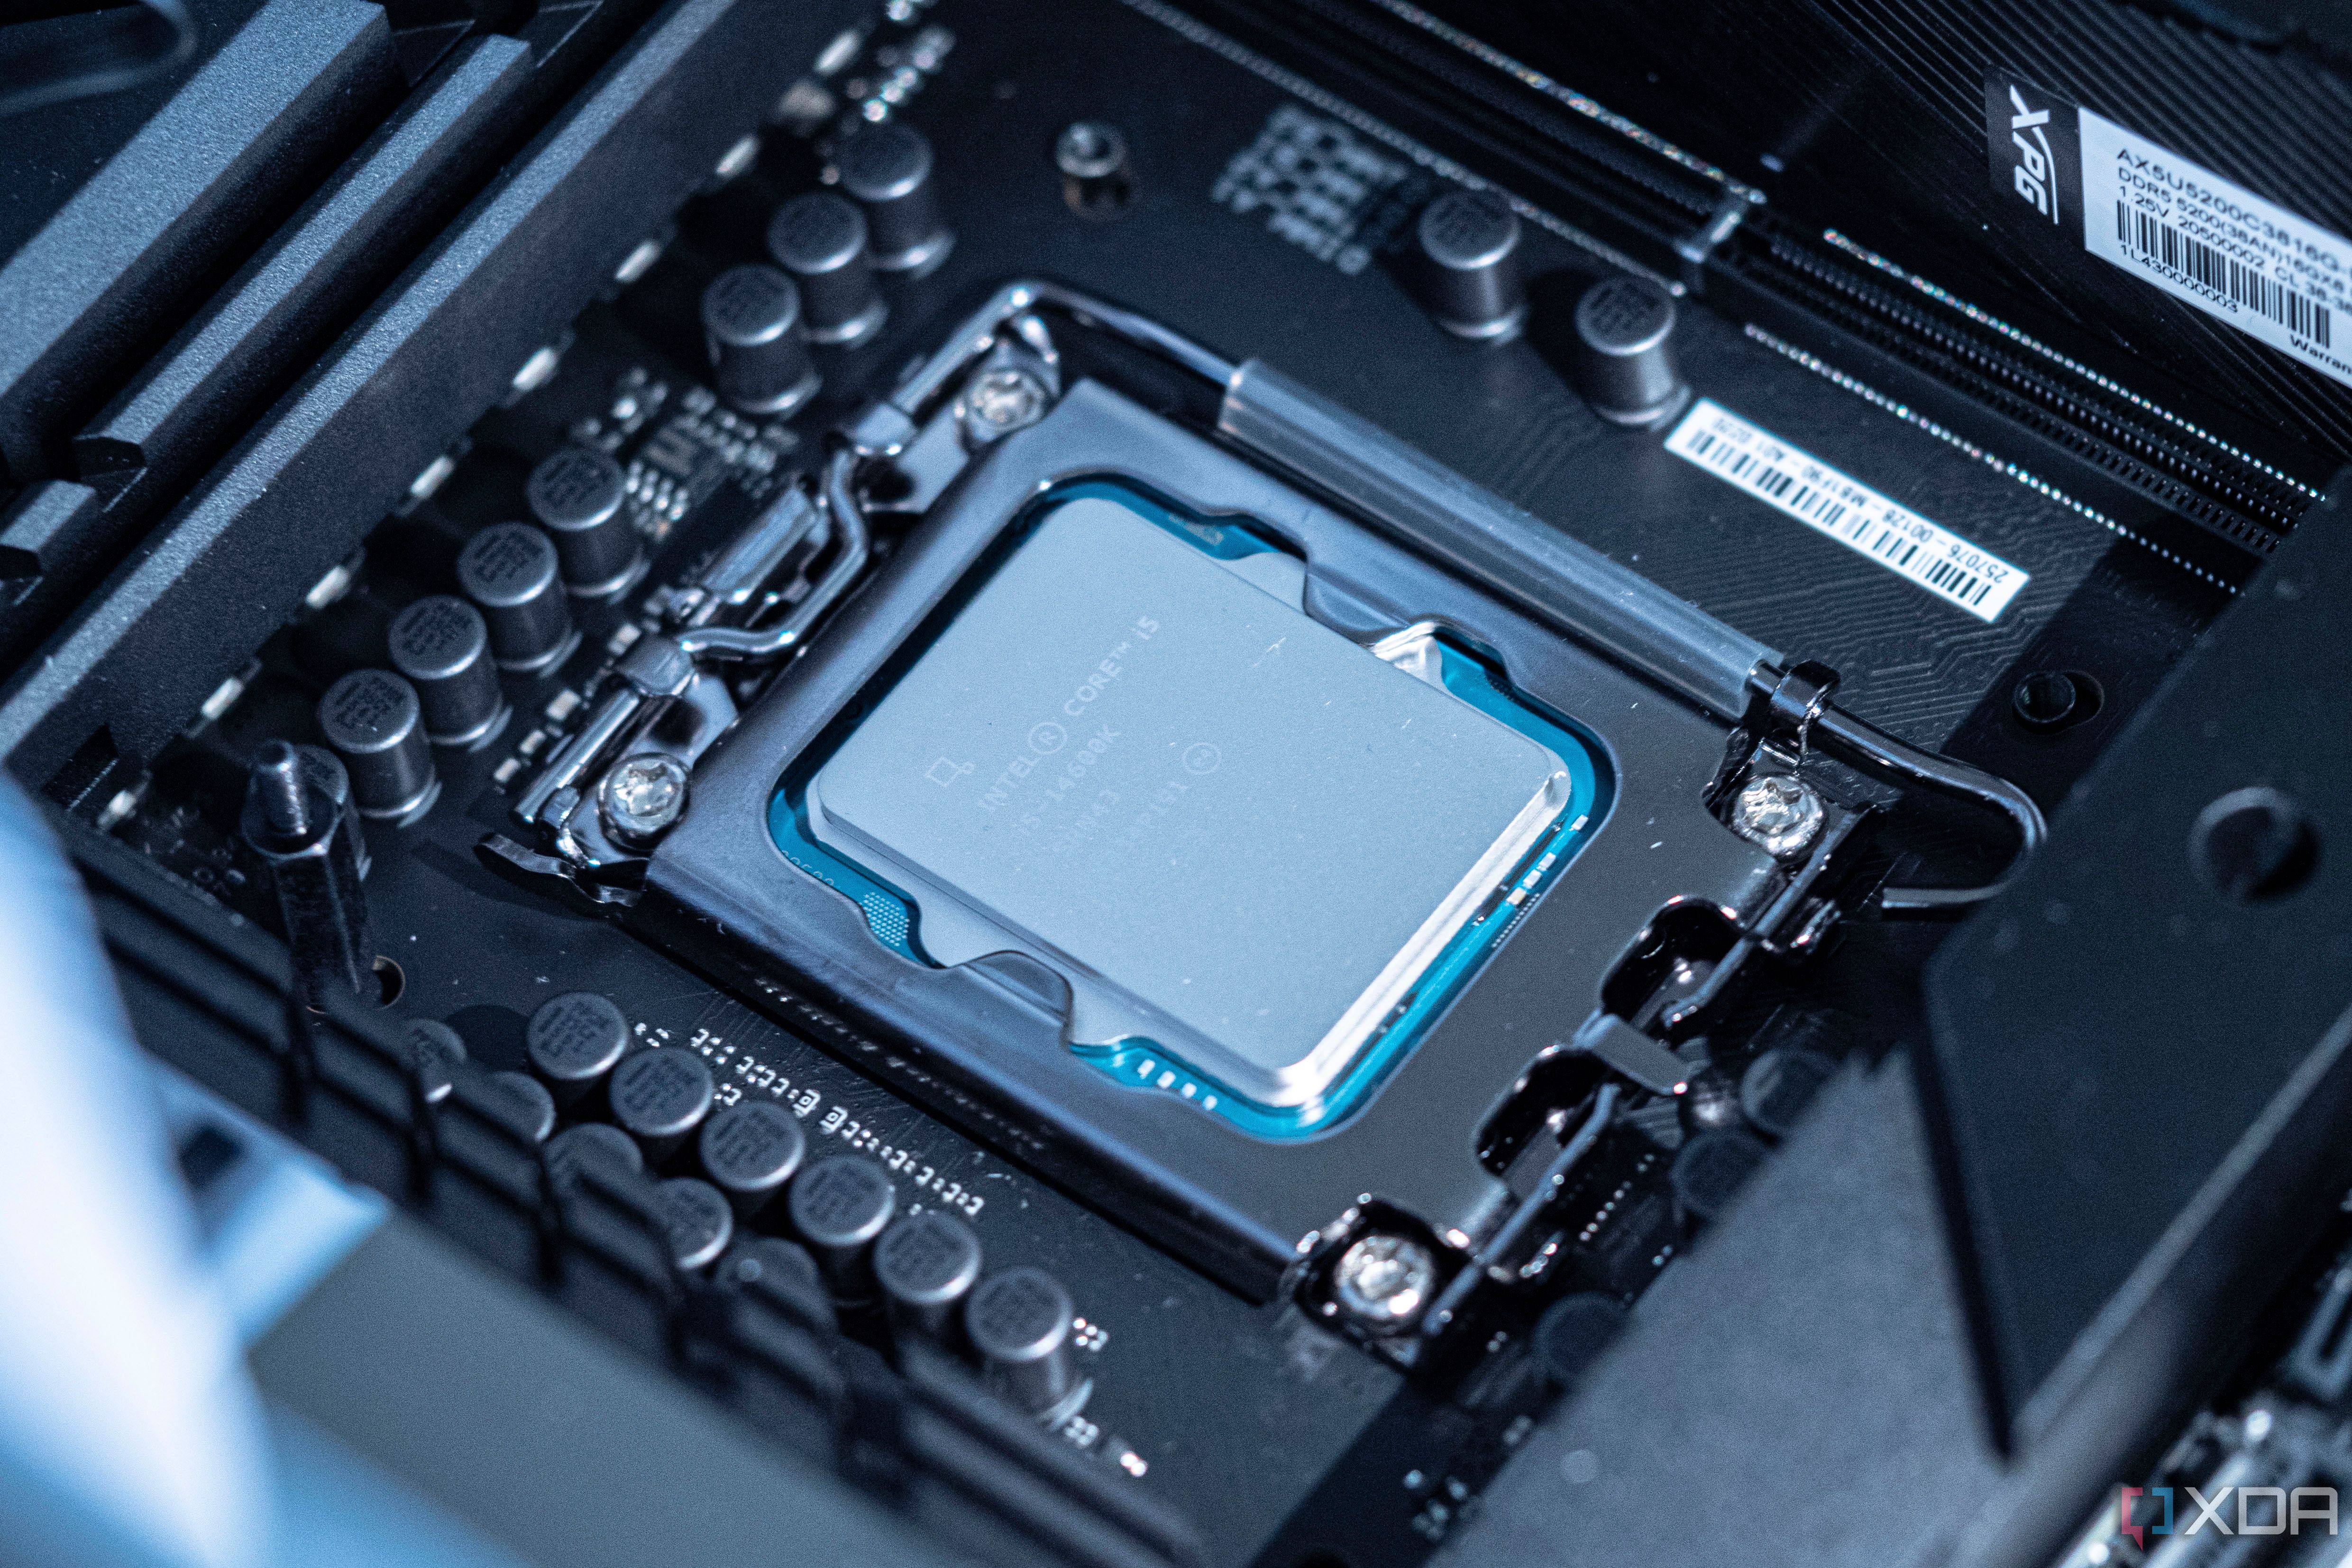
The Intel Core i5-14600K is the latest Raptor Lake CPU, and it sports higher clock speeds than last year's model. It's a straight-up refresh, though, and you won't miss out on anything if you're already on a 13th-generation CPU. This is a great CPU to start your overclocking journey.
How to overclock an AMD CPU
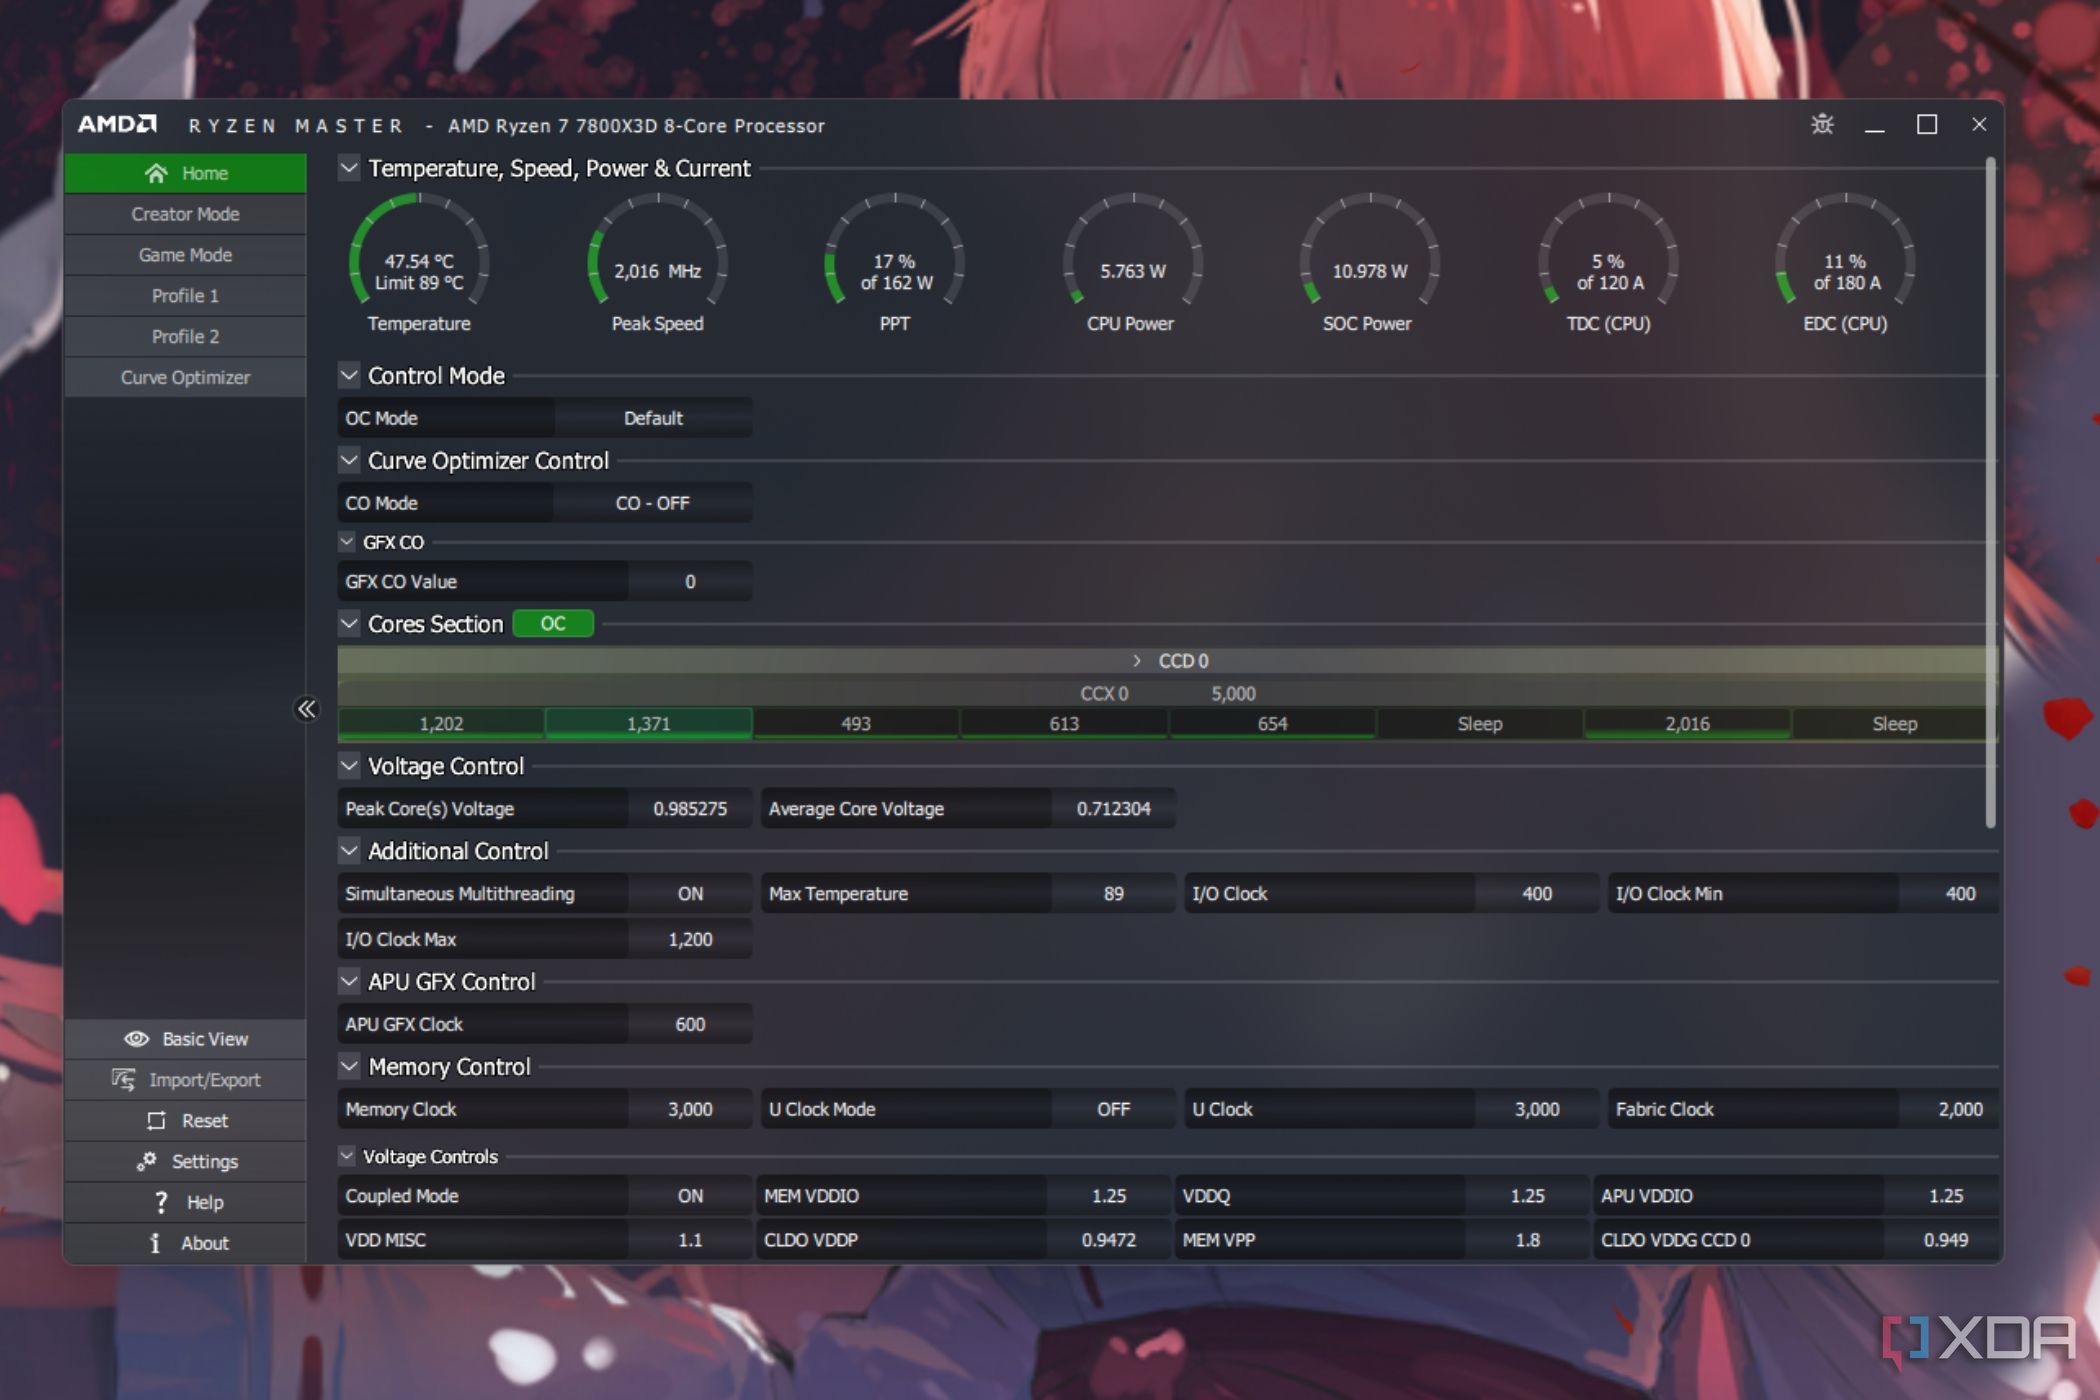
The steps involved in overclocking an AMD CPU are largely the same as with Intel chips, but you'll be using a different software. We recommend using the AMD Ryzen Master tool for beginners, which you can download for free from AMD's website. The Ryzen Master software works well with many AMD chips, but those using a relatively older AMD processor (released before 2017) can use the AMD Overdrive tool instead. It's very similar to the Ryzen Master tool, so the steps will remain mostly the same.
Baseline performance and temperature tests
Before we begin, it's important to run some stress tests to identify the baseline performance and the temperature of the chip you're using. You can use Ryzen Master's built-in stress test or download a third-party benchmark application like Cinebench R23, CPU-Z, and more. Make sure the CPU temperature doesn't exceed 80 degrees during the test. You might want to upgrade to your CPU cooler before proceeding with overclocking if it does.
CPU tuning with AMD Ryzen Master
As a part of the beginner's guide, we'll only look at the basic options. The first thing you need to do is switch the "Control Mode" from "Manual." This will allow you to manually adjust clock speed and voltages for overclocking. AMD Ryzen Master will allow you to adjust the clock speeds directly without having to use multipliers. Once again, we recommend adjusting the clock speeds in increments of 50MHz. You can hit the Apply & Test button after each increment to allow the software to boost and test.
You can also increase the CPU voltage to improve the overall stability of the overclock. Higher voltages, however, will increase the temperatures, so be careful what you wish for and only make small adjustments. Once you've made enough adjustments, we recommend running some benchmarks for 30 minutes to an hour to ensure the CPU is stable, and the temperatures are under acceptable limits.
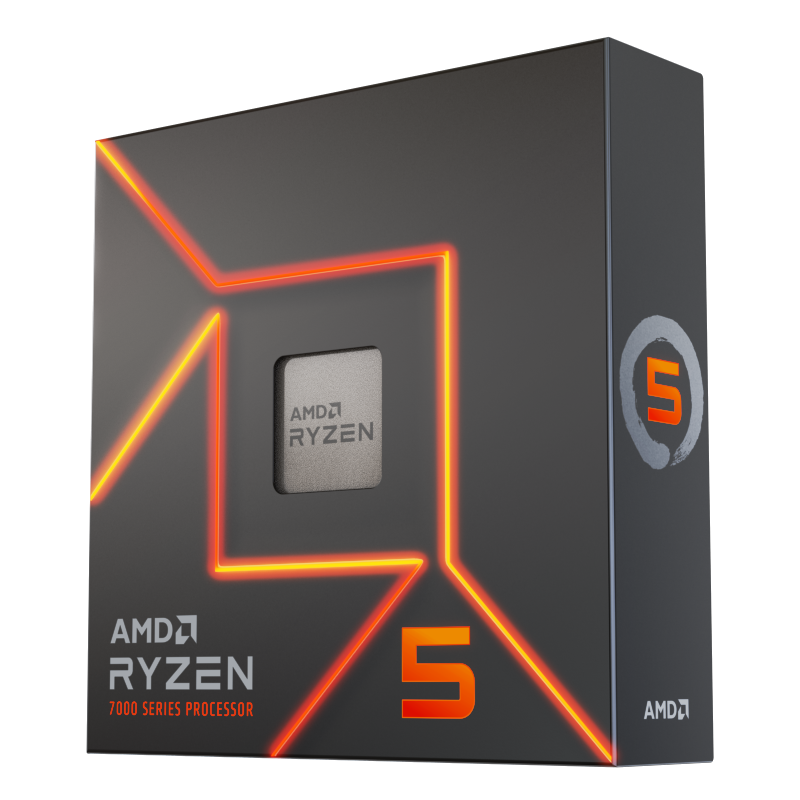
AMD Ryzen 5 7600
The AMD Ryzen 5 7600 may be the entry-level processor from AMD with a TDP of just 65W, but you can push this chip hard. It's perfectly suitable for gaming, as well as other intensive applications once you've cranked up the settings with a stable overclock.
How to overclock your CPU in BIOS
A tricky way to achieve a manual overclock
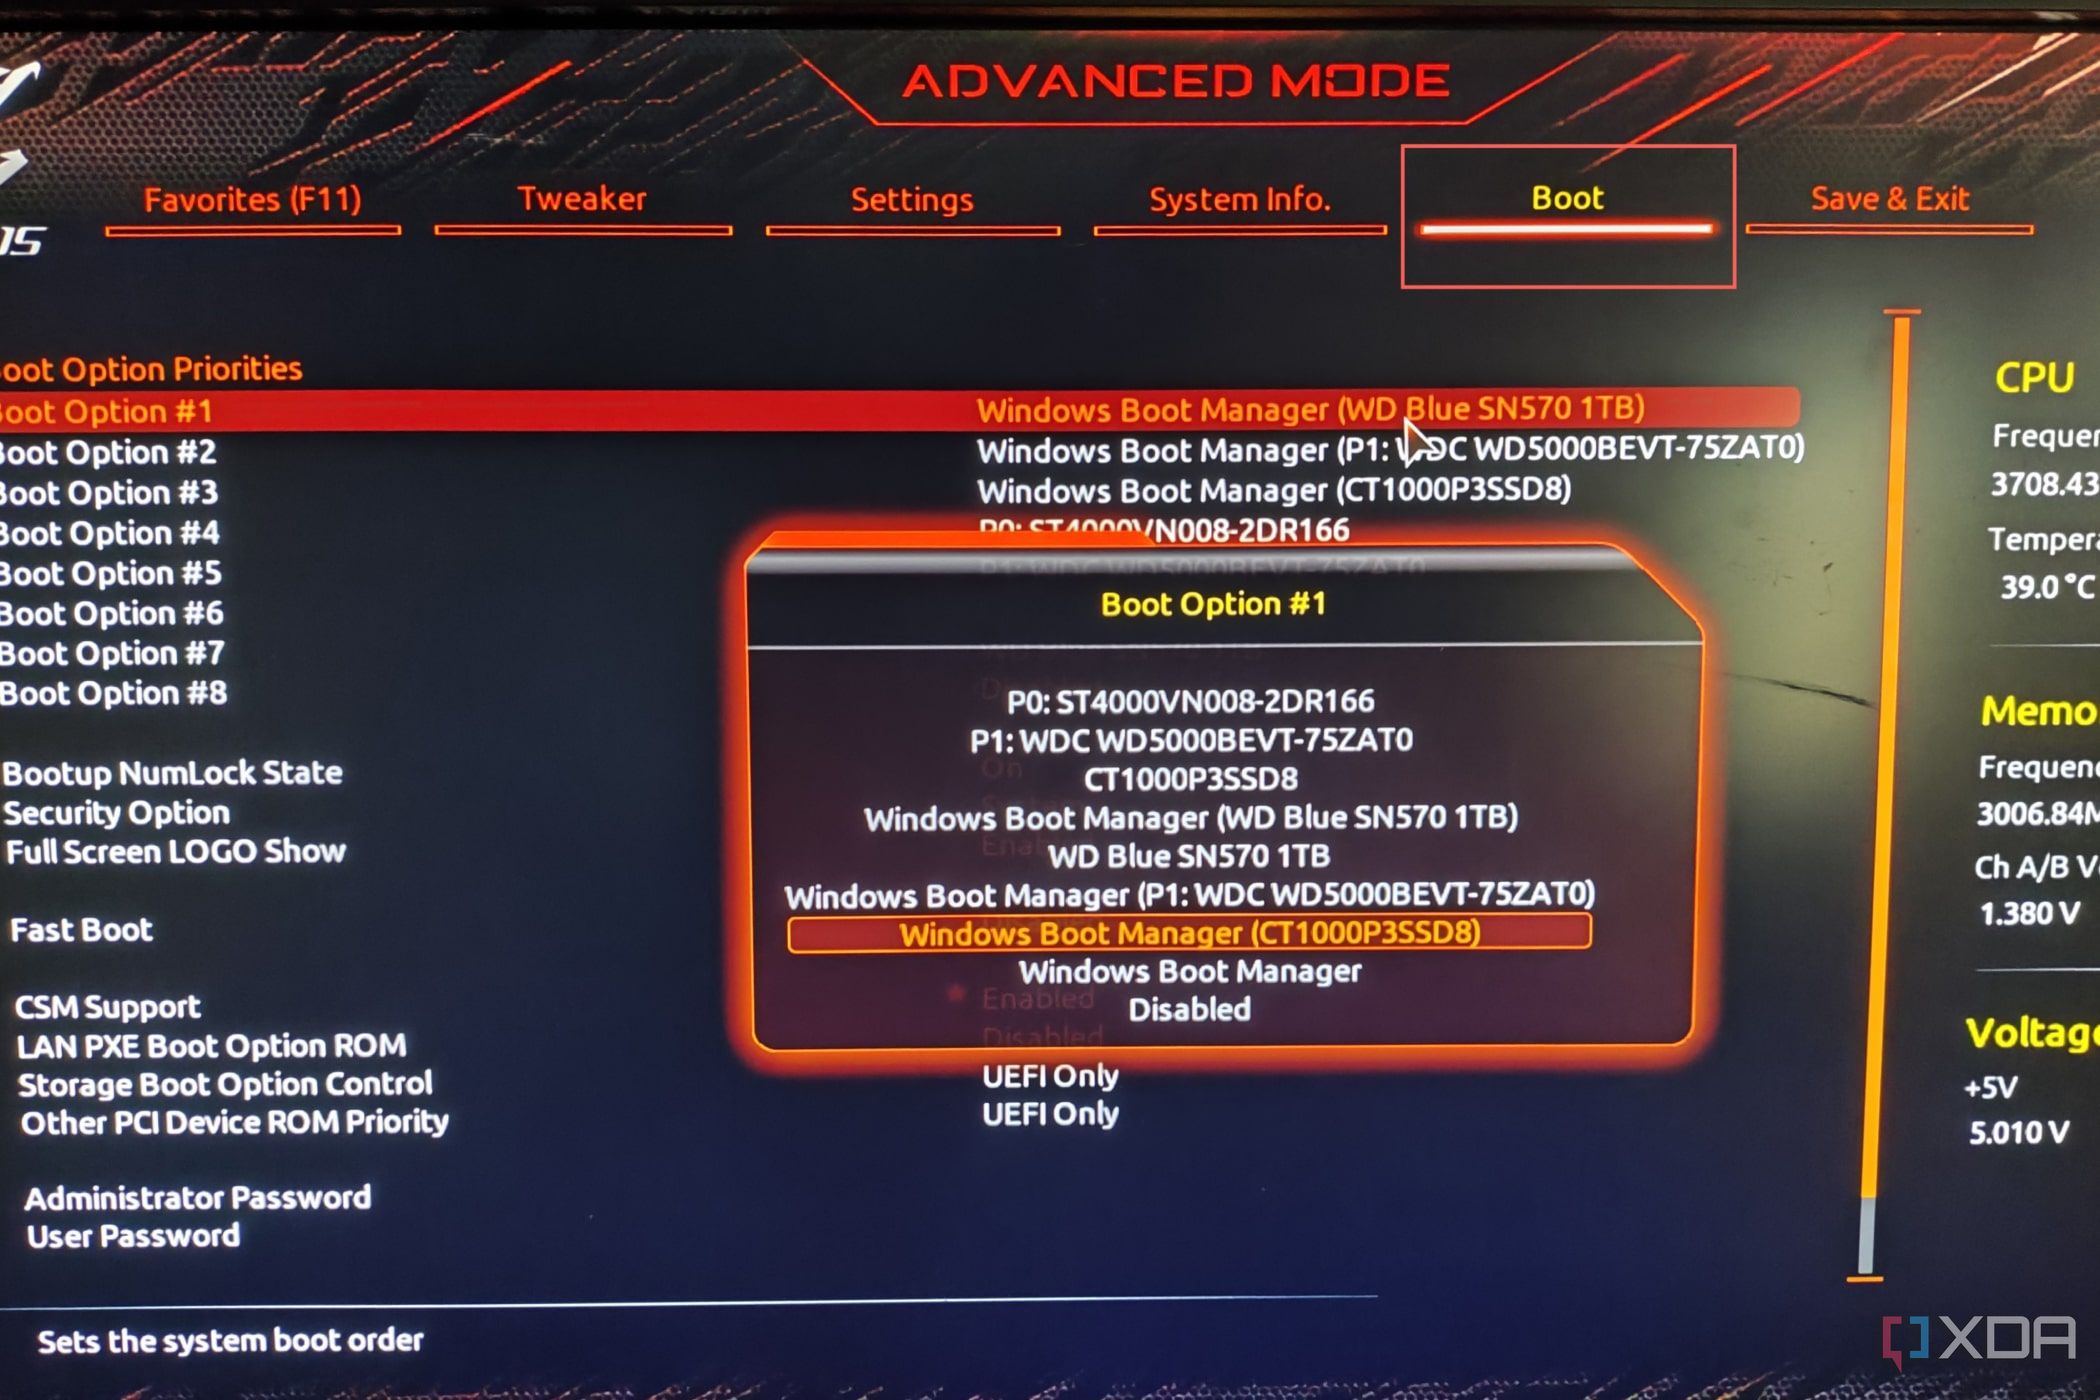
You can also overclock your CPU from the BIOS menu, but it's worth highlighting that this particular process involves a bit of manual work. Everything from accessing the BIOS to changing the CPU settings for overclocking has to be done manually, so it's recommended that you stick with either Ryzen Master or Intel's Extreme Tuning Utility (XTU) if you don't know what you're doing.
Accessing the BIOS and undervolting the CPU
The steps involved in accessing the BIOS is going to be different for each computer as different motherboard makers use varying shortcuts to enter the BIOS. The process, however, is fairly simple as it usually involves restarting the PC and pressing one of the common BIOS keys like Del, Esc, Tab, F2, F10, and F12 before your system gets to the operating system loading screen. The correct key to press will often be shown on the BIOS boot screen when you start the PC.
The next step is to undervolt your CPU to its minimum voltage requirements, so you can get some leeway to start overclocking. Undervolting will essentially reduce the amount of heat build-up on the CPU, which is great for overclocking as it gives you more room to push the CPU further. Our dedicated undervolting the CPU guide will walk you through all the important steps in detail, so be sure to check it out and ensure you're fully prepared before following the steps highlighted below for overclocking:
-
Turn on your PC and access your BIOS.
-
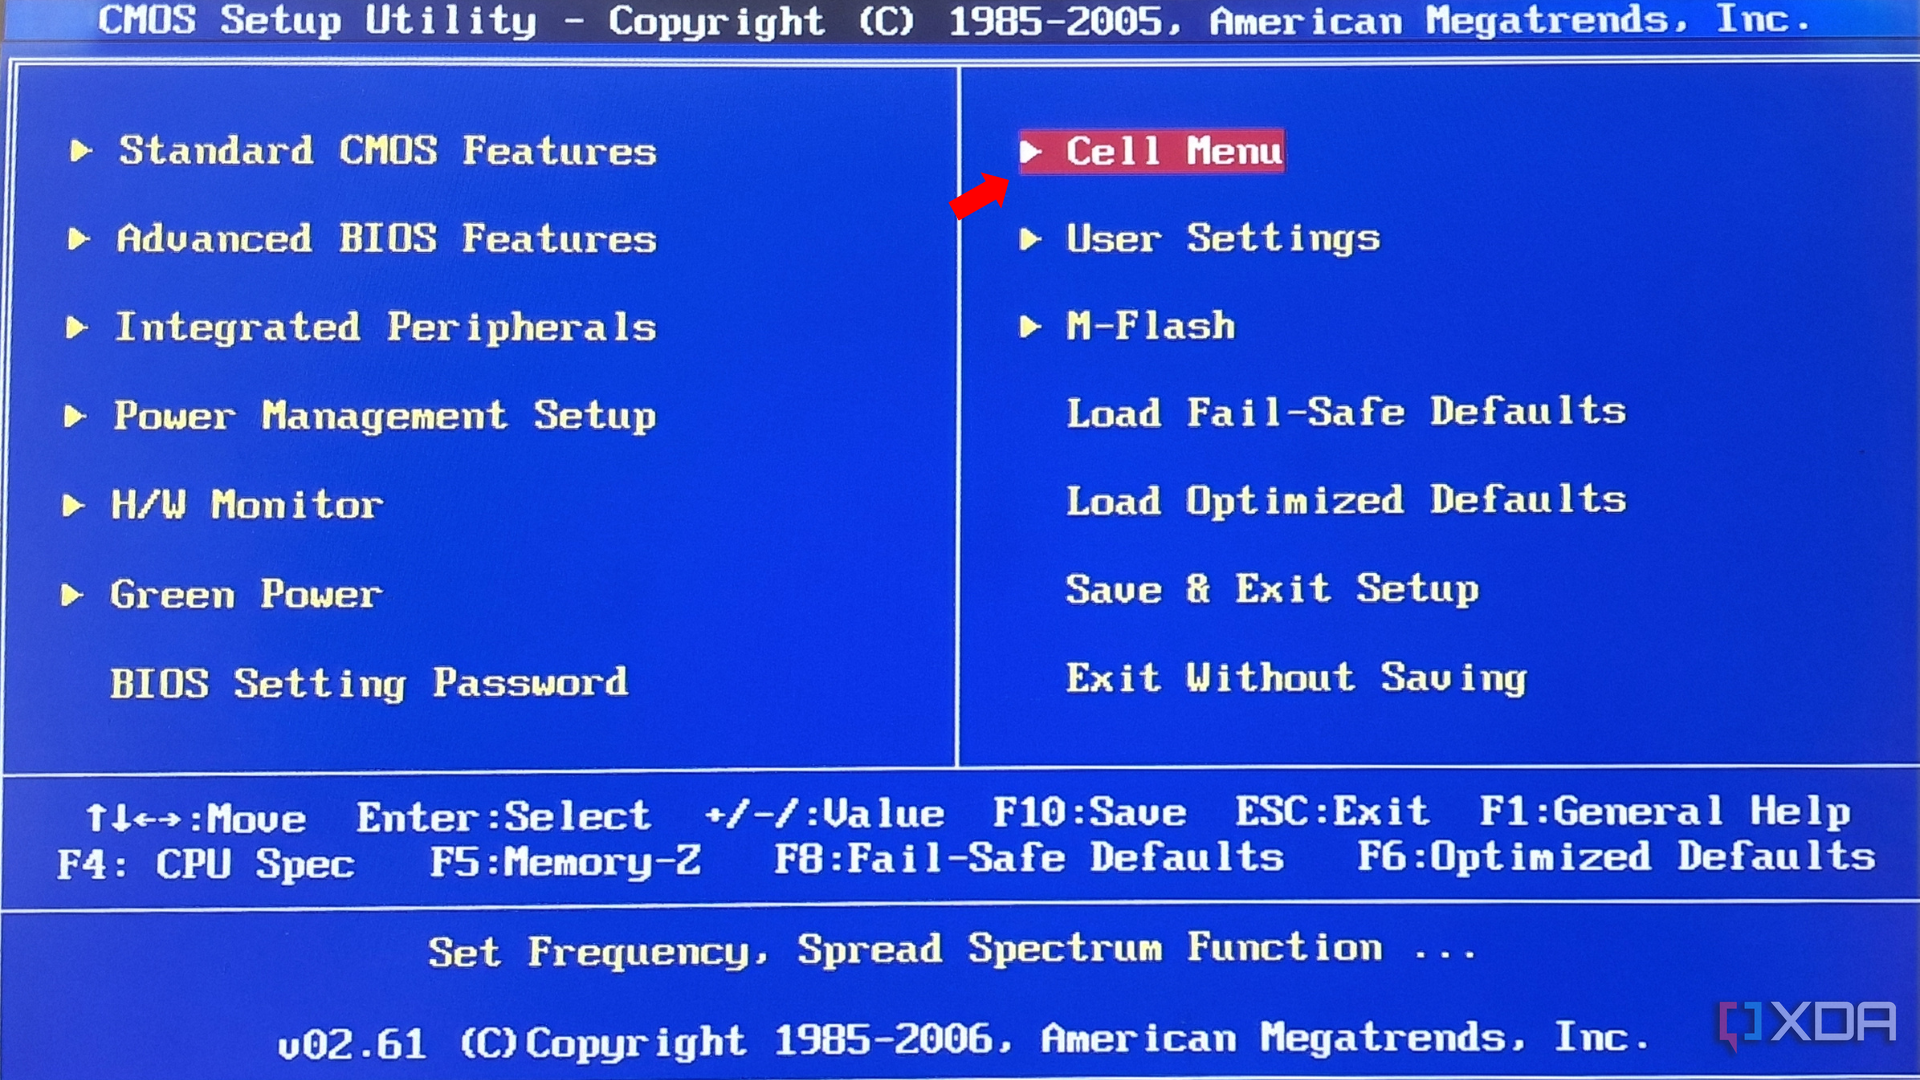
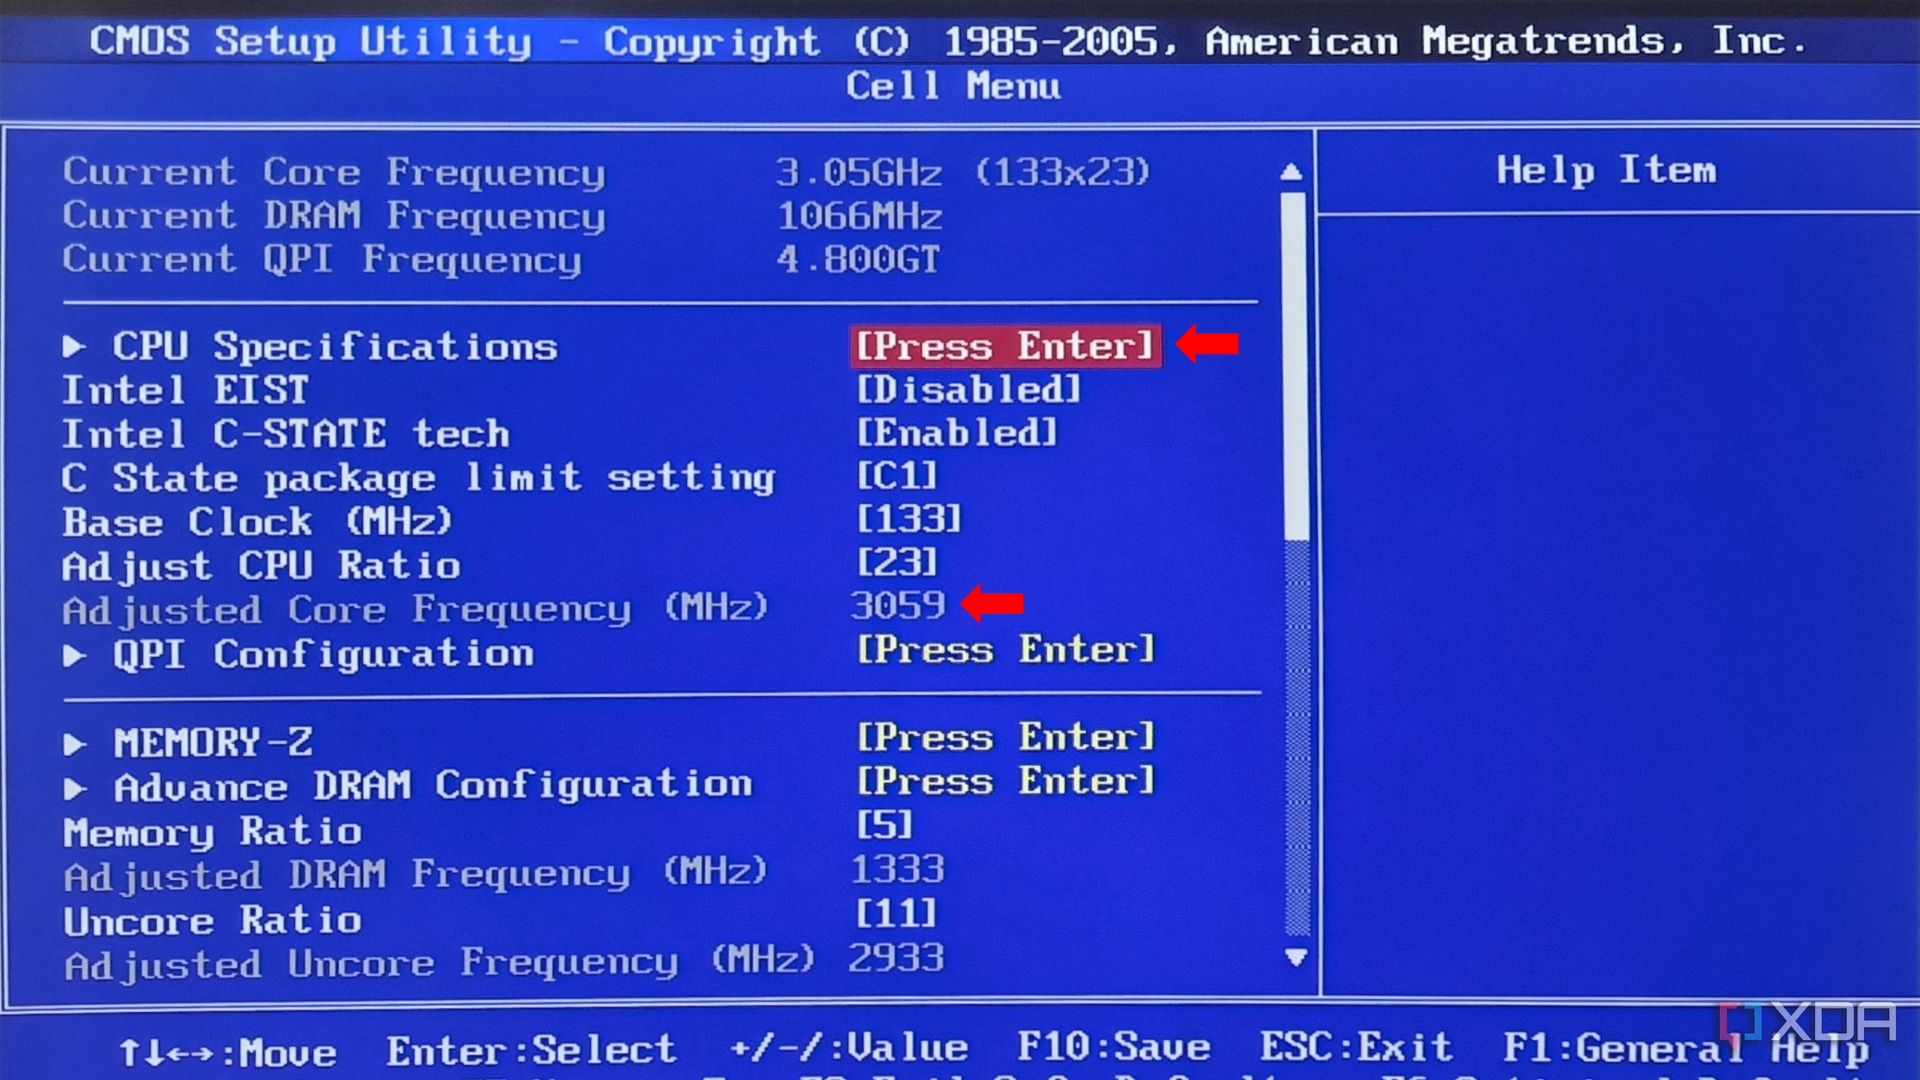
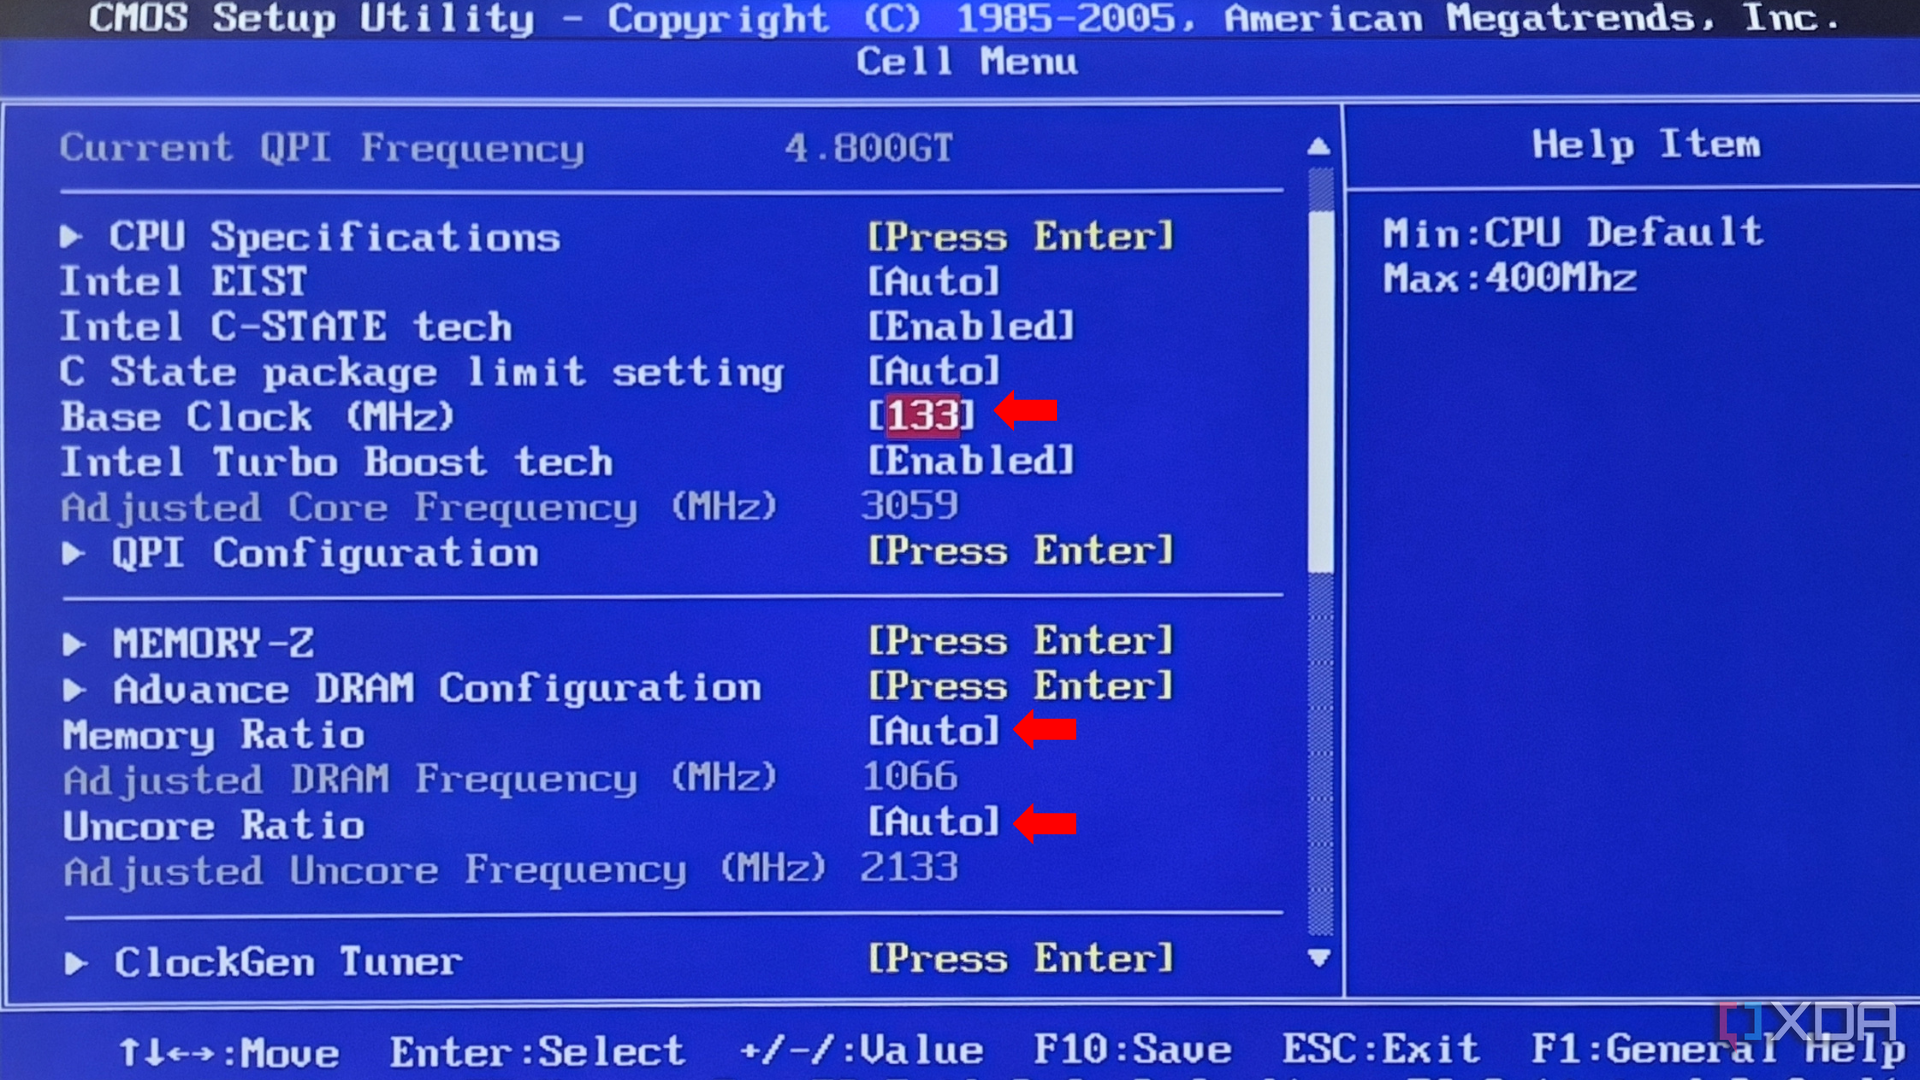
Head to the section that allows you to tweak CPU settings. This particular BIOS calls it the Cell Menu, but it could be different in your case.
-
Open the CPU Specifications tab and review your CPU’s Base Clock speed and current Voltage usage.
-
Manually increase your Base Clock speed (133), Memory Ratio, and Uncore Ratio. Increase these in small increments and test the temperature and stability after each increment.
-
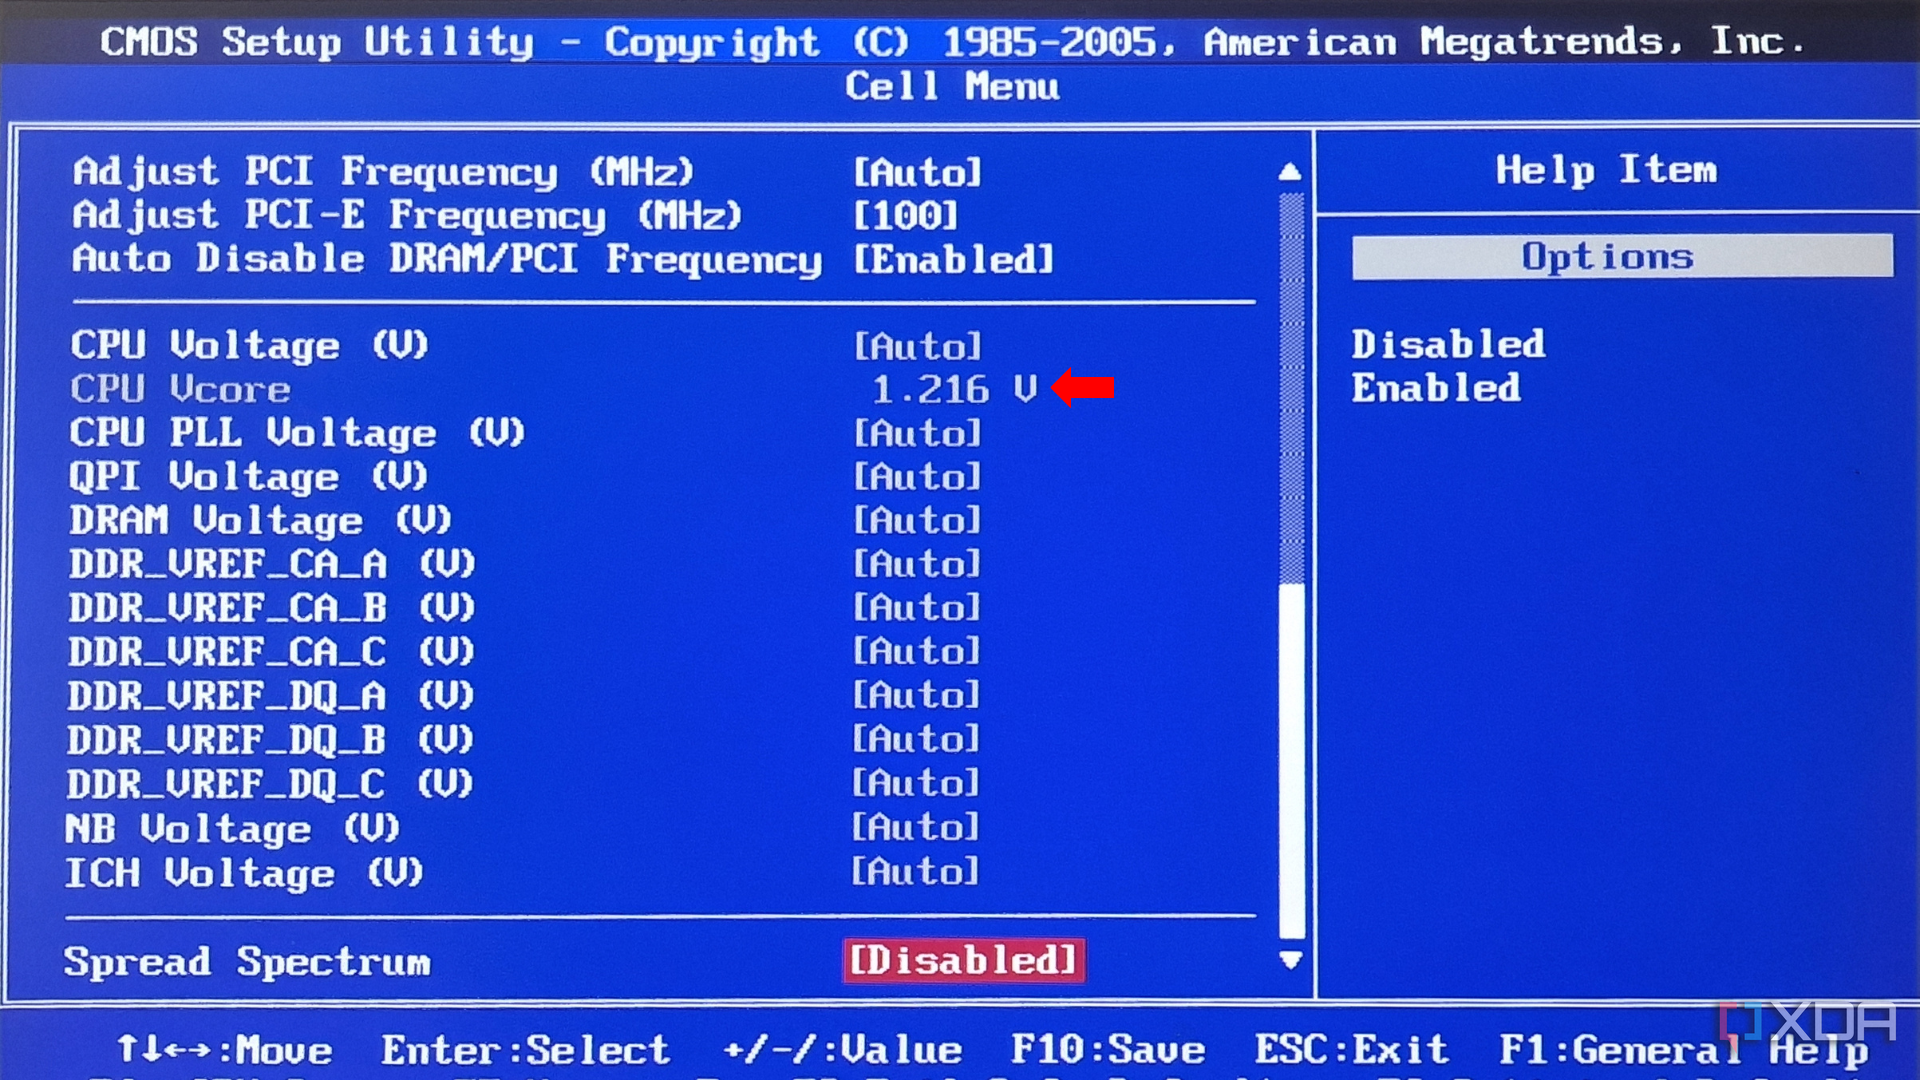
Raise your voltage to increments of +0.05 V as you make other increments.
- Save and exit (F10) and perform a benchmark to compare with your previous results.
This may seem like a fairly simple process overall, but the trick is to find the right optimised settings. It can also get a bit daunting as you fine-tune the settings and restart your computer and run benchmarks to test the stability each time you make an increment.
Getting the most out of your PC
Overclocking your CPU is a fairly simple process as long as you stick with the basic utility tools that can be downloaded for free. Tweaking the settings from BIOS, however, can be exhausting as you have to handle everything manually and restart and run benchmarks after each increment. It's always best to do a little bit of research and identify the limits or potential issues that you may run into while overclocking. Keep in mind that it's completely safe to overclock your CPU, but you also have to stay within the acceptable limits and ensure your PC has adequate cooling.
If you encounter crashes or if your PC restarts, then there's a good chance that you've pushed a little too far. That's when you stop, go back, and make the necessary adjustments. It's worth noting that laptop processors generally can't be overclocked unless mentioned otherwise. That's because there are thermal limitations in laptops and you can't change the entire cooling solution to safely overclock. If you think your laptop is showing its age then you might want to consider upgrading its memory or storage. If not, it might just be time to get a new one. We have plenty of laptops to recommend, so be sure to check out our collection of the best gaming laptops, the best AMD Ryzen laptops, and more. Good luck!

