
Support for the Grype scanner in the GitLab Container Scanning analyzer is being deprecated in GitLab 16.9 and will be removed in GitLab 17.0. Users are advised to use the default setting for
CS_ANALYZER_IMAGE, which uses the Trivy scanner. Users who desire to continue using Grype can use the Security Scanner Integration documentation to create their own integration with GitLab.
The importance of container image security
Thanks to containers, what it means to "ship software" has changed dramatically. Engineering teams have shifted to produce container images and use these container images to deploy their software. Because of this change teams are now shipping significantly more software alongside their app – whether they realize it or not.
Besides packaging an application, container images also include hundreds of binaries and libraries. These binaries and libraries are included in the container image produced by the team because the process of creating a container image requires teams to select a base image. A base image is a preexisting container image on which to "base" their own container image. In doing so, all software contained in the base image is inherited into the team's new image.
The shift to containers has a monumental impact on security. Now, anyone that deploys your team's container image could be deploying software with known vulnerabilities. Similarly, other teams that base their container images on your team's image will inherit any vulnerabilities present in your team's image. It's crucial that teams have a solution in place for detecting these vulnerabilities in the container images they're using.
Container Scanning with Grype
Fortunately, GitLab 14.0 offers a new way for teams to tackle this challenge: Grype. Anchore developed this state-of-the-art vulnerability scanner, which is now available as part of GitLab's Container Scanning feature.
Grype is an advanced vulnerability scanner because it performs deep inspection of the software installed in a container image, and it uses this detailed information to produce better matches with vulnerability data.
Grype is a particularly powerful tool for security-minded engineers to investigate and remediate findings because it gives comprehensive information in the vulnerability analysis, showing exactly how the tool determined vulnerability X matched software package Y. Grype provides the transparency and detail necessary for any reported vulnerability to investigate why the image vulnerability is being reported. Some examples of what Grype can identify include: The exact image layer and file path where a package is installed, the source of the vulnerability data, available patches, and which parameters of the vulnerability record matched attributes of the package, among other things.
"We are excited to embed these very robust container scanning features of Grype within the GitLab DevOps platform," says Sam White, senior product manager of Protect at GitLab. "Our built-in security enables DevOps velocity with confidence and these added features brings even greater security for cloud native applications."
Get started with Grype and GitLab
Follow these steps to get set up GitLab's integration with Grype.
What you'll need:
- GitLab Ultimate
- Access to an image in a container registry (such as the container registry in your GitLab project)
- Ensure your CI/CD pipeline meets all of the requirements for Container Scanning.
How to start scanning with Grype
To get started, just add the following snippet to your project's .gitlab-ci.yml file:
include:
  - template: Security/Container-Scanning.gitlab-ci.yml

container_scanning:
  variables:
    CS_ANALYZER_IMAGE: registry.gitlab.com/security-products/container-scanning/grype:4
By default, the Container Scanning analyzer makes some assumptions about your target container image's URL and tag. You can have the scanner analyze any container image you want — you just need to specify additional variables in the "container_scanning" section of your .gitlab-ci.yml file. This set of variables also lets you configure registry credentials, custom CA certificates, whether to validate certificates, etc.
Viewing vulnerability analysis results
Once your first Container Scanning job completes, you can see what vulnerabilities have been reported. Just go to the "Security & Compliance" left-side menu and select "Vulnerability Report".
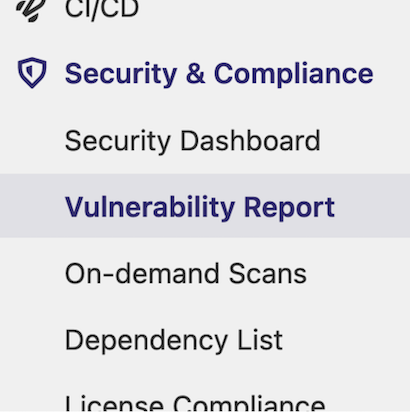 Navigate to "Vulnerability report" under the "Security and Compliance" menu.
For example, here's what your vulnerability report could look like:
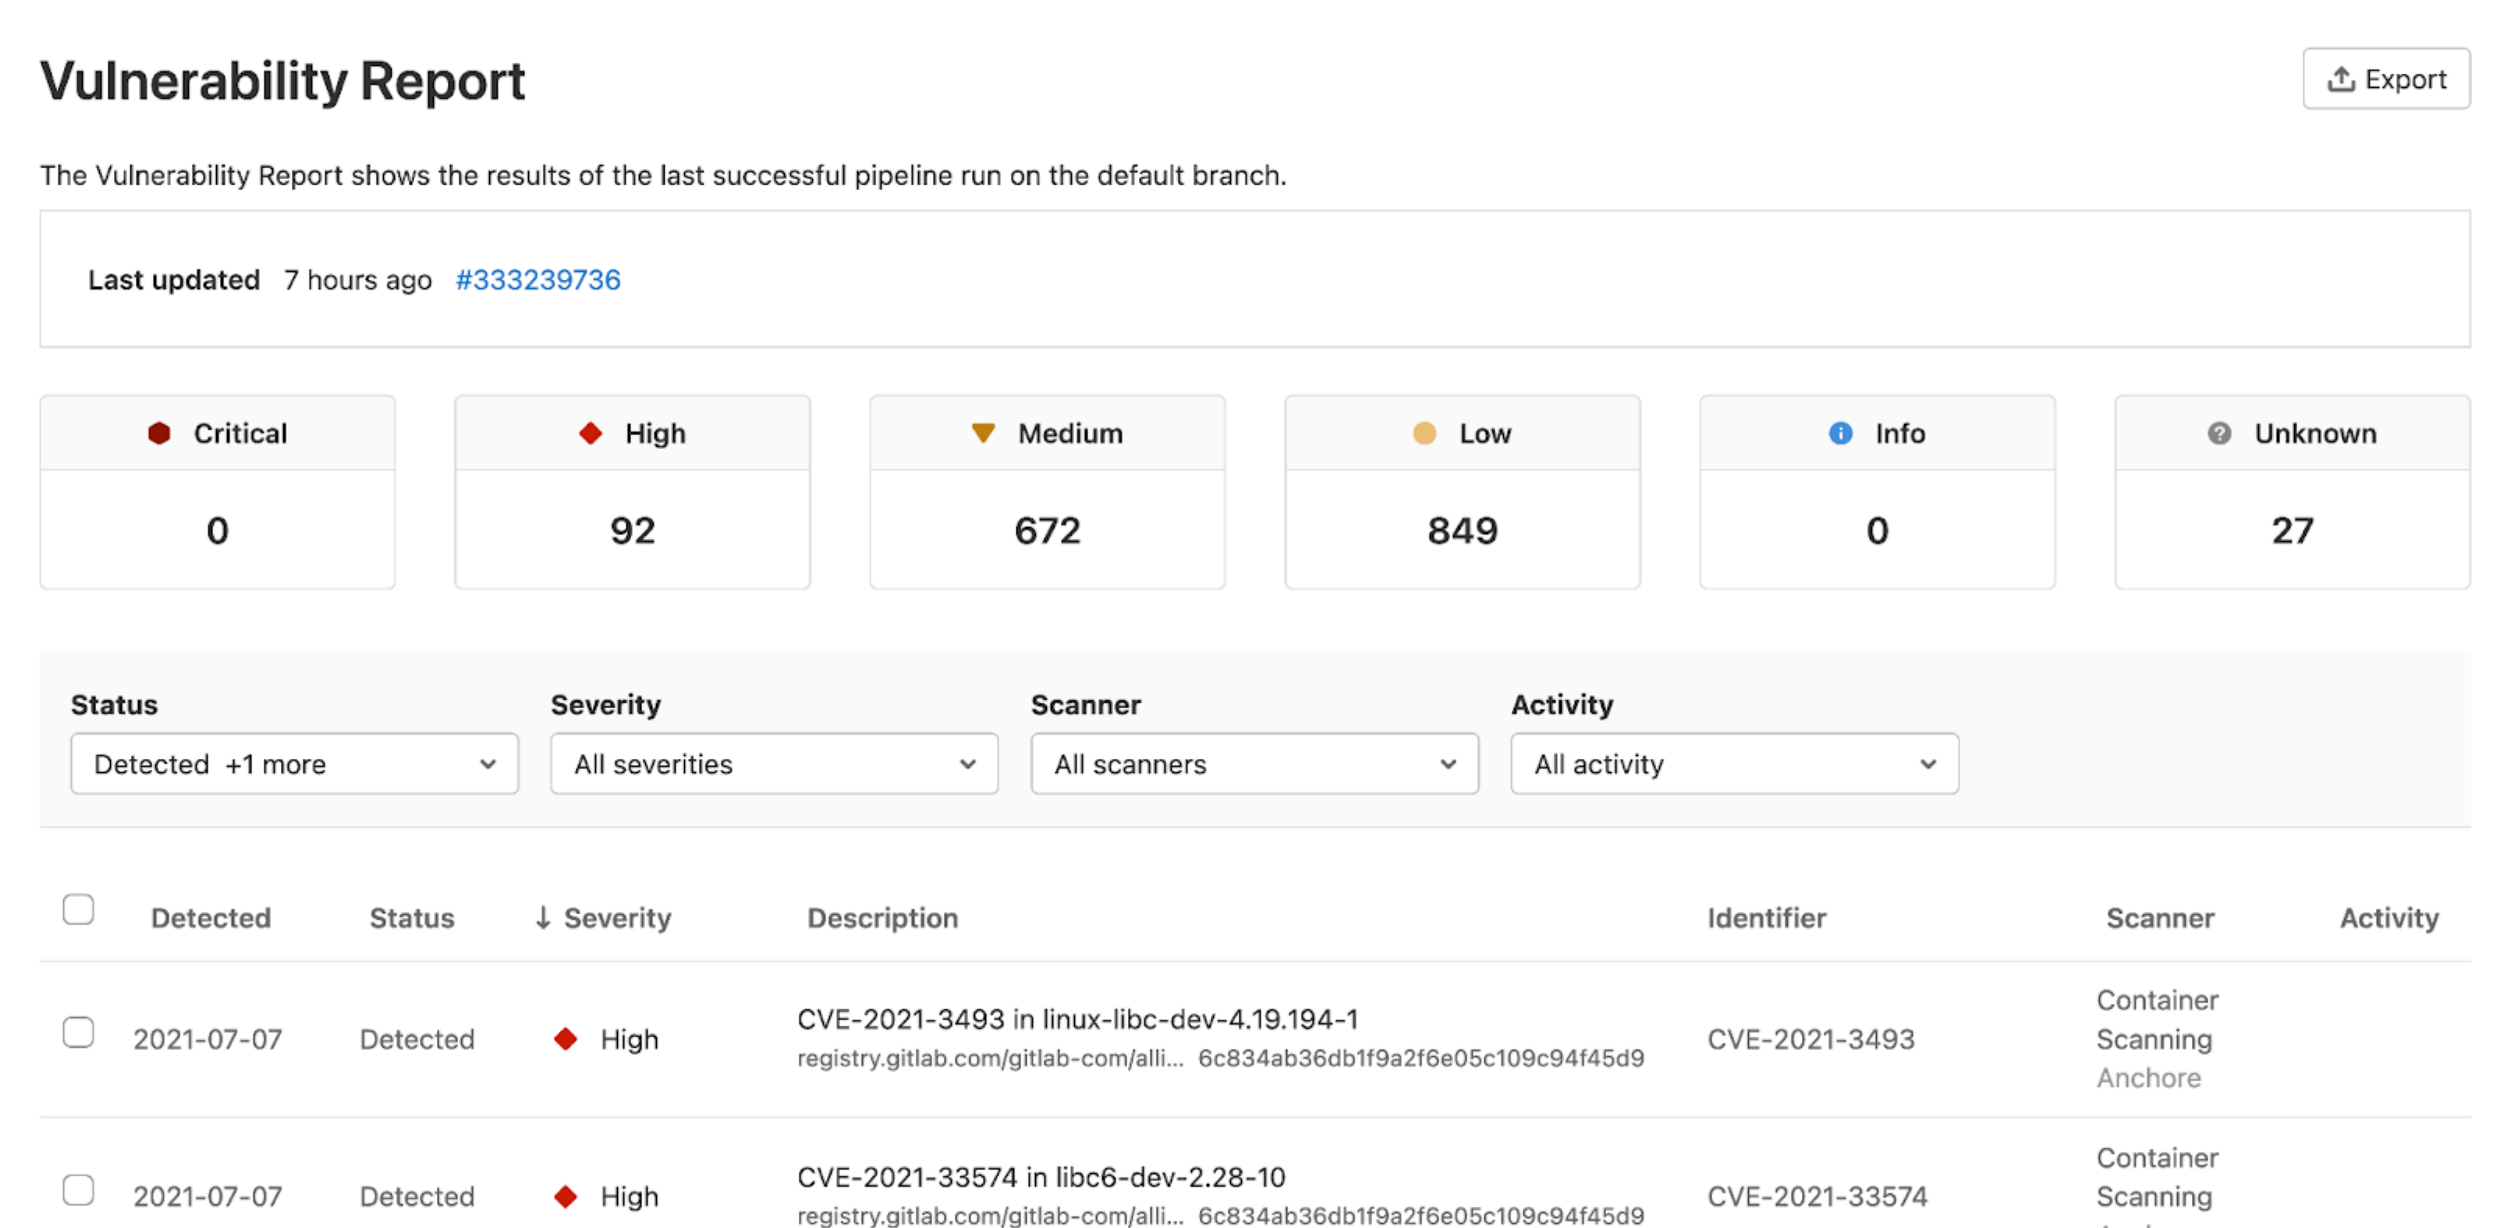 See a sample Vulnerability Report
You'll notice that the Vulnerability Report page gives you an immediate sense of the severities of the vulnerabilities.Even if there is a large number of vulnerabilities, you can quickly filter the list and dive deeper into any single vulnerability.
Final thoughts
Adding Container Scanning with Grype to your GitLab pipeline is a straightforward process. With just a small snippet of YAML and some optional configuration, you can add tremendous visibility into the security of your team's container images.
Read on to learn more about the Container Scanning feature with GitLab.
Lastly, make sure to check out the Grype project. We have an active open source community and make improvements all the time. If you have any questions or feature requests, don't hesitate to open an issue or join our community Slack.

