
In this guide we will learn how to spin up GitLab in the AWS Marketplace:
Pre requisites for this lab are having an account in AWS and an accessible and working VPC.
We will learn the following steps:
- Stand up a self-managed instance of GitLab.
- Install Runner and Docker Engine.
Step-by-step Instructions
Step 1 - Stand up GitLab instance in AWS
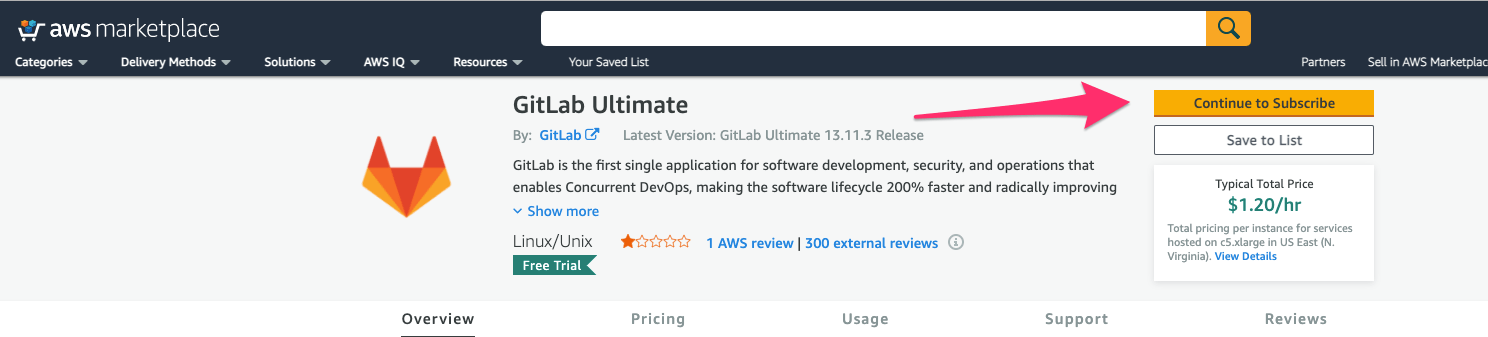
- Open GitLab Ultimate in AWS Marketplace.
- Click on Continue to Subscribe
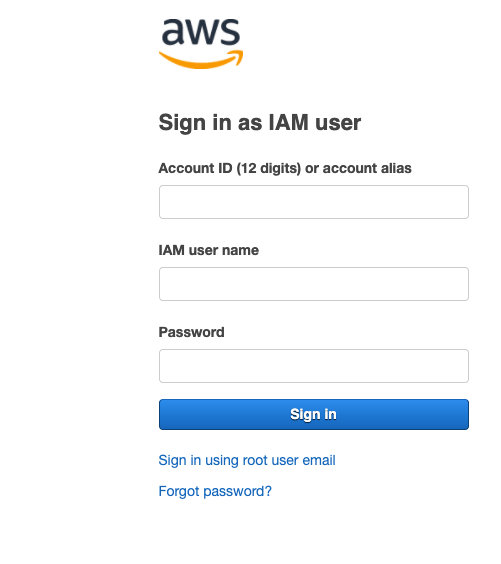
- Sign in with your IAM user.
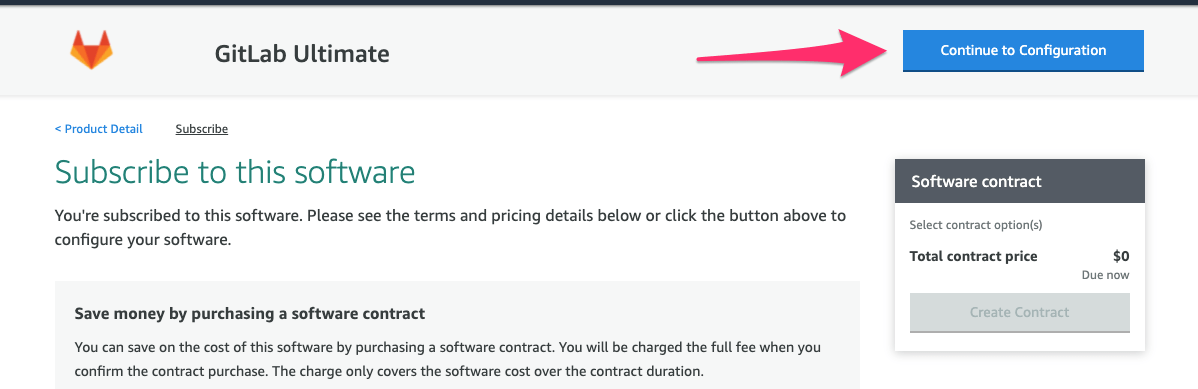
- Click on Continue to Configuration.
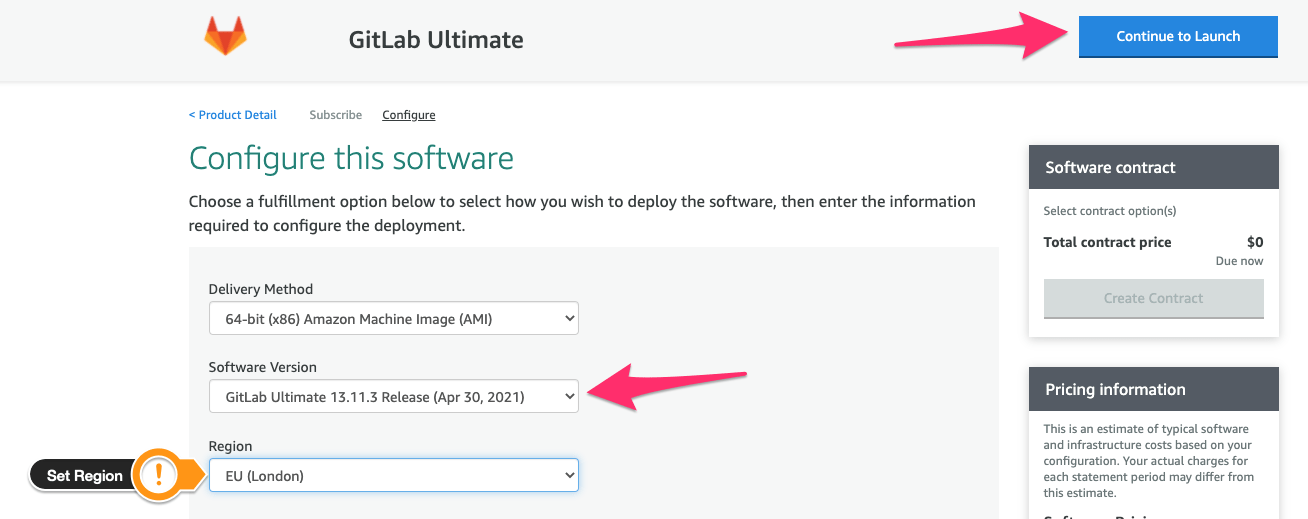
- Leave the default value for Delivery Method, select the latest version in Software Version, select your Region, click Continue to Launch.
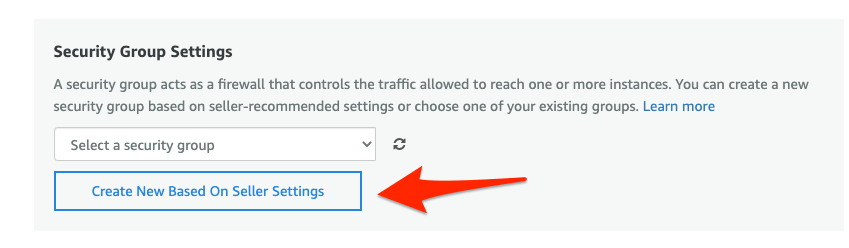
- In Launch this software page, scroll down.

- Under Security Group Settings click Create New Based On Seller Settings .
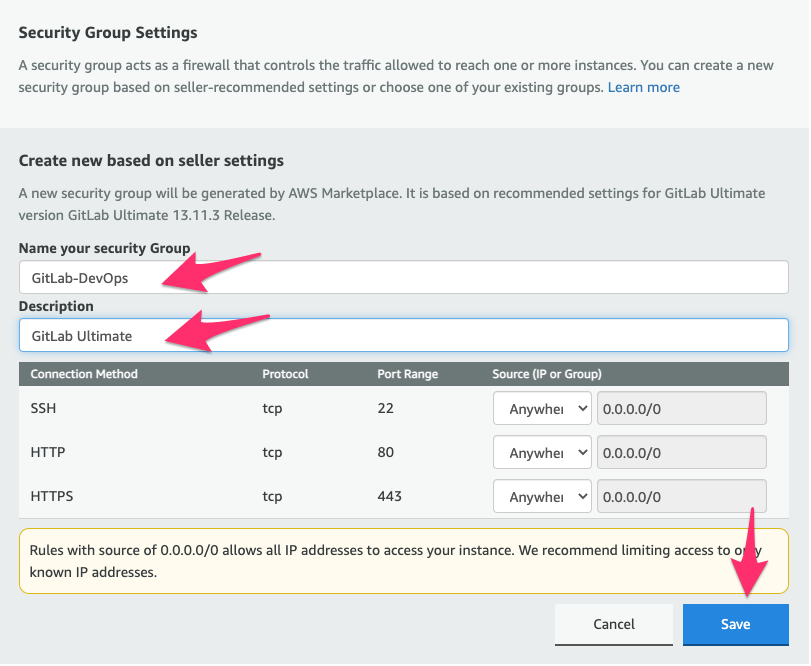
- Name your security group, add a description, and save it.
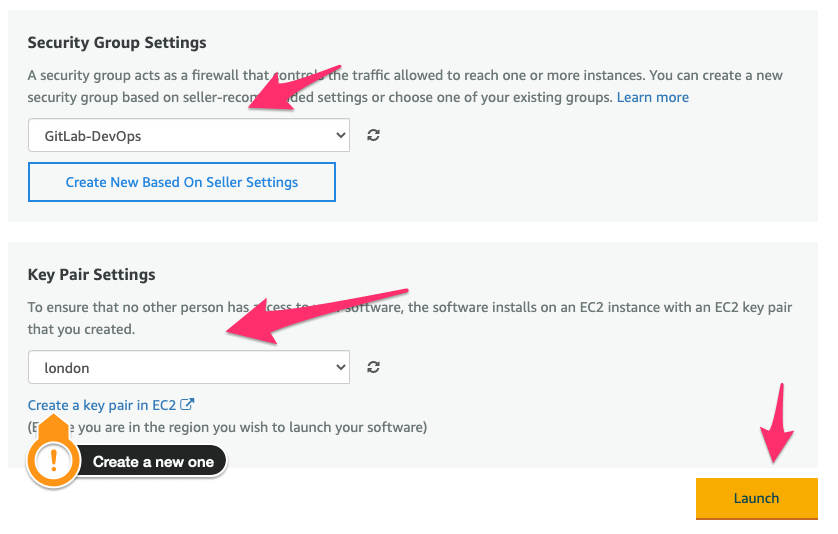
- Select Key Pair. If you don't have key pair, create one. Leave other fields in this page with default values. Click Launch.
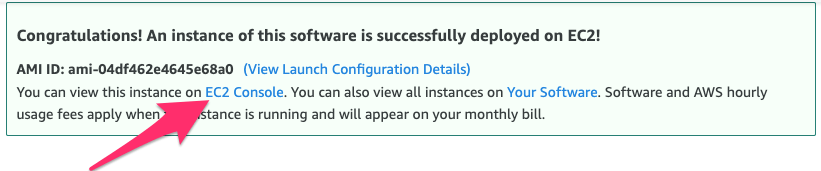
- You will get Congratulations message confirming you launched the machine successfully. In this message click on EC2 Console link.
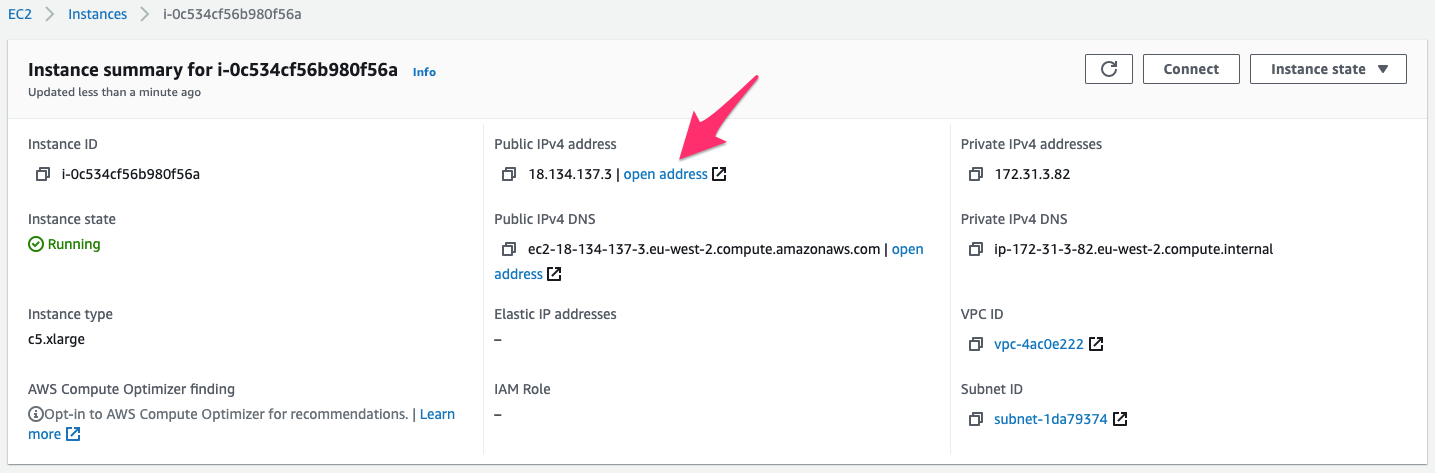
- Click on your instance ID link.

The provisioning takes a few minutes. Please wait before you start the next step.
- Click "Open address" in order to open GitLab UI.
Copy the private or public IP to your browser , depending on your VPC configuration.
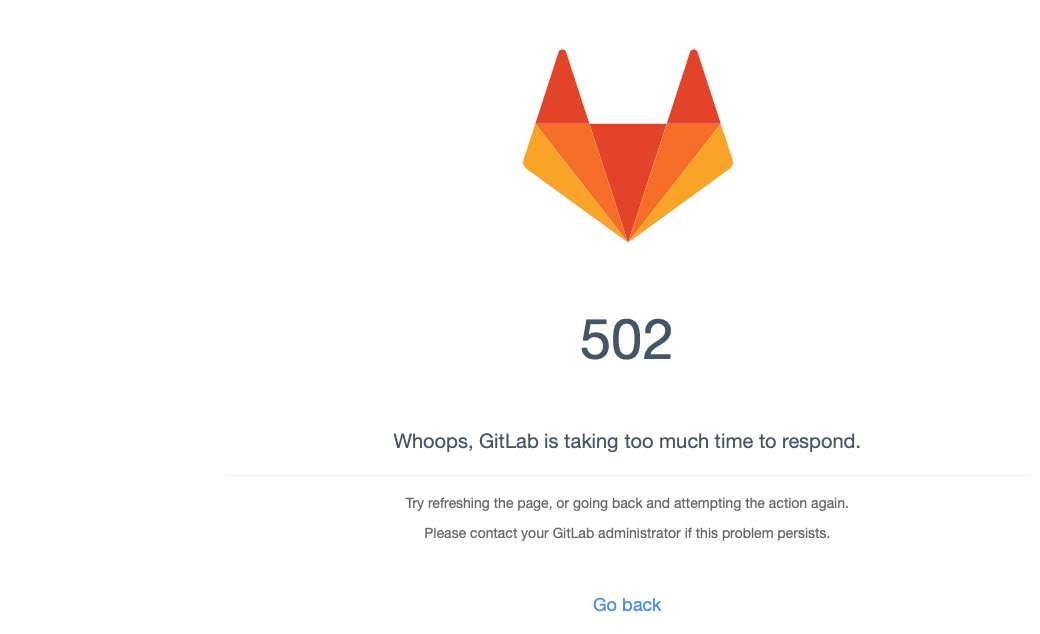
- It takes a few minutes to start the server, you may see this error, this is ok, wait 1 minute and refresh the page.
- You now should be able to access the GitLab login page; Username is root, password is your instance ID, click Sign in.
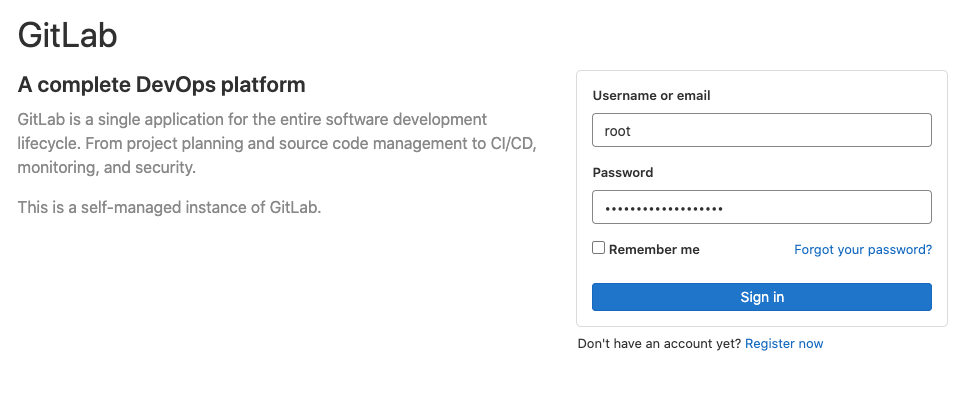
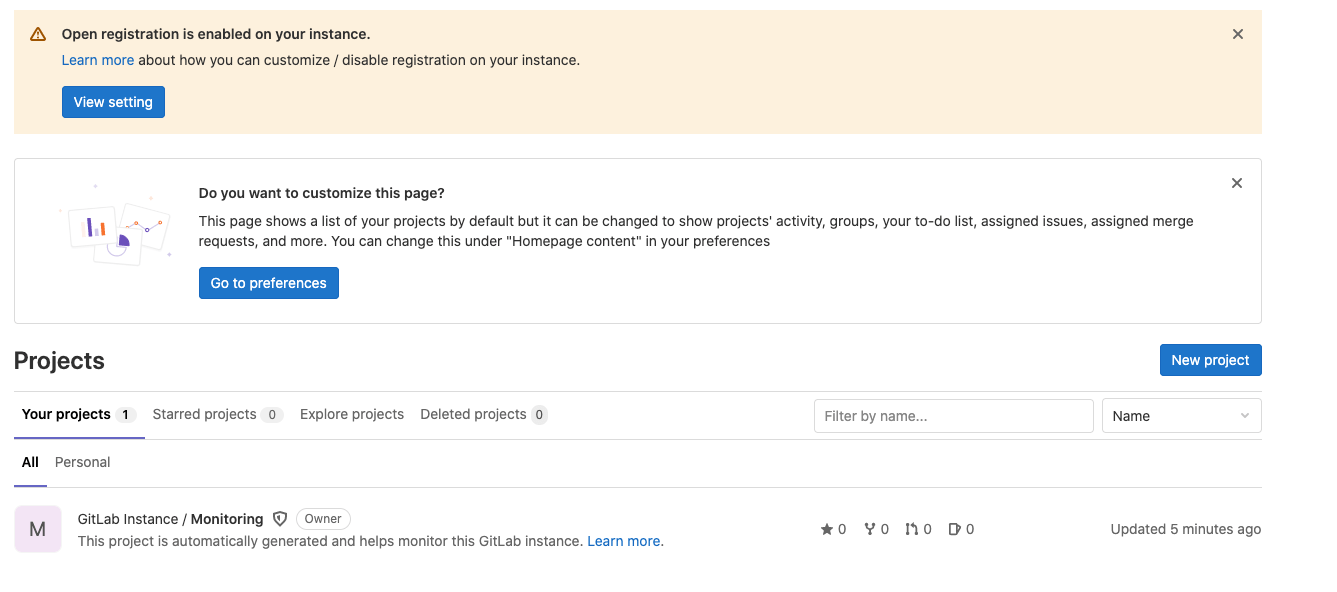
Congratulations! you managed to start a GitLab instance and sign in to it.
Step 2 - Install Runner and Docker Engine
Runner machines are the build agents that run the CI/CD jobs.
Requirements:
- Jobs run inside the Docker images, therefore the runner machine requires Docker engine on the runner machine.
Connect to the machine with the AWS console - Connect
In order to setup the Runners and Docker engine, we need to connect to the GitLab machine we are running. This can be done via SSH from any command line, or directly via the AWS Console, depending on how your VPC is set. In our example we will use the AWS console - Connect feature to SSH into the machines.
WARNING: It is not a recommended best practice to install Runners on the same machine where the server is installed for security and performance reasons, but only for the sake of simplicity, in this blog we will install it on the same machine.
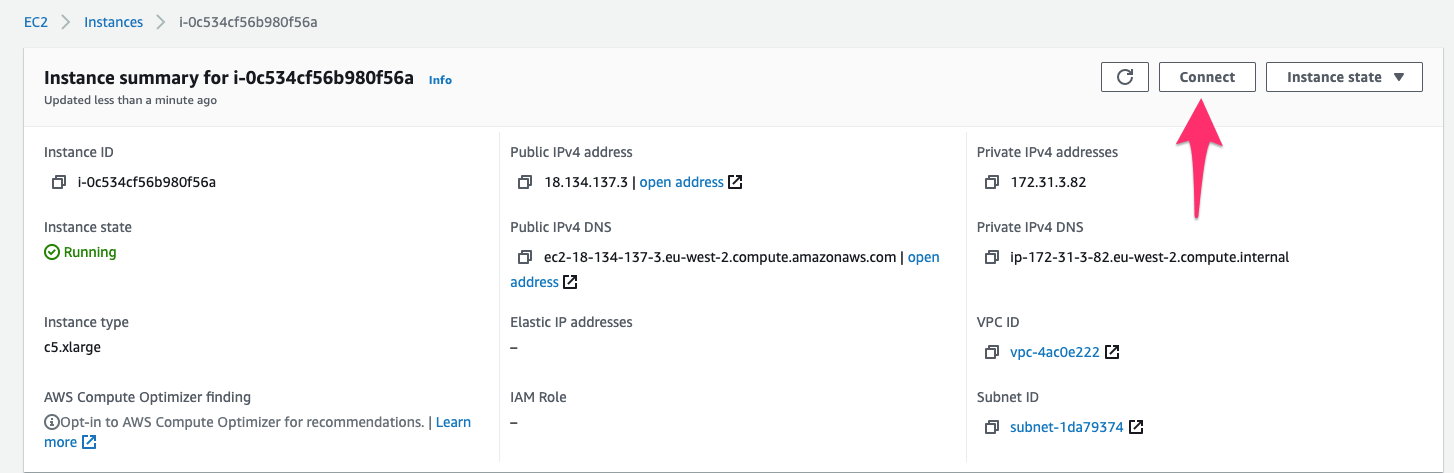
- Go to your Instance summary, and click Connect in order to open the console.
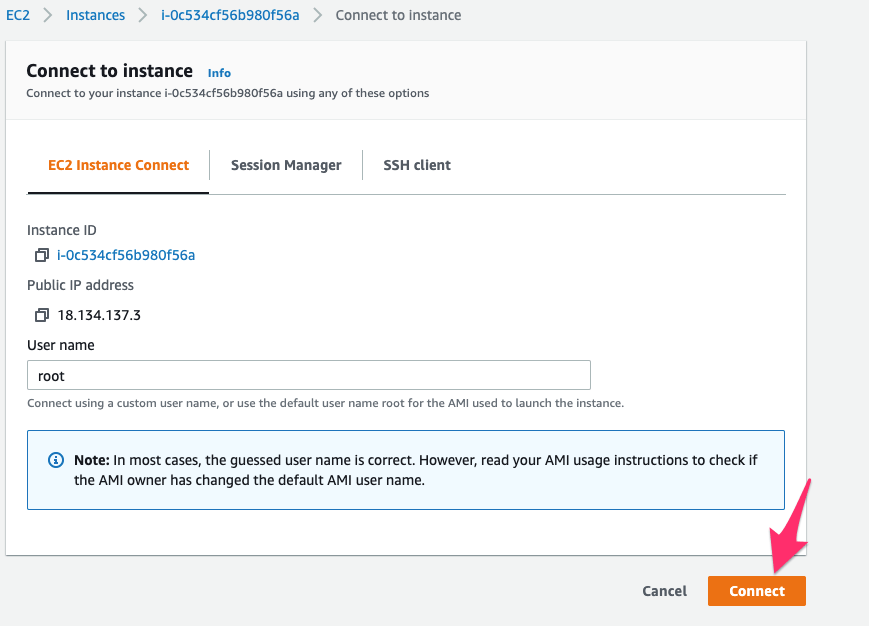
- Click Connect again.
Install Docker engine
- Install Container by running this command
curl -fsSL https://get.docker.com -o get-docker.sh sudo sh get-docker.sh
Setup Runners
- Download the binaries for Linux x86
sudo curl -L --output /usr/local/bin/gitlab-runner "https://gitlab-runner-downloads.s3.amazonaws.com/latest/binaries/gitlab-runner-linux-386" - Give it permissions to execute:
sudo chmod +x /usr/local/bin/gitlab-runner - Create a GitLab CI user:
sudo useradd --comment 'GitLab Runner' --create-home gitlab-runner --shell /bin/bash - Install and run as service:
sudo gitlab-runner install --user=gitlab-runner --working-directory=/home/gitlab-runner sudo gitlab-runner start
Register the Runner
-
Run this command:
sudo gitlab-runner register. -
You will be prompt to enter URL.
-
Open your GitLab instance, under CI/CD settings:
-
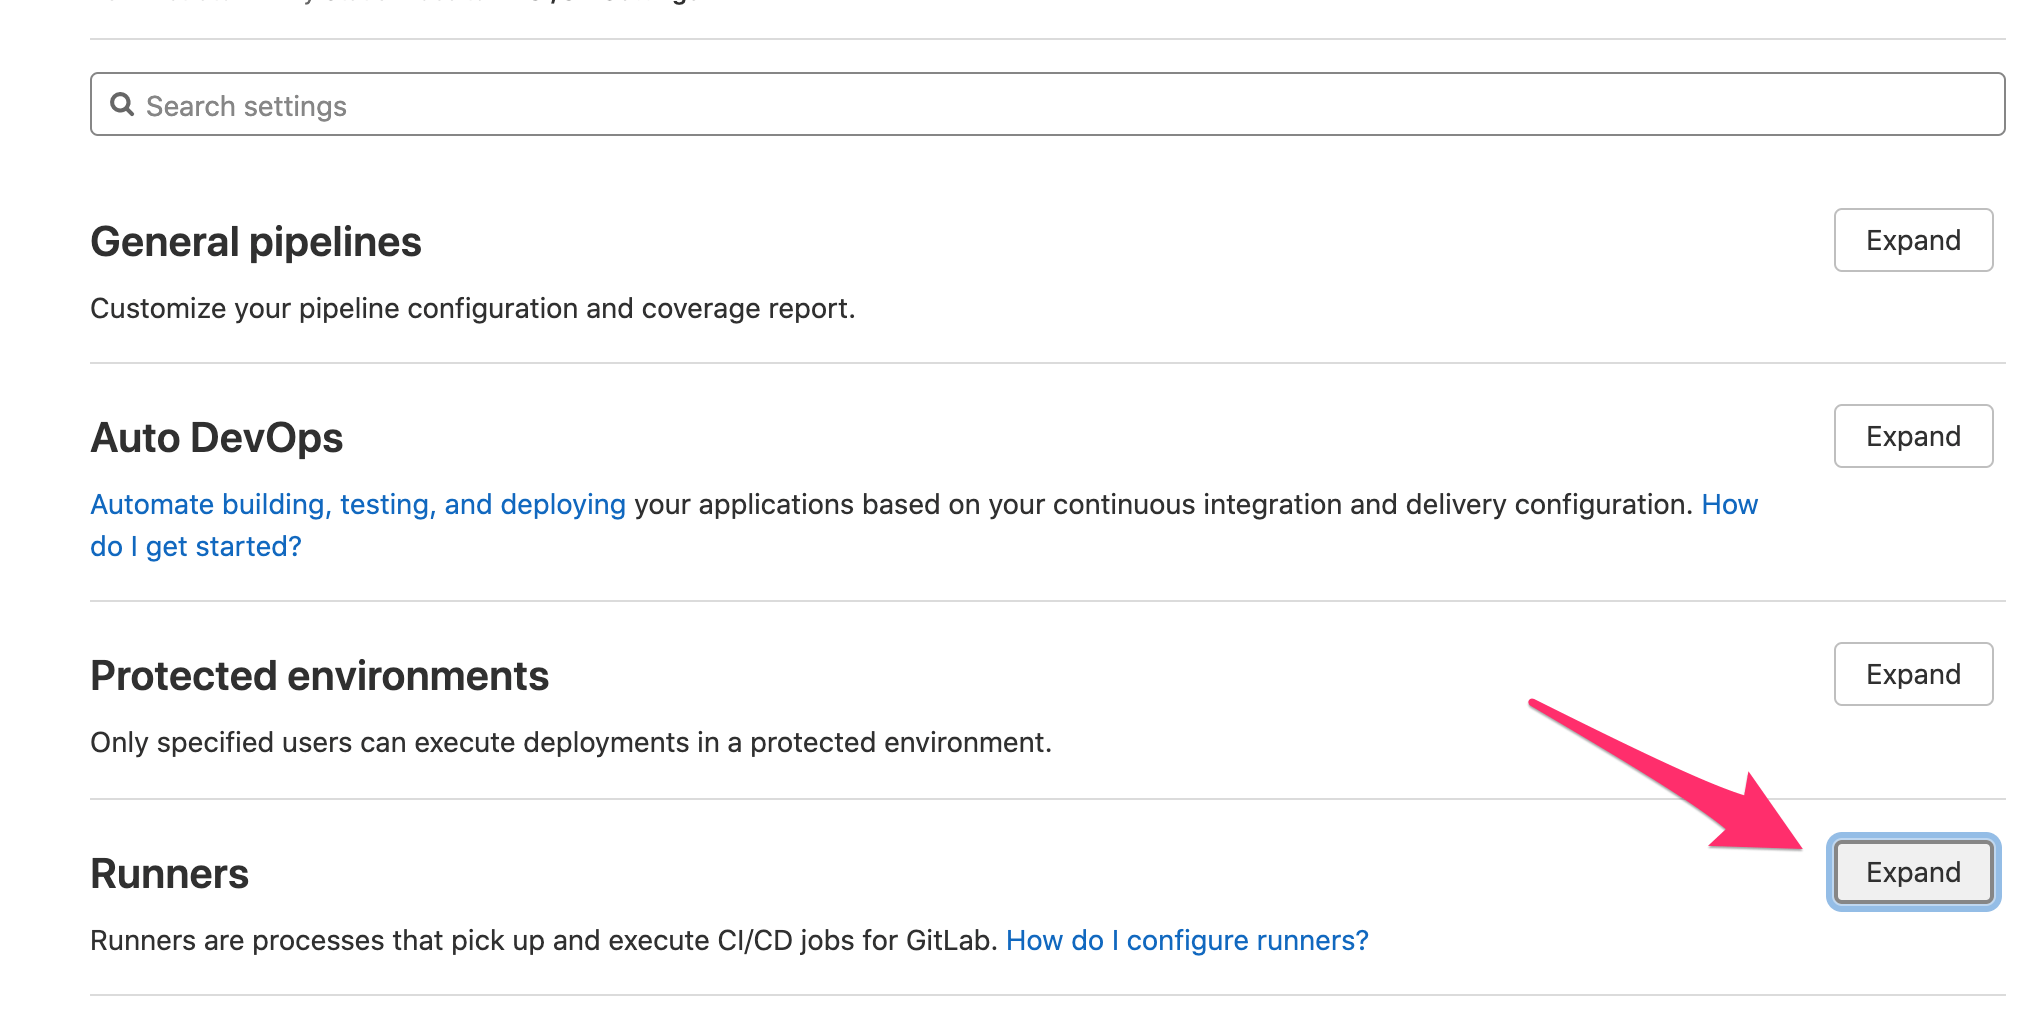
Click Settings, CI/CD.

-
Expand Runners.
-
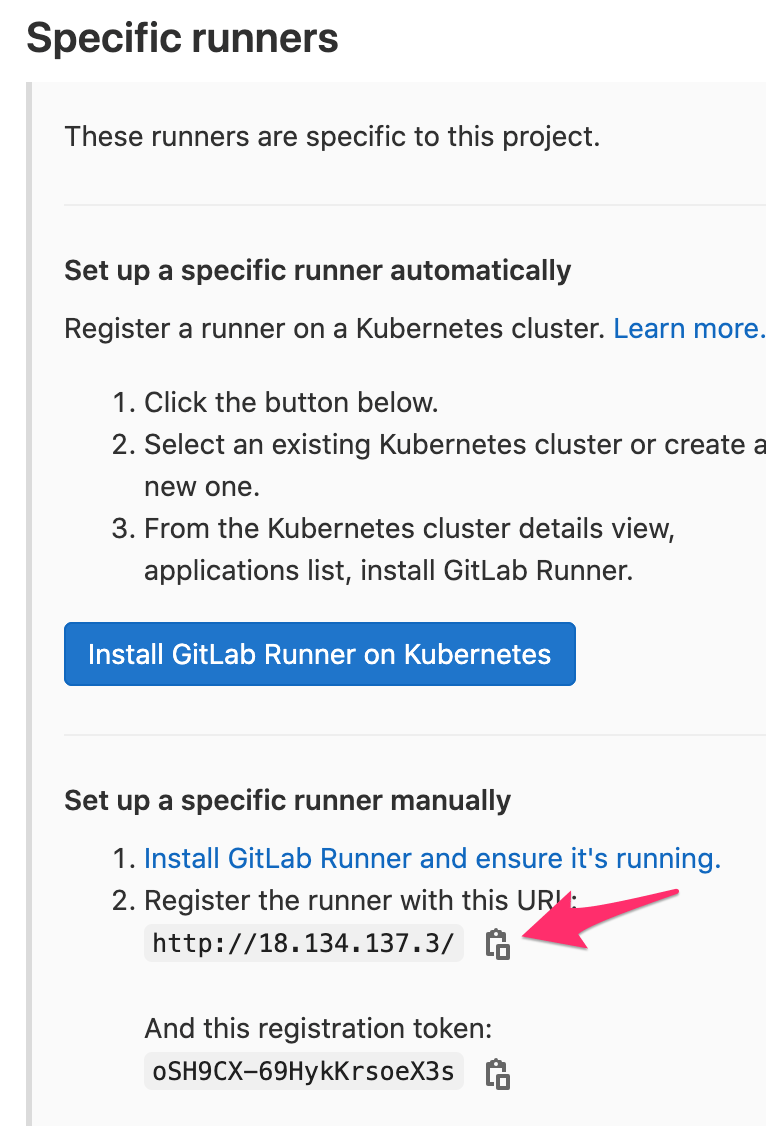
Copy the URL to the clipboard under specific runner.
-
-
Paste the URL in the console.
-
Enter.
-
You will be prompt to enter registration token, copy it from the Runner settings.
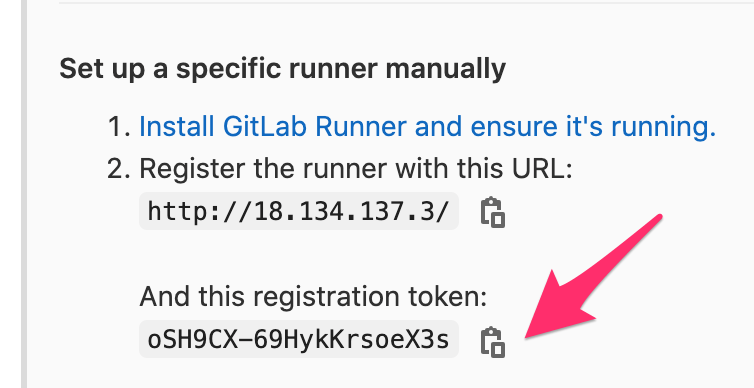
- Paste it in the console.
- Enter Description for the runner: type GitLab workshop.
- Add a tag to this runner, for example type Linux
- Enter executor, type docker.
- Enter the default Docker image, type ruby:2.6.
- You will get a message starting with Runner registered successfully. Feel free to start it...
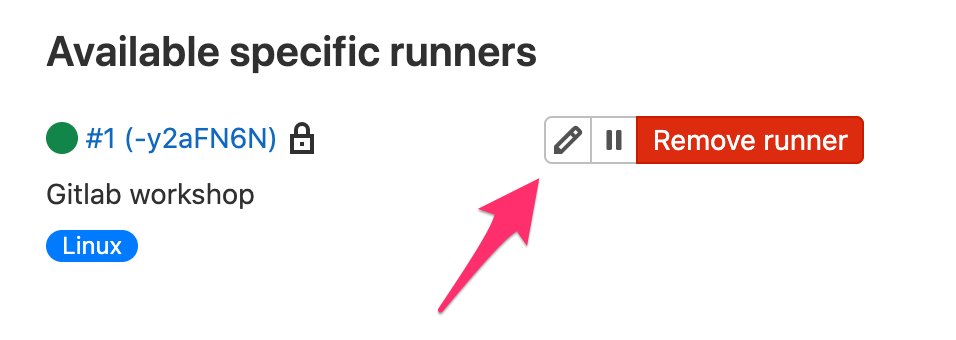
- Refresh the Runner settings page in GitLab and you will see your runner under Available specific runners.
- Click edit.
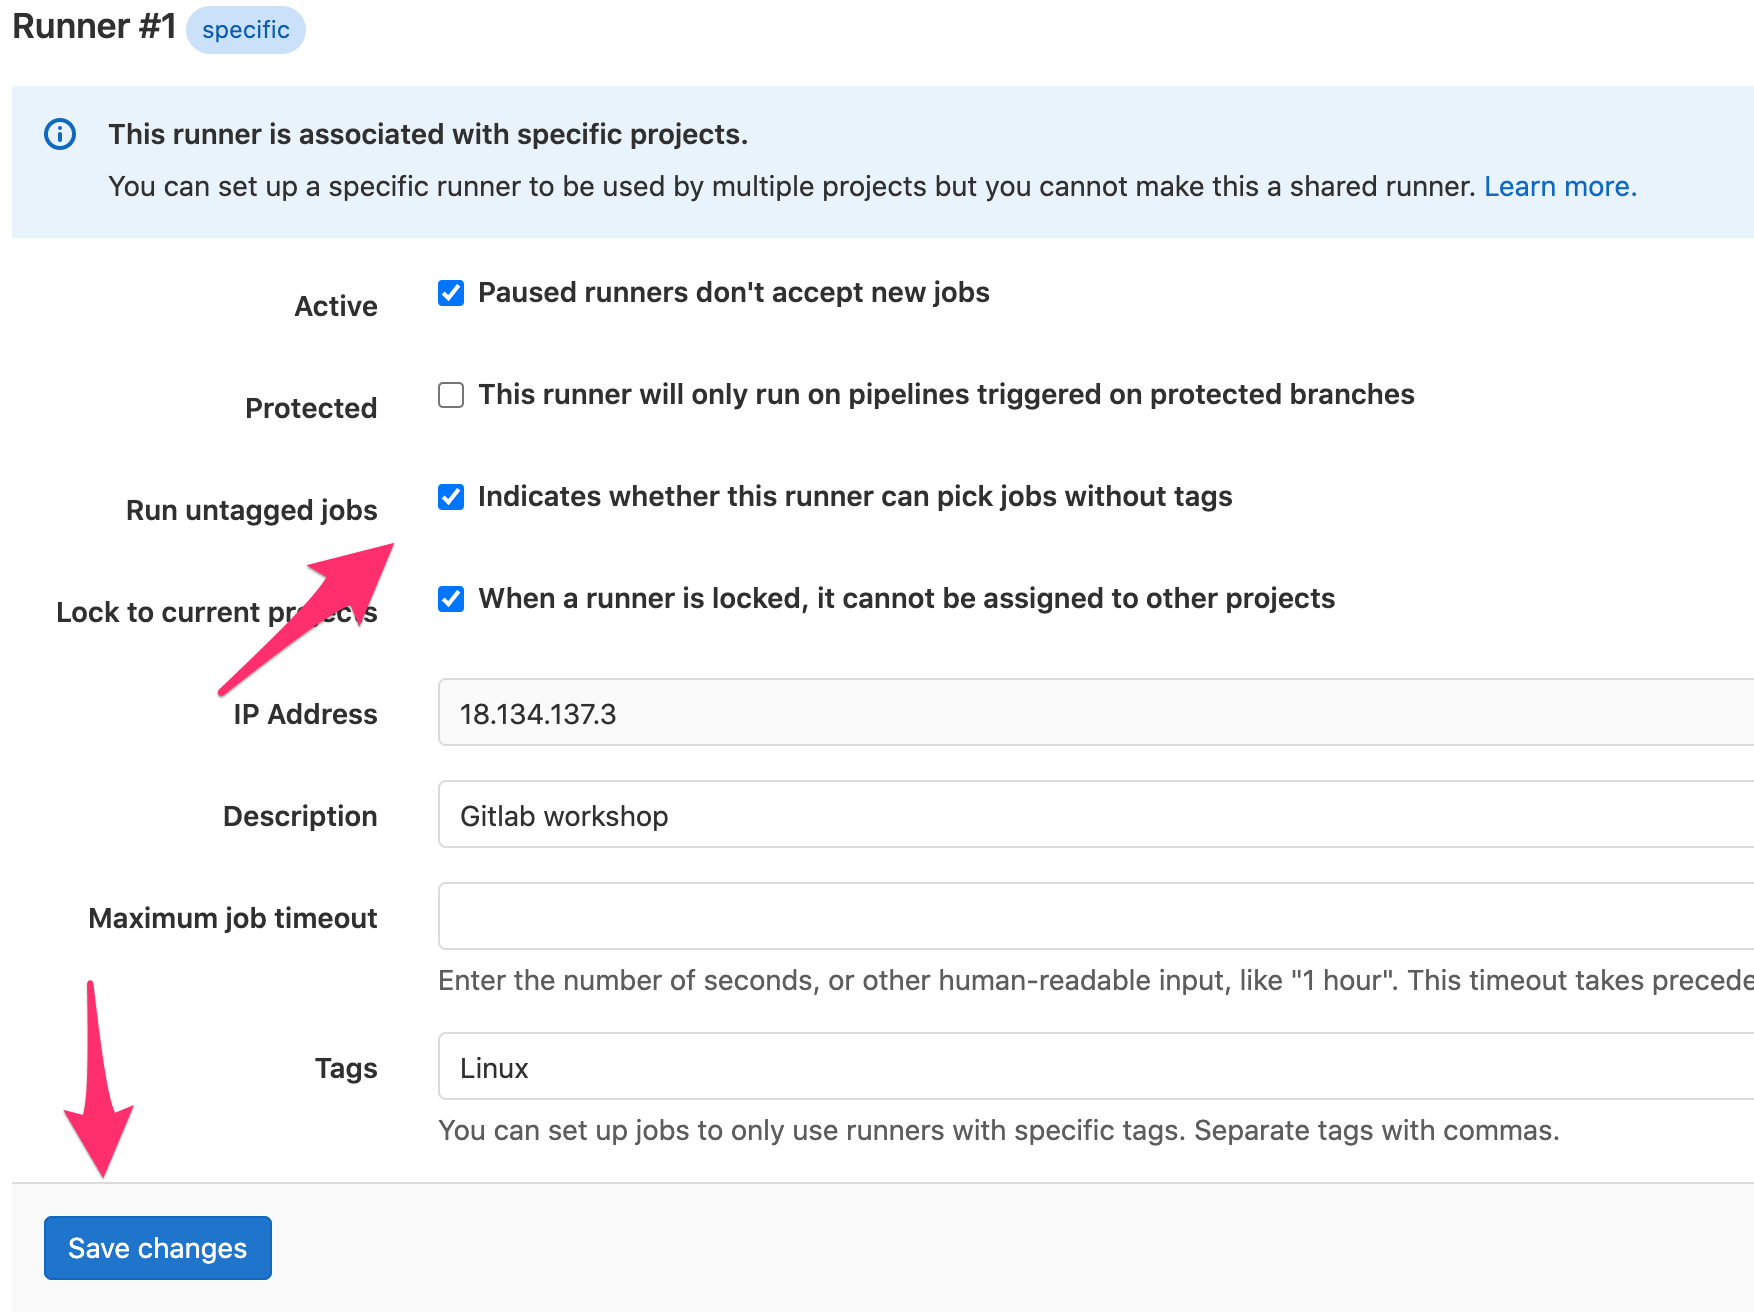
- Check the Indicates whether this runner can pick jobs without tags option, and click Save changes.
Well done!! You installed and registered successfully GitLab Runner. Now you are ready to create a project and run your first CI/CD pipeline.
In my next blog, I will show you how to create a project, configure the CI/CD, change your application code, and run a CI/CD pipeline.

