
GitLab's complete DevOps platform comes with built-in continuous integration (CI) and continuous delivery (CD) via GitLab CI/CD. GitLab CI/CD is a great solution to increase developer productivity and motivation to write higher-quality code without sacrificing speed. It runs a series of tests every time a commit is pushed, providing immediate visibility into the results of changes in the codebase. While it is not a hassle to set up a CI using Linux-based machines, iOS and macOS developers may find it is more complicated to have access to a Mac that is connected and available 24 hours a day.
GitLab Runners, provided on GitLab.com, are the engine that executes CI workflows. Due to various requirements, some users may opt to self-host runners on public cloud VMs. This is super easy if the build VM OS requirement is Linux-based since there are several low-cost public cloud Linux-based VM solutions. However, iOS and macOS developers may find fewer options for public cloud-delivered macOS based systems.
In this blog post tutorial, you will learn how to set up CI for iOS and macOS application development using a Scaleway Virtual Instance running the GitLab application and a GitLab Runner that runs on a Scaleway-hosted Mac mini M1. To complete this tutorial most successfully, we assume that you have some experience creating Xcode and GitLab projects, as well as some experiences using a Terminal and git.
Requirements
- You have an account and are logged into console.scaleway.com
- You have configured your SSH Key
- You have a Virtual Instance running the GitLab InstantApp
- Note: We assume you have already deployed a Virtual Instance running the GitLab InstantApp. If not, deploy GitLab before continuing with this tutorial.
Deploying the Mac mini M1
-
Log into your Scaleway console and click on Apple silicon in the Compute section of the sidebar.
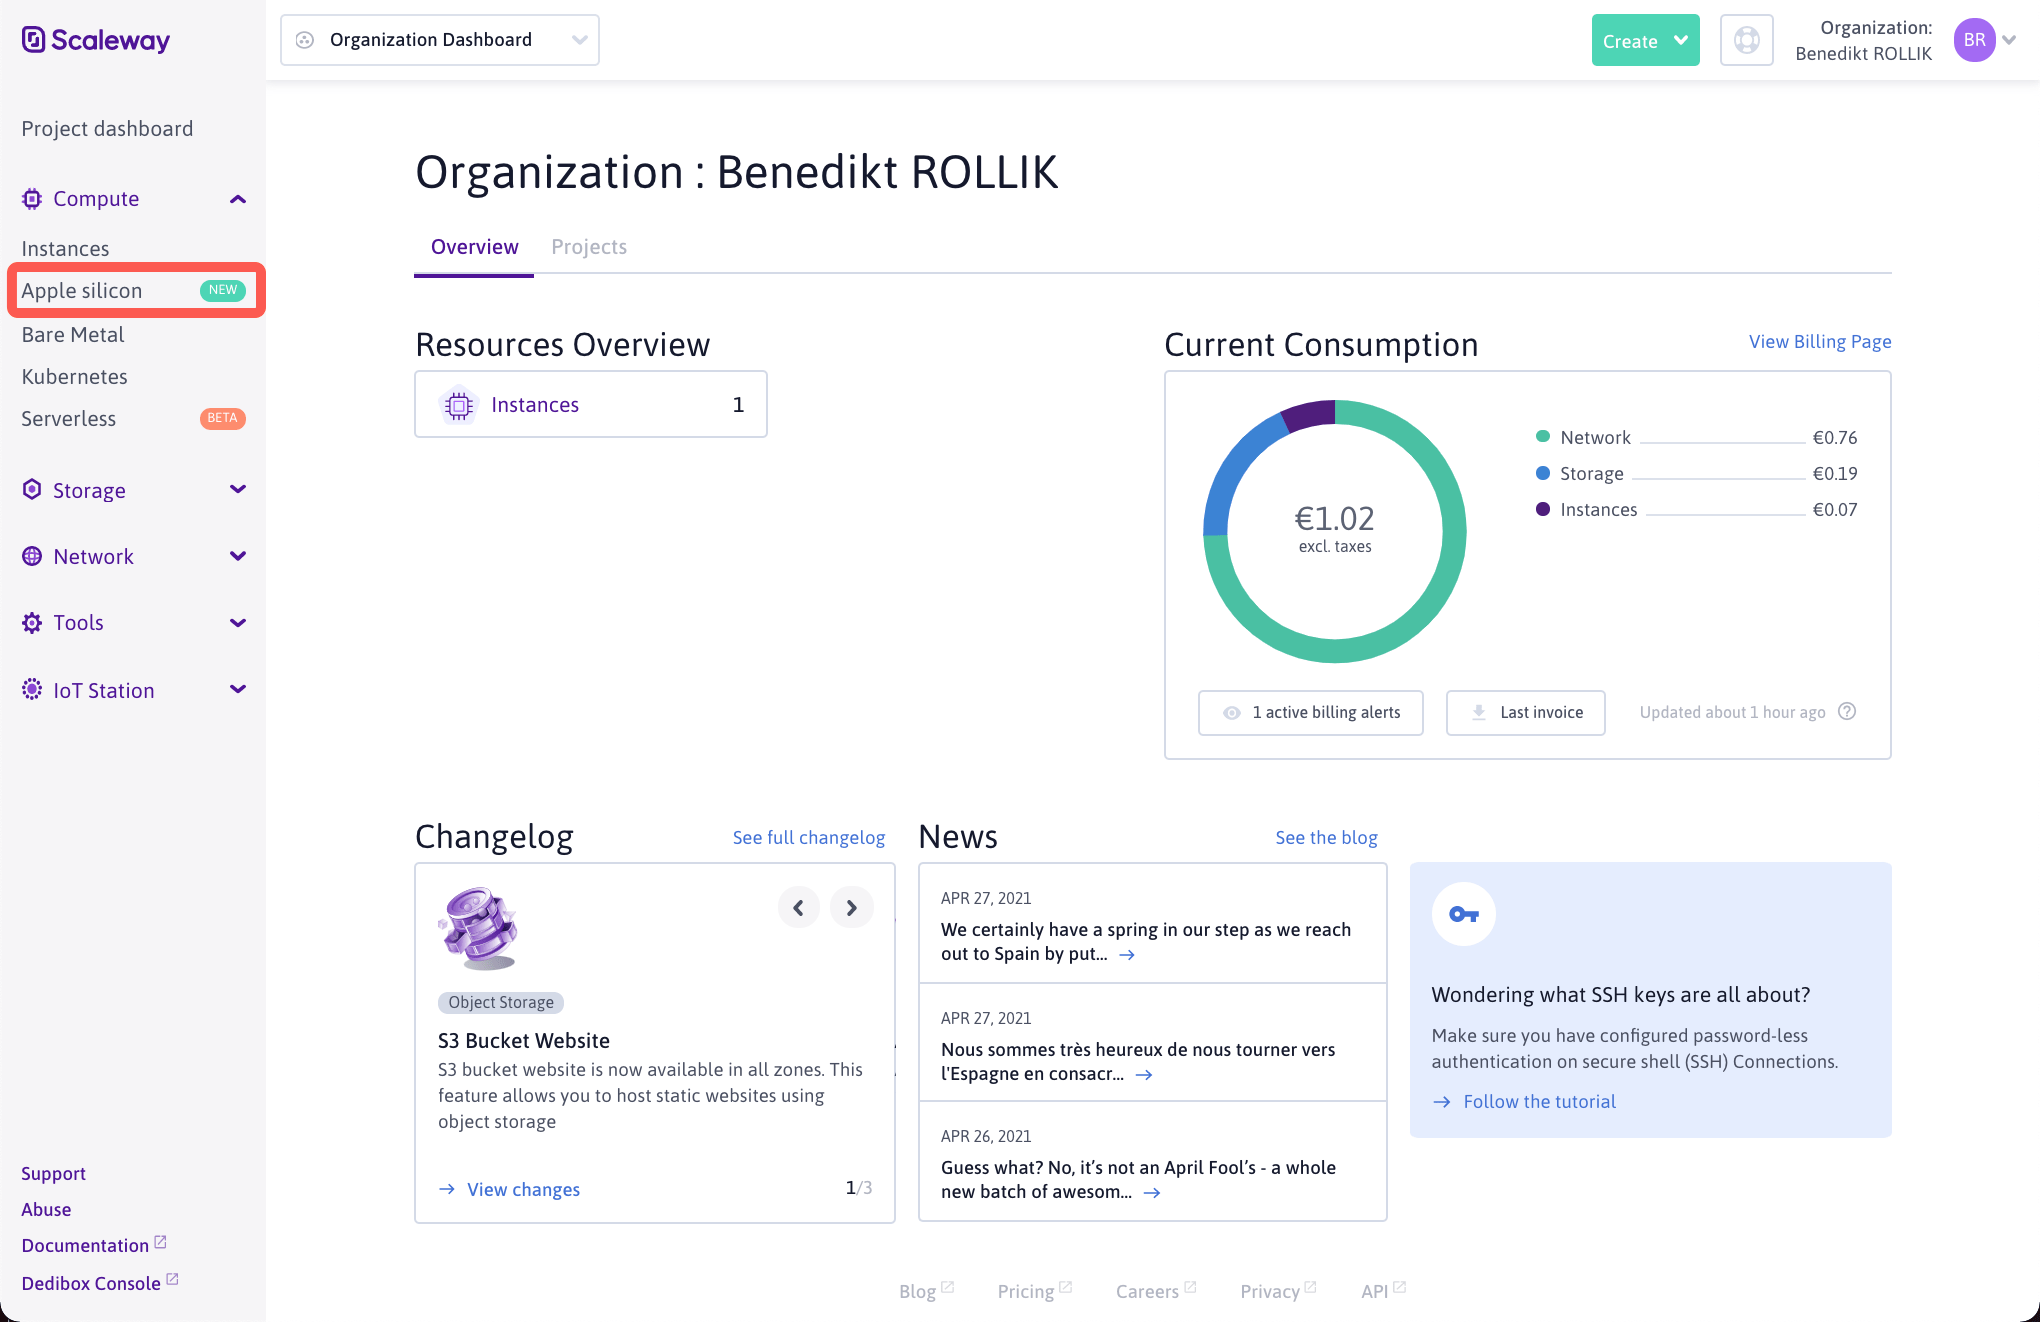 Click on the "Apple silicon" in the Scaleway console.
 -
The Apple silicon M1 as-a-Service splash screen displays. Click Create a Mac mini M1.
-
Enter the details for your Mac mini M1:
- Select the geographic region in which your Mac mini M1 will be deployed.
- Choose the macOS version you want to run on the Mac mini M1.
- Select the hardware configuration for your Mac mini M1.
- Enter a name for your Mac mini M1.
-
Click Create a Mac mini M1 to launch the installation of your Apple silicon M1 as-a-Service.
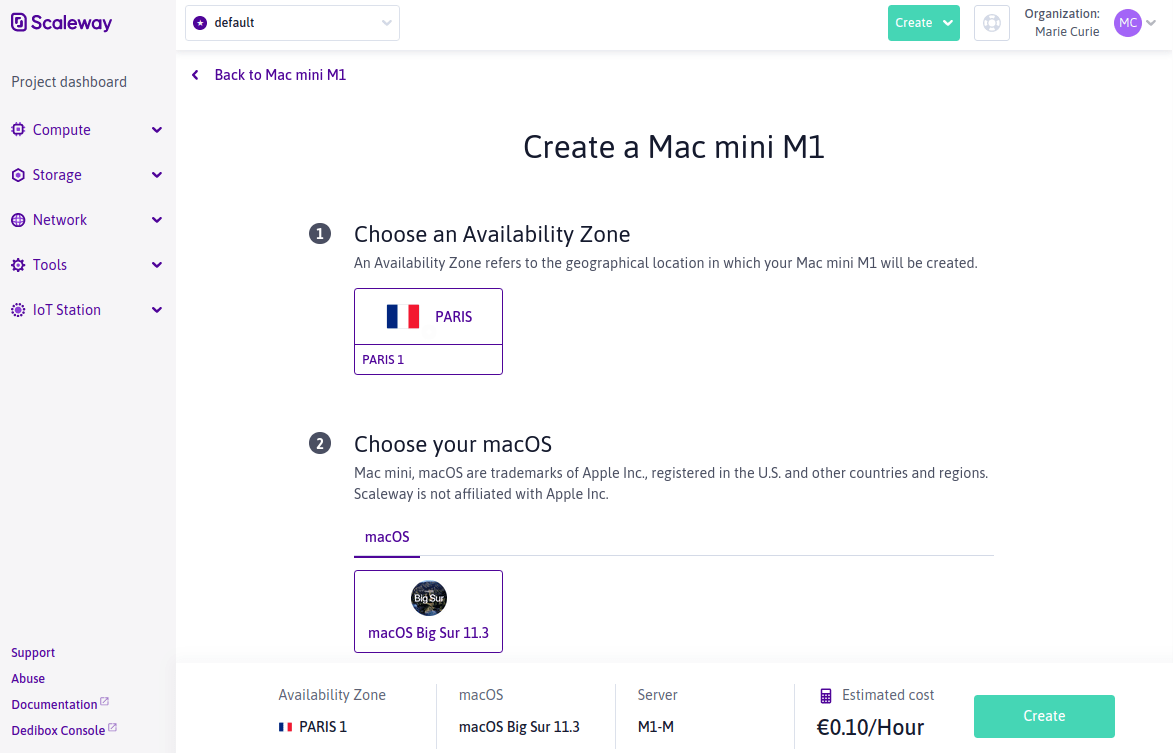 Click "Create a Mac mini M1" to launch.
 -
Once deployed click VNC from the Mac mini M1 Overview page to launch the remote desktop client:

-
Launch the App Store and install the Xcode development environment on your Mac mini M1:
Setting-up the Homebrew package manager
Homebrew is a package manager for macOS. It can be used to manage the software installed on your Mac. We use it to install gitlab-runner on your Mac mini M1.
-
Click on the Terminal icon to open a new Terminal:

-
Copy-paste the following code in the terminal application and press Enter to install Homebrew and the Xcode command line tools:
/bin/bash -c "$(curl -fsSL https://raw.githubusercontent.com/Homebrew/install/HEAD/install.sh)"
Leave the terminal window open since it is required for the next step.
Installing the GitLab Runner
The GitLab Runner is an application installed on a different computer than your GitLab host and runs jobs in a pipeline. It executes the build task on your Mac mini M1 for the code you push to your GitLab instance.
-
Make sure you are still in the Terminal application. If you closed it after installing Homebrew, open a new one.
-
Run the following command to install
gitlab-runner:brew install gitlab-runner
Configuring the Runner in GitLab
Note: You require a Virtual Instance running the GitLab InstantApp for the following steps.
-
GitLab Runner requires a registration token for the link between your GitLab Instance and the Runner. Open the GitLab web interface of your Virtual Instance and log into it.
-
Select the project you want to use in GitLab with the Runner. If you don't have a project yet, click + > Create Project and fill in the required information about the project.
-
On the projects overview page, click Settings > CI/CD to view the Continuous Integration settings.
-
On the Continuous Integration settings page, click Expand in the Runner section to view the required information to link GitLab with your Runner:

-
Scroll down to retrieve the GitLab Instance URL and the registration token:

-
Run the following command in the Terminal application on your Mac to launch the configuration wizard for your GitLab Runner:
gitlab-runner registerEnter the required information as follows:
Runtime platform arch=arm64 os=darwin pid=810 revision=2ebc4dc4 version=13.9.0 WARNING: Running in user-mode. WARNING: Use sudo for system-mode: WARNING: $ sudo gitlab-runner... Enter the GitLab instance URL (for example, https://gitlab.com/): http://163.172.141.212/ <- Enter the URL of your GitLab instance Enter the registration token: 1mWBwzWAZSL7-pR18K3Y <- Enter the registration token for your Runner Enter a description for the runner: [306a20a2-2e01-4f2e-bc76-a004d35d9962]: Mac mini M1 <- Enter a description for your Runner Enter tags for the runner (comma-separated): Mac, mini, M1, dev, xcode <- Optionally, enter tags for the runner Registering runner... succeeded runner=1mWBwzWA Enter an executor: shell, virtualbox, docker+machine, custom, docker, docker-ssh, kubernetes, parallels, ssh, docker-ssh+machine: shell <- Enter the "shell" executor for the runner Runner registered successfully. Feel free to start it, but if it's running already the config should be automatically reloaded! -
Reload the CI/CD configuration page of your GitLab instance. The runner is now linked to your project and displays as available:

Note: If you have several projects in a GitLab group, you can configure the Runner at the group-level. Runners available at the group-level are available for all projects within said group.
Configuring CI for your project
GitLab stores the configuration of the CI in a file called .gitlab-ci.yml. This file should be in the folder you created for your project. Typically this is the same directory where your Xcode project file (ProjectName.xcodeproj) is located. The GitLab CI configuration file is written in YAML.
Inside the configuration file you can specify information like:
- The scripts you want to run.
- Other configuration files and templates you want to include.
- Dependencies and caches.
- The commands you want to run in sequence and those you want to run in parallel.
- The location to deploy your application to.
- Whether you want to run the scripts automatically or trigger any of them manually.
-
Open a text editor on your local computer and create the
.gitlab-ci.ymlfile as in the following example.stages: - build - test build-code-job: stage: build script: - echo "Check the ruby version, then build some Ruby project files:" - ruby -v - rake test-code-job1: stage: test script: - echo "If the files are built successfully, test some files with one command:" - rake test1 -
Save the file and make a new commit to add it to your repository.
-
Push the commit to GitLab. The CI will automatically launch the tasks on your Runner.
For more information on the GitLab CI configuration file, refer to the official documentation.
Speed up development with Scaleway and GitLab
Having a dedicated Mac available for executing your CI jobs can reduce your development team's cycle time. In this tutorial, we covered configuring a dedicated Mac mini M1 to host a GitLab Runner. If you want to learn more about the Mac mini M1 as-a-Service, refer to our product documentation. We invite the GitLab community to start building on Scaleway today with a €10 voucher to use on dozens of products & services. Find out more here.
Mac mini, macOS are trademarks of Apple Inc., registered in the U.S. and other countries and regions. IOS is a trademark or registered trademark of Cisco in the U.S. and other countries and is used by Apple under license. Scaleway is not affiliated with Apple Inc.

