How to Install SpiderFoot Security Scanner on Ubuntu 20.04
Spiderfoot is a free and open-source vulnerability testing tool that helps you to reduce attacks by hackers. It is used to analyze vulnerabilities and malicious functions on Linux servers. It is a cross-platform software tool that supports Linux and Windows machines and can be collaborated with GitHub. It is written in Python and uses SQLite as a database backend. It provides a web-based interface to perform penetration testing for more than one target simultaneously through a web browser.
In this tutorial, we will show you how to install Spiderfoot on Ubuntu 20.04 server.
Prerequisites
- A server running Ubuntu 20.04.
- A root password is configured the server.
Getting Started
Before starting, it is recommended to update your package cache with the latest version. You can update it with the following command:
apt-get update -y
Once all the package is up-to-date, install other required packages with the following command:
apt-get install python3 python3-pip -y
Once all the packages are installed, you can proceed to the next step.
Install Spiderfoot
First, you will need to download the latest version of Spiderfoot from the Git repository. You can download it with the following command:
wget https://github.com/smicallef/spiderfoot/archive/v3.3.tar.gz
Once the download is completed, extract the downloaded file with the following command:
tar -xvzf v3.3.tar.gz
Next, change the directory to the extracted directory and install all Python dependencies using the following command:
cd spiderfoot-3.3
pip3 install -r requirements.txt
Once installed, you can list all options available with SpiderFoot using the following command:
python3 sf.py --help
You should get the following output:
usage: sf.py [-h] [-d] [-l IP:port] [-m mod1,mod2,...] [-M] [-s TARGET] [-t type1,type2,...] [-T] [-o tab|csv|json] [-H] [-n] [-r]
             [-S LENGTH] [-D DELIMITER] [-f] [-F type1,type2,...] [-x] [-q]

SpiderFoot 3.3: Open Source Intelligence Automation.

optional arguments:
  -h, --help          show this help message and exit
  -d, --debug         Enable debug output.
  -l IP:port          IP and port to listen on.
  -m mod1,mod2,...    Modules to enable.
  -M, --modules       List available modules.
  -s TARGET           Target for the scan.
  -t type1,type2,...  Event types to collect (modules selected automatically).
  -T, --types         List available event types.
  -o tab|csv|json     Output format. Tab is default. If using json, -q is enforced.
  -H                  Don't print field headers, just data.
  -n                  Strip newlines from data.
  -r                  Include the source data field in tab/csv output.
  -S LENGTH           Maximum data length to display. By default, all data is shown.
  -D DELIMITER        Delimiter to use for CSV output. Default is ,.
  -f                  Filter out other event types that weren't requested with -t.
  -F type1,type2,...  Show only a set of event types, comma-separated.
  -x                  STRICT MODE. Will only enable modules that can directly consume your target, and if -t was specified only those events
                      will be consumed by modules. This overrides -t and -m options.
  -q                  Disable logging. This will also hide errors!
Run SpiderFoot in Web UI mode
At this point, SpiderFoot is installed on your server. Now, you will need to start SpiderFoot on web UI mode to access it through a web browser.
You can run it with the following command:
python3 sf.py -l your-server-ip:5001
You should get the following output:
2021-03-01 11:16:53,927 [INFO] Starting web server at 45.58.43.9:5001 ...
2021-03-01 11:16:53,937 [WARNING]
********************************************************************
Warning: passwd file contains no passwords. Authentication disabled.
Please consider adding authentication to protect this instance!
Refer to https://www.spiderfoot.net/documentation/#security.
********************************************************************


*************************************************************
 Use SpiderFoot by starting your web browser of choice and
 browse to http://45.58.43.9:5001/
*************************************************************

2021-03-01 11:16:53,996 [INFO] [01/Mar/2021:11:16:53] ENGINE Listening for SIGTERM.
2021-03-01 11:16:53,996 [INFO] [01/Mar/2021:11:16:53] ENGINE Listening for SIGHUP.
2021-03-01 11:16:53,996 [INFO] [01/Mar/2021:11:16:53] ENGINE Listening for SIGUSR1.
2021-03-01 11:16:53,996 [INFO] [01/Mar/2021:11:16:53] ENGINE Bus STARTING
2021-03-01 11:16:54,099 [INFO] [01/Mar/2021:11:16:54] ENGINE Serving on http://45.58.43.9:5001
2021-03-01 11:16:54,100 [INFO] [01/Mar/2021:11:16:54] ENGINE Bus STARTED
As you can see, SpiderFoot is started and listens on port 5001. Press CTRL+C to stop the SpiderFoot.
Configure SpiderFoot Authentication
By default, SpiderFoot can be accessed without any authentication. So it is recommended to enable the basic authentication.
To do so, change the directory to SpiderFoot with the following command:
cd spiderfoot-3.3
Next, add your username and password in passwd file with the following command:
echo "admin:yourpassword" > passwd
Now, start the SpiderFoot again with web UI mode with the following command:
python3 sf.py -l your-server-ip:5001
You should get the following output:
2021-03-01 11:17:56,108 [INFO] Starting web server at 45.58.43.9:5001 ...
2021-03-01 11:17:56,118 [INFO] Enabling authentication based on supplied passwd file.

*************************************************************
 Use SpiderFoot by starting your web browser of choice and
 browse to http://45.58.43.9:5001/
*************************************************************

2021-03-01 11:17:56,138 [INFO] [01/Mar/2021:11:17:56] ENGINE Listening for SIGTERM.
2021-03-01 11:17:56,138 [INFO] [01/Mar/2021:11:17:56] ENGINE Listening for SIGHUP.
2021-03-01 11:17:56,138 [INFO] [01/Mar/2021:11:17:56] ENGINE Listening for SIGUSR1.
2021-03-01 11:17:56,138 [INFO] [01/Mar/2021:11:17:56] ENGINE Bus STARTING
2021-03-01 11:17:56,240 [INFO] [01/Mar/2021:11:17:56] ENGINE Serving on http://45.58.43.9:5001
2021-03-01 11:17:56,241 [INFO] [01/Mar/2021:11:17:56] ENGINE Bus STARTED
Access SpiderFoot
Now, open your web browser and access the SpiderFoot web interface using the URL http://your-server-ip:5001. You will be redirected to the SpiderFoot login page:
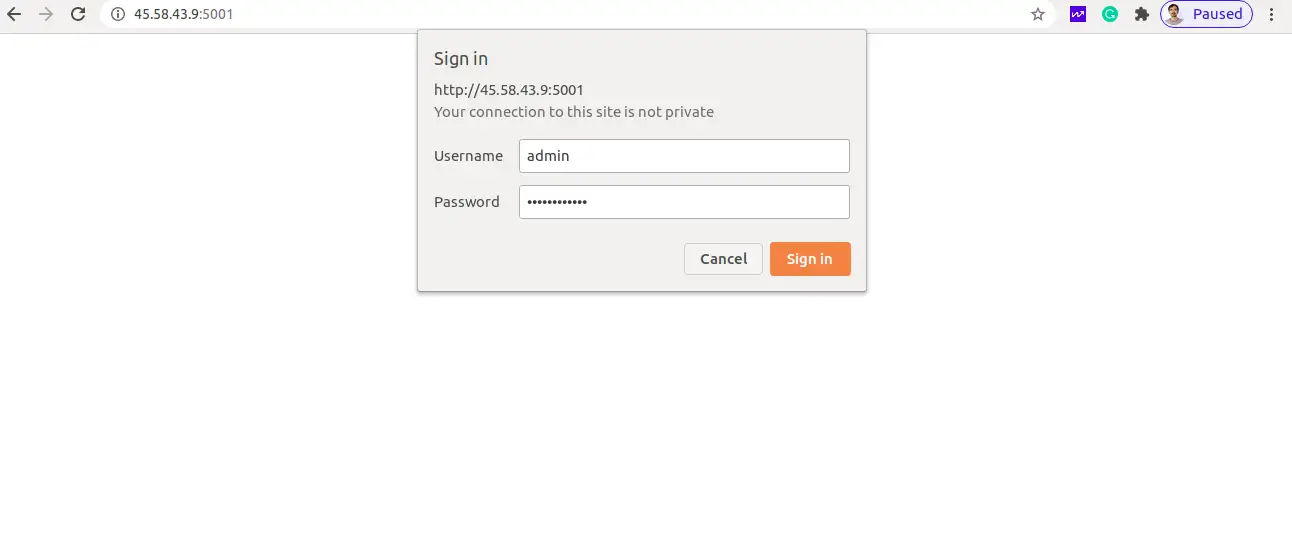
Provide your admin username, password and click on the Sign In button. Once login, you should see the SpiderFoot dashboard in the following page:
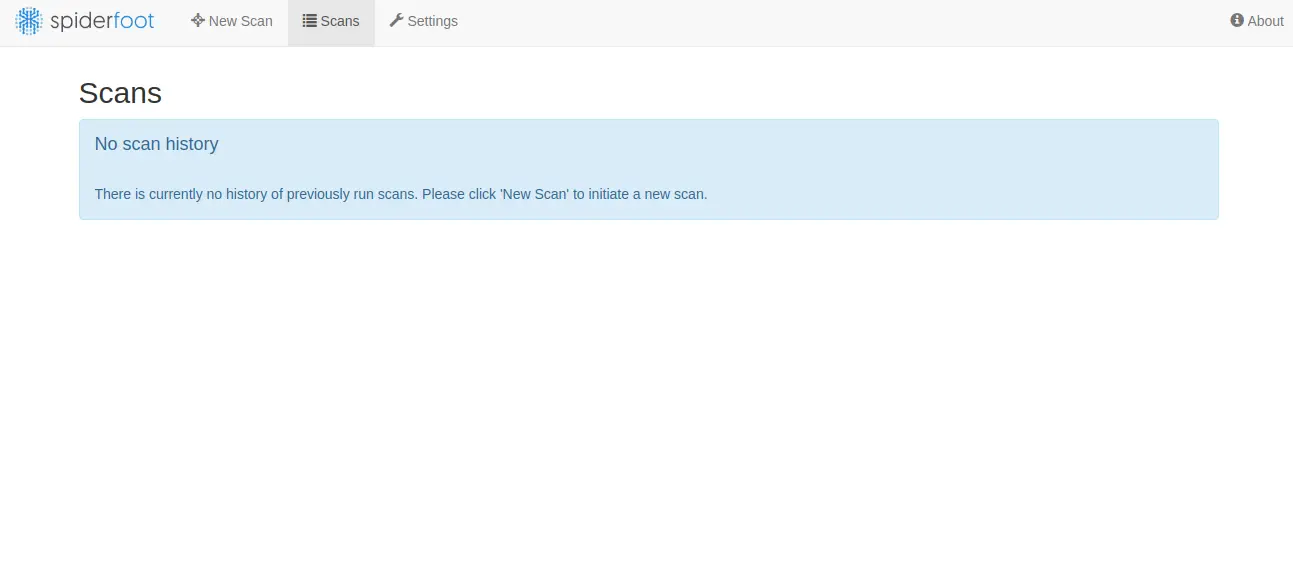
Now, click on the New Scan button to create a new scan. You should see the following page:
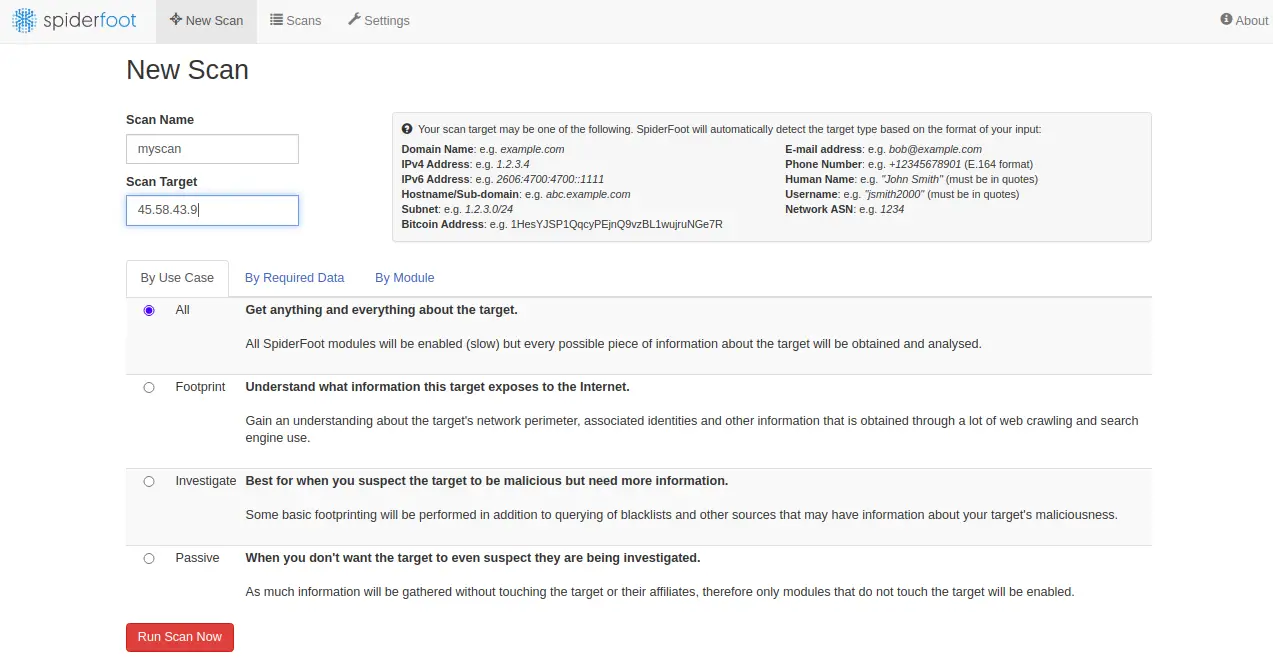
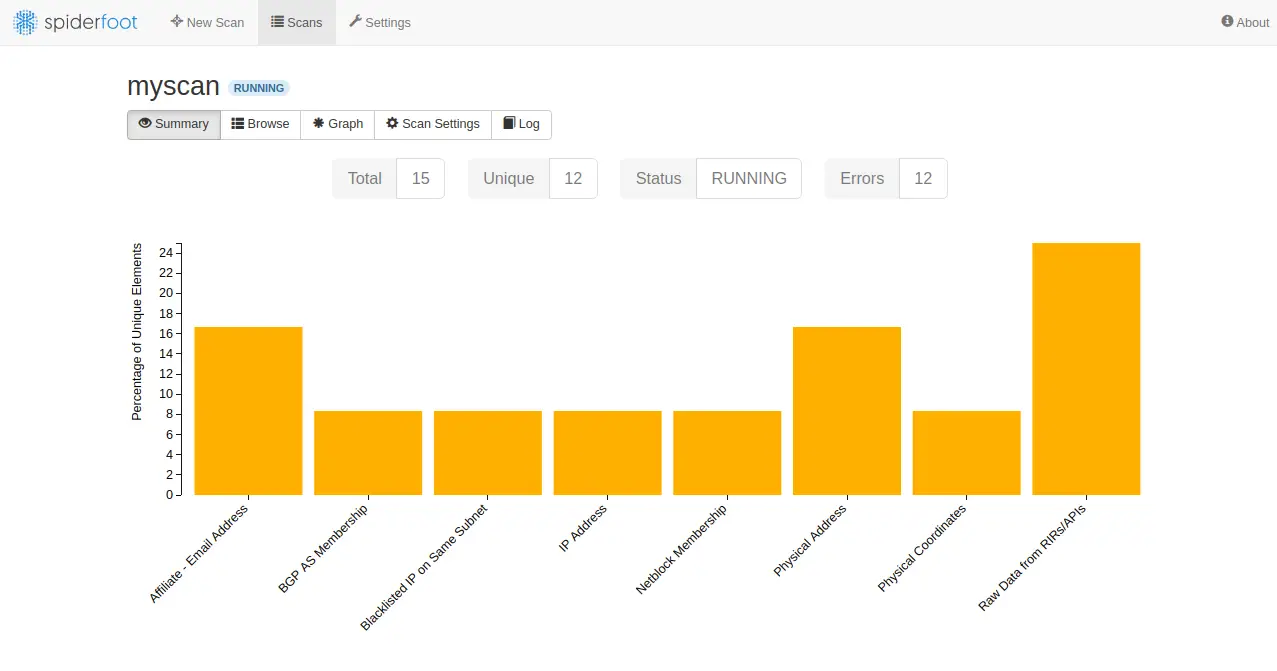
Provide your target server IP and click on the Run Scan Now. You should see the following page:
Conclusion
You have successfully installed SpiderFoot on Ubuntu 20.04 server. You can now scan the remote computer for any vulnerability through the SpiderFoot dashboard. Feel free to ask me if you have any questions.

