Install and Use NoMachine Remote Desktop on CentOS 8
NoMachine is a free and open-source remote desktop software used for remote access, desktop sharing, virtual desktop and file transfer between computers. It uses NX protocol that provides local speed with low bandwidth. It can be install on many operating systems including, Linux, Windows, Mac OS X and Android. If you are looking for a remote desktop solution then NoMachine is the best option for you.
In this tutorial, we will show you how to install and use NoMachine on CentOS 8.
Prerequisites
- A desktop system running CentOS 8.
- A root password is configured the server.
Install NoMachine
By default, NoMachine is not included in the CentOS default repository. So you will need to download it from their official website.
You can download it with the following command:
wget https://download.nomachine.com/download/7.1/Linux/nomachine_7.1.3_1_x86_64.rpm
Once the download is completed, install the downloaded file with the following command:
dnf install nomachine_7.1.3_1_x86_64.rpm
Once the installation is completed, you should get the following output:
  PulseAudio Backend

  The NoMachine  setup procedure  could not  detect  your  PulseAudio
  installation:  either  PulseAudio is not  installed  on your system
  or it was  installed  in a non-standard path.  If PulseAudio is not
  available, NoMachine audio support will try to rely on ALSA device.
  Please note  that you can enable  PulseAudio  support  at any time;
  to do this  make sure that you have PulseAudio installed, then run:

    /usr/NX/scripts/setup/nxnode --audiosetup

  to specify the location of the PulseAudio configuration files.
NX> 700 Installing: nxserver version: 7.1.3.
NX> 700 Using installation profile: Red Hat.
NX> 700 Install log is: /usr/NX/var/log/nxinstall.log.
NX> 700 Creating configuration in: /usr/NX/etc/server.cfg.
NX> 700 Server install completed with warnings.
NX> 700 Please review the install log for details.
NX> 700 Install completed at: Tue Feb 16 05:43:49 2021.
NX> 700 NoMachine was configured to run the following services:
NX> 700 NX service on port: 4000

  Verifying        : nomachine-7.1.3-1.x86_64                                                                                              1/1

Installed:
  nomachine-7.1.3-1.x86_64

Complete!
Configure Firewall
Next, you will need to allow TCP port 4000 and UDP port 4011-4999 through firewalld. You can allow them with the following command:
firewall-cmd --add-port=4000/tcp --permanent
firewall-cmd --add-port=4011-4999/udp --permanent
Next, reload the firewalld to apply the changes.
firewall-cmd --reload
Working with NoMachine
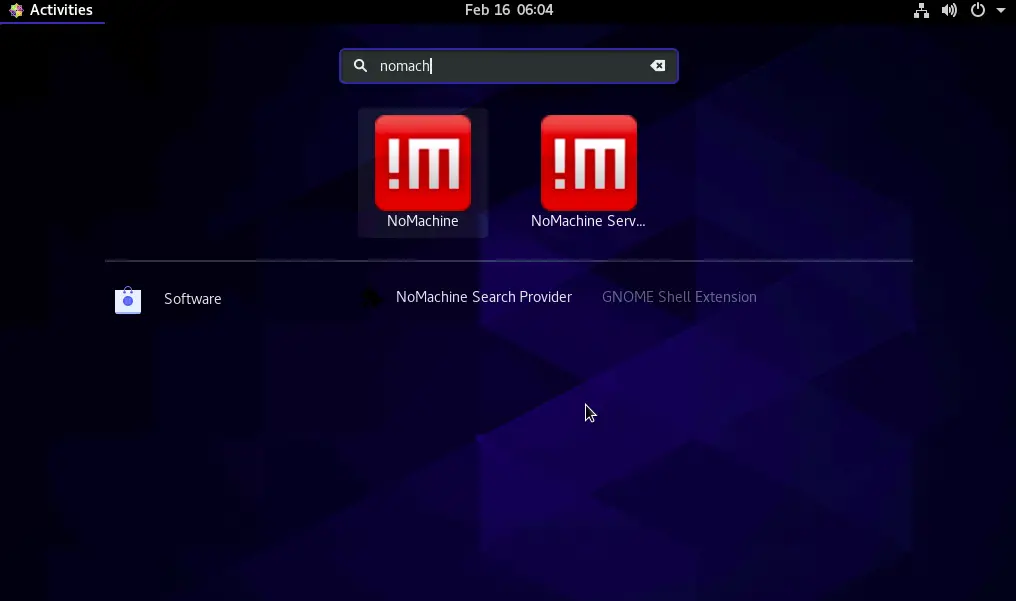
After installing NoMachine, you can launch it from the search bar as shown below:
Click on the NoMachine to launch the application as shown below:
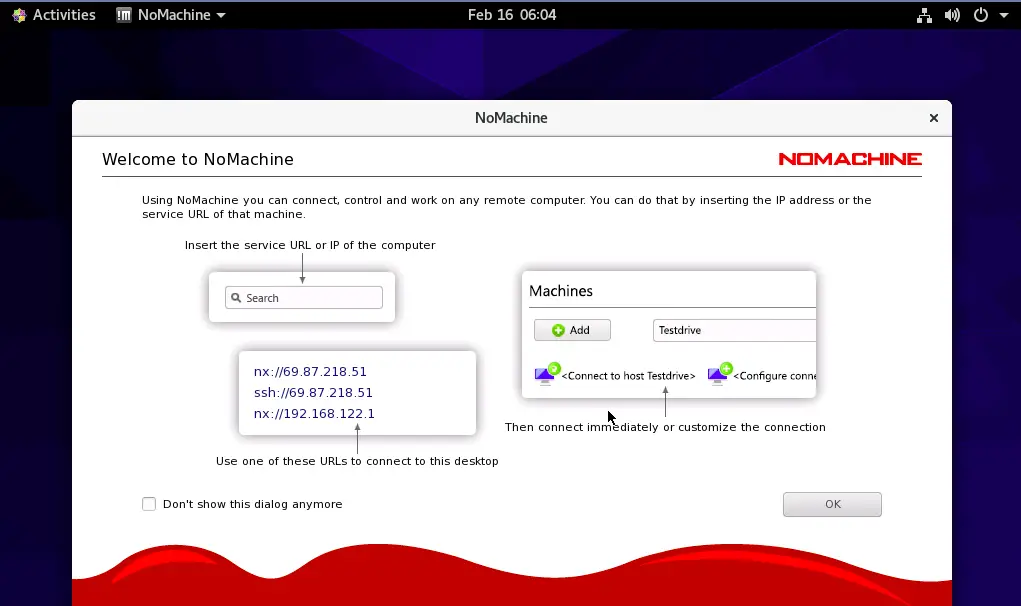
Click on the OK button. You should see the following screen:
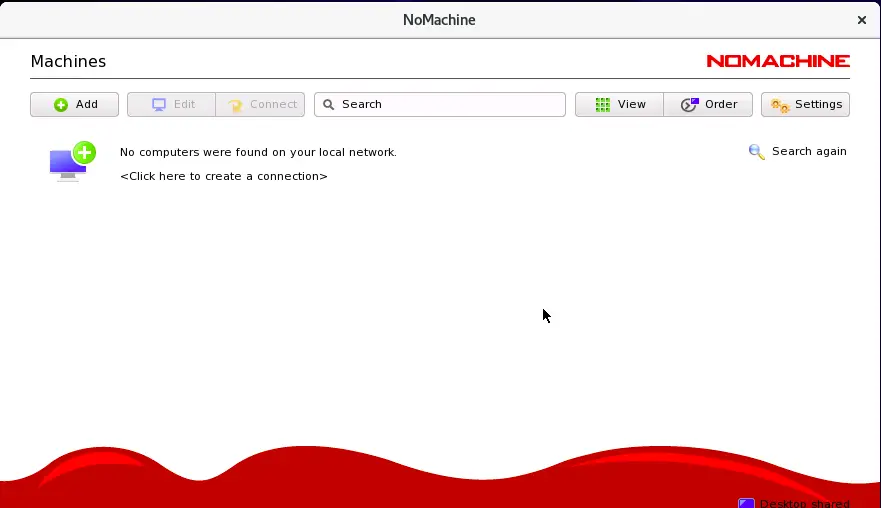
Now, click on the Add button to create a new connection. You should see the following screen:
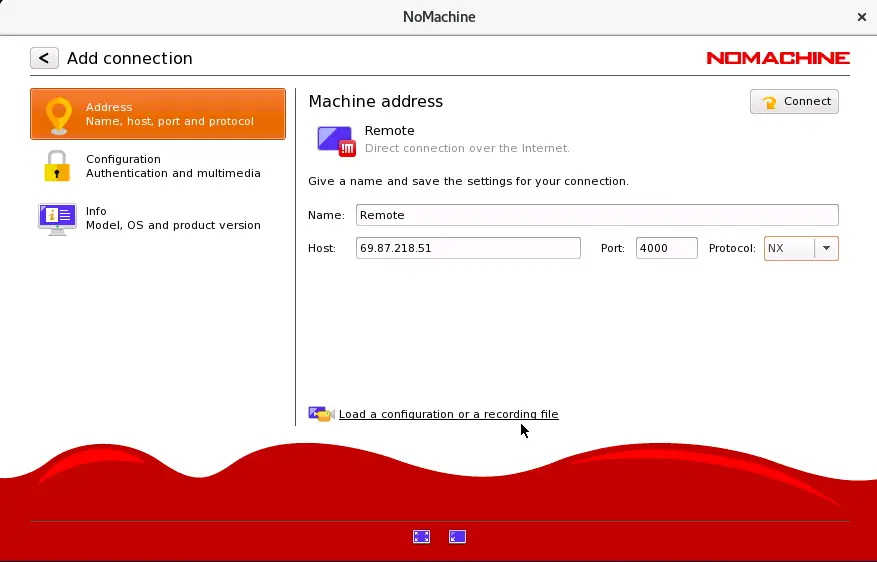
Provide your remote NoMachine hostname, IP address, port, protocol and click on the Connect button. You will be asked to provide usename and password for remote computer as shown below:
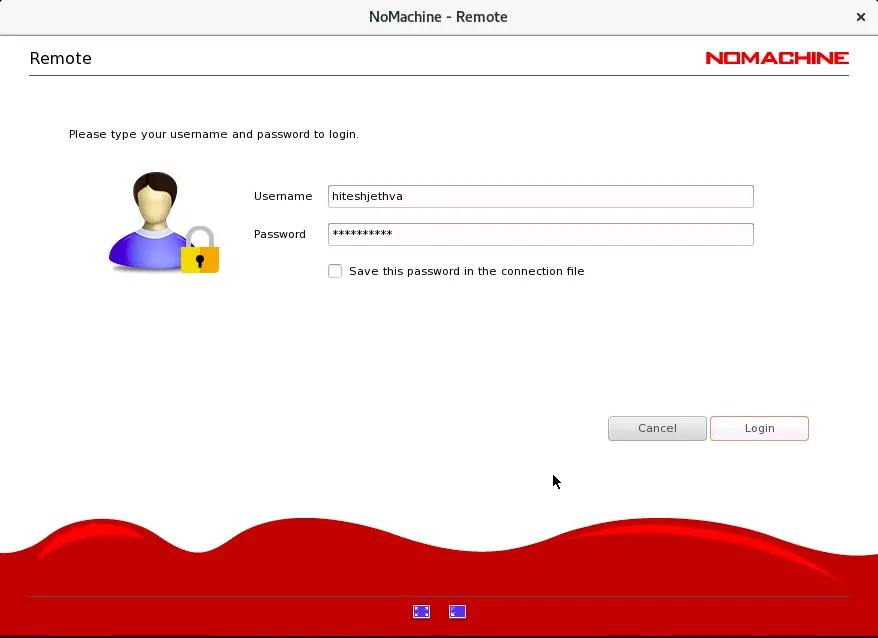
Provide username, password and click on the Login button. Once connected, you should see the following screen:
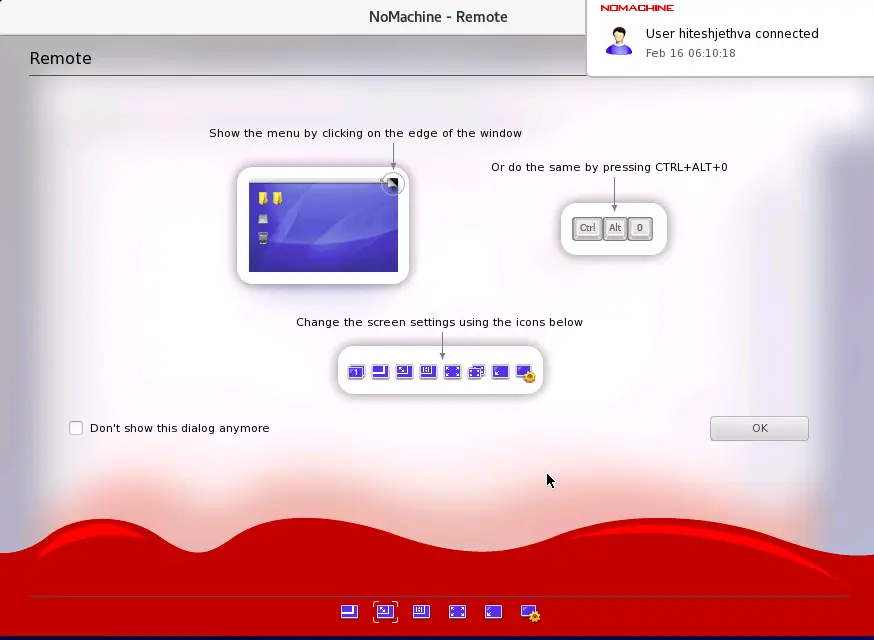
Change your screen settings and click on the OK button. You should see the following screen:
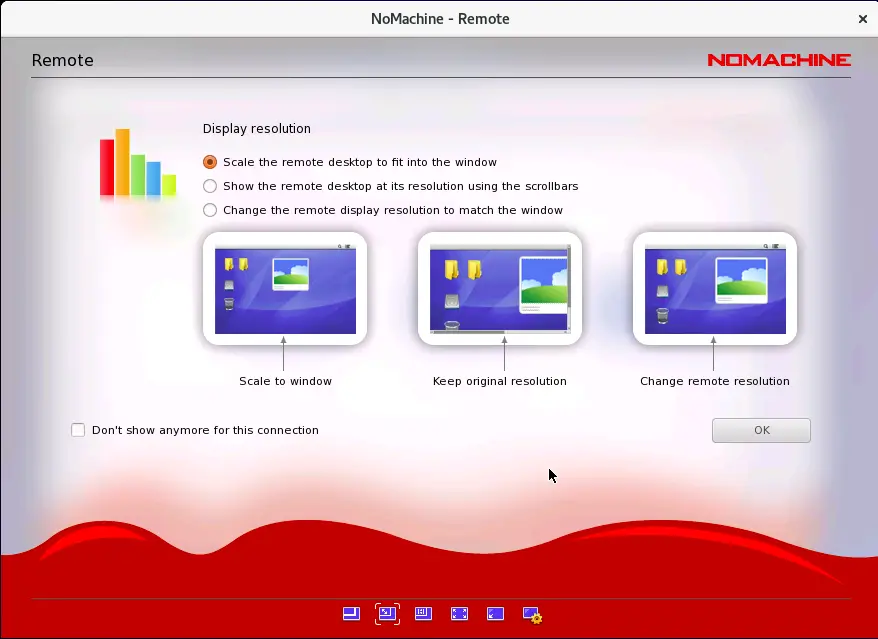
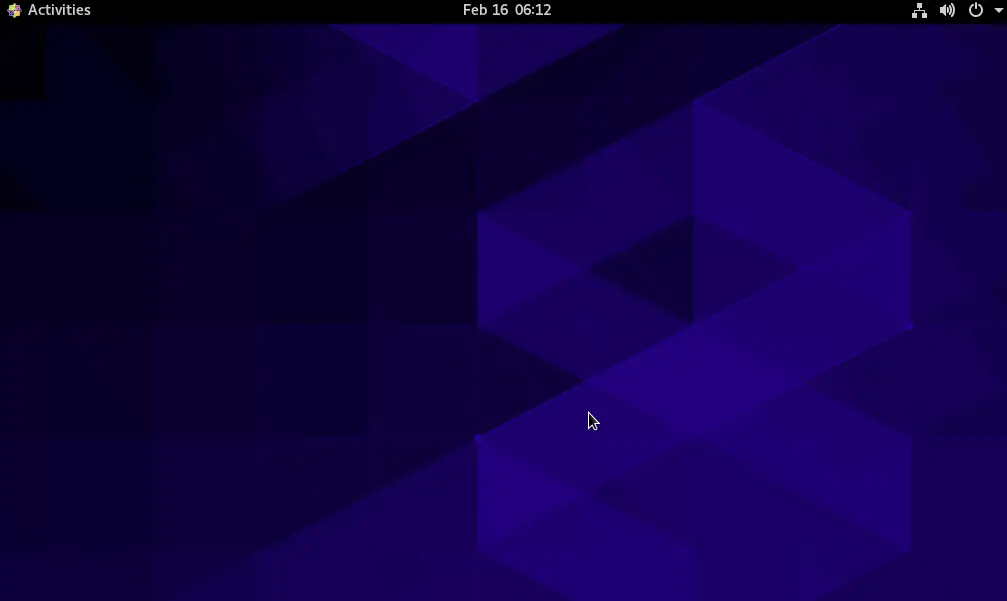
Select your display resolution and click on the OK button. Once connected, you should see the following screen:
Conclusion
In the above guide, you learned how to install and use NoMachine remote desktop software on CentOS 8. You can now easily manage multiple remote systems easily. Feel free to ask me if you have any questions.

