How to Install and Configure Nexus Repository Manager on Ubuntu 20.04
This tutorial exists for these OS versions
- Ubuntu 22.04 (Jammy Jellyfish)
- Ubuntu 20.04 (Focal Fossa)
On this page
Nexus is a repository manages that provides a platform that protects your entire software development lifecycle. It allows you to collect, and manage your dependencies and makes it easier to distribute your software. It is a single source of all components, binaries, and build artifacts. It provides support for Gradle, Ant, Maven and Ivy, and allows dev to manage components through binaries, containers, assemblies, and finished goods. You can also integrate Nexus with your existing user and authentication systems like, LDAP and Atlassian Crowd.
In this tutorial, we will show you how to install the Nexus repository manager on Ubuntu 20.04.
Prerequisites
- A server running Ubuntu 20.04.
- A root password is configured the server.
Getting Started
Before starting, you will need to update your system packages to the latest version. You can update them using the following command:
apt-get update -y
Once your server is updated, you can proceed to the next step.
Install Java
Nexus is based on Java so you will need to install Java version 8 in your system. You can install it with the following command:
apt-get install openjdk-8-jdk -y
Once Java is installed, you can verify the installed version of Java with the following command:
java -version
You should get the following output:
openjdk version "1.8.0_282"
OpenJDK Runtime Environment (build 1.8.0_282-8u282-b08-0ubuntu1~20.04-b08)
OpenJDK 64-Bit Server VM (build 25.282-b08, mixed mode)
Once the Java is installed, you can proceed to the next step.
Install Nexus
Before starting, you will need to create a separate user to run Nexus. You can create it by running the following command:
useradd -M -d /opt/nexus -s /bin/bash -r nexus
Next, allows nexus user to run all user with sudo without any password. You can do it with by running following command:
echo "nexus ALL=(ALL) NOPASSWD: ALL" > /etc/sudoers.d/nexus
Next, create a directory for Nexus and download the latest version of Nexus with the following command:
mkdir /opt/nexus
wget https://sonatype-download.global.ssl.fastly.net/repository/downloads-prod-group/3/nexus-3.29.2-02-unix.tar.gz
Once the download is completed, extract the downloaded file to the /opt/nexus directory by running the following command:
tar xzf nexus-3.29.2-02-unix.tar.gz -C /opt/nexus --strip-components=1
Next, set proper ownership to the nexus directory by running the following command:
chown -R nexus:nexus /opt/nexus
Next, edit the nexus.vmoptions configuration file and define max memory size:
nano /opt/nexus/bin/nexus.vmoptions
Set Java max memory size and replaced "../sonatype-work" with "./sonatype-work":
-Xms1024m
-Xmx1024m
-XX:MaxDirectMemorySize=1024m

-XX:LogFile=./sonatype-work/nexus3/log/jvm.log
-XX:-OmitStackTraceInFastThrow
-Djava.net.preferIPv4Stack=true
-Dkaraf.home=.
-Dkaraf.base=.
-Dkaraf.etc=etc/karaf
-Djava.util.logging.config.file=/etc/karaf/java.util.logging.properties
-Dkaraf.data=./sonatype-work/nexus3
-Dkaraf.log=./sonatype-work/nexus3/log
-Djava.io.tmpdir=./sonatype-work/nexus3/tmp
Save and close the file then edit the nexus.rc file and define the run as user:
nano /opt/nexus/bin/nexus.rc
Uncomment and change the following line with nexus user:
run_as_user="nexus"
Save and close the file then start the Nexxus service with the following command:
sudo -u nexus /opt/nexus/bin/nexus start
Next, verify the Nexus with the following command:
tail -f /opt/nexus/sonatype-work/nexus3/log/nexus.log
You should get the following output:
2021-02-23 12:20:51,839+0000 INFO  [jetty-main-1]  *SYSTEM com.softwarementors.extjs.djn.servlet.DirectJNgineServlet - Servlet GLOBAL configuration: registryConfiguratorClass=
2021-02-23 12:20:51,853+0000 INFO  [jetty-main-1]  *SYSTEM com.softwarementors.extjs.djn.jscodegen.CodeFileGenerator - Creating source files for APIs...
2021-02-23 12:20:52,582+0000 INFO  [jetty-main-1]  *SYSTEM org.sonatype.nexus.siesta.SiestaServlet - JAX-RS RuntimeDelegate: org.sonatype.nexus.siesta.internal.resteasy.SisuResteasyProviderFactory@649a69ca
2021-02-23 12:20:52,611+0000 INFO  [jetty-main-1]  *SYSTEM org.jboss.resteasy.plugins.validation.i18n - RESTEASY008550: Unable to find CDI supporting ValidatorFactory. Using default ValidatorFactory
2021-02-23 12:20:53,811+0000 INFO  [jetty-main-1]  *SYSTEM org.sonatype.nexus.siesta.SiestaServlet - Initialized
2021-02-23 12:20:53,817+0000 INFO  [jetty-main-1]  *SYSTEM org.sonatype.nexus.repository.httpbridge.internal.ViewServlet - Initialized
2021-02-23 12:20:53,852+0000 INFO  [jetty-main-1]  *SYSTEM org.eclipse.jetty.server.handler.ContextHandler - Started o.e.j.w.WebAppContext@7a65358d{Sonatype Nexus,/,file:///opt/nexus/public/,AVAILABLE}
2021-02-23 12:20:53,883+0000 INFO  [jetty-main-1]  *SYSTEM org.eclipse.jetty.server.AbstractConnector - Started ServerConnector@764a4935{HTTP/1.1, (http/1.1)}{0.0.0.0:8081}
2021-02-23 12:20:53,884+0000 INFO  [jetty-main-1]  *SYSTEM org.eclipse.jetty.server.Server - Started @37529ms
2021-02-23 12:20:53,884+0000 INFO  [jetty-main-1]  *SYSTEM org.sonatype.nexus.bootstrap.jetty.JettyServer -
-------------------------------------------------

Started Sonatype Nexus OSS 3.29.2-02

-------------------------------------------------
At this point, Nexus is started and listening on port 8081. You can check it with the following command:
ss -altnp | grep 8081
You should get the following output:
LISTEN 0 50 0.0.0.0:8081 0.0.0.0:* users:(("java",pid=5548,fd=795))
Next, stop the Nexus service with the following command:
/opt/nexus/bin/nexus stop
Create a Systemd Service File for Nexus
Next, you will need to create a systemd service file to manage the Nexus service. You can create it with the following command:
nano /etc/systemd/system/nexus.service
Add the following lines:
[Unit]
Description=nexus service
After=network.target

[Service]
Type=forking
LimitNOFILE=65536
ExecStart=/opt/nexus/bin/nexus start
ExecStop=/opt/nexus/bin/nexus stop
User=nexus
Restart=on-abort

[Install]
WantedBy=multi-user.target
Save and close the file then reload the systemd daemon with the following command:
systemctl daemon-reload
Next, start the Nexus service and enable it to start at system reboot with the following command:
systemctl start nexus
systemctl enable nexus
You can also verify the status of the Nexus service using the following command:
systemctl status nexus
You should get the following output:
? nexus.service - nexus service
     Loaded: loaded (/etc/systemd/system/nexus.service; disabled; vendor preset: enabled)
     Active: active (running) since Tue 2021-02-23 12:22:49 UTC; 15s ago
    Process: 6181 ExecStart=/opt/nexus/bin/nexus start (code=exited, status=0/SUCCESS)
   Main PID: 6368 (java)
      Tasks: 40 (limit: 4691)
     Memory: 642.9M
     CGroup: /system.slice/nexus.service
             ??6368 /usr/lib/jvm/java-8-openjdk-amd64/jre/bin/java -server -Dinstall4j.jvmDir=/usr/lib/jvm/java-8-openjdk-amd64/jre -Dexe4j.mo>

Feb 23 12:22:49 ubuntu2004 systemd[1]: Starting nexus service...
Feb 23 12:22:49 ubuntu2004 nexus[6181]: Starting nexus
Feb 23 12:22:49 ubuntu2004 systemd[1]: Started nexus service.
lines 1-13/13 (END)
Once you are finished, you can proceed to the next step.
Configure Nginx as a Reverse Proxy for Nexus
Next, you will need to install Nginx and configure Nginx as a reverse proxy. First, install the Nginx packages with the following command:
apt-get install nginx -y
Once the Nginx is installed, create an Nginx virtual host configuration file with the following command:
nano /etc/nginx/conf.d/nexus.conf
Add the following lines:
upstream backend {
  server 127.0.0.1:8081;
}

server {
    listen 80;
    server_name nexus.example.com;

    location / {
        proxy_pass http://backend/;
        proxy_http_version 1.1;
        proxy_set_header Upgrade $http_upgrade;
        proxy_set_header Connection "upgrade";
        proxy_set_header Host $http_host;

        proxy_set_header X-Real-IP $remote_addr;
        proxy_set_header X-Forward-For $proxy_add_x_forwarded_for;
        proxy_set_header X-Forward-Proto http;
        proxy_set_header X-Nginx-Proxy true;

        proxy_redirect off;
    }
}
Save and close the file then verify the Nginx configuration file with the following command:
nginx -t
You should get the following output:
nginx: the configuration file /etc/nginx/nginx.conf syntax is ok
nginx: configuration file /etc/nginx/nginx.conf test is successful
Finally, restart the Nginx service to apply the changes:
systemctl restart nginx
You can also verify the status of the Nginx with the following command:
systemctl status nginx
You should get the following output:
? nginx.service - A high performance web server and a reverse proxy server
     Loaded: loaded (/lib/systemd/system/nginx.service; enabled; vendor preset: enabled)
     Active: active (running) since Tue 2021-02-23 12:24:57 UTC; 4s ago
       Docs: man:nginx(8)
    Process: 7106 ExecStartPre=/usr/sbin/nginx -t -q -g daemon on; master_process on; (code=exited, status=0/SUCCESS)
    Process: 7107 ExecStart=/usr/sbin/nginx -g daemon on; master_process on; (code=exited, status=0/SUCCESS)
   Main PID: 7123 (nginx)
      Tasks: 3 (limit: 4691)
     Memory: 3.5M
     CGroup: /system.slice/nginx.service
             ??7123 nginx: master process /usr/sbin/nginx -g daemon on; master_process on;
             ??7124 nginx: worker process
             ??7125 nginx: worker process

Feb 23 12:24:57 ubuntu2004 systemd[1]: Starting A high performance web server and a reverse proxy server...
Feb 23 12:24:57 ubuntu2004 systemd[1]: Started A high performance web server and a reverse proxy server.
Access Nexus Web Interface
Before accessing the Nexus web UI, print the Nexus admin password with the following command:
cat /opt/nexus/sonatype-work/nexus3/admin.password
You should get the following output:
b7c899cf-c6d3-4d11-a4cb-9a44e5d1787e
Now, open your web browser and access the Nexus web UI using the URL http://nexus.example.com. You will be redirected to the following page:

Now, click on the Sign in button. You will be redirected to the Nexus login page:
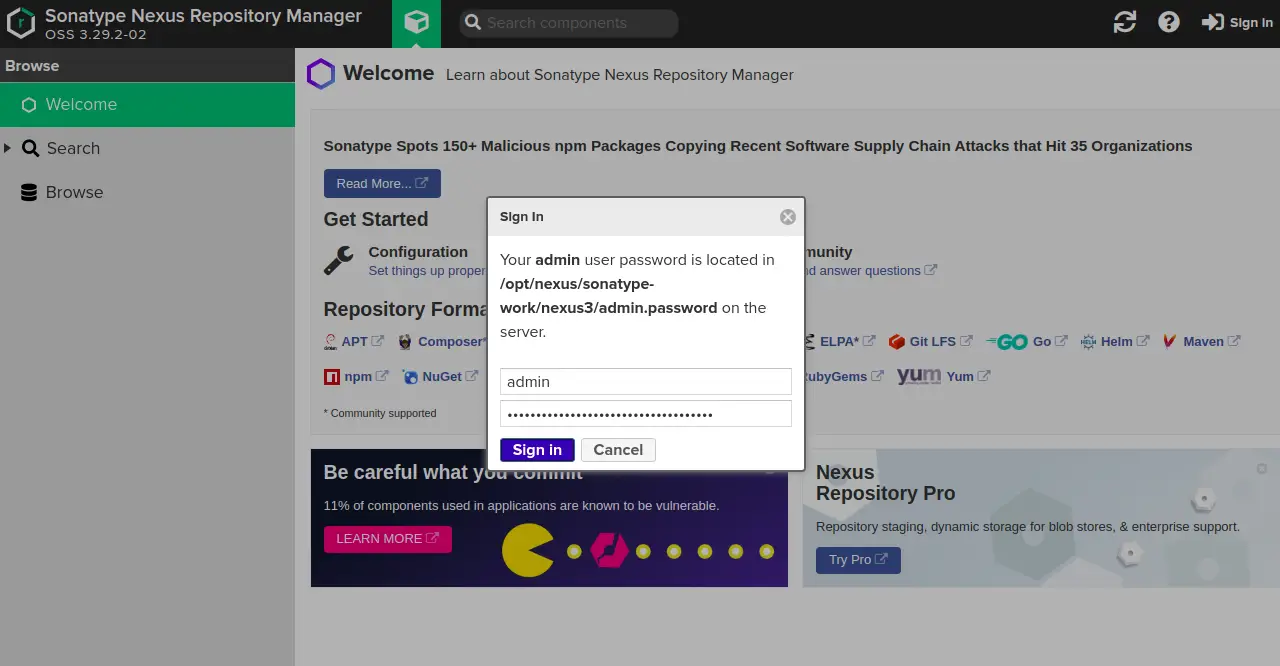
Provide your admin username, password and click on the Sign in button. You should see the Nexus setup page:
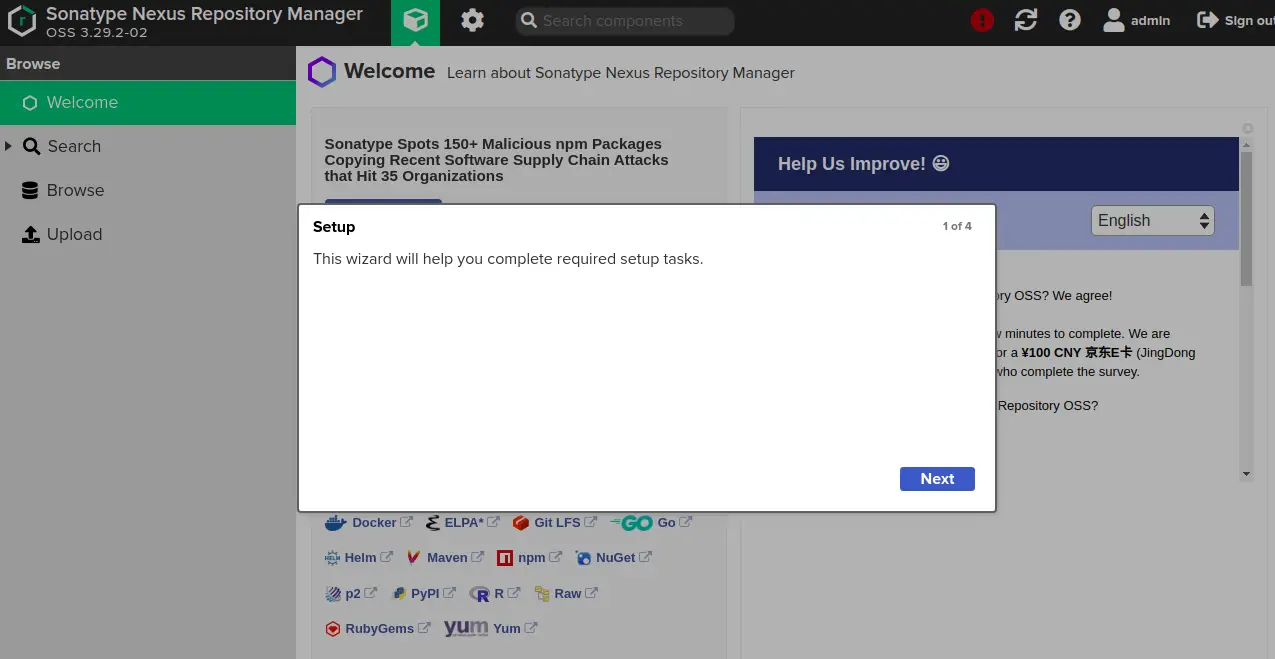
Click on the Next button to continue. You should see the following page:
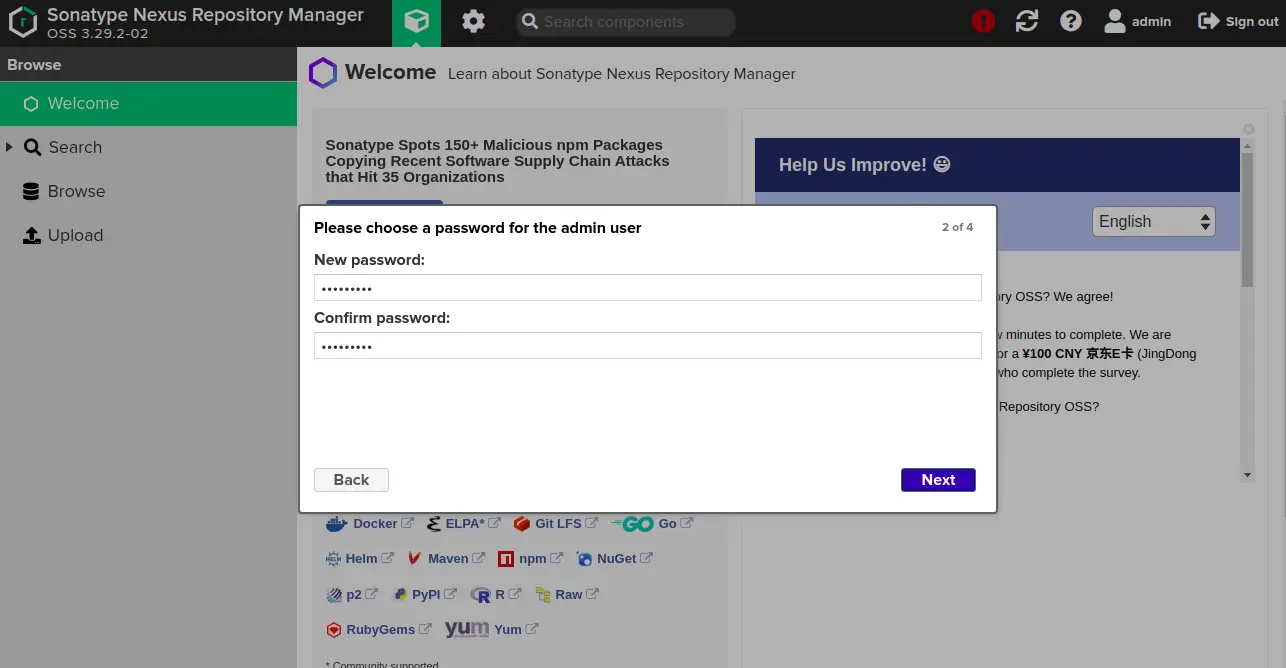
Set your new password and click on the Next button. You should see the following page:

Select "Enable anonymous access" option and click on the Next button. You should see the following page:
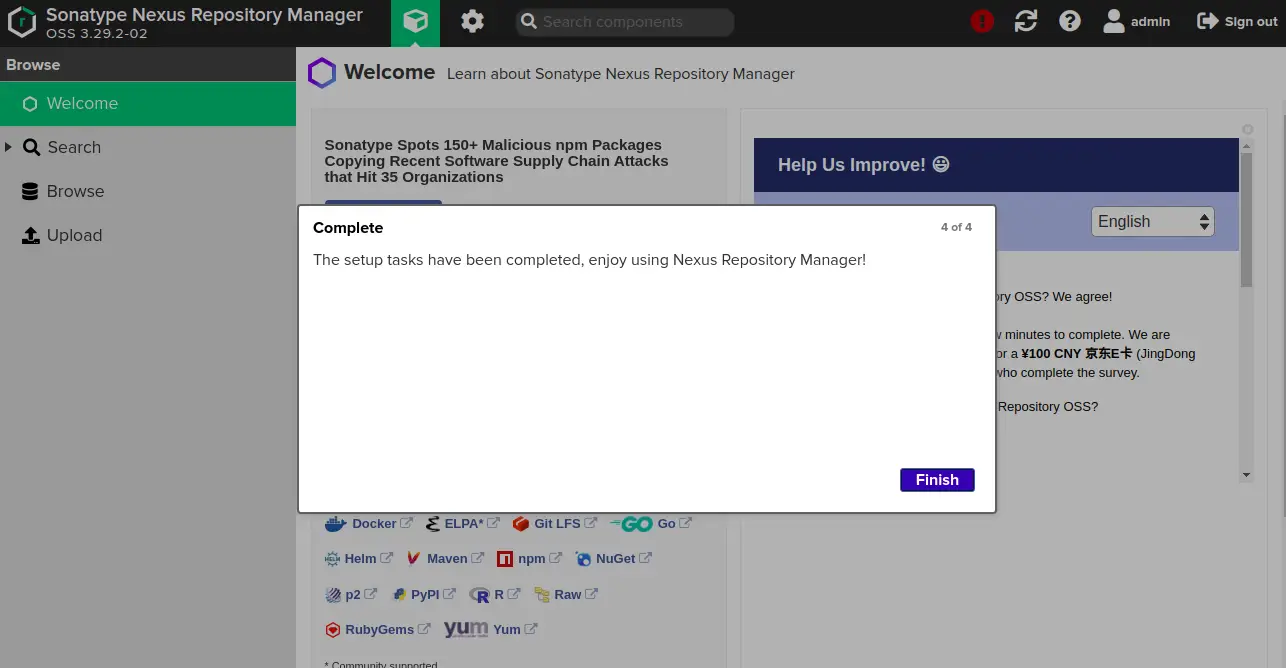
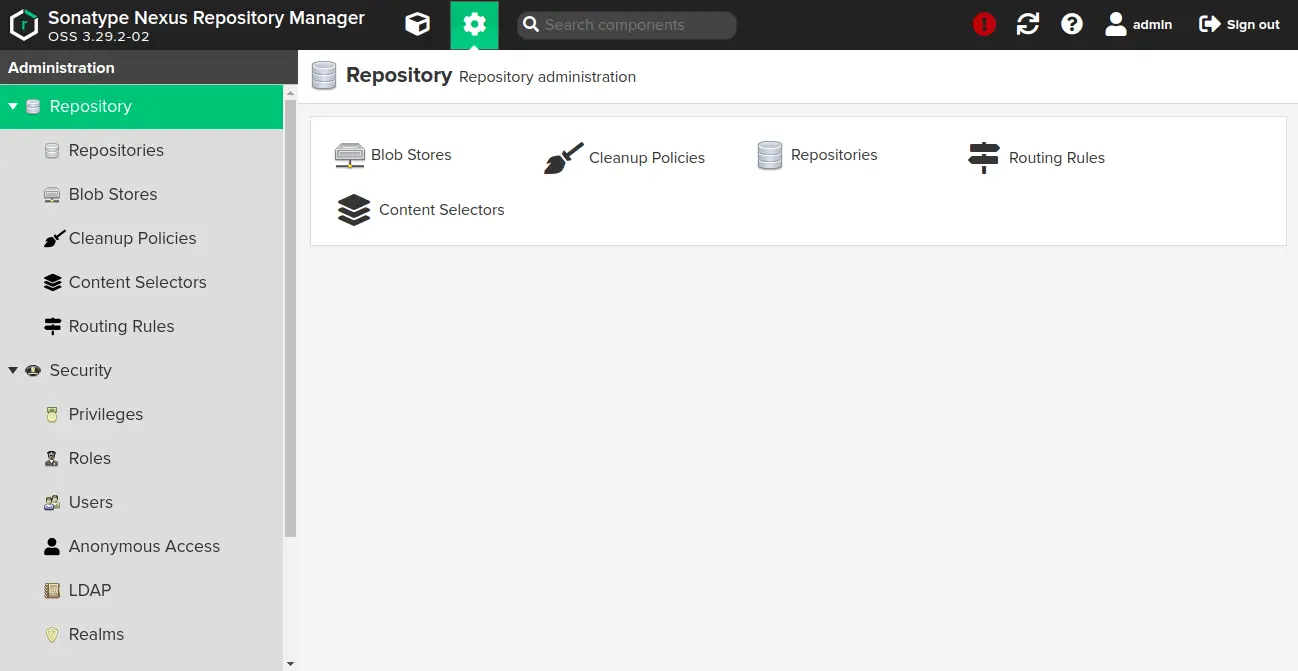
Click on the Finish button to complete the setup and click on the Setting gear icon. You should see the Nexus repository dashboard:
Conclusion
Congratulations! you have successfully installed the Nexus repository manager with Nginx as a reverse proxy on Ubuntu 20.04 server. Feel free to ask me if you have any questions.

