How to Install Arkime Full Packet Capture tool on Ubuntu 20.04
Arkime, also known as Moloch, is an open-source and large-scale indexed packet capture and search tool. It stores and exports all captured packets in PCAP format. You can use Wireshark or other PCAP ingesting tools to analyze the PCAP exported file. Arkime comes with a simple and user-friendly web interface that you can use for browsing, searching, and exporting PCAP. It is designed to be deployed in multiple systems and also able to handle gigabits per second of traffic.
In this post, we will show you how to install the Arkime Packet Capture tool on Ubuntu 20.04.
Prerequisites
- A server running Ubuntu 20.04.
- A root password is configured the server.
Getting Started
Before starting, you will need to update your system packages to the latest version. You can update them with the following command:
apt-get update -y
Once all the packages are updated, install the required dependencies using the following command:
apt-get install gnupg2 curl wget -y
Once all the packages are installed, you can proceed to the next step.
Install Elasticsearch
Arkime uses Elasticsearch for indexing and searching. So Elasticsearch must be installed in your system. By default, the latest version of Elasticsearch is not included in the Ubuntu default repository. So you will need to add Elasticsearch repository to your system.
First, add the GPG key with the following command:
wget -qO - https://artifacts.elastic.co/GPG-KEY-elasticsearch --no-check-certificate | apt-key add -
Next, add the Elasticsearch repository to the APT with the following command:
echo "deb https://artifacts.elastic.co/packages/7.x/apt stable main" | tee -a /etc/apt/sources.list.d/elastic-7.x.list
Next, update the repository and install the Elasticsearch package with the following command:
apt-get update -y
apt-get install elasticsearch -y
Once the Elasticsearch is installed edit the Elasticsearch configuration file and set the Java memory:
nano /etc/elasticsearch/jvm.options
Change the following lines:
-Xms1g
-Xmx1g
Save and close the file then enable the Elasticsearch service to start at system reboot with the following command:
systemctl enable --now elasticsearch
By default, Elasticsearch listens on port 9200. You can check it with the following command:
ss -antpl | grep 9200
You should get the following output:
LISTEN   0        4096        [::ffff:127.0.0.1]:9200                  *:*       users:(("java",pid=9518,fd=272))
LISTEN   0        4096                     [::1]:9200               [::]:*       users:(("java",pid=9518,fd=271))
You can also check the Elasticsearch with the following command:
curl http://localhost:9200
You should get the following output:
{
  "name" : "ubuntu2004",
  "cluster_name" : "elasticsearch",
  "cluster_uuid" : "9g2B-tNaQl-rjuV32eCgpg",
  "version" : {
    "number" : "7.11.1",
    "build_flavor" : "default",
    "build_type" : "deb",
    "build_hash" : "ff17057114c2199c9c1bbecc727003a907c0db7a",
    "build_date" : "2021-02-15T13:44:09.394032Z",
    "build_snapshot" : false,
    "lucene_version" : "8.7.0",
    "minimum_wire_compatibility_version" : "6.8.0",
    "minimum_index_compatibility_version" : "6.0.0-beta1"
  },
  "tagline" : "You Know, for Search"
}
At this point, Elasticsearch is installed and running. You can now proceed to the next step.
Install and Configure Arkime
First, download the latest version of Arkime with the following command:
wget https://s3.amazonaws.com/files.molo.ch/builds/ubuntu-20.04/moloch_2.7.1-1_amd64.deb
Once the package is downloaded, install the downloaded package with the following command:
apt install ./moloch_2.7.1-1_amd64.deb
Once the Arkime is installed, configure it with the following command:
/data/moloch/bin/Configure
You will be asked to specify the network interface as shown below:
Found interfaces: lo;eth0;eth1
Semicolon ';' seperated list of interfaces to monitor [eth1] eth0
Type your network interface name and hit Enter to continue. Once the configuration is finished, you should get the following output:
Install Elasticsearch server locally for demo, must have at least 3G of memory, NOT recommended for production use (yes or no) [no] no
Elasticsearch server URL [http://localhost:9200]
Password to encrypt S2S and other things [no-default]
Password to encrypt S2S and other things [no-default] mypassword
Moloch - Creating configuration files
Installing systemd start files, use systemctl
Moloch - Installing /etc/logrotate.d/moloch to rotate files after 7 days
Moloch - Installing /etc/security/limits.d/99-moloch.conf to make core and memlock unlimited
Download GEO files? (yes or no) [yes] yes

9) Visit http://MOLOCHHOST:8005 with your favorite browser.
      user: admin
      password: THEPASSWORD from step #6

If you want IP -> Geo/ASN to work, you need to setup a maxmind account and the geoipupdate program.
See https://molo.ch/faq#maxmind

Any configuration changes can be made to /data/moloch/etc/config.ini
See https://molo.ch/faq#moloch-is-not-working for issues

Additional information can be found at:
  * https://molo.ch/faq
  * https://molo.ch/settings
Once you are finished, you can proceed to the next step.
Initialize Elasticsearch Arkime configuration
Next, you will need to initialize the Elasticsearch Arkime configuration. You can do it with the following command:
/data/moloch/db/db.pl http://localhost:9200 init
Next, create a admin user account for Arkime with the following command:
/data/moloch/bin/moloch_add_user.sh admin "Moloch SuperAdmin" mypassword --admin
Once you are finished, you can proceed to the next step.
Start and Manage Arkime Services
Arkime is made from three components, capture, viewer, and elasticsearch. So you will need to start the service for each component.
You can start the molochcapture and molochviewer service and enable them to start at system reboot with the following command:
systemctl enable --now molochcapture
systemctl enable --now molochviewer
You can now check the status of both services with the following command:
systemctl status molochcapture molochviewer
You should get the following output:
? molochcapture.service - Moloch Capture
     Loaded: loaded (/etc/systemd/system/molochcapture.service; enabled; vendor preset: enabled)
     Active: active (running) since Mon 2021-03-01 11:40:08 UTC; 10s ago
   Main PID: 11313 (sh)
      Tasks: 7 (limit: 4691)
     Memory: 206.6M
     CGroup: /system.slice/molochcapture.service
             ??11313 /bin/sh -c /data/moloch/bin/moloch-capture -c /data/moloch/etc/config.ini  >> /data/moloch/logs/capture.log 2>&1
             ??11315 /data/moloch/bin/moloch-capture -c /data/moloch/etc/config.ini

Mar 01 11:40:08 ubuntu2004 systemd[1]: Starting Moloch Capture...
Mar 01 11:40:08 ubuntu2004 systemd[1]: Started Moloch Capture.

? molochviewer.service - Moloch Viewer
     Loaded: loaded (/etc/systemd/system/molochviewer.service; enabled; vendor preset: enabled)
     Active: active (running) since Mon 2021-03-01 11:40:13 UTC; 5s ago
   Main PID: 11361 (sh)
      Tasks: 12 (limit: 4691)
     Memory: 51.9M
     CGroup: /system.slice/molochviewer.service
             ??11361 /bin/sh -c /data/moloch/bin/node viewer.js -c /data/moloch/etc/config.ini  >> /data/moloch/logs/viewer.log 2>&1
             ??11362 /data/moloch/bin/node viewer.js -c /data/moloch/etc/config.ini

Mar 01 11:40:13 ubuntu2004 systemd[1]: Started Moloch Viewer.
You can now check the viewer log with the following command:
tail -f /data/moloch/logs/viewer.log
You should see the following output:
Express server listening on port 8005 in development mode
To check the capture log, run the following command:
tail -f /data/moloch/logs/capture.log
You should see the following output:
Mar  1 11:40:49 http.c:382 moloch_http_curlm_check_multi_info(): 1/30 ASYNC 201 http://localhost:9200/dstats/_doc/ubuntu2004-1209-5 806/154 0ms 51ms
Mar  1 11:40:49 http.c:382 moloch_http_curlm_check_multi_info(): 1/30 ASYNC 200 http://localhost:9200/_bulk 3737/327 0ms 51ms
Mar  1 11:40:50 http.c:382 moloch_http_curlm_check_multi_info(): 1/30 ASYNC 200 http://localhost:9200/_bulk 7246/451 0ms 51ms
Mar  1 11:40:51 http.c:382 moloch_http_curlm_check_multi_info(): 1/30 ASYNC 200 http://localhost:9200/stats/_doc/ubuntu2004?version_type=external&version=22 805/149 0ms 51ms
Mar  1 11:40:53 http.c:382 moloch_http_curlm_check_multi_info(): 1/30 ASYNC 200 http://localhost:9200/stats/_doc/ubuntu2004?version_type=external&version=23 805/149 0ms 52ms
Mar  1 11:40:54 http.c:382 moloch_http_curlm_check_multi_info(): 1/30 ASYNC 201 http://localhost:9200/dstats/_doc/ubuntu2004-1210-5 806/154 0ms 51ms
Mar  1 11:40:54 http.c:382 moloch_http_curlm_check_multi_info(): 1/30 ASYNC 200 http://localhost:9200/_bulk 2830/302 0ms 51ms
Access Arkime Web Interface
At this point Arkime is started and listening on port 8005. You can check it with the following command:
ss -antpl | grep 8005
You should get the following output:
LISTEN 0 511 *:8005 *:* users:(("node",pid=11362,fd=20))
Now, open your web browser and access the Arkime web interface using the URL http://your-server-ip:8005. You will be asked to provide your admin username and password as shown below:
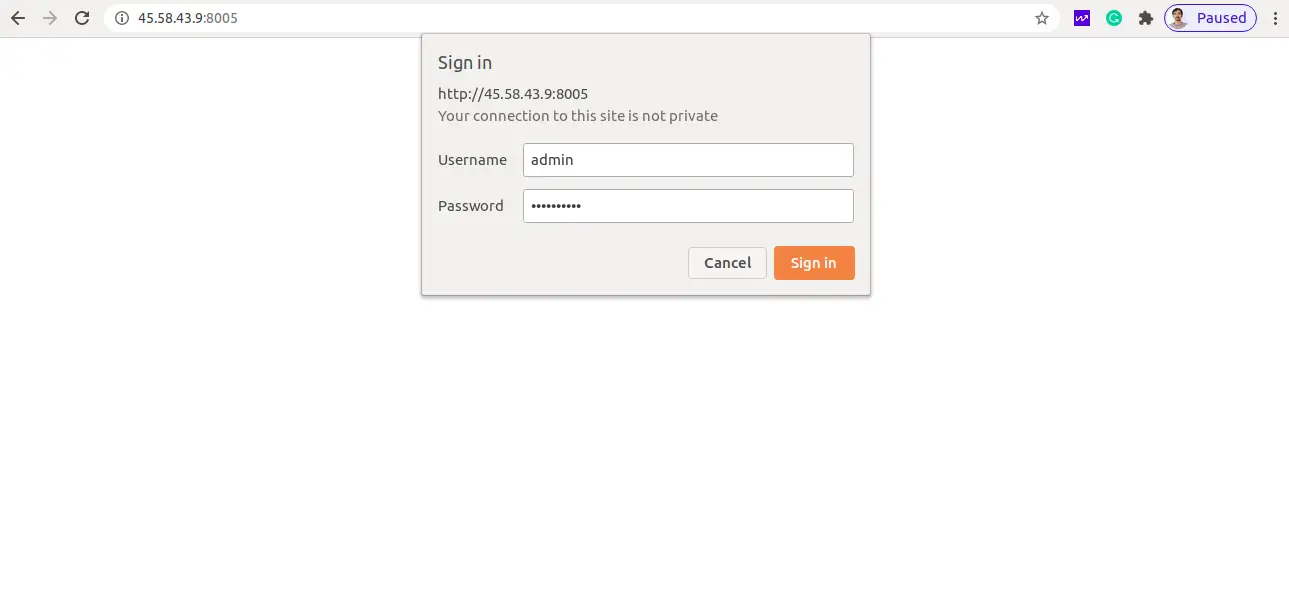
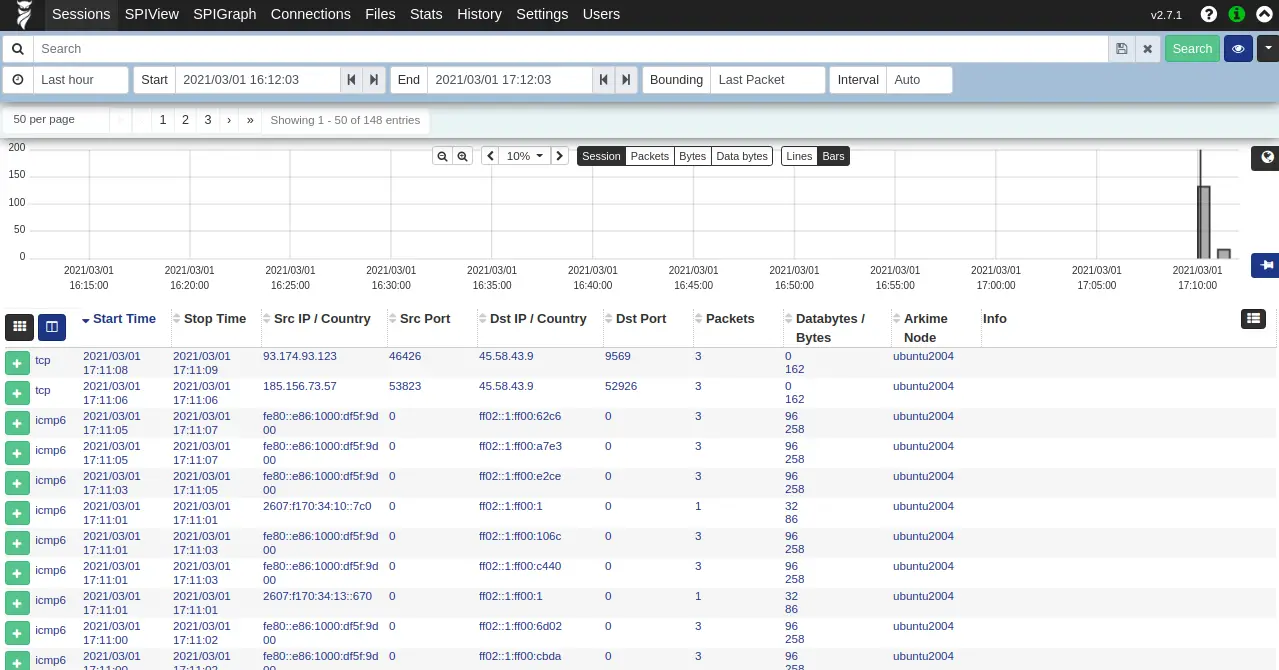
Provide your admin username, password and click on the Sign In button. You should see the Arkime dashboard in the following page:
Conclusion
Congratulations! you have successfully installed and configured the Arkime packet capture tool on Ubuntu 20.04 server. You can now explore the Arkime for more functionality and start capturing packets. Feel free to ask me if you have any questions.

