Like many self-confessed geeks, I’ve long been curious about 3d-printing. To me, it sounds like the romantic early days of home computing in the 70s, where expensive machines that easily broke and were used as toys gradually gave way to more reliable and useful devices that became mainstream twenty years later.
The combination of a few factors led me to want to give it a go: needing a hobby in lockdown; teenage kids who might take to it (and were definitely interested); a colleague who had more experience with it; and the continuing drop in prices and relative maturity of the machines.
Going into this, I knew nothing about the details or the initial difficulties, so I wanted to blog about it before I forget about them or think that they are ‘obvious’ to everyone else. Plenty wasn’t obvious to me…
Reading Up And Choosing A Printer
I started by trying to do research on what kind of printer I wanted, and quickly got lost in a sea of technical terms I didn’t understand, and conflicting advice on forums. The choices were utterly bewildering, so I turned to my colleague for advice. The gist of what he told me was: ‘Just pick one you can afford that seems popular and go for it. You will learn as you go. Be prepared for it to break and be a general PITA.’
So I took his advice. I read somewhere that resin printers were far more detailed, and got advice from another former colleague on the reputable brands, held my nose and dove in. I plumped for the Elegoo Mars 2, as it was one of the recommendations, and it arrived a few days later, along with a bottle of resin. Machine + resin was about £230.
Setup
I won’t say setup was a breeze, but I imagine it was a lot slicker than it was in the really early days of home 3d printing. I didn’t have to construct the entire thing, and the build quality looked good to me.
The major difficulties I had during setup were:
- Not realising I needed to wash the print in IPA (Isopropyl Alcohol, 90%+), surgical gloves (washing up gloves won’t cut it), and a mask. The people that inhabit 3d printing forums seemed to think it was trivial to get hold of gallons of it from local hardware stores, but all I could find was a surprisingly expensive 250ml bottle for £10 in a local hardware shop (the third I tried). Three pairs of gloves are supplied
- Cack-handedly dropping a screw into the resin vat (not recommended) and having to fish it out.
- Not following the instructions on ‘levelling the plate’ (the print starts by sticking resin to the metal printing plate, so it has to be very accurately positioned) to the absolute letter. The instructions weren’t written by a native speaker and also weren’t clearly laid out (that’s my excuse).
I also wasn’t aware that 3d-printing liquid resin is an unsafe substance (hence the gloves and mask), and that the 3d printing process produces quite a strong smell. My wife wasn’t particularly happy about this news, so I then did a lot of research to work out how to ensure it was safe. This was also bewildering, as you get everything from health horror stories to “it’s fine” reassurance.
In the event it seems like it’s fine, as long as you keep a window open whenever the printing lid is off and for a decent time after (30 mins+). It helps if you don’t print all day every day. The smelliest thing is the IPA, which isn’t as toxic as the resin, so as long as you keep the lid on wherever possible any danger is significantly reduced. If you do the odd print every other day, it’s pretty safe as far as I can tell. (This is not medical advice: IANAD). A far greater risk, it seems, is getting resin on your hands.
Thankfully also, the smell is not that unpleasant. It’s apparently the same as a ‘new car’ smell (which, by the way, is apparently horrifyingly toxic – I’ll always be opening a window when I’m in a new car in future).
Unlike the early days of computing, we have youtube, and I thoroughly recommend watching videos of setups before embarking on it yourself.
Finally, resin disposal is something you should be careful about. It’s irresponsible to pour resin down the drain, so don’t do it. Resin hardens in UV light (that’s how the curing/hardening process works), so there’s plenty of advice on how to dispose of it safely.
First Print
The first prints (which come on the supplied USB stick) worked first time, which was a huge relief. (Again, online horror stories of failed machines abound.)
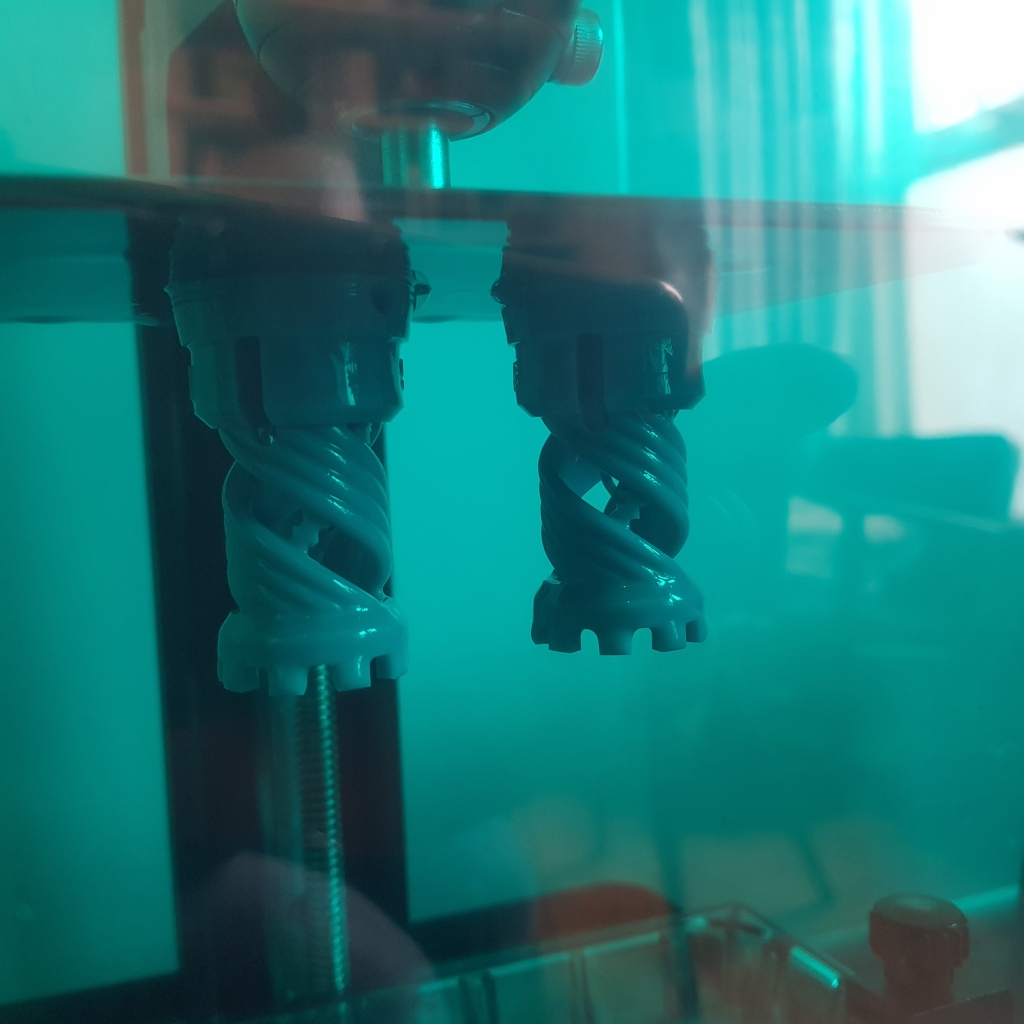
The prints themselves were great little pieces themselves, a so-called ‘torture test’ for the printer to put it through its paces. A pair of rooks with intricate staircases inside and minute but legible lettering. The kids immediately claimed them as soon as I’d washed them in alcohol and water, before I had the time to properly cure them.
I didn’t know what curing was at the time, and had just read that it was a required part of the process. I was confused because I’d read it was a UV process, but since the machine worked by UV I figured that the capability to cure came with the machine. Wrong! So I’d need a source of UV light, which I figured daylight would provide.
I tried leaving the pieces outside for a few hours, but I had no idea when they would be considered done, or even ‘over-cured’, which is apparently a thing. In the end I caved and bought a curing machine for £60 that gave me peace of mind.
From here I printed something for the kids. The first print proper:
I’d decided to ‘hollow out’ this figure, to reduce the cost of the resin. I think it was hollowed to 2mm, and worked out pretty well. One downside was that the base came away slightly at the bottom, suggesting I’d hollowed it out too much. In any case, the final result has pride of place next to the Xbox.
More Prints
Next was for me, an Escher painting I particularly like (supposedly the figure in the reality/gallery world is Wittgenstein):
You can see that there are whiter, chalkier bits. I think this is something to do with some kind of failure in my washing/curing process combined with the delicacy of the print, but I haven’t worked out what yet.
And one for my daughter (she’s into Death Note):
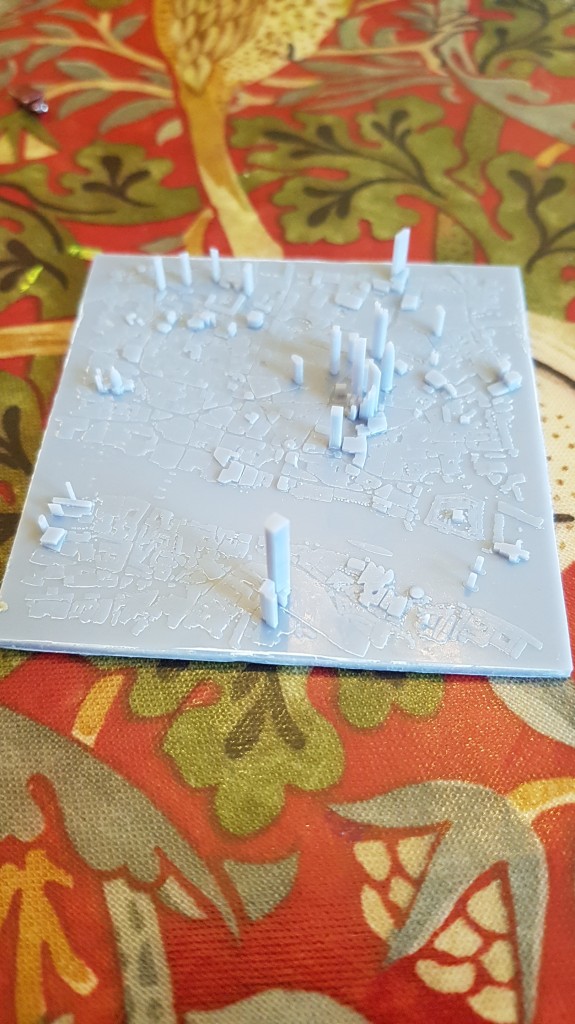
And another for me – a 3D map of the City of London:
The Paraphernalia Spreads…
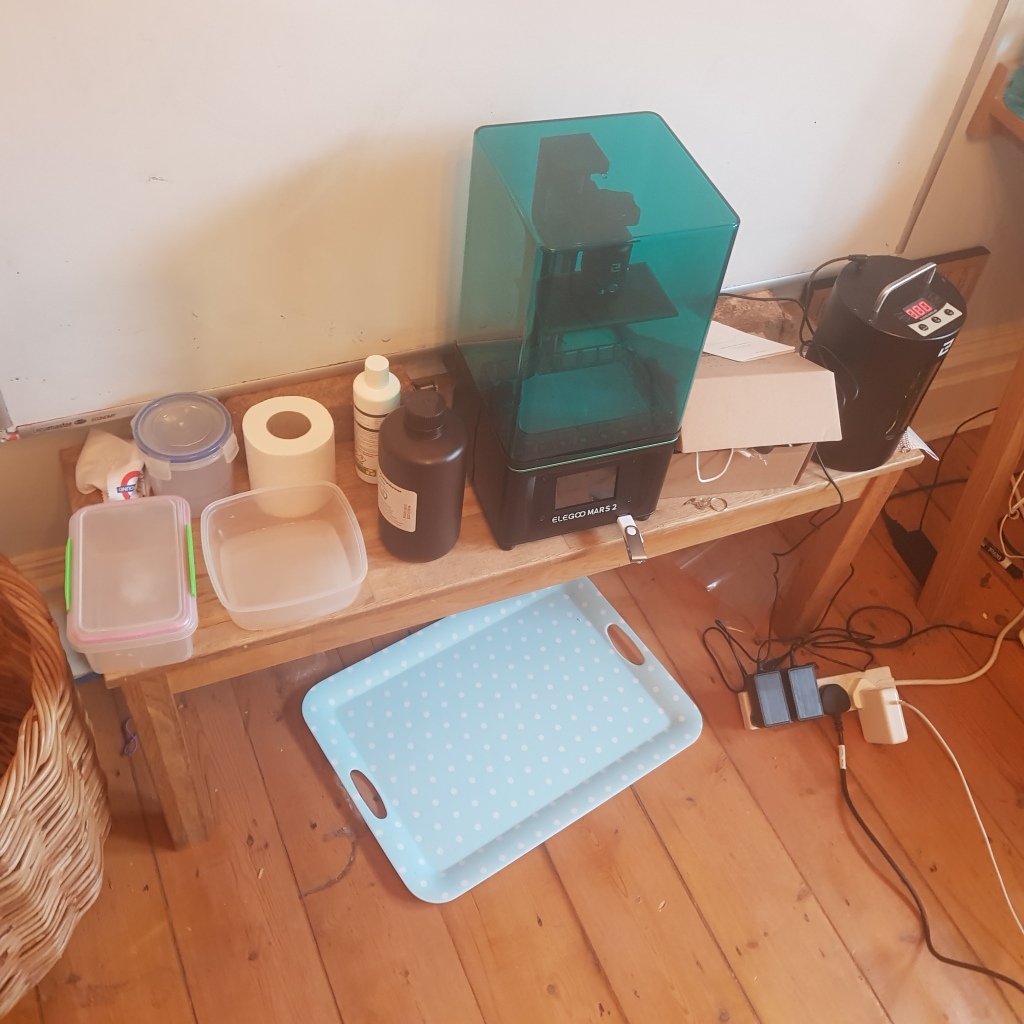
Another echo of the golden age of home computing is the way the paraphernalia around the machine gradually grows. The ‘lab’ quickly started to look like this:
Alongside the machine itself, you can also see the tray, tissue paper, bottles (IPA and resin), curing station, gloves, masks, tools, various tupperware containers, and a USB stick.
It helps if you have a garage, or somewhere to spread out to that other people don’t use during the day.
If you like this, you might like one of my books:
Learn Bash the Hard Way
Learn Git the Hard Way
Learn Terraform the Hard Way

Disaster One
After a failed print (an elephant phone holder for my mother), which sagged halfway through on the plate, the subsequent attempts to print were marked by what sounded like a grinding noise of the plate against the resin vat. It was as though the plate tried to keep going through the vat to the floor of the machine.
I looked up this problem online, and found all sorts of potential causes, and no easy fix. Some fixes talked about attaching ‘spacers’ (?) to some obscure part of the machine. Others talked about upgrading the firmware, and even a ‘factory’. Frustrated with this, I left it alone for a couple of weeks. After re-levelling the plate a couple of times (a PITA, as the vat needed to be carefully removes, gloves and mask on etc), it occurred to me one morning that maybe some hardened material had fallen into the resin vat and that that was what the plate was ‘grinding’ on.
I drained the vat, which was a royal PITA the first time I did it, as my ineptitude resulted in spilled resin due to the mismatch between bottle size and resin filter (the supplied little resin jug is also way to small for purpose). But it was successful, as there were bits caught in the filter, and after re-filling the vat I was happily printing again.
Disaster Two
Excited that I hadn’t spent well north of £200 on a white elephant, I went to print another few things. Now the prints were failing to attach to the plate, meaning that nothing was being printed at all. A little research again, and another draining of the vat later I realised the problem: the plate hadn’t attached to the print, but the base of the print had attached to the film at the bottom of the vat. This must be a common problem, as a plastic wedge is provided for exactly this purpose. It wasn’t too difficult to prise the flat hardened piece of resin off the floor of the vat and get going again.
Talking to my colleague I was told that ‘two early disasters overcome is pretty good going so far’ for 3d printing.
We’re Back
So I was back in business. And I could get back to my original intention to print architectural wonders (history of architecture is an interest of mine). Here’s a nice one of Notre Dame.

Conclusion
When 3d printing works, it’s a joy. There is something magical about creating something so refined out of a smelly liquid.
When it doesn’t work it’s very frustrating. Like speculating on shares, I would only spend money on it you can afford to lose. And like any kind of building, don’t expect the spending to stop on the initial materials.
I think this is the closest I’ll get to the feeling of having one of these in 1975 (the year I was born).

It’s also fun to speculate on what home 3d printing will look like in 45 years…


Great to see what you have been able to print so far – really like the 3D London and Notre Dame! I think we spoke about using water-washable resin – slightly more expensive, but definitely easier to work with. Note – the same rules apply handling this resin with an extra step – cure the water that you use to wash the pieces (you can just leave this outside in a clear container – strain out the resulting resin and put that in the normal waste – then you can discard the water down the drain). And apparently a light coating of PTFE lubricant spray for the bottom of the resin tray stops the print sticking on the FEP film. I would also suggest emptying and cleaning the resin tray each run (unless you are printing another item immediately – even then you might want to clean the resin tray each time). And if you think that is fun – try airbrushing – loads of prep/cleanup for a short burst of painting :-)