Getting started with GIT on Linux
Git is a distributed version control system. It is used for tracking changes in any files. It was designed for coordinating work among programmers operating on source code during the software development process. In this article, I will show you the commands to perform basic operations on a Git repository. We will use the Ubuntu server as an OS. The same commands can work on any of the operating systems and just the installation part will be different.
Pre-requisites
- Ubuntu 20.04
What will we do?
- Initialize a local repository and perform basic operations on it.
- Clone an existing repository and perform basic operations on it.
Initialize a local repository and perform basic operations on it.
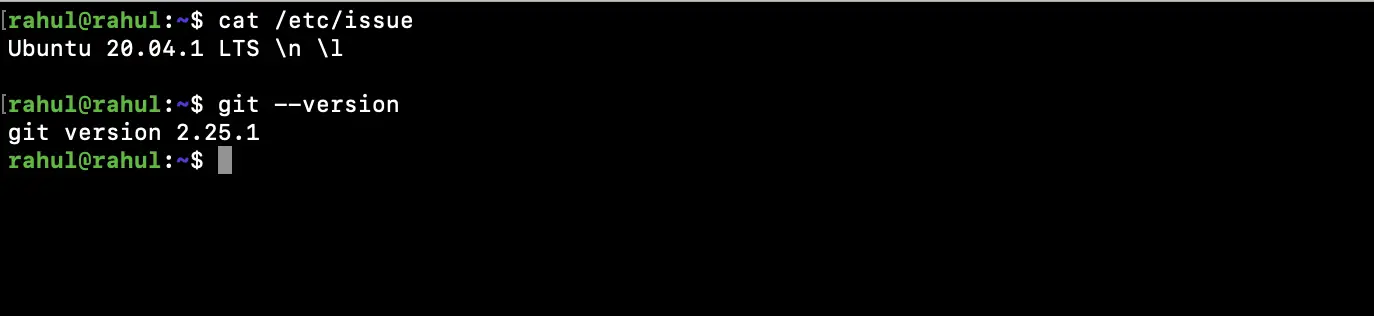
Before you proceed check the operating system you are using and if Git is available on it.
I already have it installed on my Ubuntu 20 0.4 LTS server.
cat /etc/issue
git --version
If you are using the same operating system as mine then you can install it using the following command if you do not have it on to your server.
sudo apt-get install git
Now let's get started with basic operations in Git.
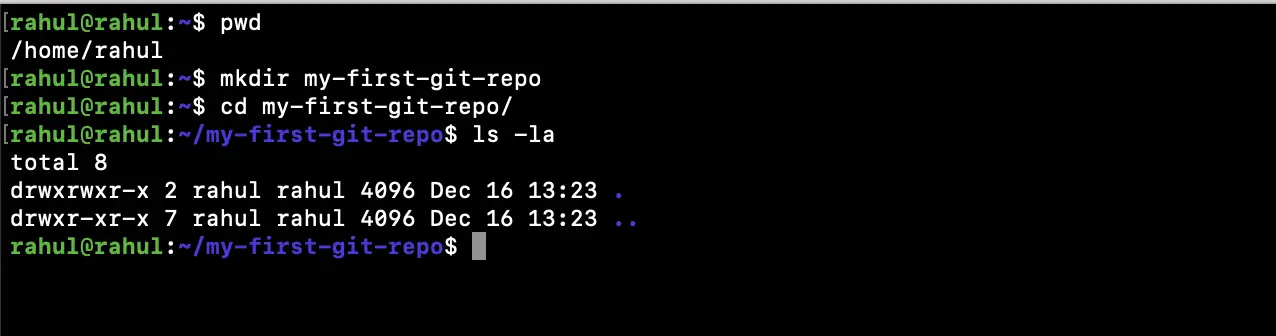
Check the current directory and create a new directory in it. Change your working directory to the directory you created.
pwd
mkdir my-first-git-repo
cd my-first-git-repo/
ls -la
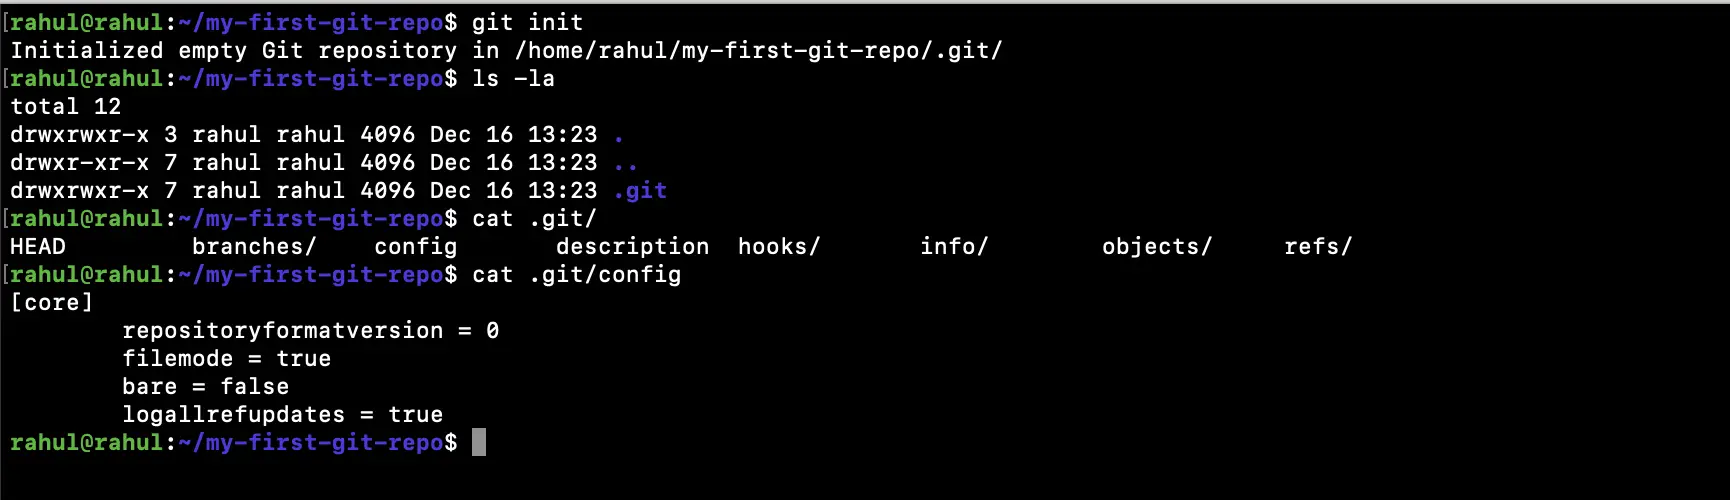
Till this point, we just have a directory that does not contain any files in it and is a simple directory in the Linux system. Use is the following command to convert the simple directory into a Git repository.
git init
ls -la
Now you can see that a new hidden folder has been created with Git configurations in it.
cat .git/config
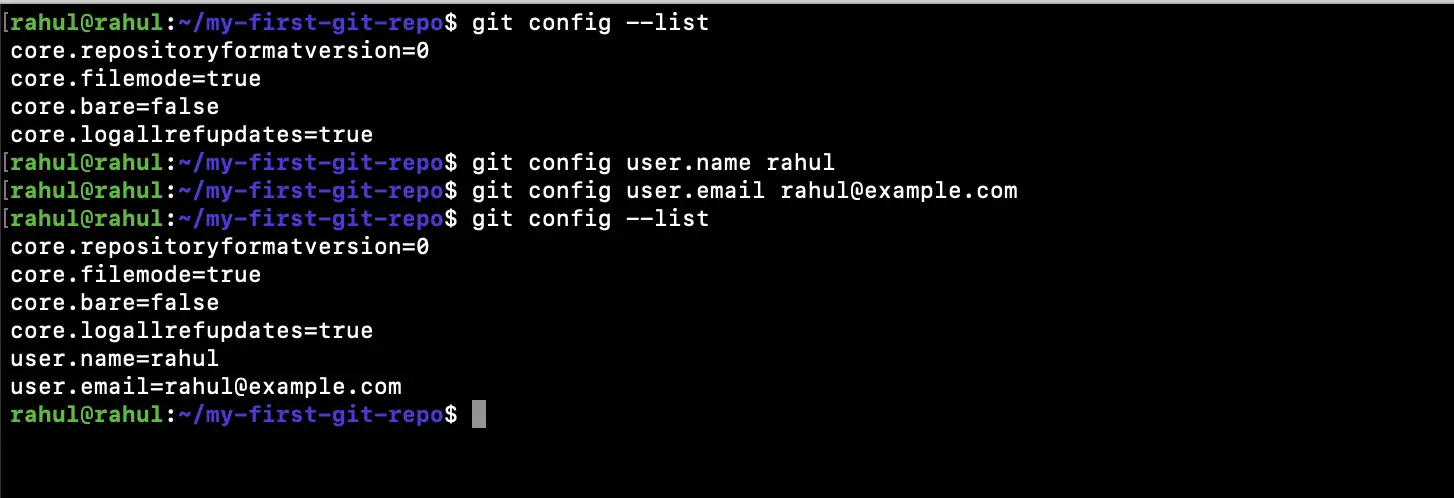
Upon initializing a Git repository it does not contain the user identity. To set a user name and email ID as user identity use the following commands. This identity is appended in the Git log messages.
git config --list
git config user.name rahul
git config user.email [email protected]
git config --list
Once you set the user identity and and list the config you can see that the username and email have been set.
You can even check the username and email ID which has been set as a user identity using the following commands.
git config user.name
git config user.email

The above commands set user identity which is limited to a particular repository.
Can even set user identity which will be used by all the repositories on your machine and it is known as global identity. If you set the global identity, the repositories which do not have a local identity will use this global identity while committing the messages.
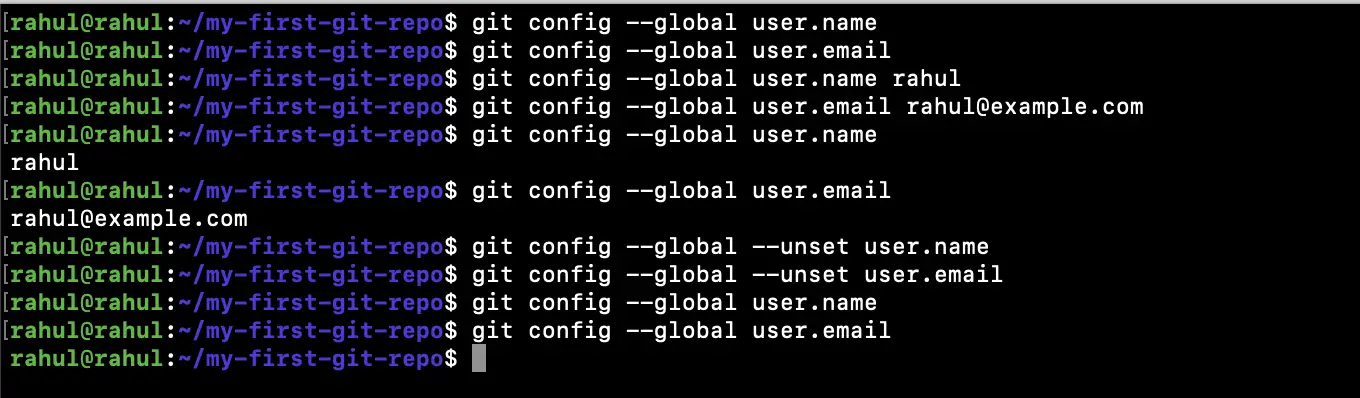
If the global identity is not set and you try to list the username and email you won't get any information.
git config --global user.name
git config --global user.email
But once you set the username and email ID and after that you check the identity you can see it being displayed.
git config --global user.name rahul
git config --global user.email [email protected]
git config --global user.name
git config --global user.email
Anyone and state the global identity using the following commands.
git config --global --unset user.name
git config --global --unset user.email
git config --global user.name
git config --global user.email
Check the following screenshot for your reference purpose
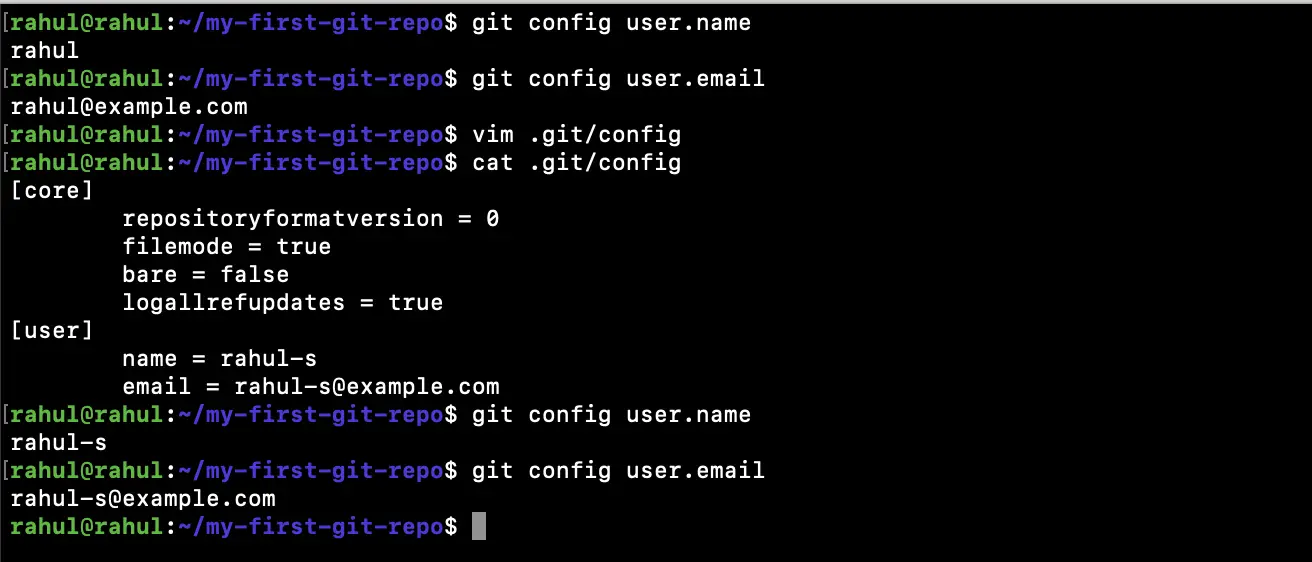
Now you know that you can check your local identity using the commands but you can even check what has been set by reading .git/config file.
git config user.name
git config user.email
If you read the content of .git/config file, you will see that the username and email have been set in this file. And this is from where the local identity is used. Can even change the identity by editing the same file.
vim .git/config
cat .git/config
git config user.name
git config user.email
Once you have your commit identity set for your local repository, the next step is to create a file and add it to the repository.
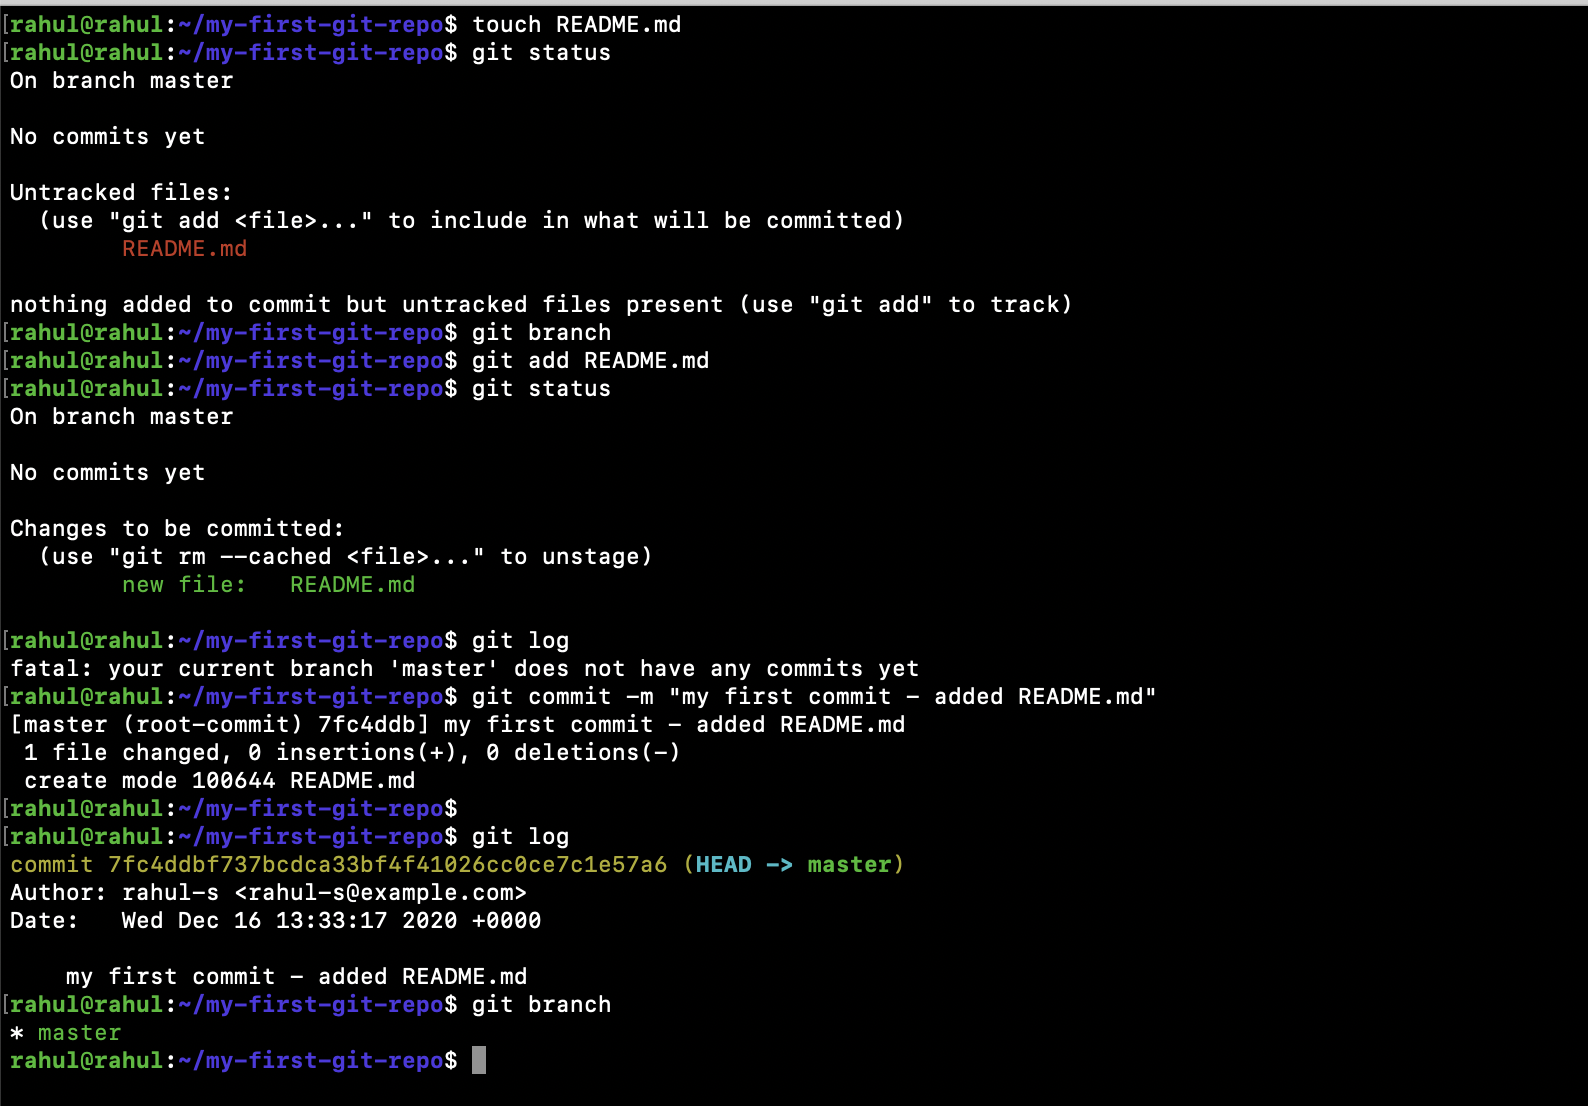
Let's create an empty file in the local repository.
touch README.md
After adding the file if you check the status of the repository you will see that the file is now untracked by Git.
git status
git branch
Before you commit your file to Git you need to add it first. Use the following command to add your file to Git so that it will be ready for the commit.
git add README.md
git status
git log
While committing a file to the Git repository you need to add a message to it.
git commit -m "my first commit - added README.md"
Now, upon checking the logs you will see that the file has been committed with the message that we specified in the commit.
git log
By default your commits are added to the master branch.
git branch
Clone an existing repository and perform basic operations on it
Till this point, we worked with a repository on our local system.
Now, we will see performing a few operations on an existing repository. If you do not have an existing repository on a code hosting platform, such as Github, for version control and collaboration then first create an account on Github to create a repository.
You can create an account on Github here.
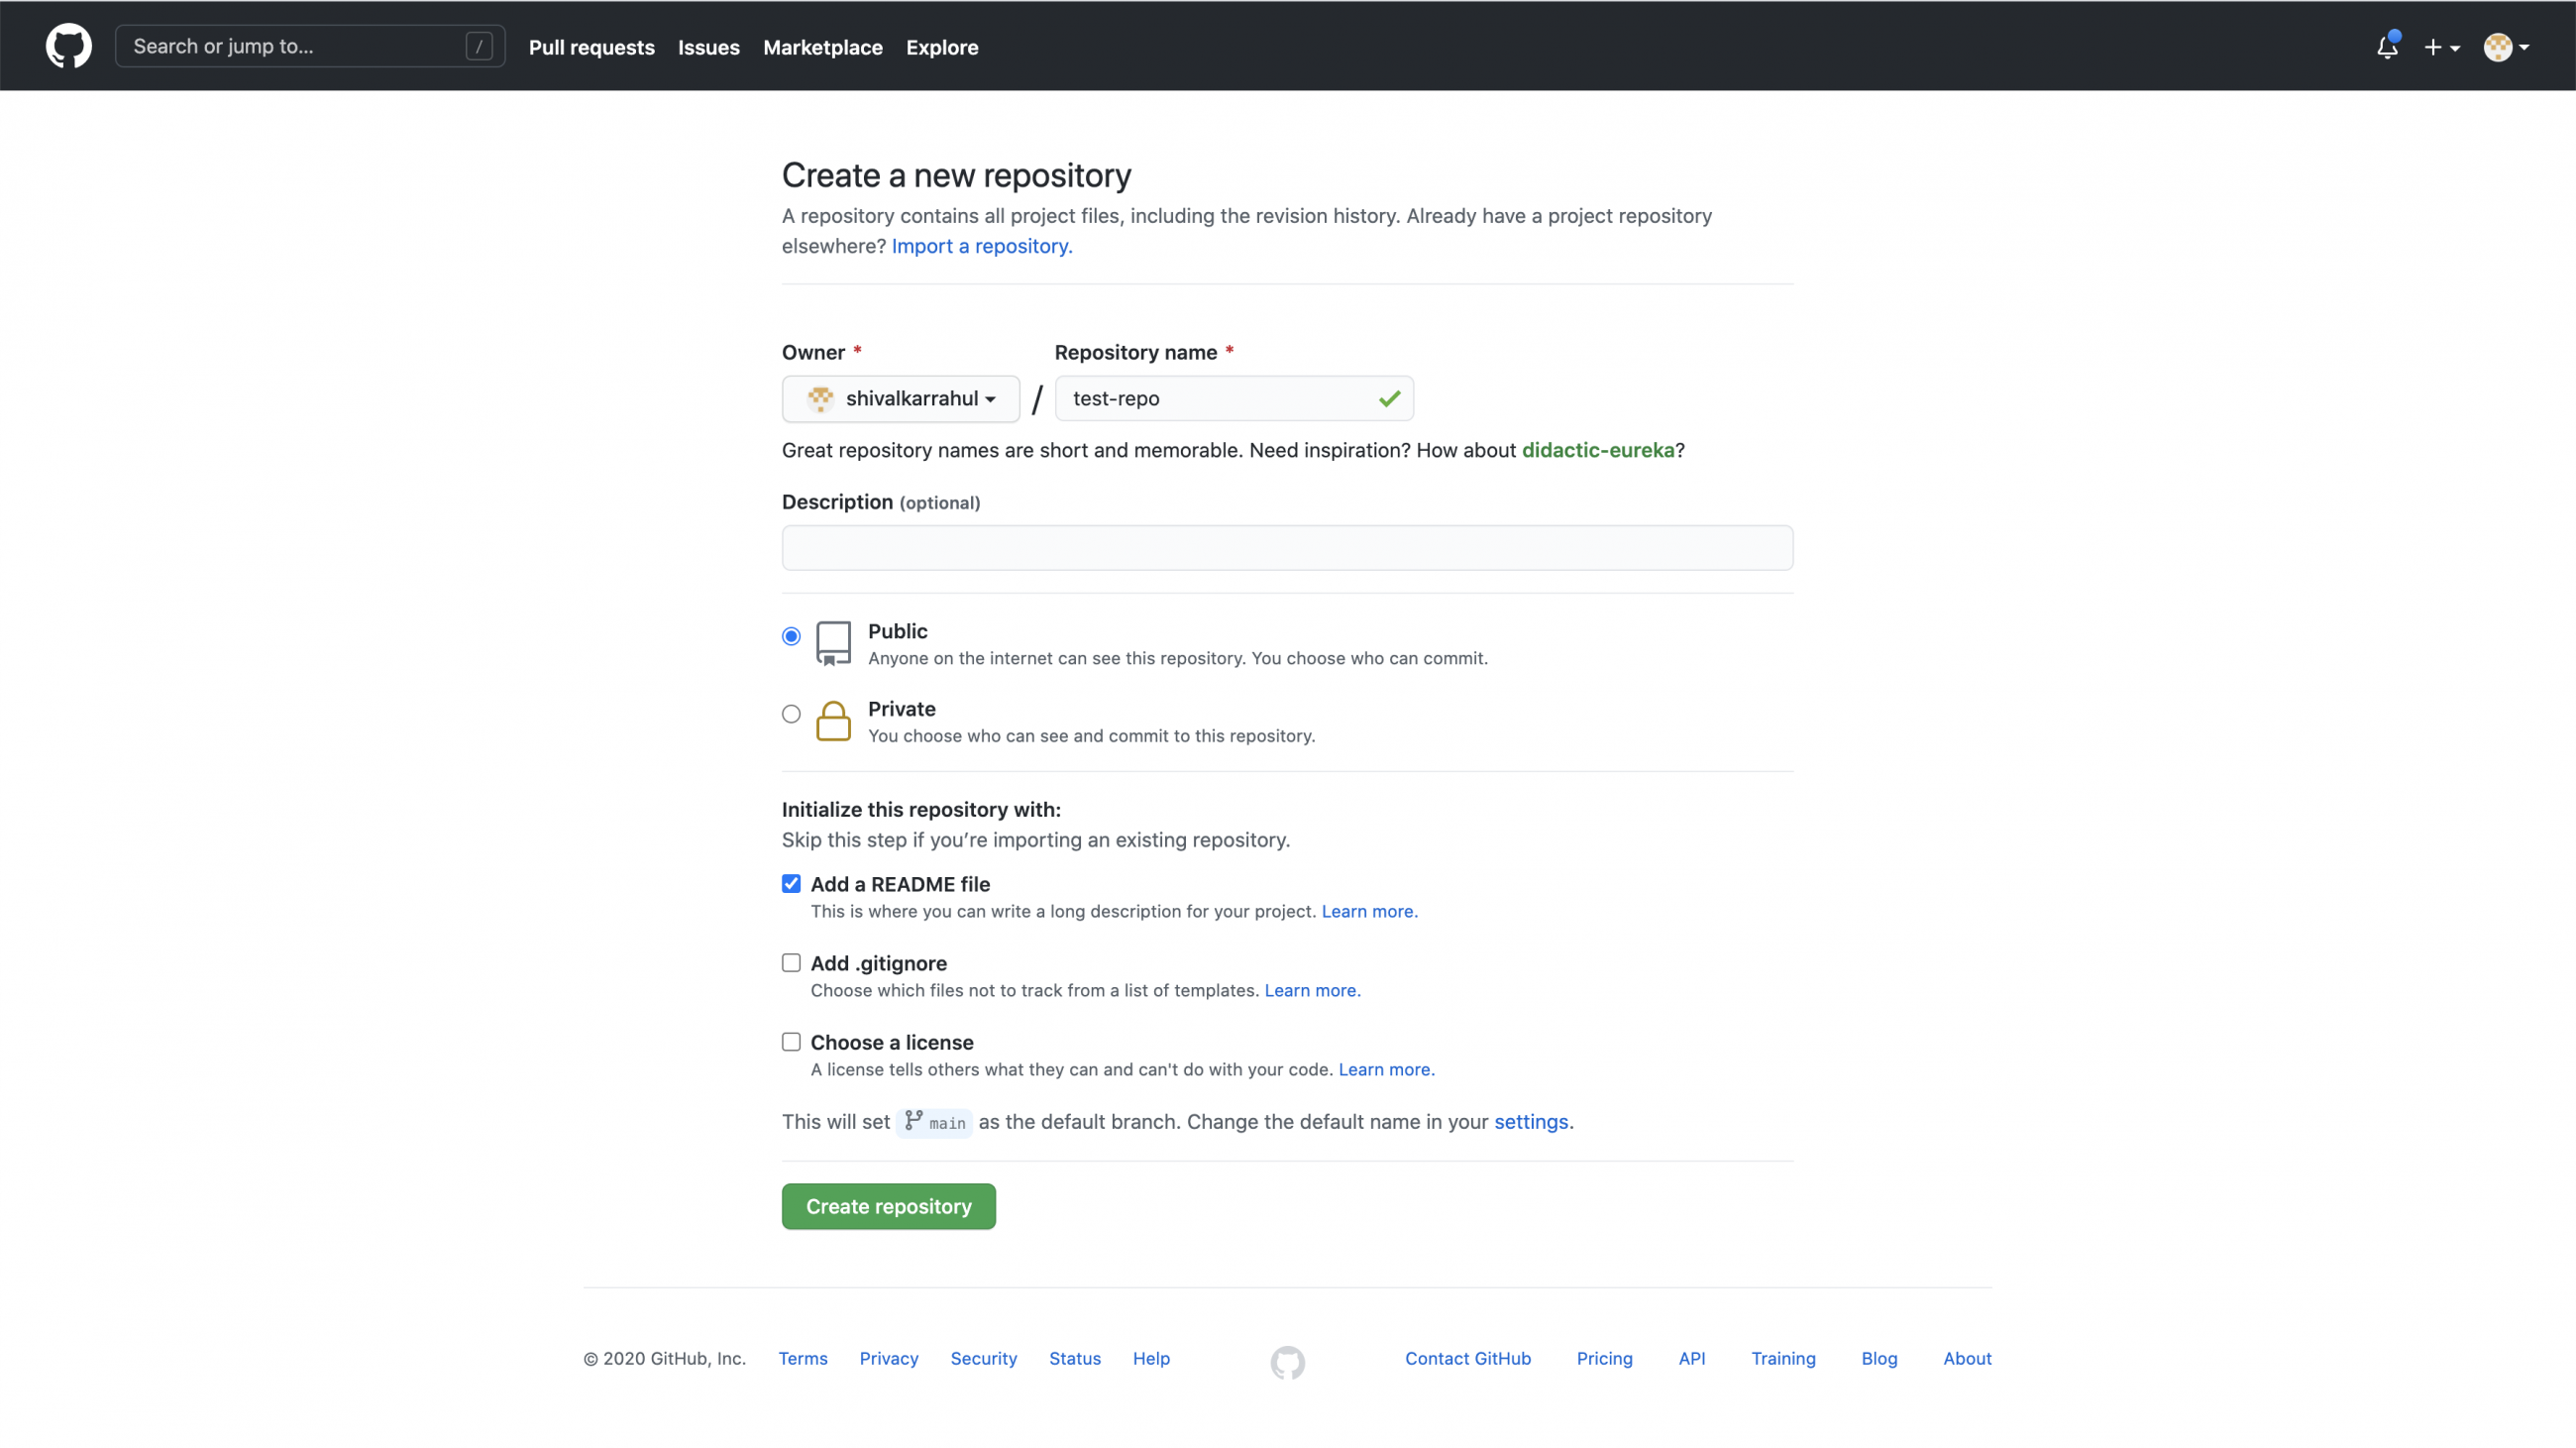
Once you create an account on Github it's time to create a new repository. To create a repository click on the "+" icon in the top right of the screen and click on the "New repository" option.
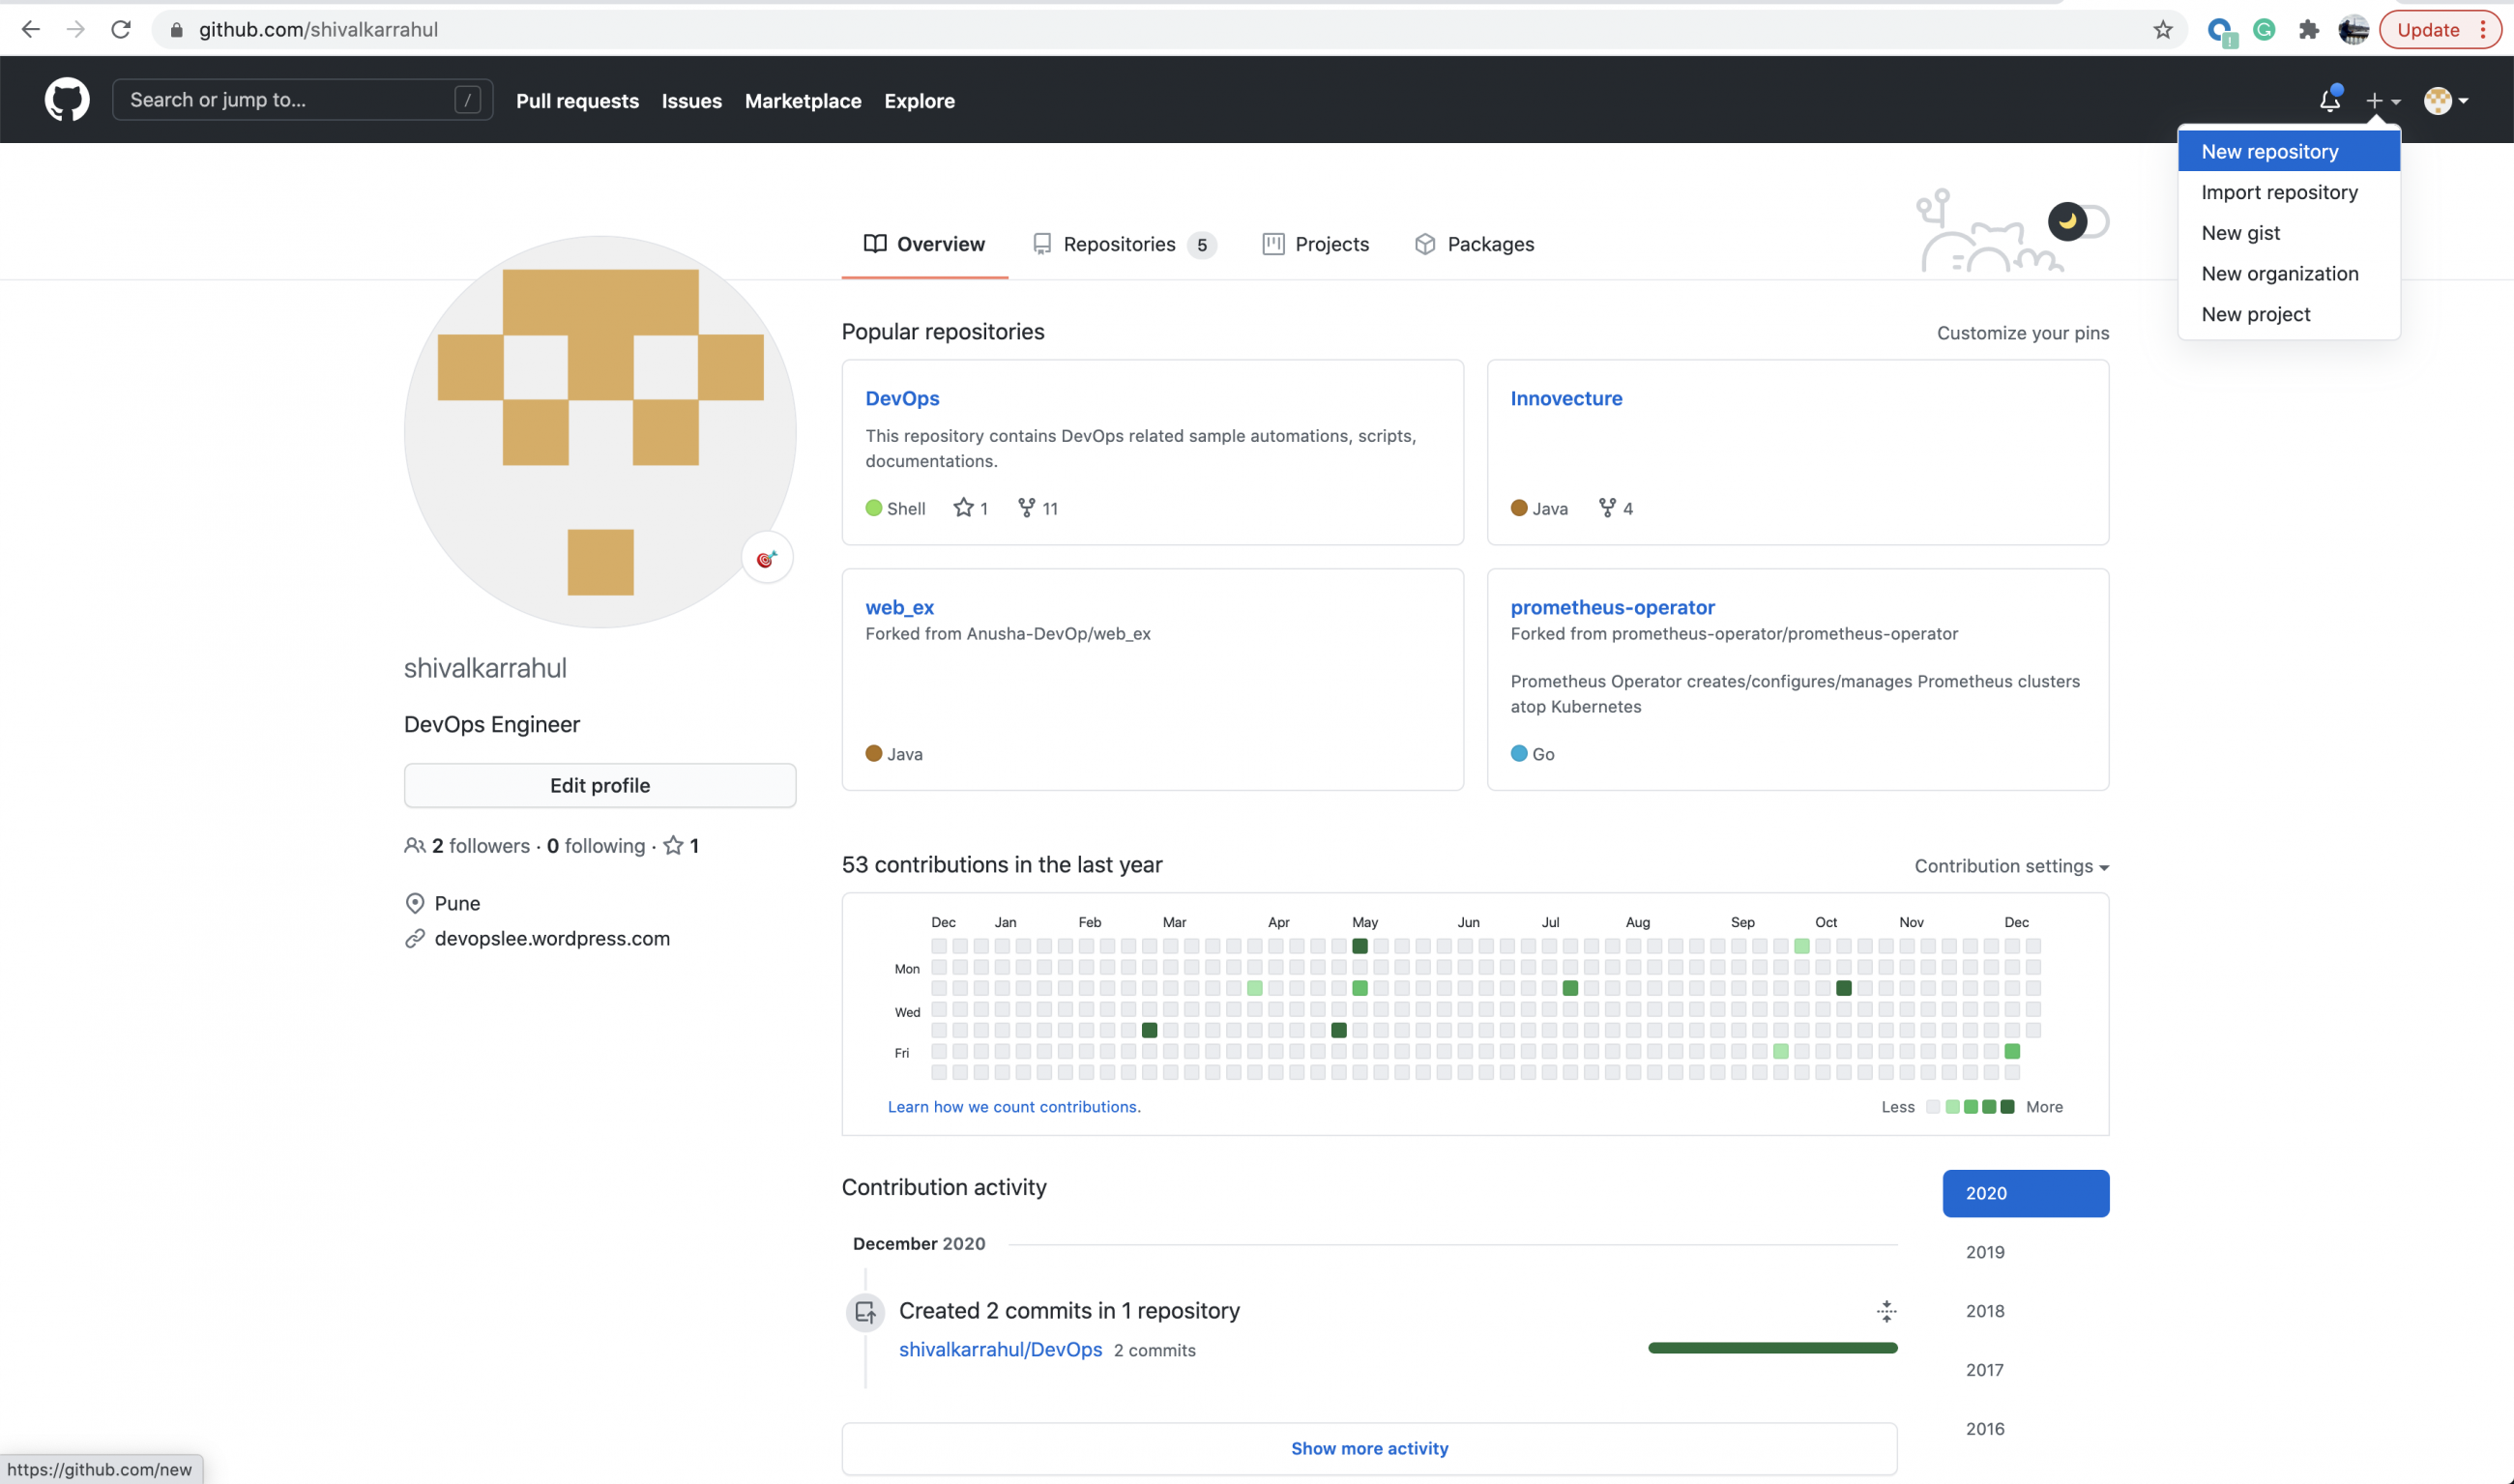
Give a name to the repository to be created and set its access level as private or public based on your requirement.You can even add a readme file while creating the repository. Click on the "Create repository" button to create a repository with the configuration you specified.
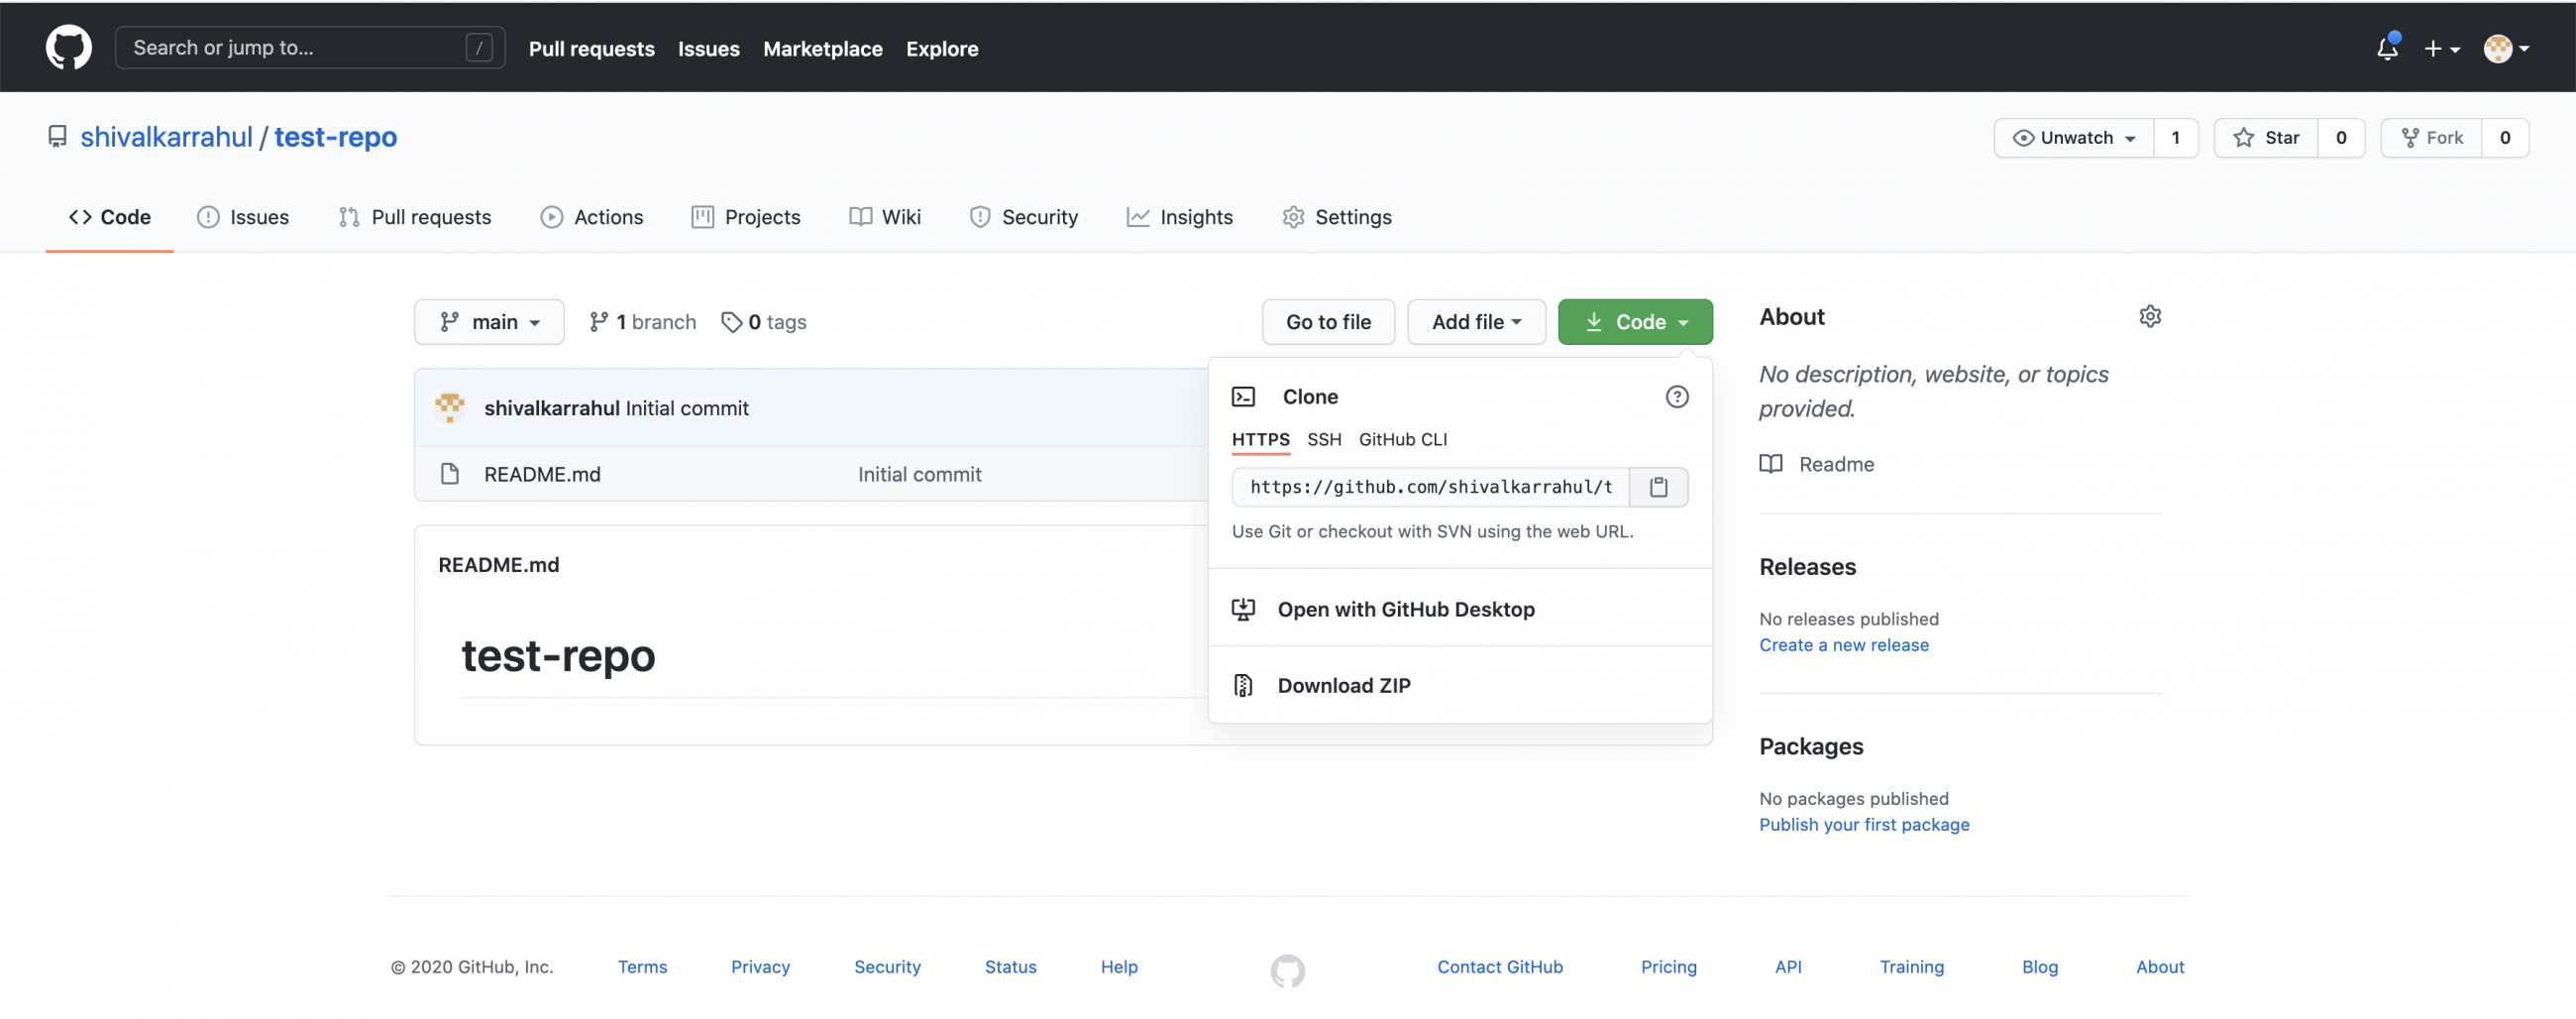
Once you create a repository the next step is to clone it on your local system. To get its URL click on "Code" and copy the URL from HTTPS section.
Go back to your system and change your working directory
pwd
cd ..
pwd
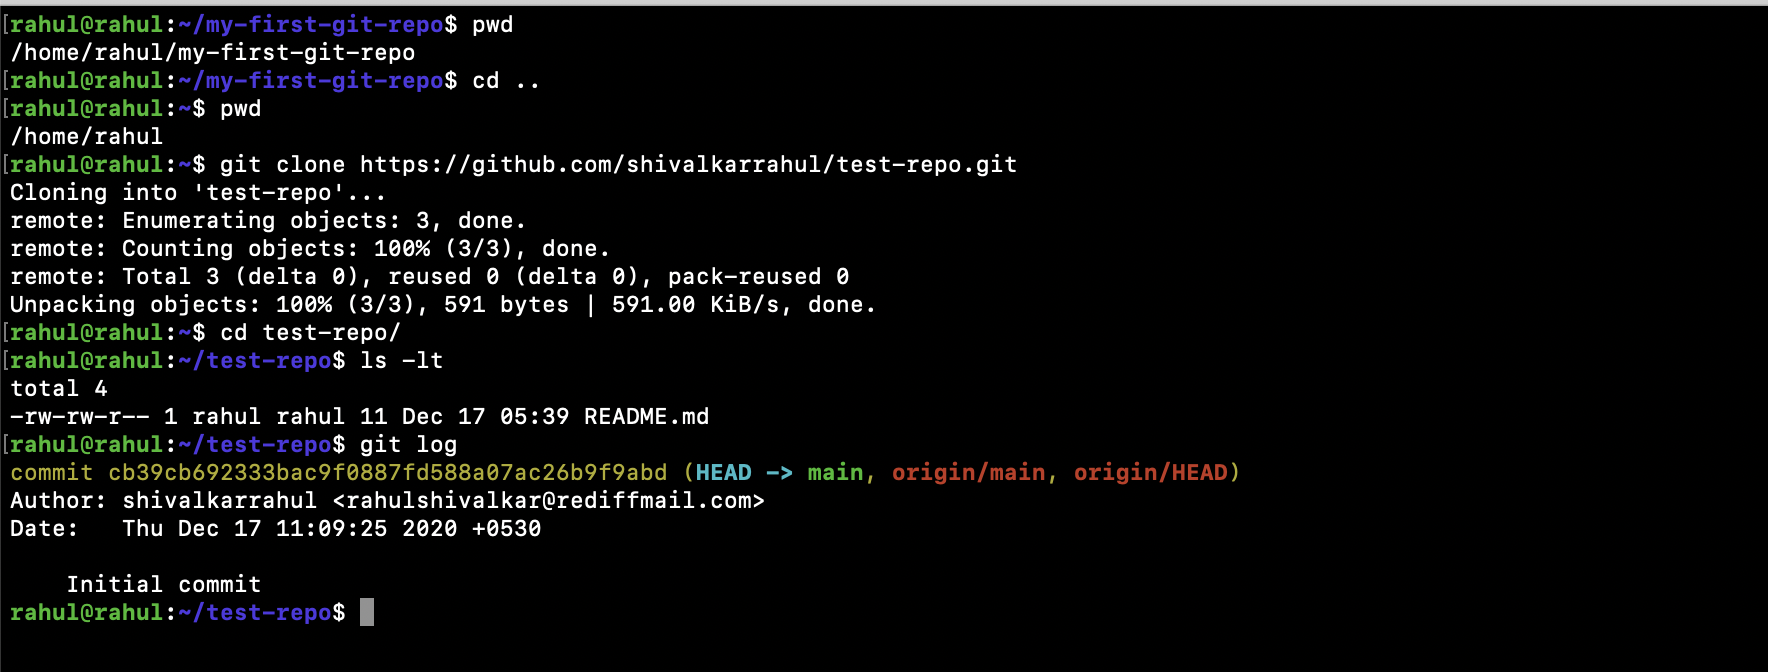
Clone the repository on your local machine using the following command, You need to specify your Git URL.
git clone <your-repository-URL>
cd test-repo/
ls -lt
The above command will clone your repository from Github to your local machine and now if you check the Git log you will see one log message with the initial commit which I added a README.md file.
git log
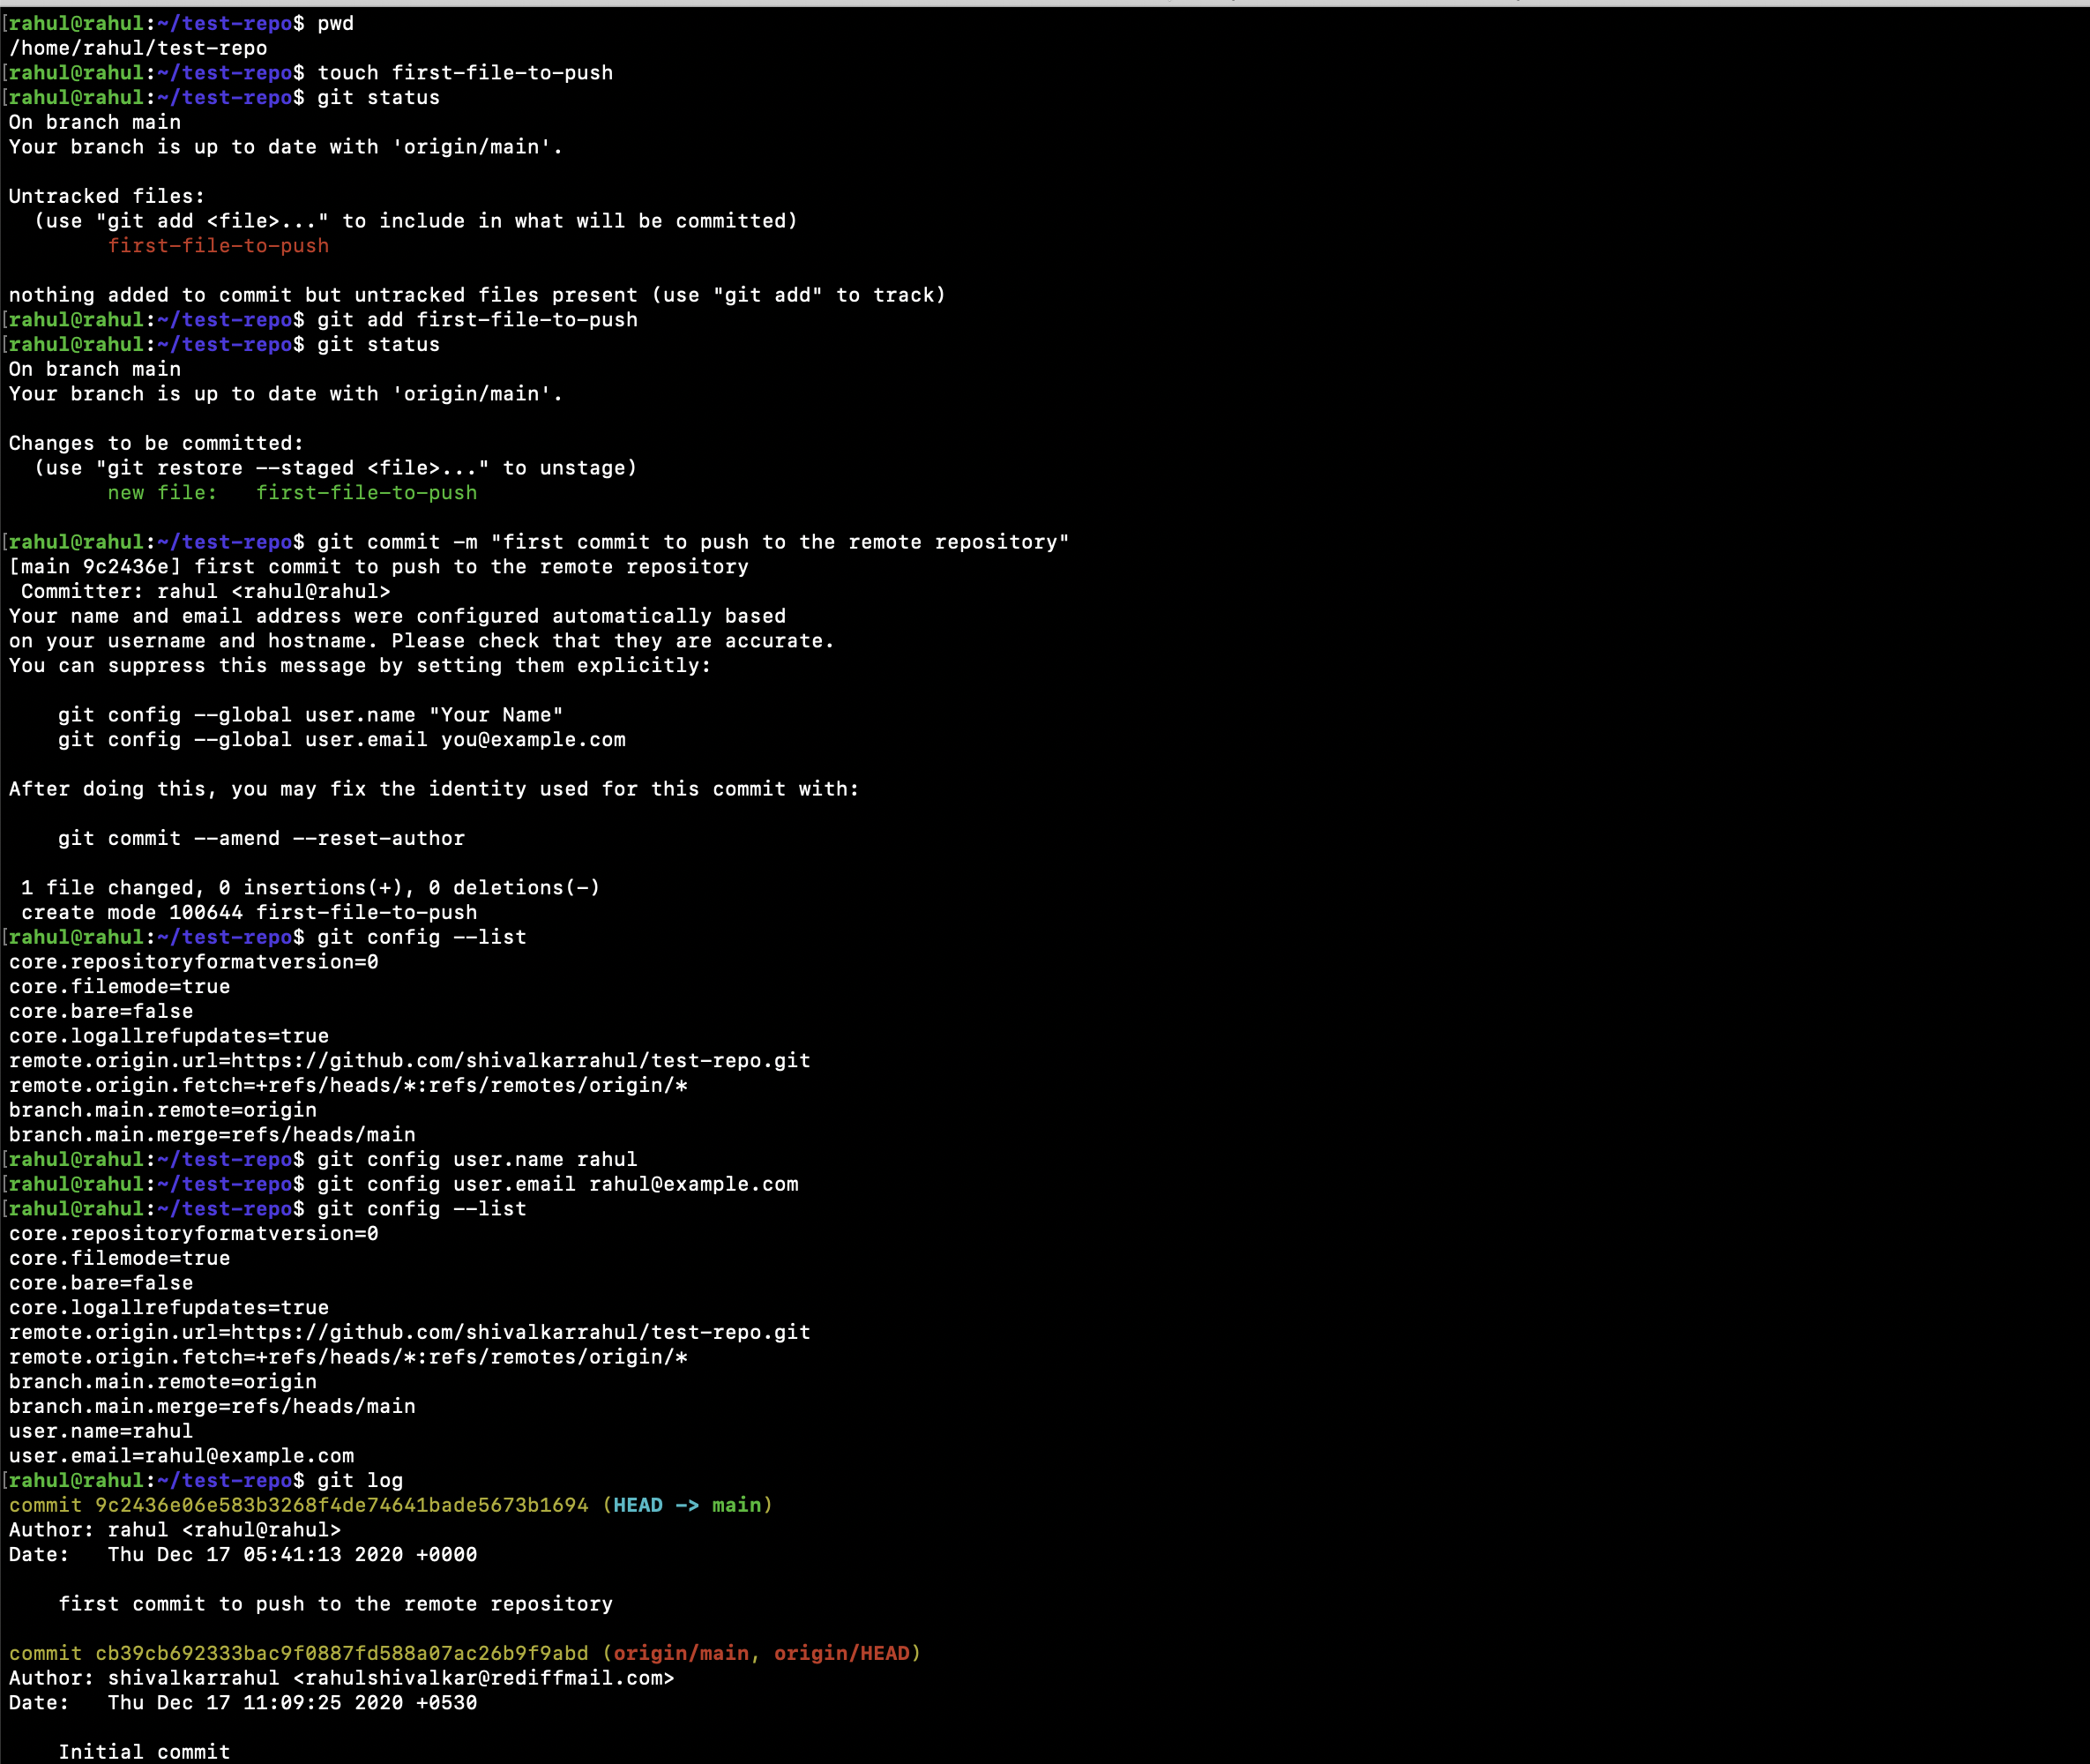
Now let's create a new file, add it to Git and commit it with a message.
pwd
touch first-file-to-push
git status
git add first-file-to-push
git status
git commit -m "first commit to push to the remote repository"
Upon committing, you'll be asked to set your user identity
git config --list
git config user.name rahul
git config user.email [email protected]
git config --list
git log
After you set your user identity you can fix the identity in the commit we did.
To fix the identity, execute the following command. You will get an editor and there you can change the commit if required.
git commit --amend --reset-author
Upon checking the Git log, you will see the log has the identity you set and the commit you fixed.
git log
git status
You are all set to push your local changes to the remote repository. The following command to push changes to Github in your repository.
git push

You can now find your changes in the remote repository. Go to the repository and you can find the commit and the file you added.
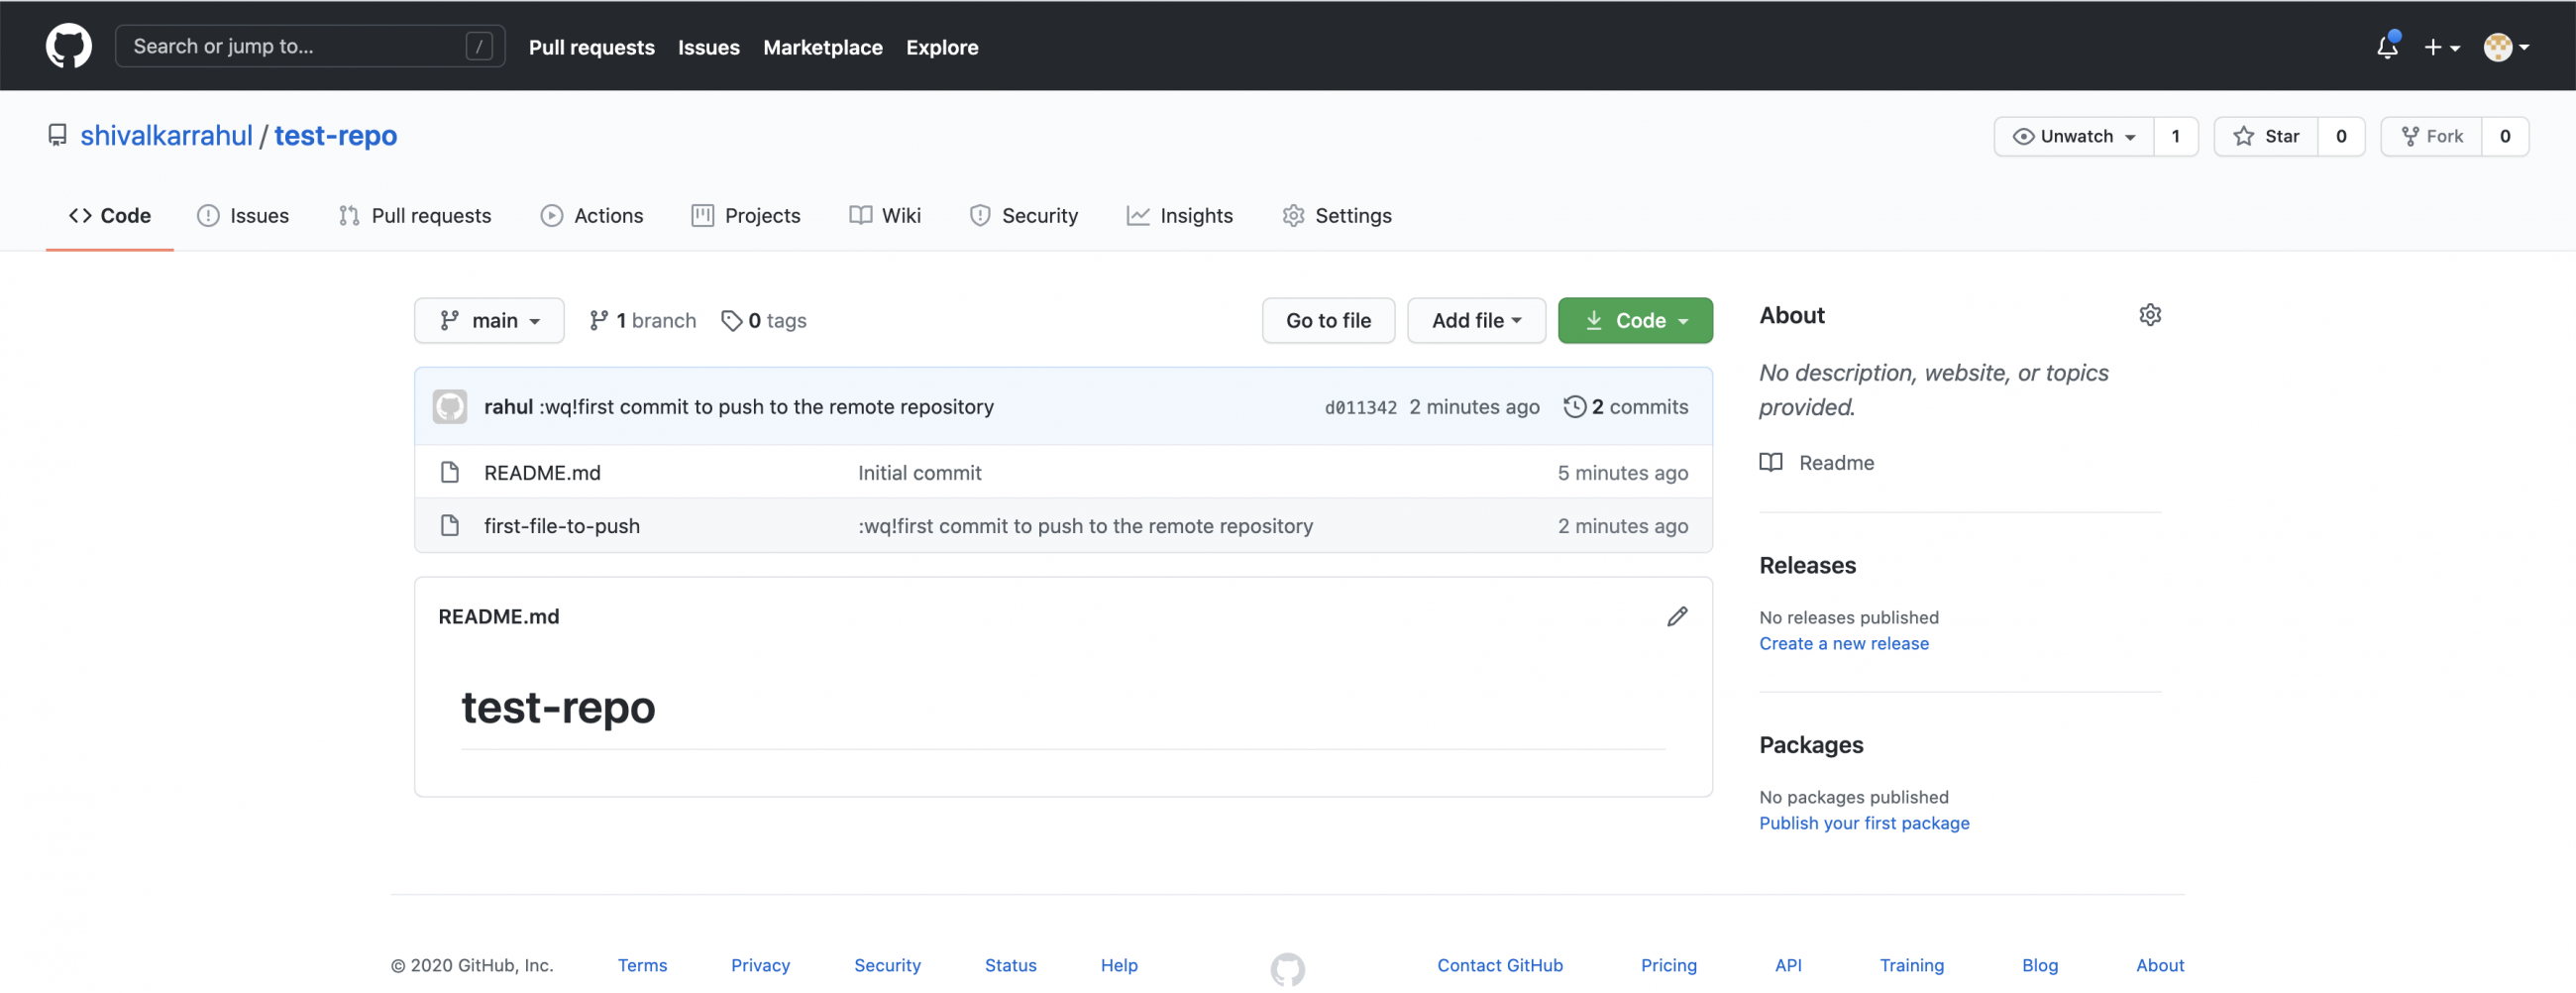
Sometimes you may need to exclude particular files from being added to the repository.
pwd
ls -la
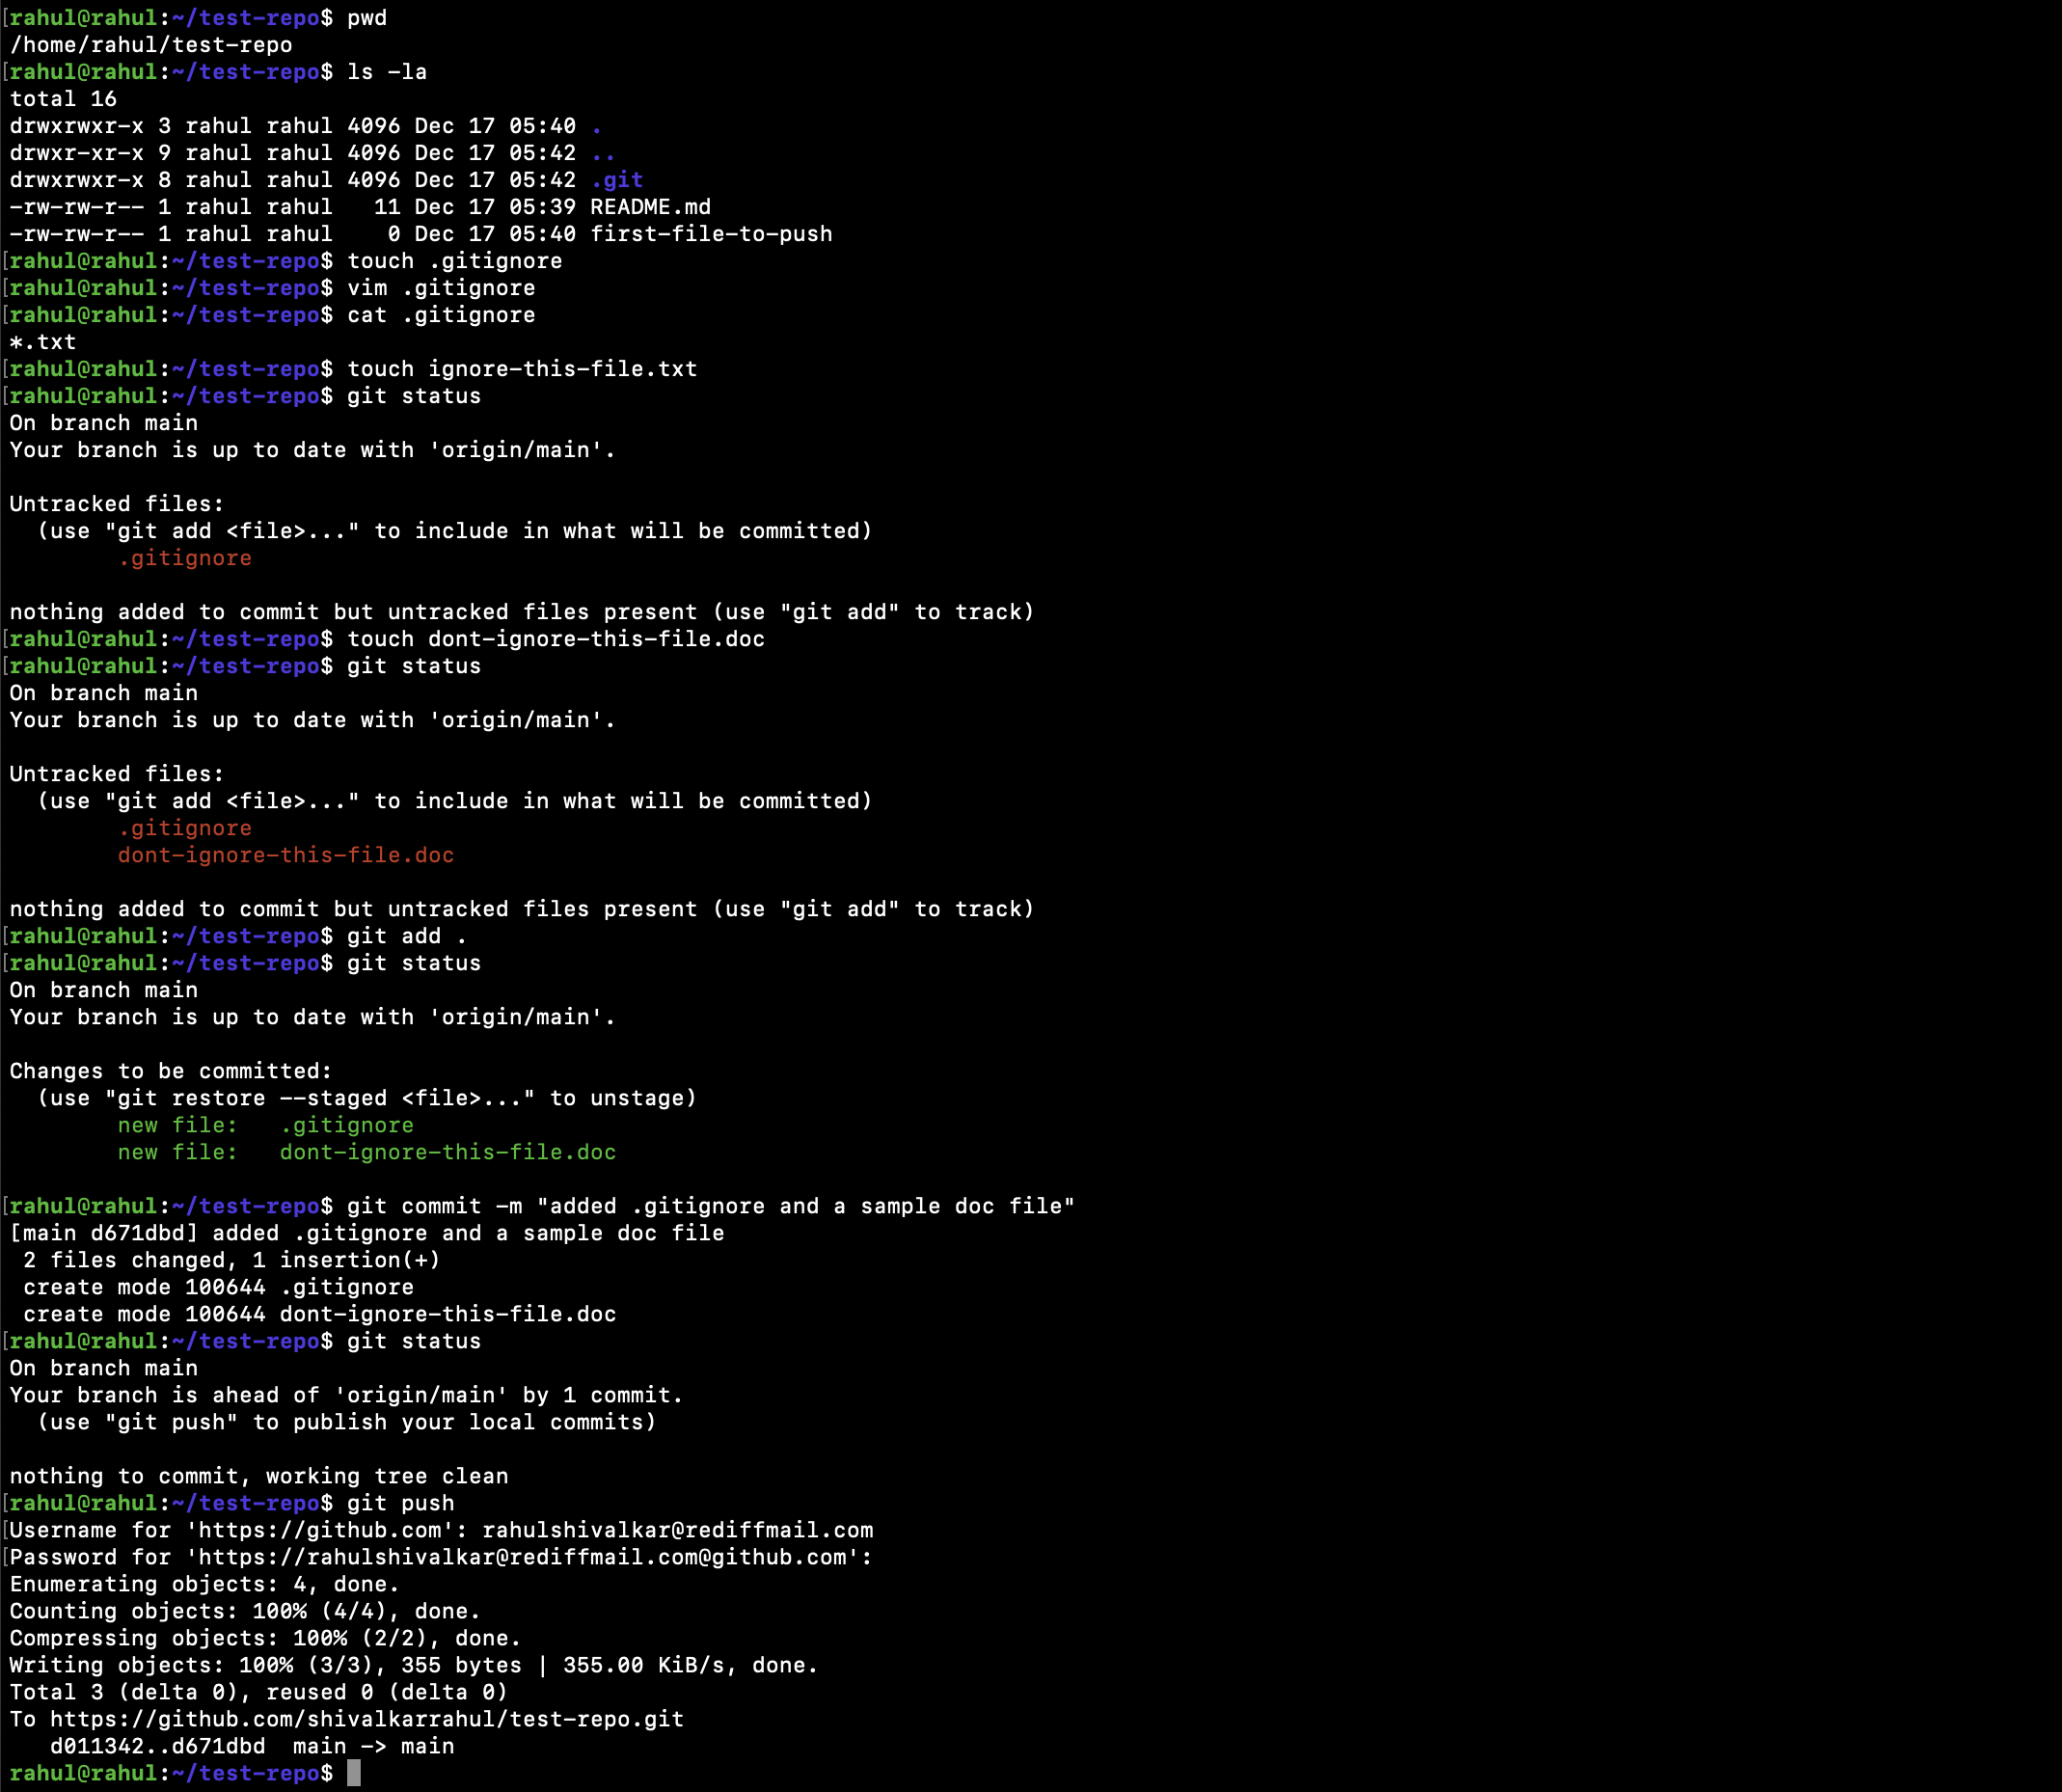
You can create a .gitignore file and add the pattern of files to be ignored by Git.
touch .gitignore
vim .gitignore
Here, I have added "*.txt" which will ignore all files ending with ".txt".
cat .gitignore
After you add a pattern to the .gitignore file and create a file of that pattern in the repository, the file will be ignored by Git.
Since we have added *.txt and now if we try to create a file ending with .txt, it will be ignored by Git in the "git add" operation.
touch ignore-this-file.txt
git status
The files which do not match the pattern will not be ignored by Git
touch dont-ignore-this-file.doc
git status
You can then add all the files in the repository and commit them with a message. You will notice that the files which have been ignored will not get added.
git add .
git status
git commit -m "added .gitignore and a sample doc file"
git status
Once the files have been added and committed with a message, they are ready to be pushed to the remote repository.
git push
If you ever feel like removing your files from the repository, you can use the "git rm " command.
pwd
ls -lt
git status
git rm dont-ignore-this-file.doc
git status
ls -la
After removing the file you can then commit and push your changes to the repository.
git commit -m "git removed dont-ignore-this-file.doc "
git status
git push
Conclusion
In this article, we created a directory on the local system and initialized it as a Git repository. We performed basic operations as git add, git commit on this repository. We also created a repository on Github and cloned it on the local server and performed basic operations like git add, git commit, git push, git rm. We also saw Git can ignore files with a particular pattern.

