How to Install OCS Inventory Asset Management Software CentOS 8
OCS "Open Computers and Software Inventory Next Generation" is an open-source assets management solution that allows you to inventory IT assets. It works by collecting the hardware and software information of the remote machine running the OCS client program and visualize the inventory through a web interface. It uses SNMP protocol to gather information from the network printers, switches, computer, etc.
In this tutorial, we will explain how to install OCS inventory on CentOS 8 server.
Prerequisites
- A server running CentOS 8.
- A valid domain name pointed with your server IP. In this tutorial, we will use ocs.example.com domain.
- A root password is configured the server.
Getting Started
Before starting, you will need to install the EPLE and REMI repository to your server. You can install both by running the following command:
dnf install https://dl.fedoraproject.org/pub/epel/epel-release-latest-8.noarch.rpm
dnf install https://rpms.remirepo.net/enterprise/remi-release-8.rpm
Once both packages are installed, you will also need to install the dnf-utils package and enable the PowerTools repo. You can do that by running the following command:
dnf install dnf-utils -y
dnf config-manager --set-enabled PowerTools
After installing both packages, you can proceed to the next step.
Install Apache, MariaDB, and PHP
OCS runs on the webserver, uses MariaDB as a database backend, and written in PHP. So, you will need to install the Apache webserver, MariaDB database server, PHP, and other required PHP extensions to your server.
First, install the Apache and MariaDB server with the following command:
dnf install httpd mariadb-server -y
After installing both packages, you will need to install PHP version 7.3 on your server. By default, the PHP 7.3 is not available in the CentOS default repository. So you will need to enable the REMI repository and install PHP 7.3 from the REMI repository.
First, enable the REMI PHP repository by running the following command:
yum-config-manager --enable remi
Next, reset the default PHP module and enable the REMI PHP 7.3 module by running the following command:
dnf module reset php
dnf module install php:remi-7.3
Once the PHP version 7.3 module is enabled, you can install the PHP version 7.3 with other required extensions by running the following command:
dnf install php php-curl php-zip php-gd php-soap php-xml php-mbstring php-fpm mod_perl unzip curl -y
After installing all the packages, you will need to edit the php.ini file and make some desired changes. You can edit it with the following command:
nano /etc/php.ini
Change the following values as per your requirements:
upload_max_filesize = 10M
post_max_size = 10M
max_execution_time = 300
max_input_time = 300
memory_limit = 256M
Save and close the file when you are finished then start the Apache, MariaDB and PHP-FPM service and enable them to start at system reboot with the following command:
systemctl start httpd
systemctl start php-fpm
systemctl start mariadb
systemctl enable httpd
systemctl enable php-fpm
systemctl enable mariadb
Once you are finished, you can proceed to the next step.
Configure MariaDB Database
By default, MariaDB root password is not set in CentOS 8. So you will need to set it first. You will also need to secure the MariaDB installation. You can set it by running the following command:
mysql_secure_installation
You will be asked to set your MariaDB root password, Remove anonymous user, Disallow root login remotely, Remote test database, and Reload the privileges as shown below:
Enter current password for root (enter for none):
OK, successfully used password, moving on...
Set root password? [Y/n] Y
Remove anonymous users? [Y/n] Y
Disallow root login remotely? [Y/n] Y
Remove test database and access to it? [Y/n] Y
Reload privilege tables now? [Y/n] Y
Once the MariaDB root password is set, log in to the MariaDB shell with the following command:
mysql -u root -p
Provide your root password when prompt then create a database and user with the following command:
MariaDB [(none)]> CREATE DATABASE ocsweb;
MariaDB [(none)]> GRANT ALL PRIVILEGES ON ocsweb.* TO ocs@localhost IDENTIFIED BY "password";
Next, flush the privileges and exit from the MariaDB shell with the following command:
MariaDB [(none)]> FLUSH PRIVILEGES;
MariaDB [(none)]> EXIT;
At this point, MariaDB is secured and the database is configured for OCS. You can now proceed to the next step.
Install OCS Inventory
By default, the OCS package is not available in the CentOS 8 default repository. So you will need to install OCS repo in your system. You can install it with the following command:
dnf install https://rpm.ocsinventory-ng.org/ocsinventory-release-latest.el8.ocs.noarch.rpm -y
Once the OCS repository is installed, install the OCS with the following command:
dnf install ocsinventory -y
After installing OCS, you will need to import the OCS database. You can import it with the following command:
mysql -u root -p ocsweb < /usr/share/ocsinventory-reports/ocsreports/files/ocsbase.sql
You will be asked to provide your MariaDB root password to import the database.
Next, you will need to enable the rewrite module for apache. You can enable it by editing the file /etc/httpd/conf/httpd.conf:
nano /etc/httpd/conf/httpd.conf
Add the following line at the end of the file:
LoadModule rewrite_module modules/mod_rewrite.so
Save and close the file when you are done then restart the Apache service to apply the configuration changes.
systemctl restart httpd
You can now verify the status of the Apache service with the following command:
systemctl status httpd
You should get the following output:
? httpd.service - The Apache HTTP Server
   Loaded: loaded (/usr/lib/systemd/system/httpd.service; disabled; vendor preset: disabled)
  Drop-In: /usr/lib/systemd/system/httpd.service.d
           ??php-fpm.conf
   Active: active (running) since Tue 2020-10-27 04:40:05 EDT; 6min ago
     Docs: man:httpd.service(8)
 Main PID: 10742 (/usr/sbin/httpd)
   Status: "Total requests: 150; Idle/Busy workers 100/0;Requests/sec: 0.386; Bytes served/sec:  11KB/sec"
    Tasks: 278 (limit: 12523)
   Memory: 150.2M
   CGroup: /system.slice/httpd.service
           ??10742 /usr/sbin/httpd -DFOREGROUND
           ??10744 /usr/sbin/httpd -DFOREGROUND
           ??10745 /usr/sbin/httpd -DFOREGROUND
           ??10746 /usr/sbin/httpd -DFOREGROUND
           ??10747 /usr/sbin/httpd -DFOREGROUND
           ??10959 /usr/sbin/httpd -DFOREGROUND

Oct 27 04:40:05 centos8 systemd[1]: Starting The Apache HTTP Server...
At this point, OCS inventory is installed and configured in your server. You can now proceed to the next step.
Configure Selinux and Firewall
By default, SELinux is enabled in CentOS 8. So you will need to configure it for your OCS inventory.
You can configure the SELinux with the following command:
setsebool httpd_can_network_connect on -P
chcon -R -t httpd_sys_rw_content_t /usr/share/ocsinventory-reports
Next, allow port 80 and 443 through the firewall with the following command:
firewall-cmd --permanent --add-service=http
firewall-cmd --permanent --add-service=https
firewall-cmd --reload
Once you are done, you can proceed to the next step.
Access OCS Inventory Web UI
Now, open your web browser and access the OCS web interface using the URL http://your-server-ip/ocsreports/install.php. You will be redirected to the following screen:
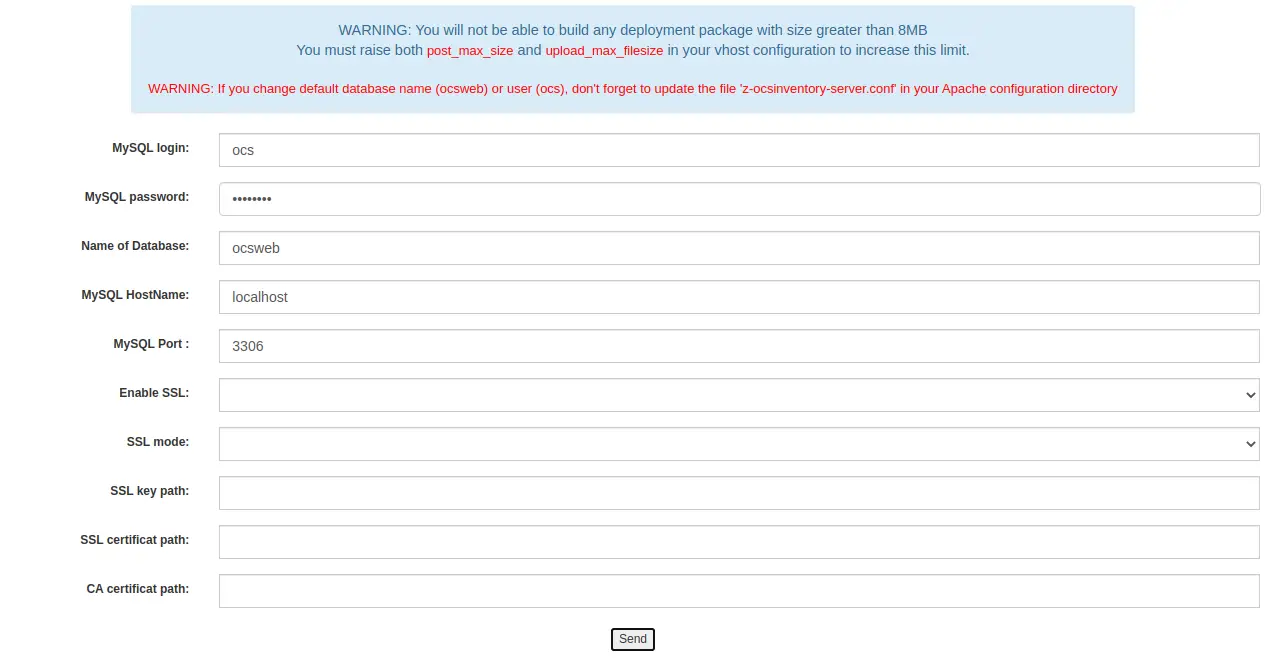
Provide your MariaDB database connection details and click on the Send button. You should see the following screen:
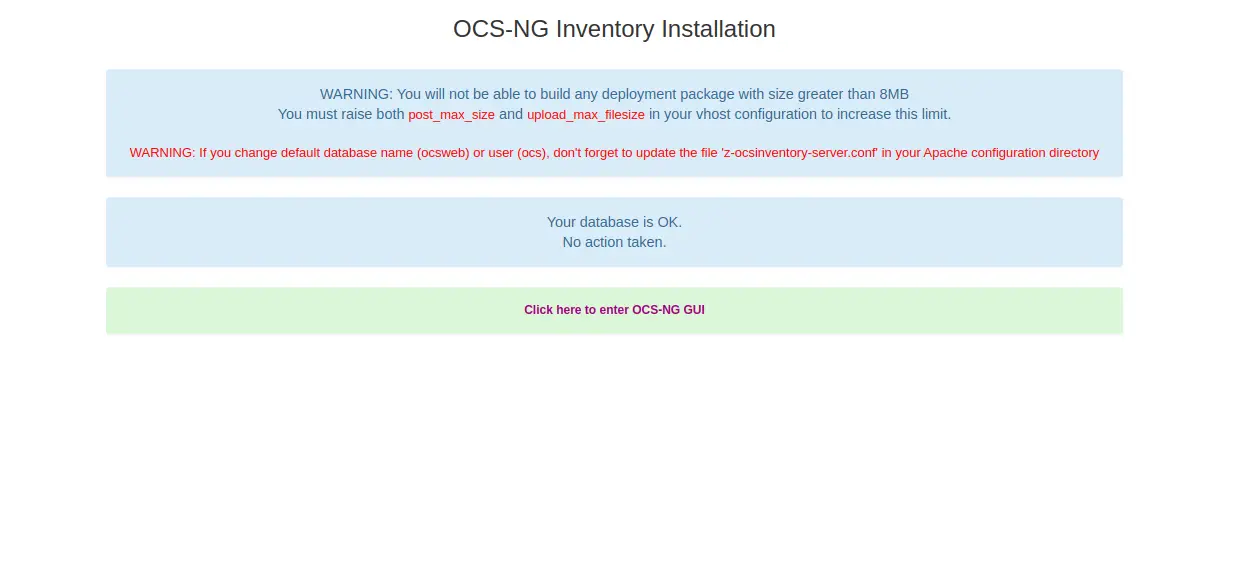
Now, click on the Click here to enter OCS-NG GUI. You will be asked to perform the database update as shown below:
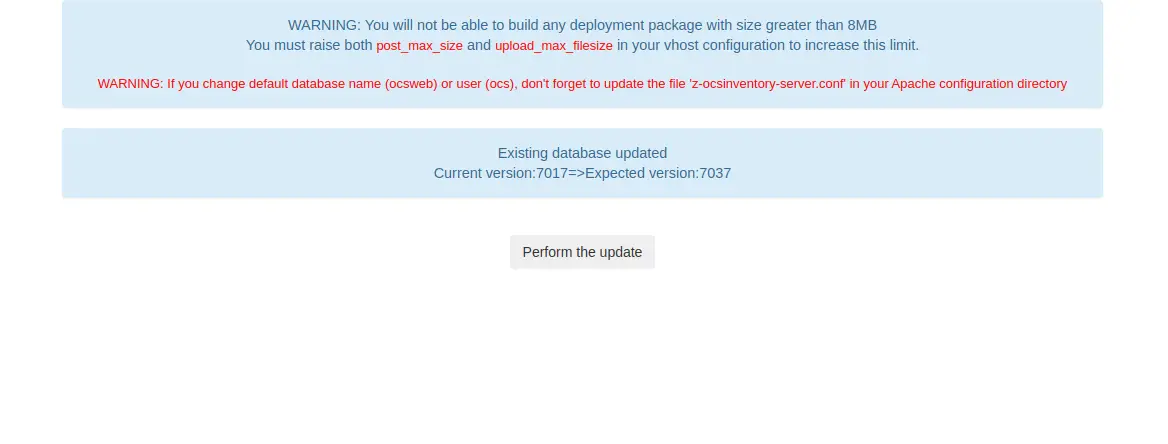
Click on the Perform the update button. Once the database is updated, you should see the following screen:
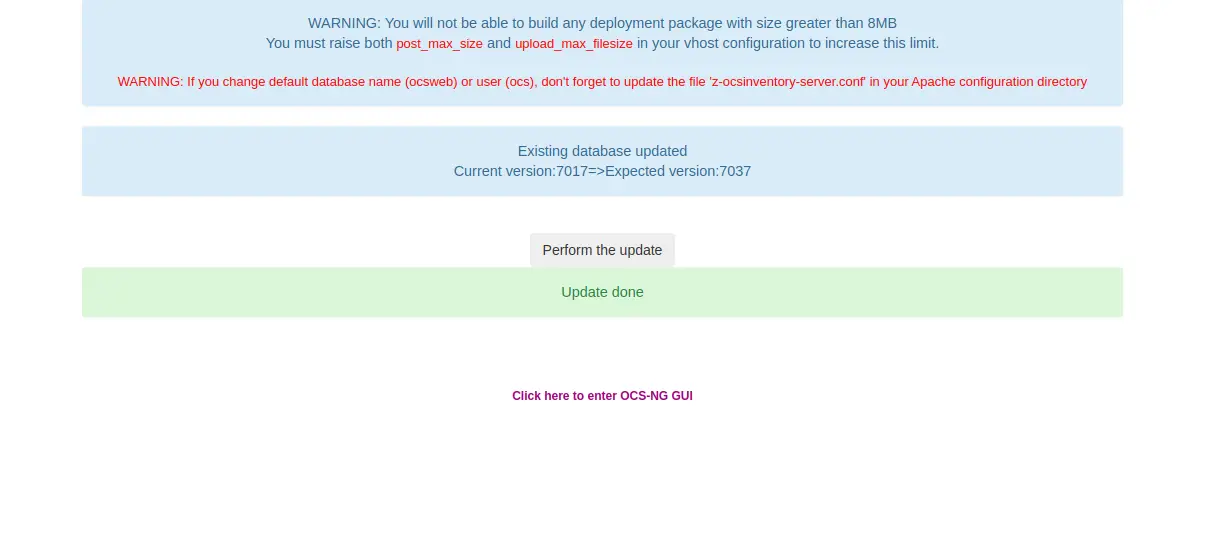
Click on the Click here to enter OCS-NG GUI. You will be redirected to the OCS login screen:

Provide default username as admin and the password as admin then click on the Send button. You should see the OCS dashboard in the following screen:
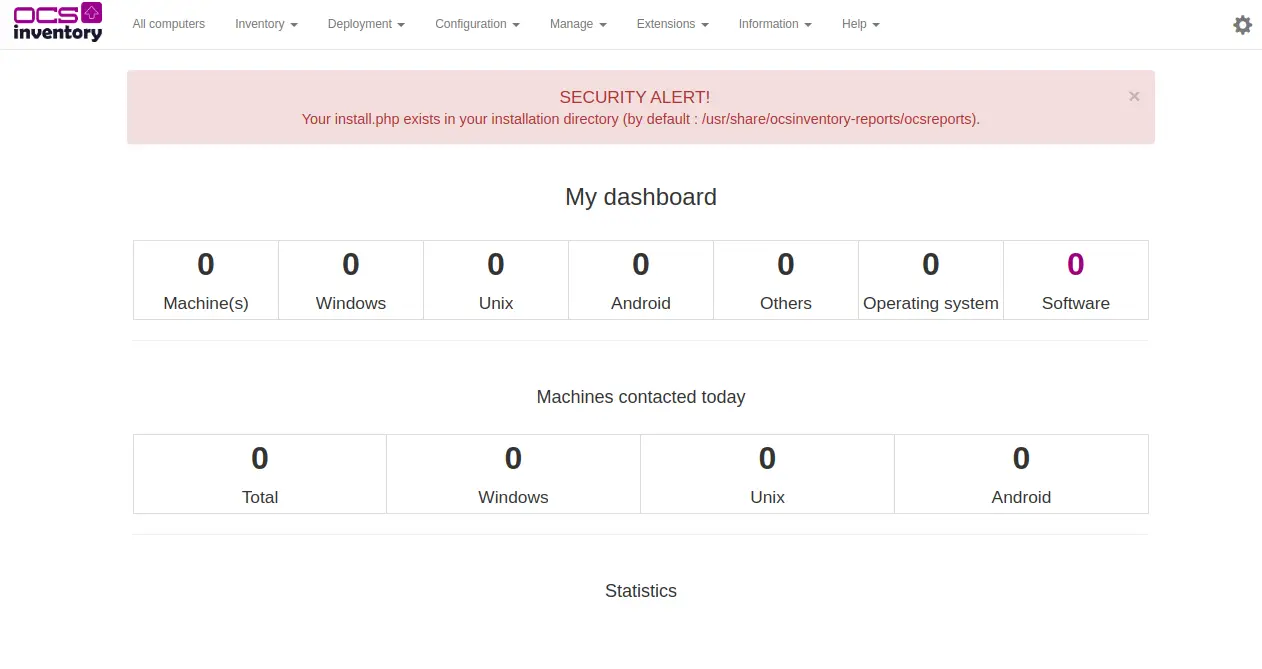
Click on the All computers menu. You should see the following screen:

Next, it is recommended to remove the installation script. You can remove it with the following command:
rm -rf /usr/share/ocsinventory-reports/ocsreports/install.php
Conclusion
Congratulations! you have successfully installed and configured the OCS inventory server on CentOS 8. You can now install the OCS inventory agents on the remote machines and start collecting software and hardware information. Feel free to ask me if you have any questions.

