Manage operations on S3 Bucket using aws-cli from the EC2 instance
We can create and manage the S3 bucket using the AWS console. Sometimes there can be a need where we want to create and perform operations on the S3 Bucket from the command line. If you are not aware of the S3 bucket and would like to learn about it click here where you can find an article about the S3 bucket written by me.
Before we proceed with this article I assume you are familiar with the S3 bucket.
In this article, we will see the steps and commands to create an S3 bucket from the command line and perform basic operations on it like copy files, sync files, etc.
Pre-requisites
- AWS Account (Create if you don’t have one).
- Basic understanding of S3 Bucket (Click here to learn more about S3 Buckets).
- Ubuntu 20.04 EC2 Instance(Click here to learn about the EC2 instance and the steps to create it from the AWS Console. You can choose an AMI of Ubuntu 20.04 instead of 18.04).
- IAM Role with S3FullAccess Policy attached to it (Click here to learn to create an IAM Role).
What will we do?
- Login to AWS Account.
- Install aws-cli.
- Attach an IAM Role to the EC2 instance.
- Create a Bucket using aws-cli.
- Perform the basic operation on S3 Bucket using aws-cli.
Login to AWS
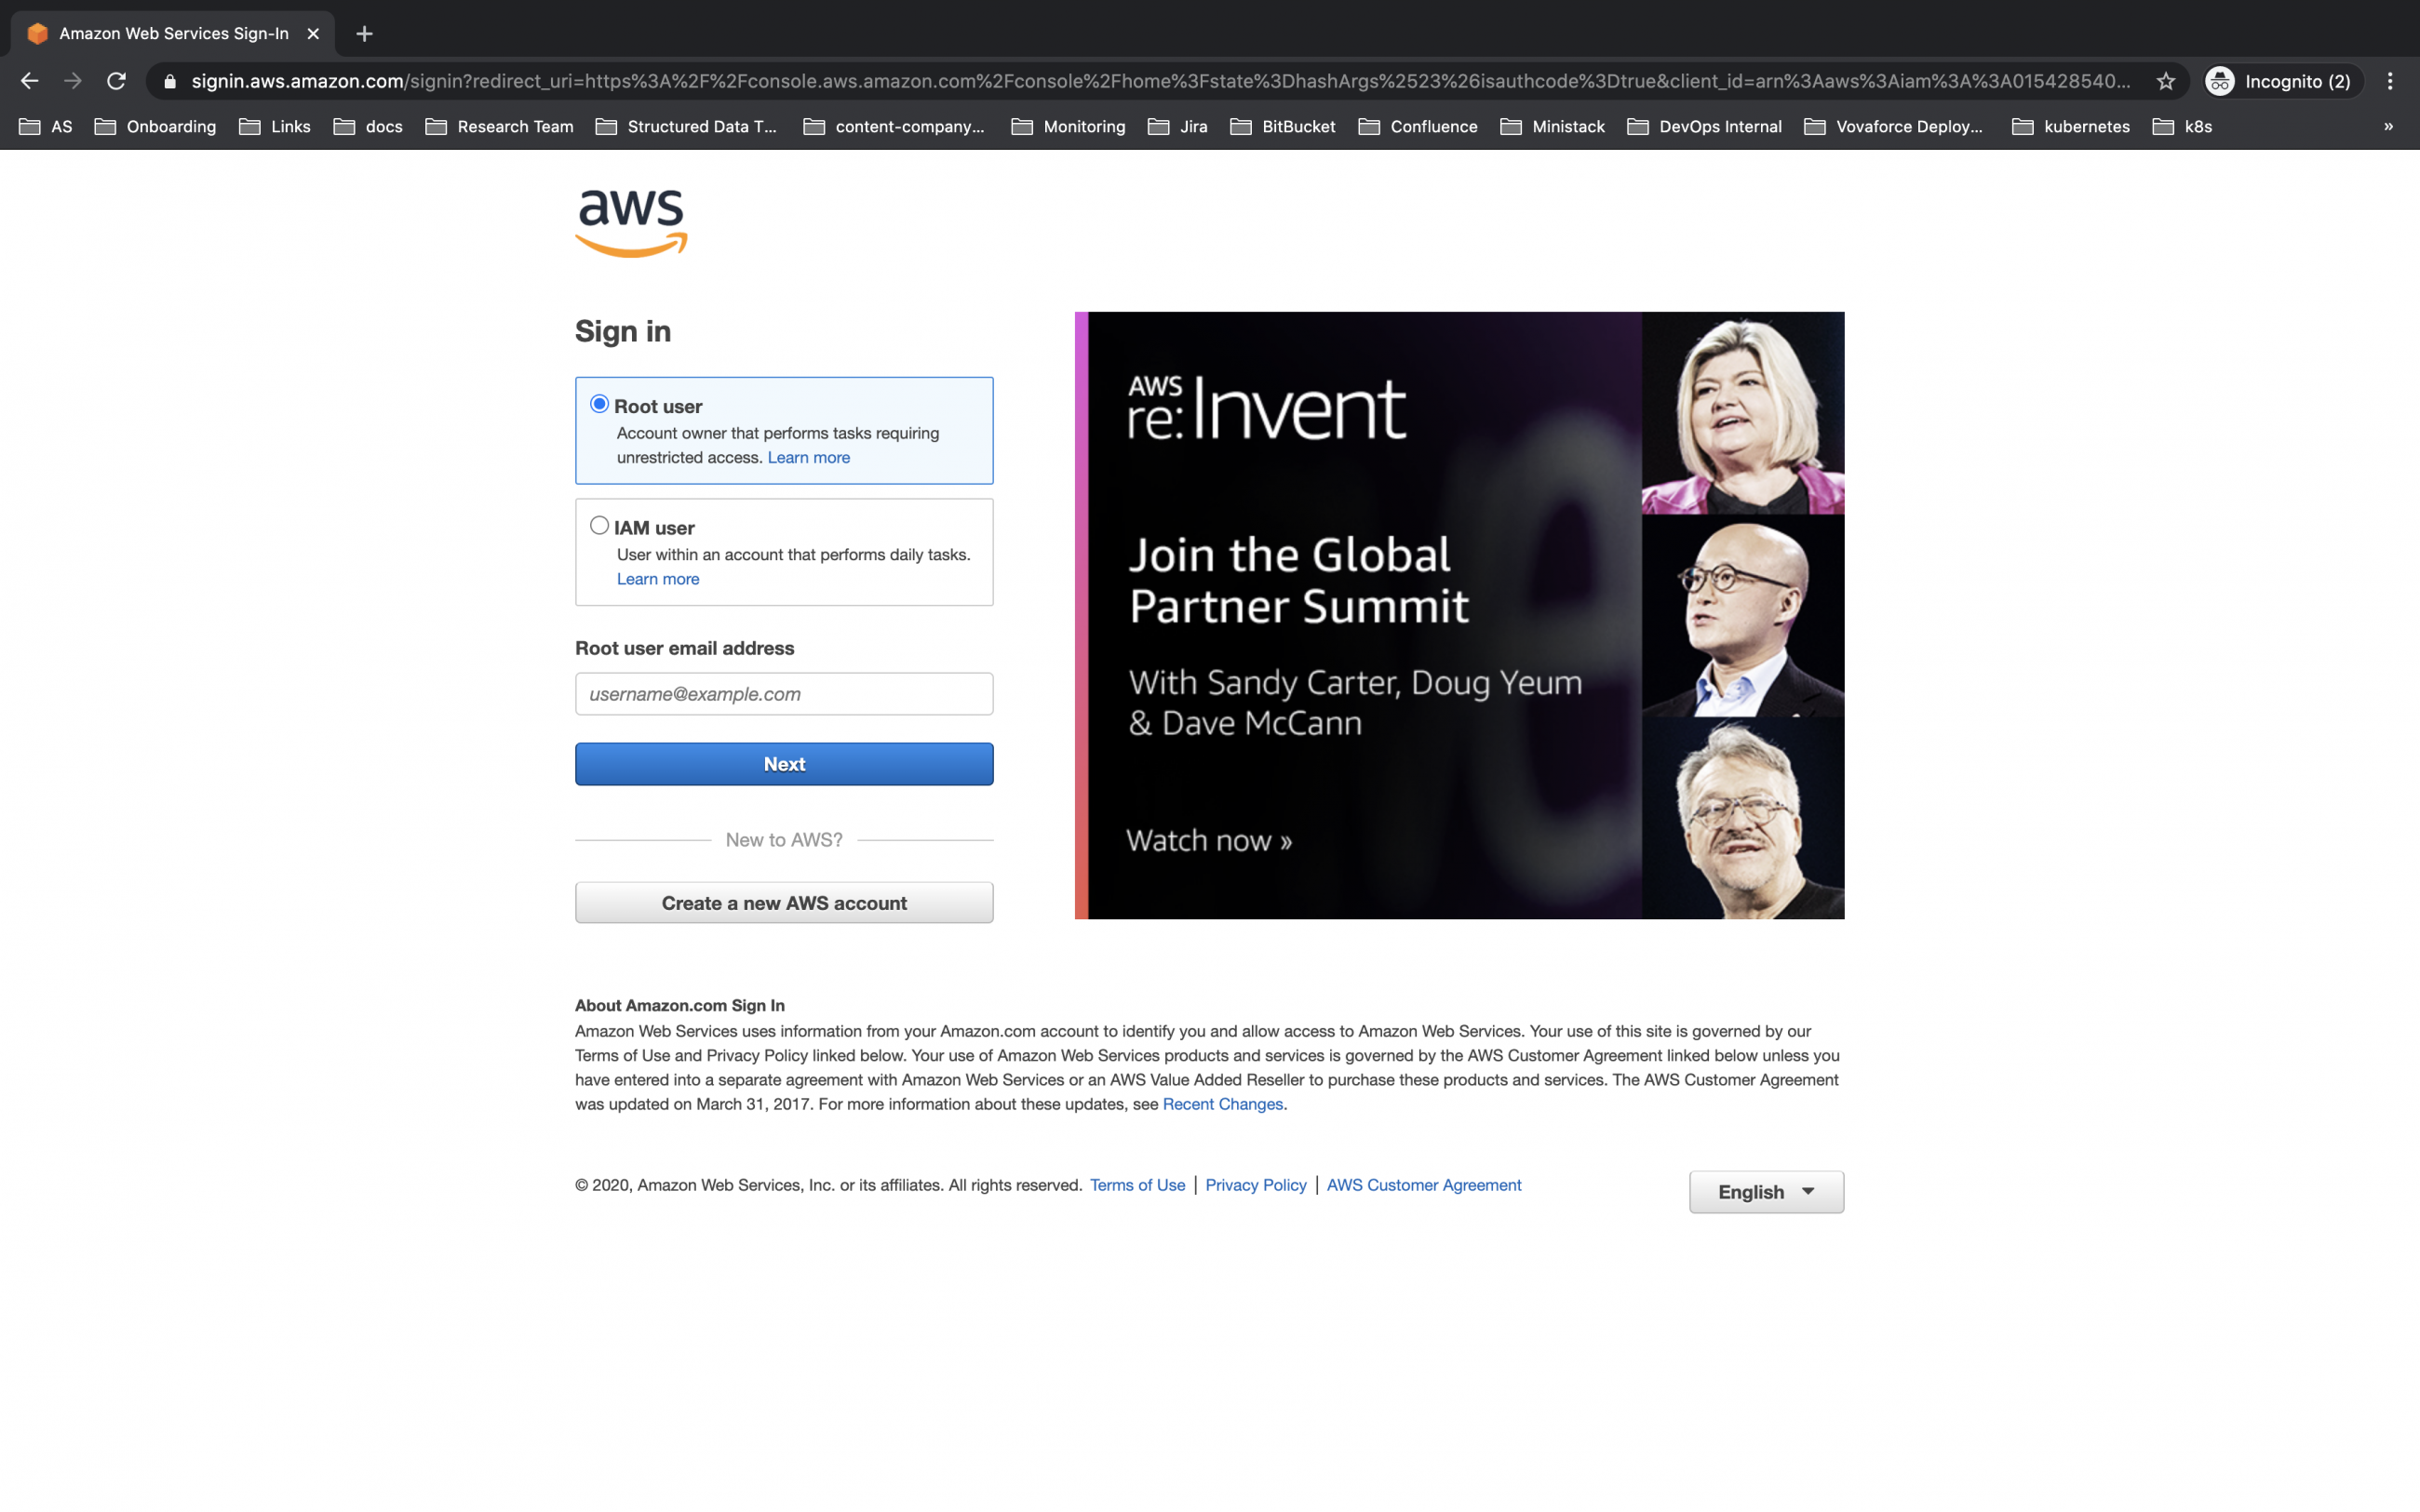
Before we proceed with the installation of the aws-cli command on an EC2 instance, let's first login to our account.
Click here to go to AWS Login Page.
Upon hitting the above link you will see the login page as follows.
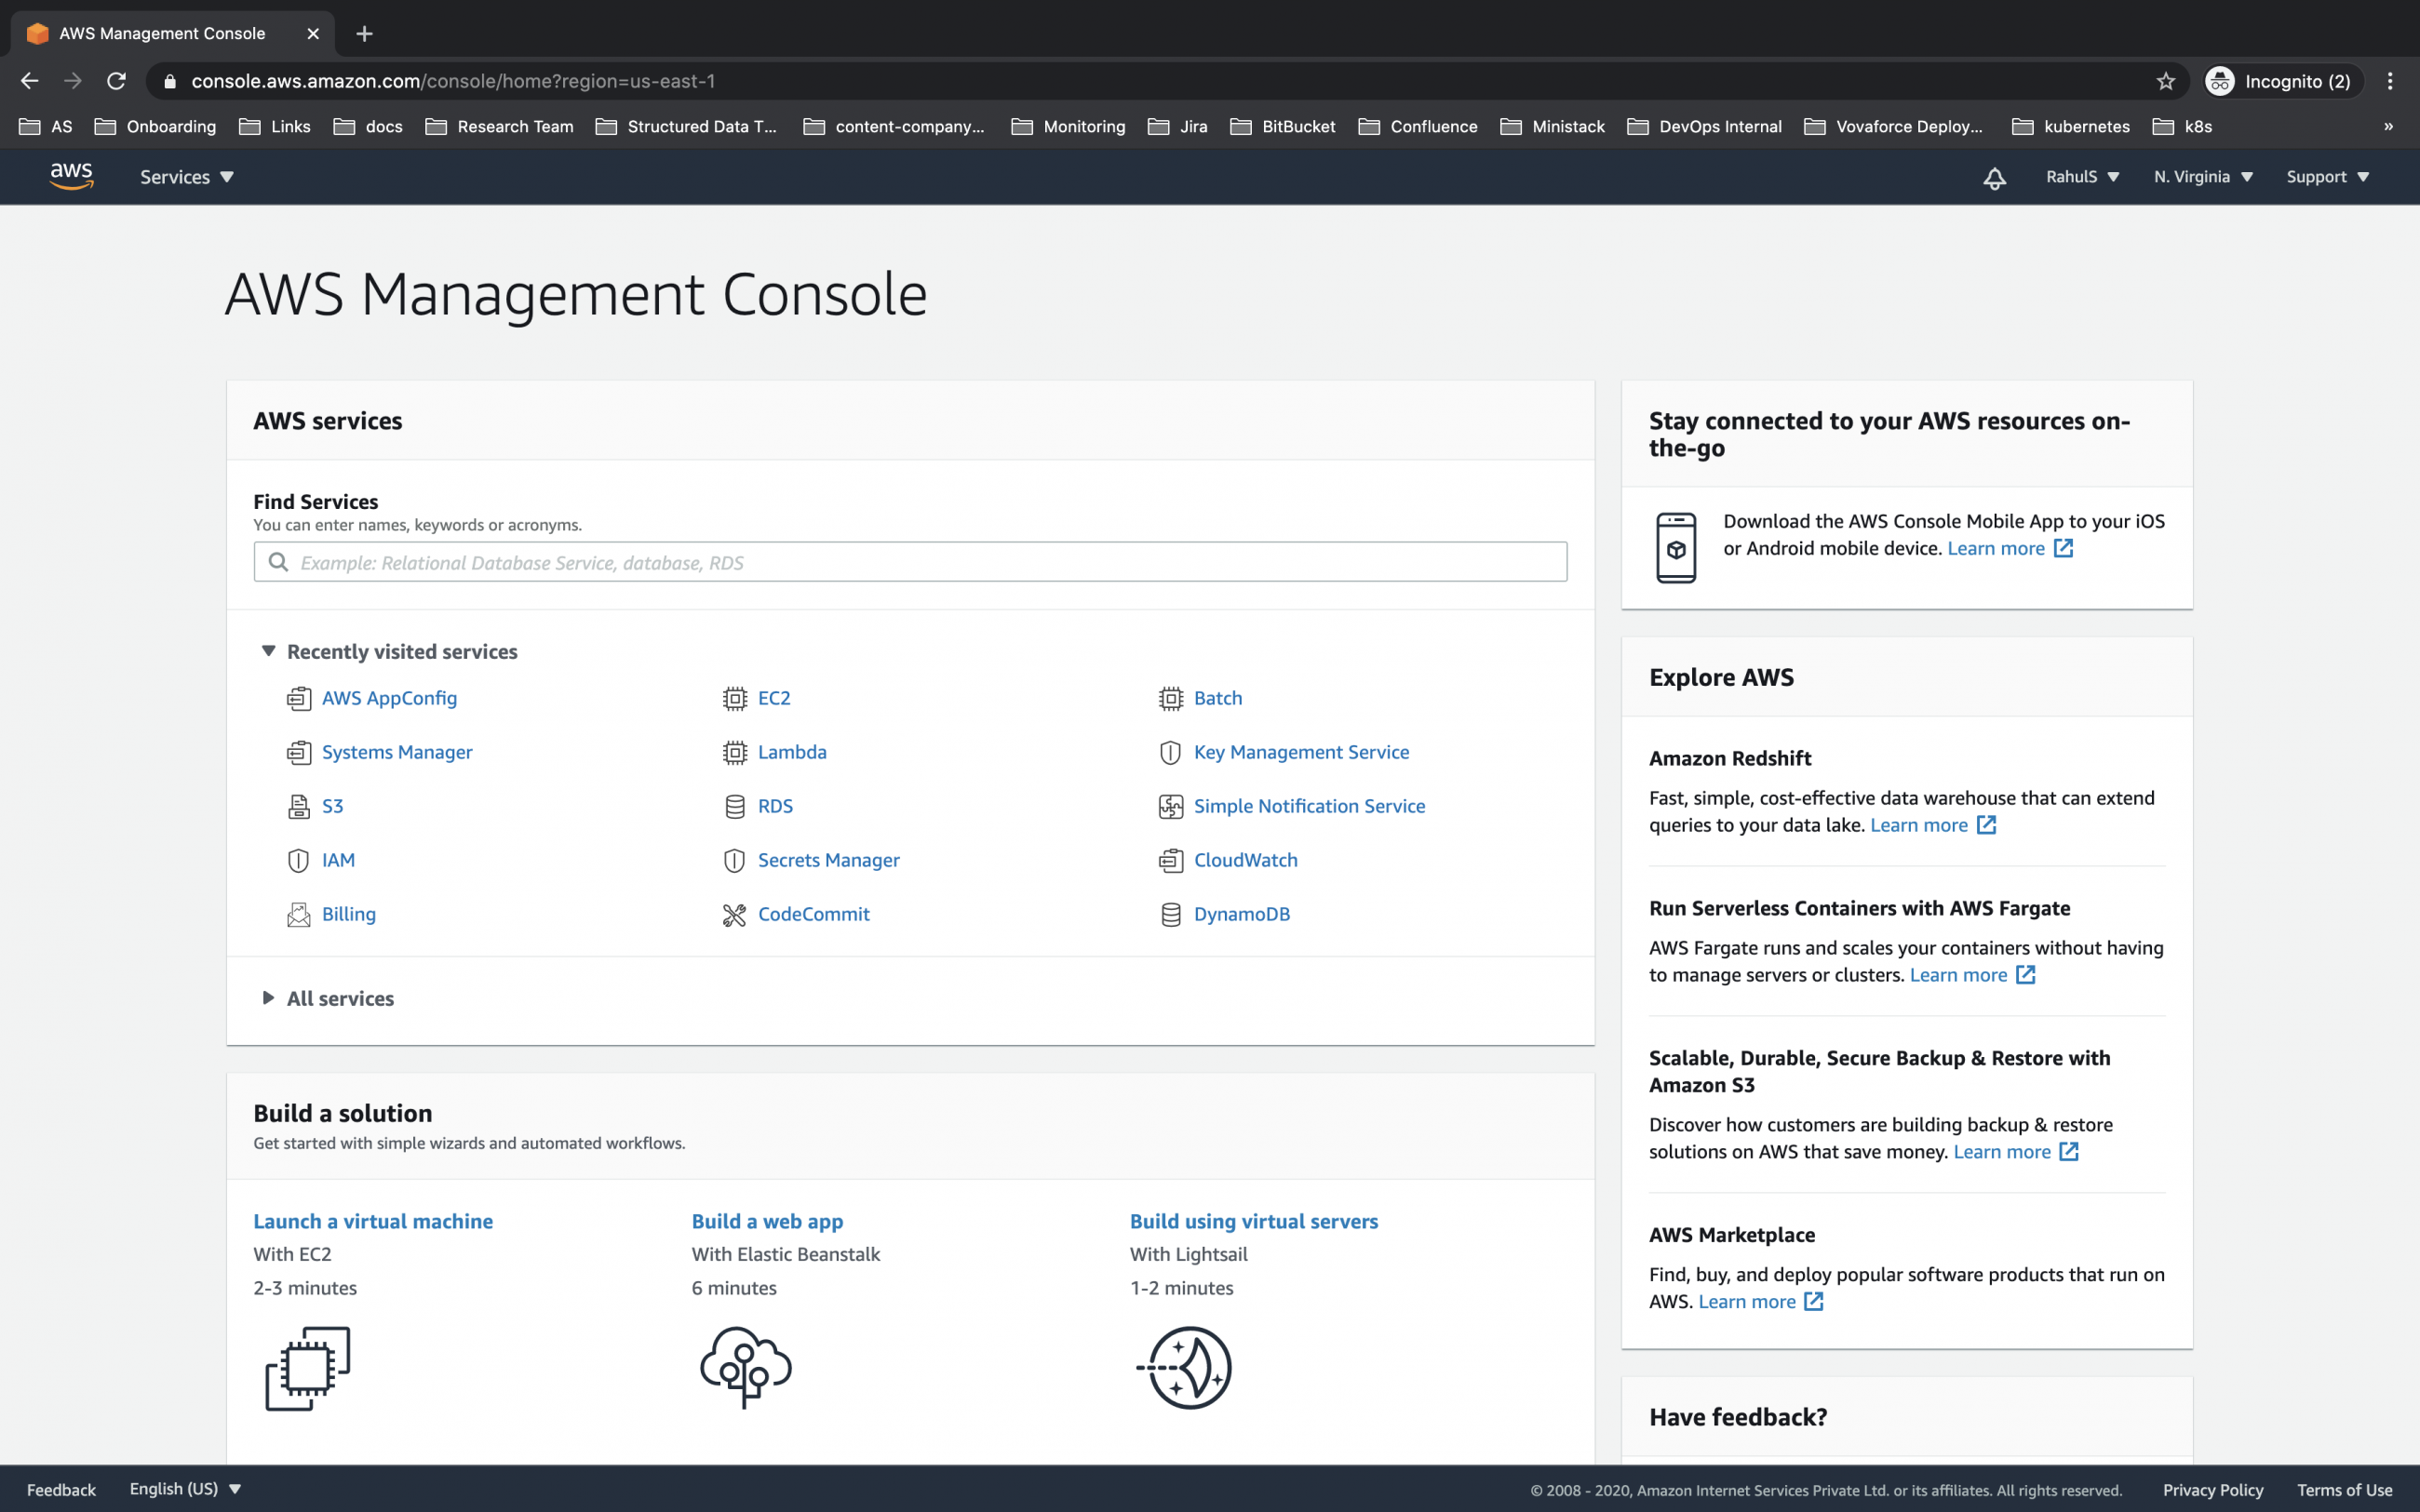
Once you log in successfully into your found you will see the main AWS dashboard as below.
Install aws-cli
Connect to your AWS EC2 Instance.
Let's update the repository first.
sudo apt-get update
Install aws-cli command using the following command on the Ubuntu server.
sudo apt install awscli
Take the version of the aws-cli command.
aws --version
Till this point, we just have an EC2 instance without any required IAM Role attached to it.
Now if we try to check the identity using the following command we will be asked to configure credentials to be used to perform any operation.
aws sts get-caller-identity

Attach an IAM Role to the EC2 instance.
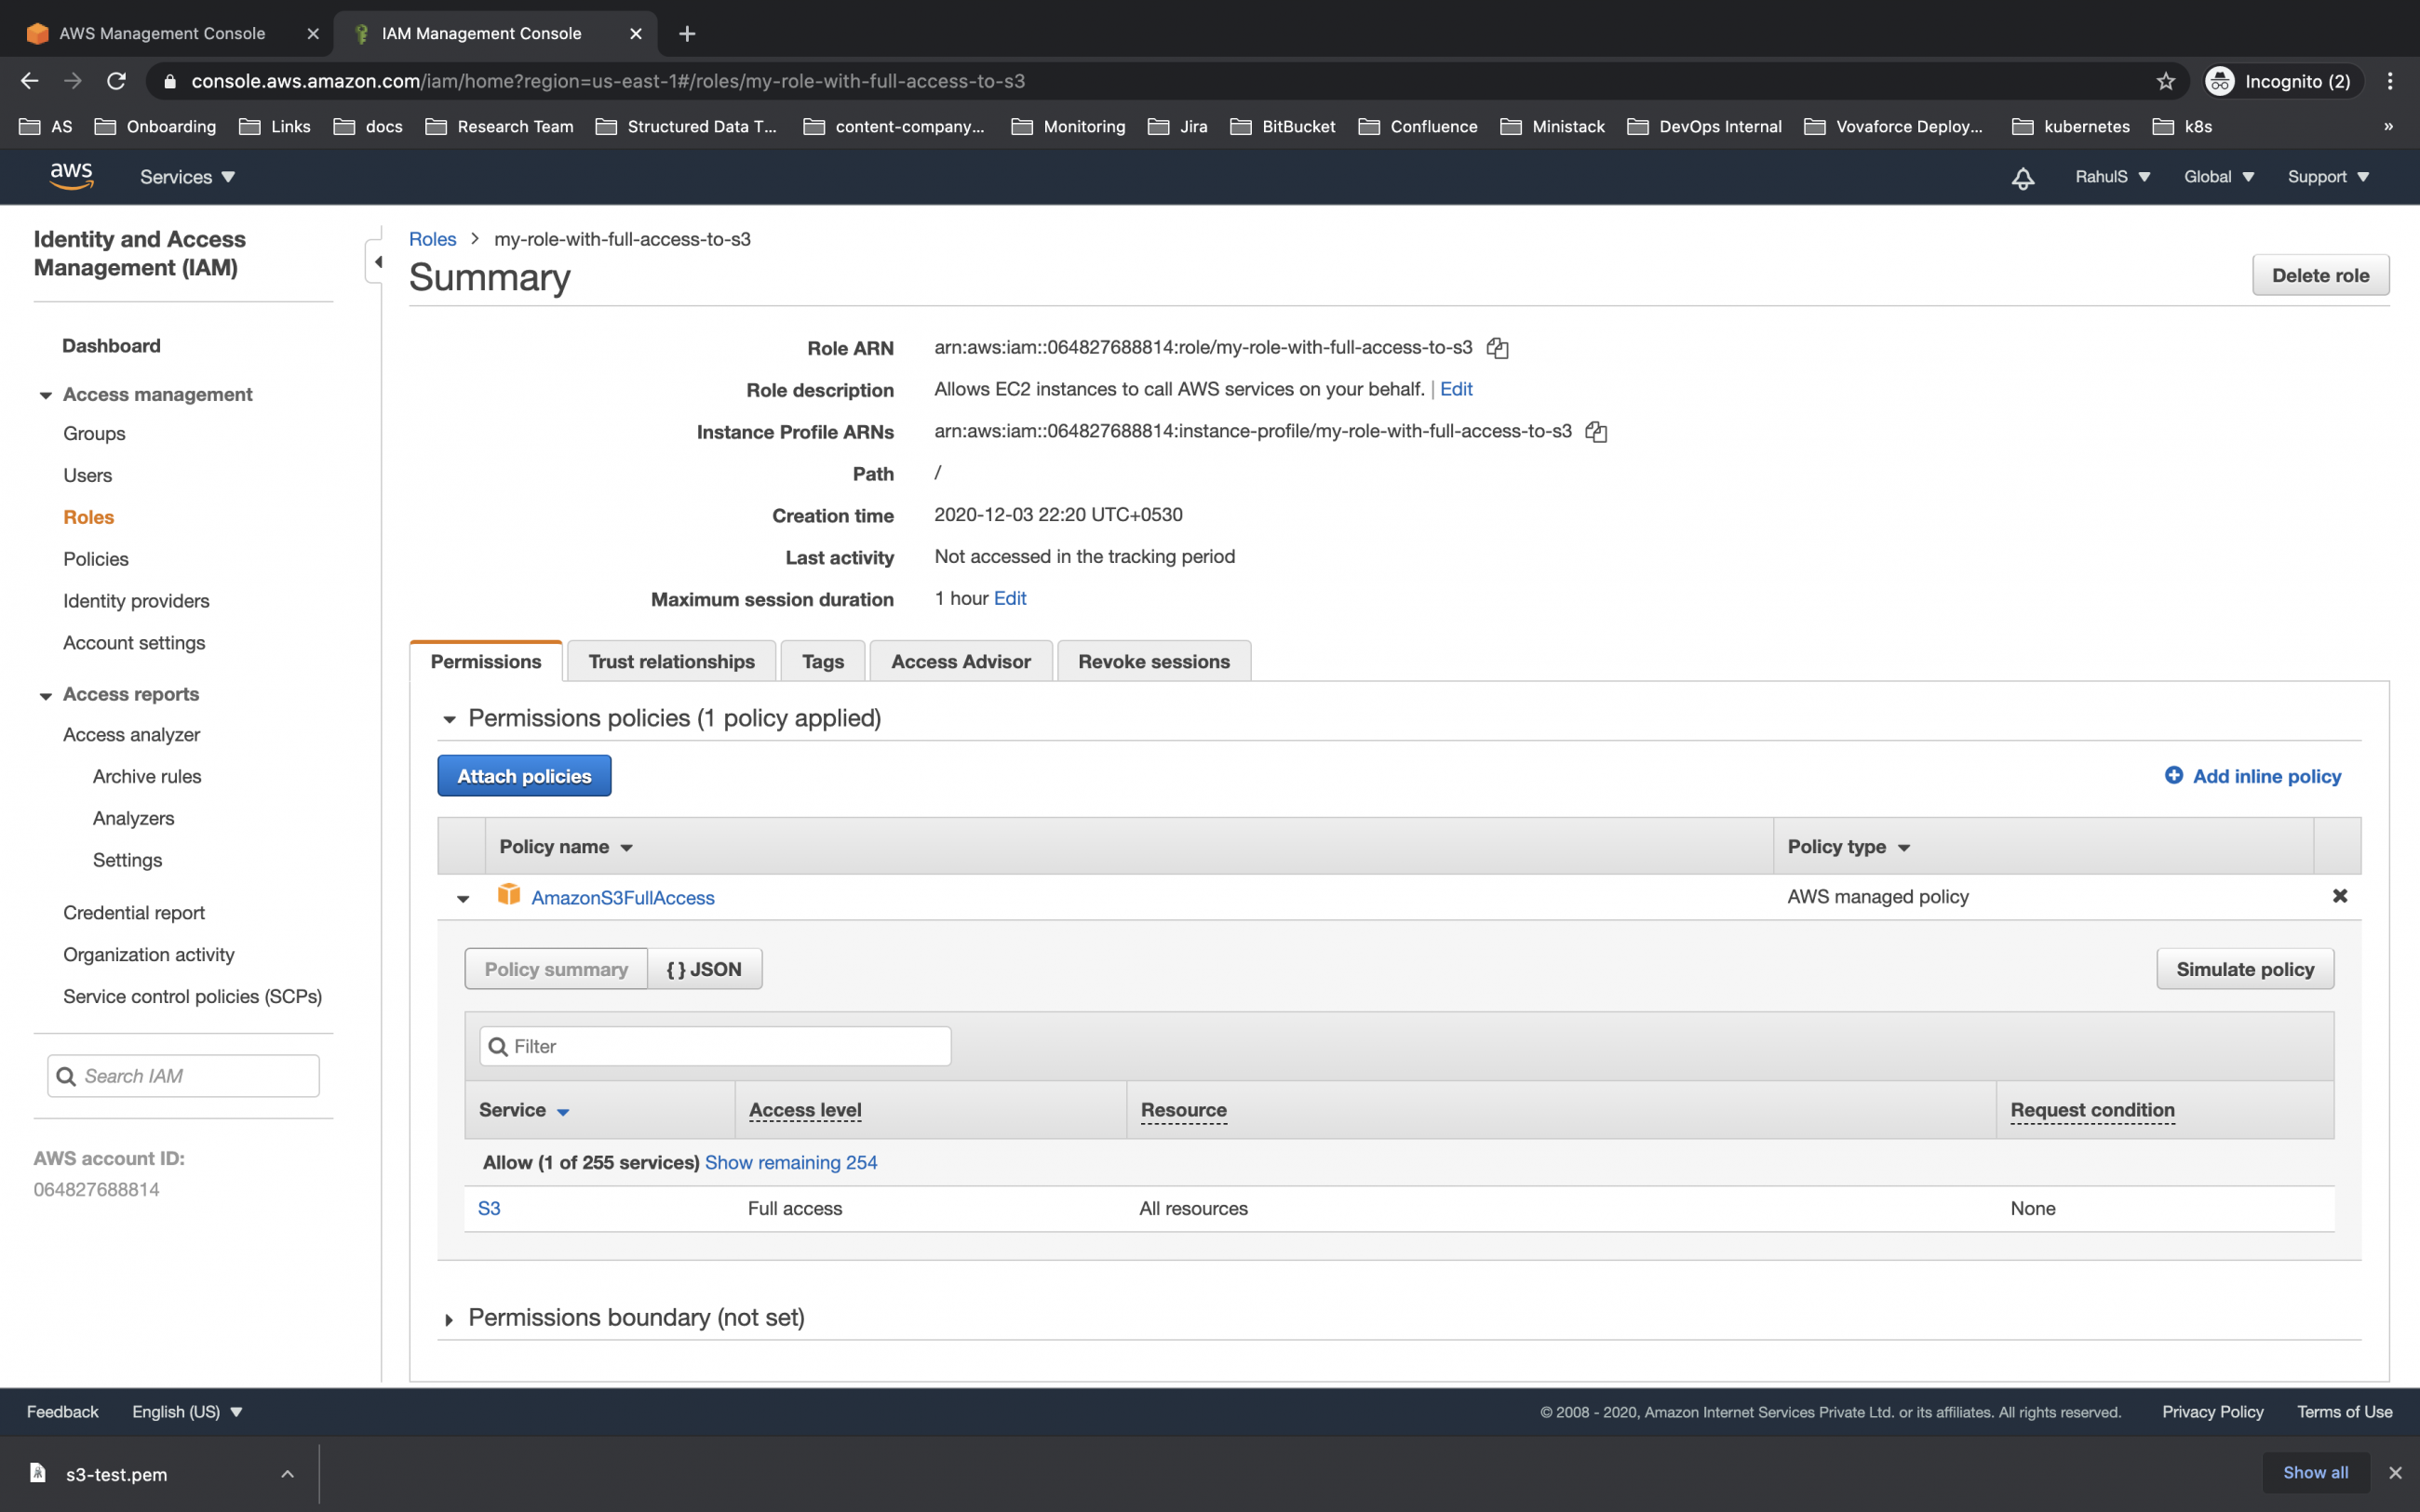
Go to the AM console in your AWS account and check if the rule has the required policy attached to it.
Here you can see the role has AmazonS3FullAccess policy attached to it.
Now, go to the EC2 to console and select the instance which you are using to perform operations on the S3 bucket.
Here, click on Actions --> Security --> Modify IAM role to attach a rule to the instance.
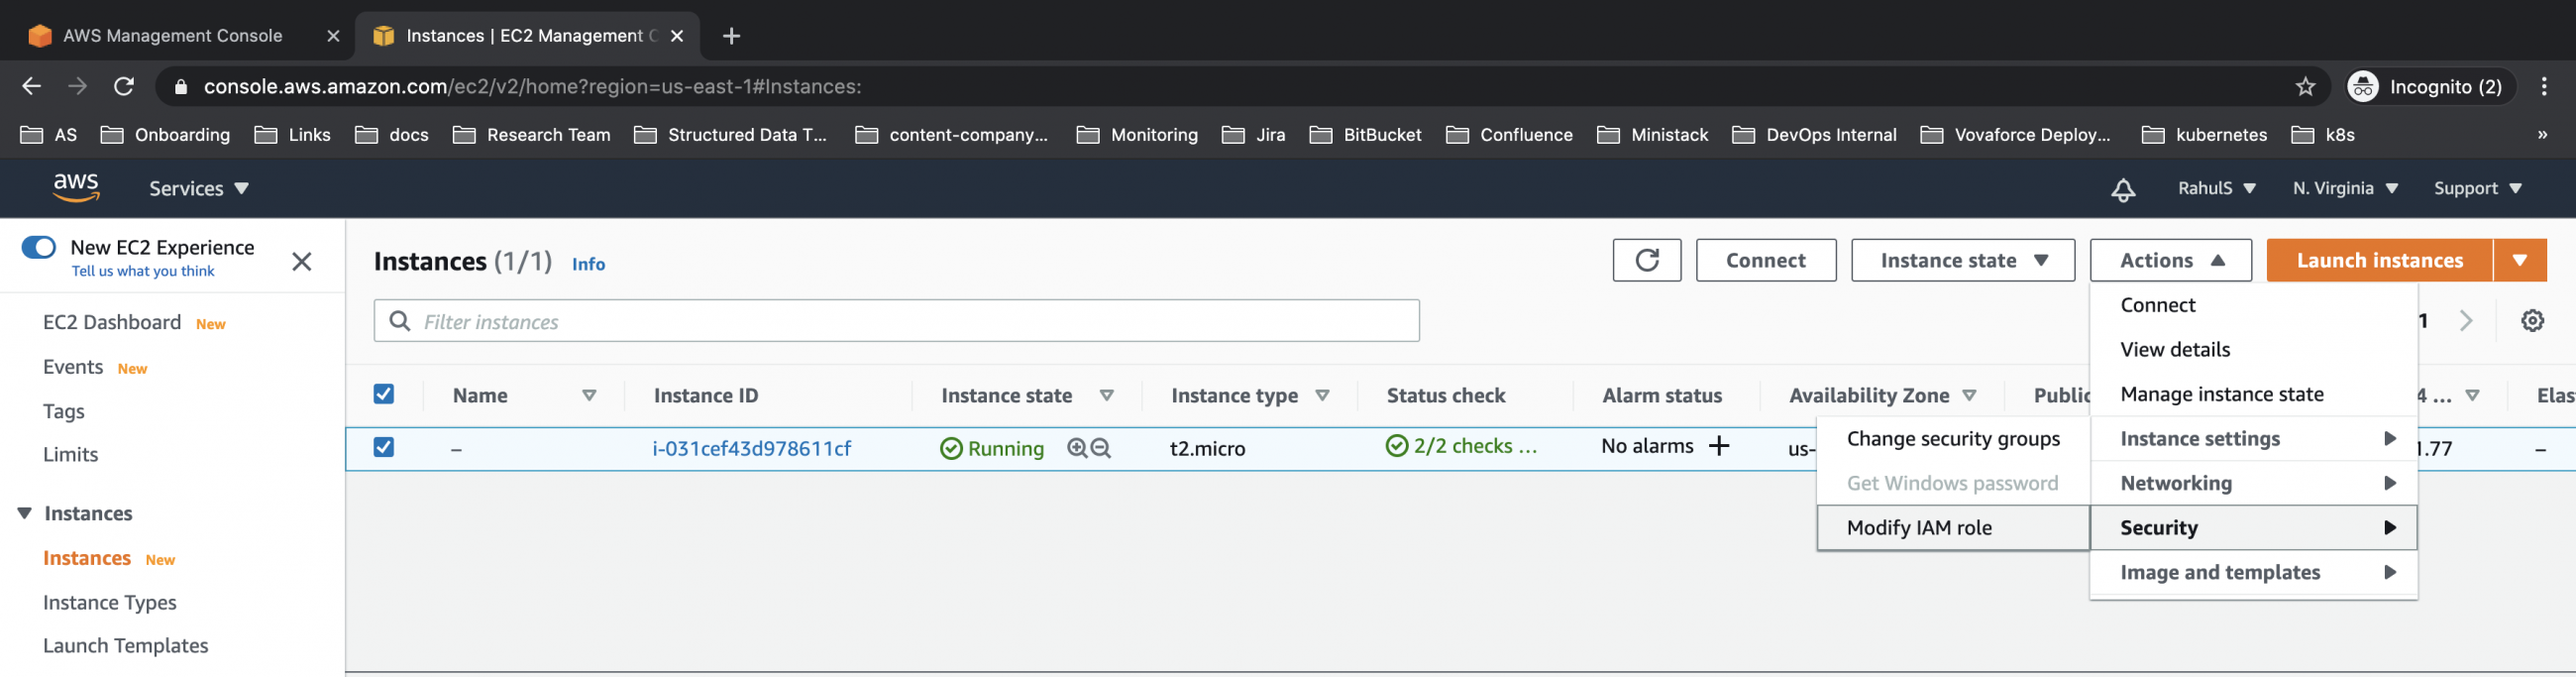
You will see your screen where you can select a rule to be attached from the drop-down list. Click on save to proceed further.

Perform the basic operation on S3 Bucket using aws-cli
Let's go back to the EC2 terminal and execute the following command.
aws sts get-caller-identity

Since we have attached the required rule to the instance, upon executing the above command to check the identity of the role being used to perform operations from the terminal, we can see the User ID, Account and its ARN in response. This means we have successfully authenticated our EC2 instance. Now we are ready to perform operations from the terminal using the role attached to the EC2 instance.
To check the existing S3 Buckets in the AWS Account, execute the following command
aws s3 ls
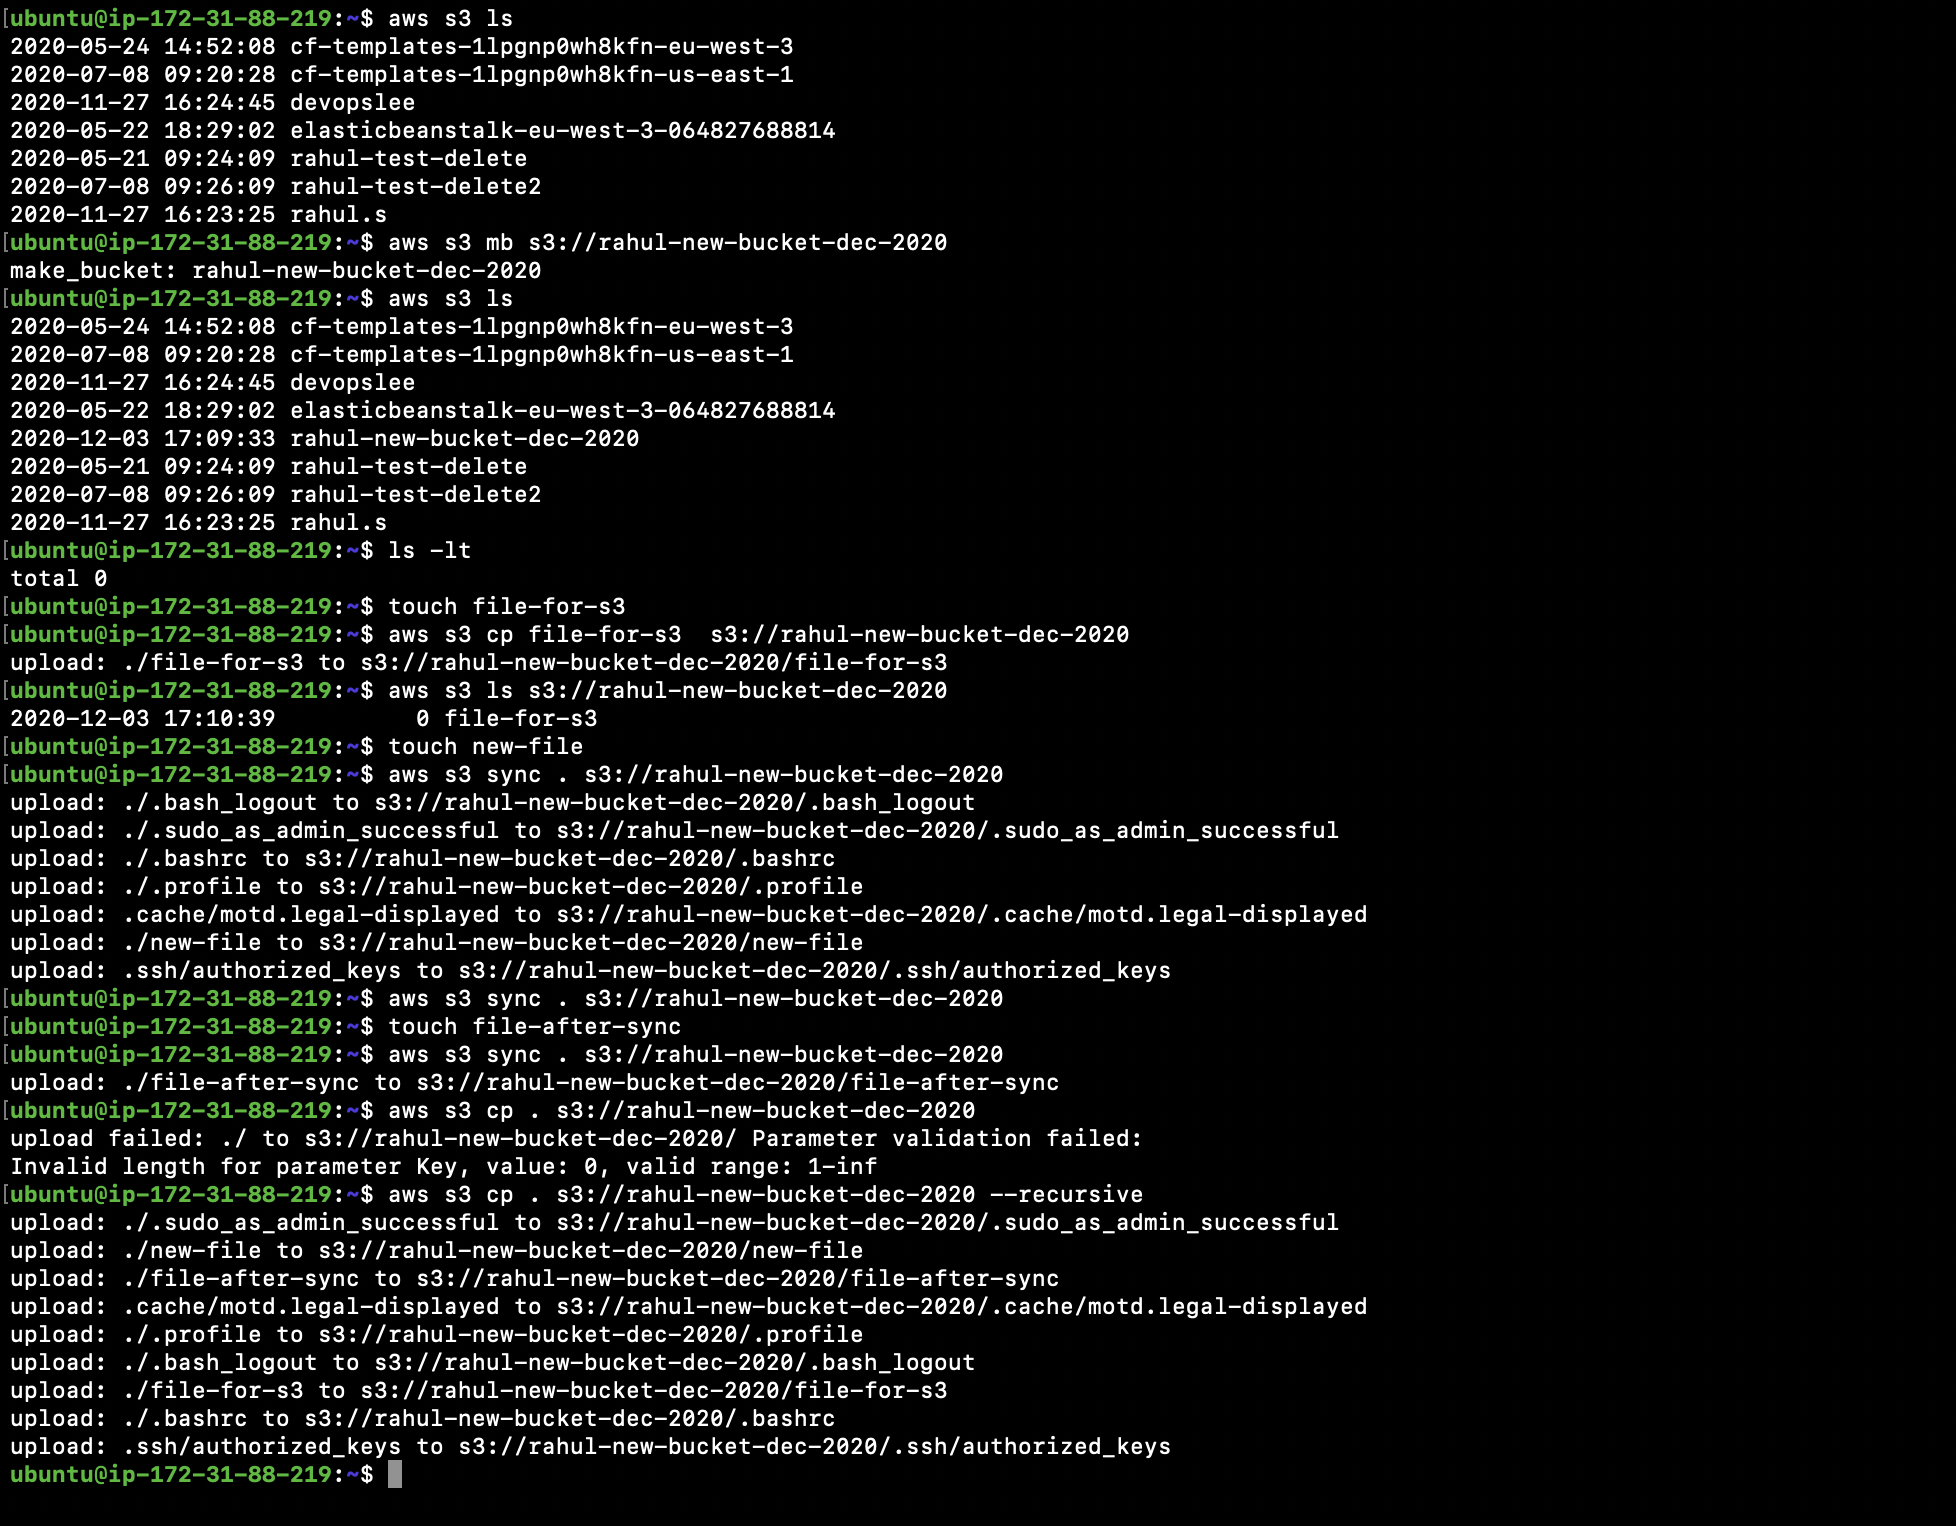
Let's create a new bucket named "rahul-new-bucket-dec-2020". Make sure the bucket name must be globally unique.
aws s3 mb s3://rahul-new-bucket-dec-2020
Now, again if we list the buckets we can see a new bucket has been successfully created and is available under the list of existing buckets.
aws s3 ls
Let's create a new file on our local machine
touch file-for-s3
We can copy files from our local machine to the S3 bucket
aws s3 cp file-for-s3 s3://rahul-new-bucket-dec-2020
We can even list the content of the S3 bucket
aws s3 ls s3://rahul-new-bucket-dec-2020
The way we copy files from the local machine to the S3 bucket, we can also sync a local directory with the bucket.
Sync does not copy the existing files and folders from the local machine to the bucket. It just copies the files which have been newly created or modified
Let's create a new file call our local machine
touch new-file
Time we will use sync.
aws s3 sync . s3://rahul-new-bucket-dec-2020
Now let's again create a new file
touch file-after-sync
Now you can see that if we sync again, only newly created files are getting copied. The files which have already been copied to the bucket are not getting copied.
aws s3 sync . s3://rahul-new-bucket-dec-2020
But this is not the case with the copy option. It copies all files irrespective of the files which are available on S3.
aws s3 cp . s3://rahul-new-bucket-dec-2020 --recursive
Refer to the following screenshot to understand the commands we just tried.
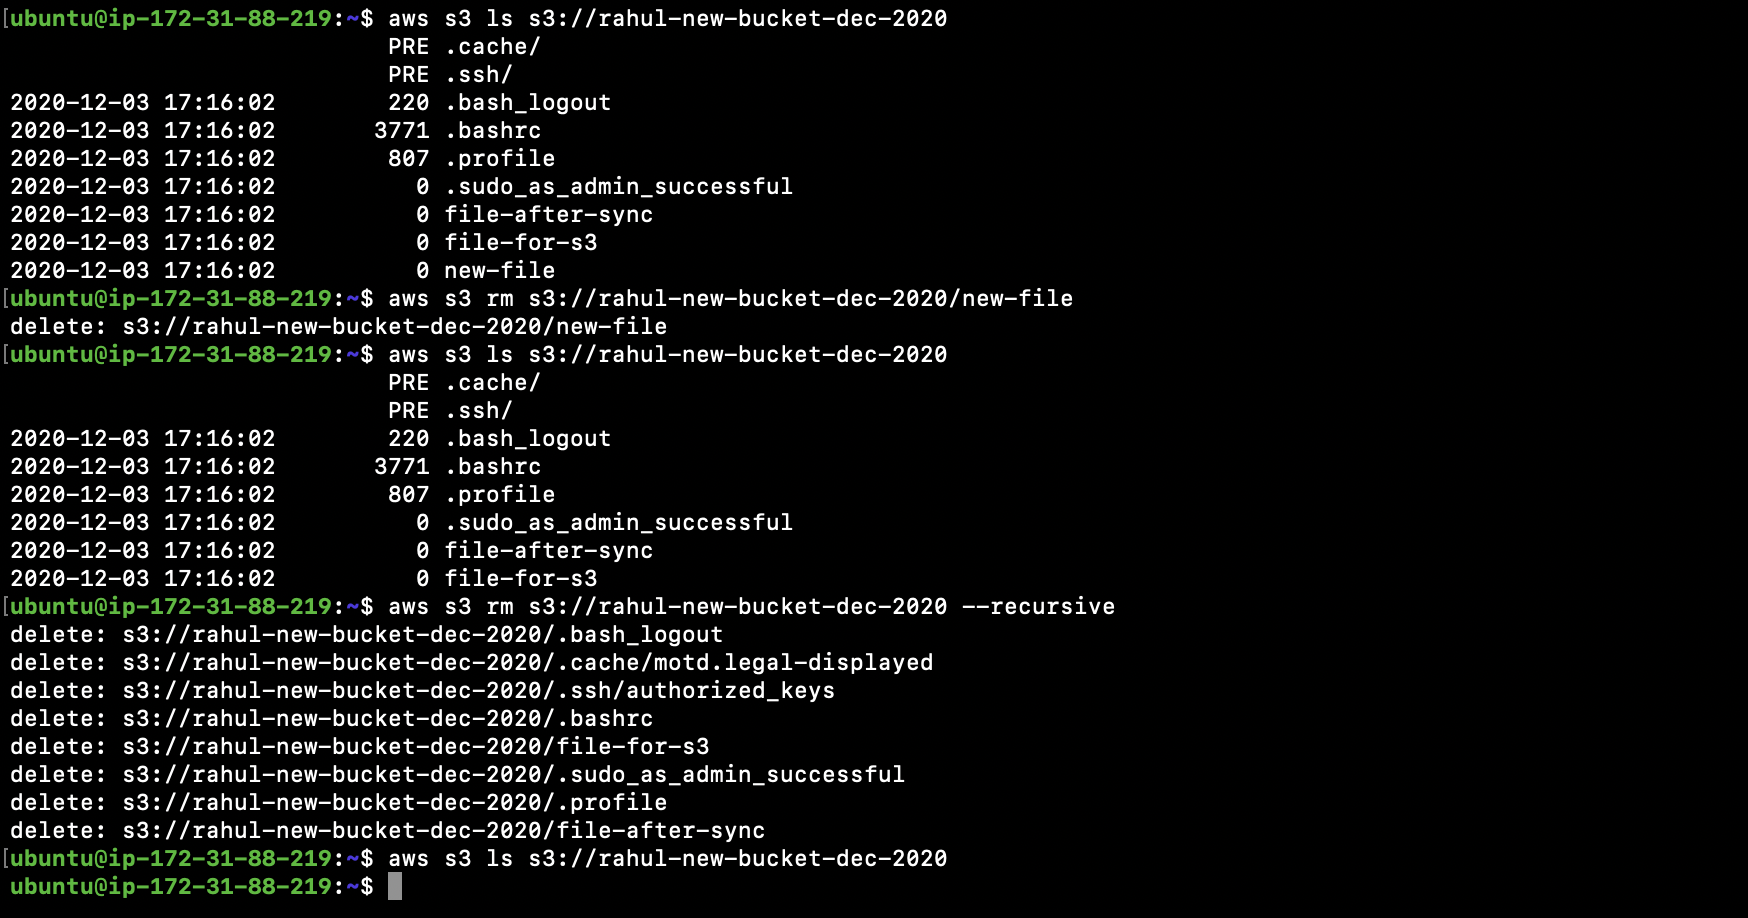
Let's check what files are available in our S3 bucket.
aws s3 ls s3://rahul-new-bucket-dec-2020
We can delete a particular file from the S3 Bucket using the "rm" subcommand.
aws s3 rm s3://rahul-new-bucket-dec-2020/new-file
Check if the file has been deleted or not from the bucket
aws s3 ls s3://rahul-new-bucket-dec-2020
We can even delete all the objects from the bucket using the --recursive option
aws s3 rm s3://rahul-new-bucket-dec-2020 --recursive
Check if the objects have been deleted from the bucket or not
aws s3 ls s3://rahul-new-bucket-dec-2020
Refer to the following screenshot to understand the operations we just performed.
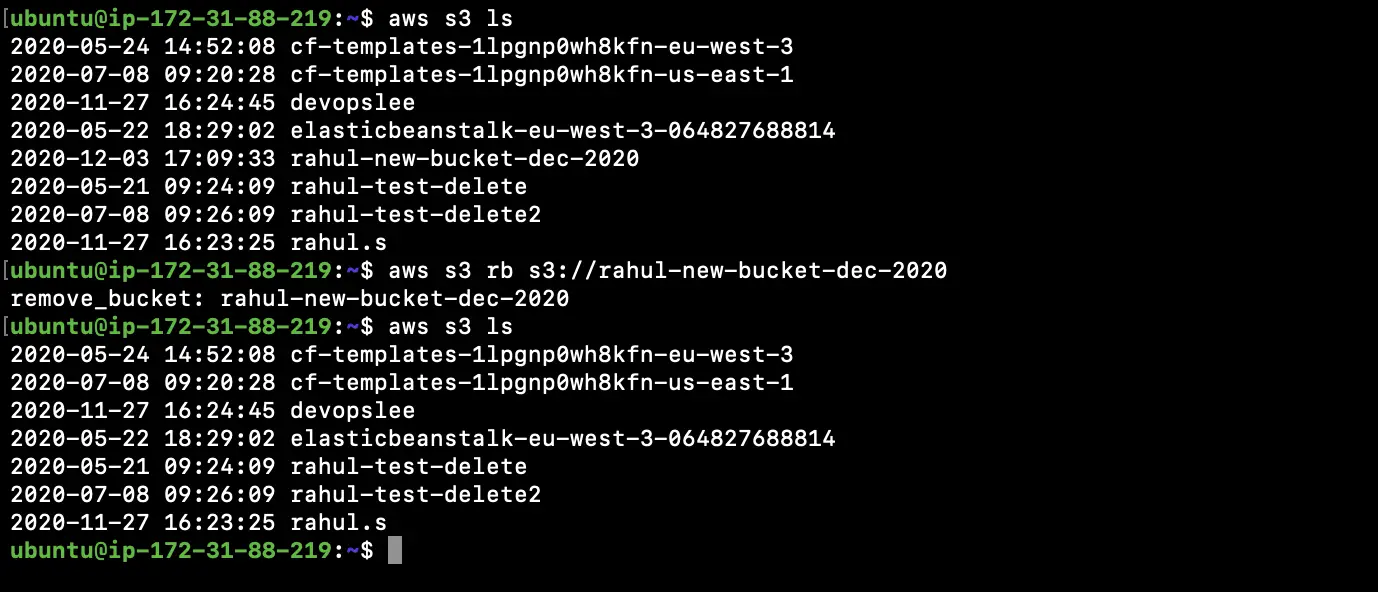
The way we could delete objects from the bucket we can also delete the bucket itself
First, list all the buckets available in the account.
aws s3 ls
Delete the required Bucket using the "rb" sub-command.
aws s3 rb s3://rahul-new-bucket-dec-2020
We can see that the specified bucket has been deleted from the count now
aws s3 ls
We can remove the rule that we had attached to the instance so that the instance can no more be able to authorize itself.
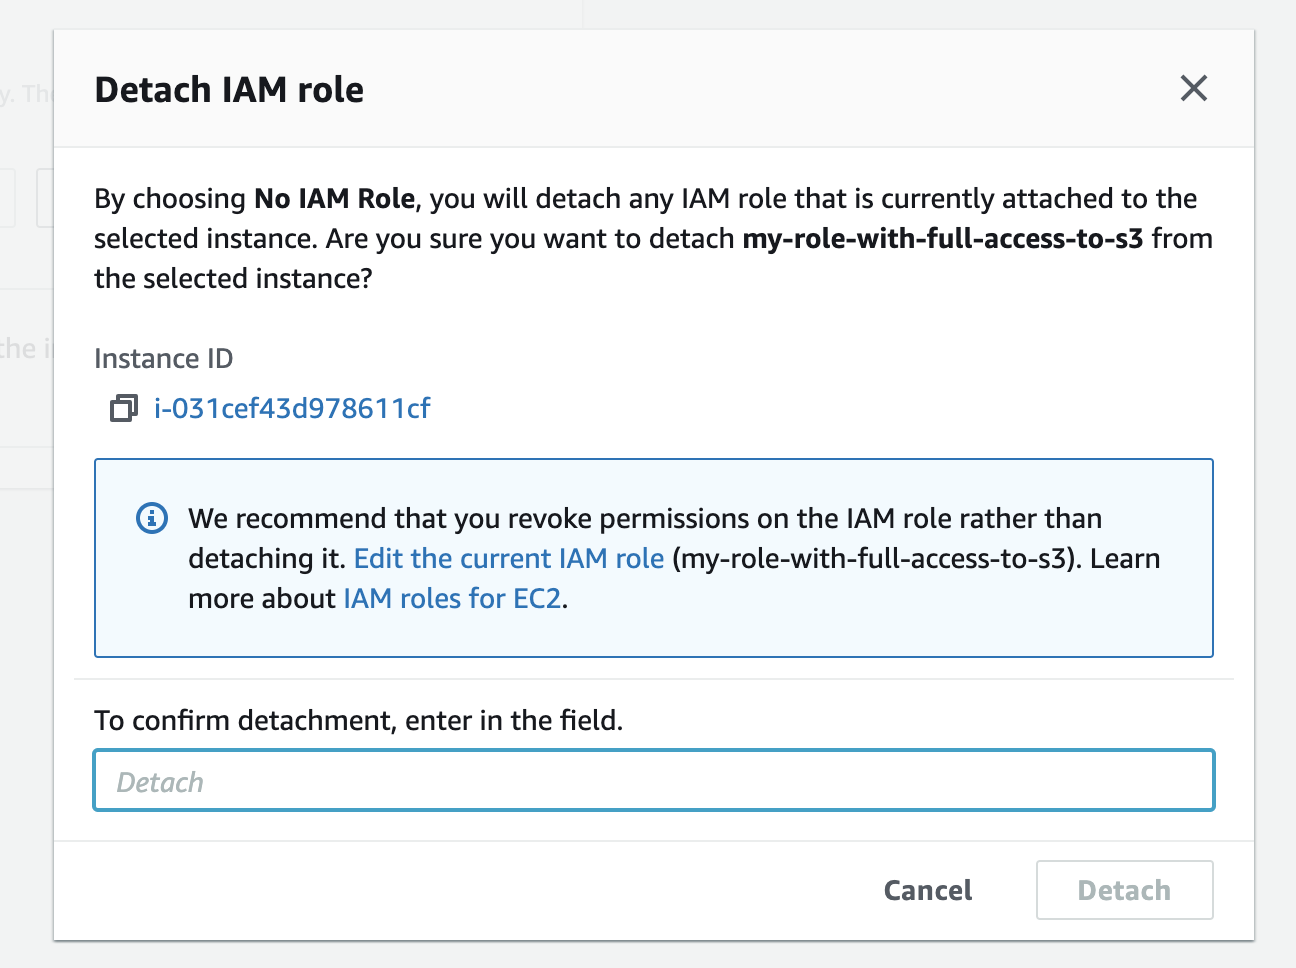
To remove the attached Role go to the EC2 instance, click on Actions --> Security --> Modify IAM role and remove the rule which was attached and save the configuration.
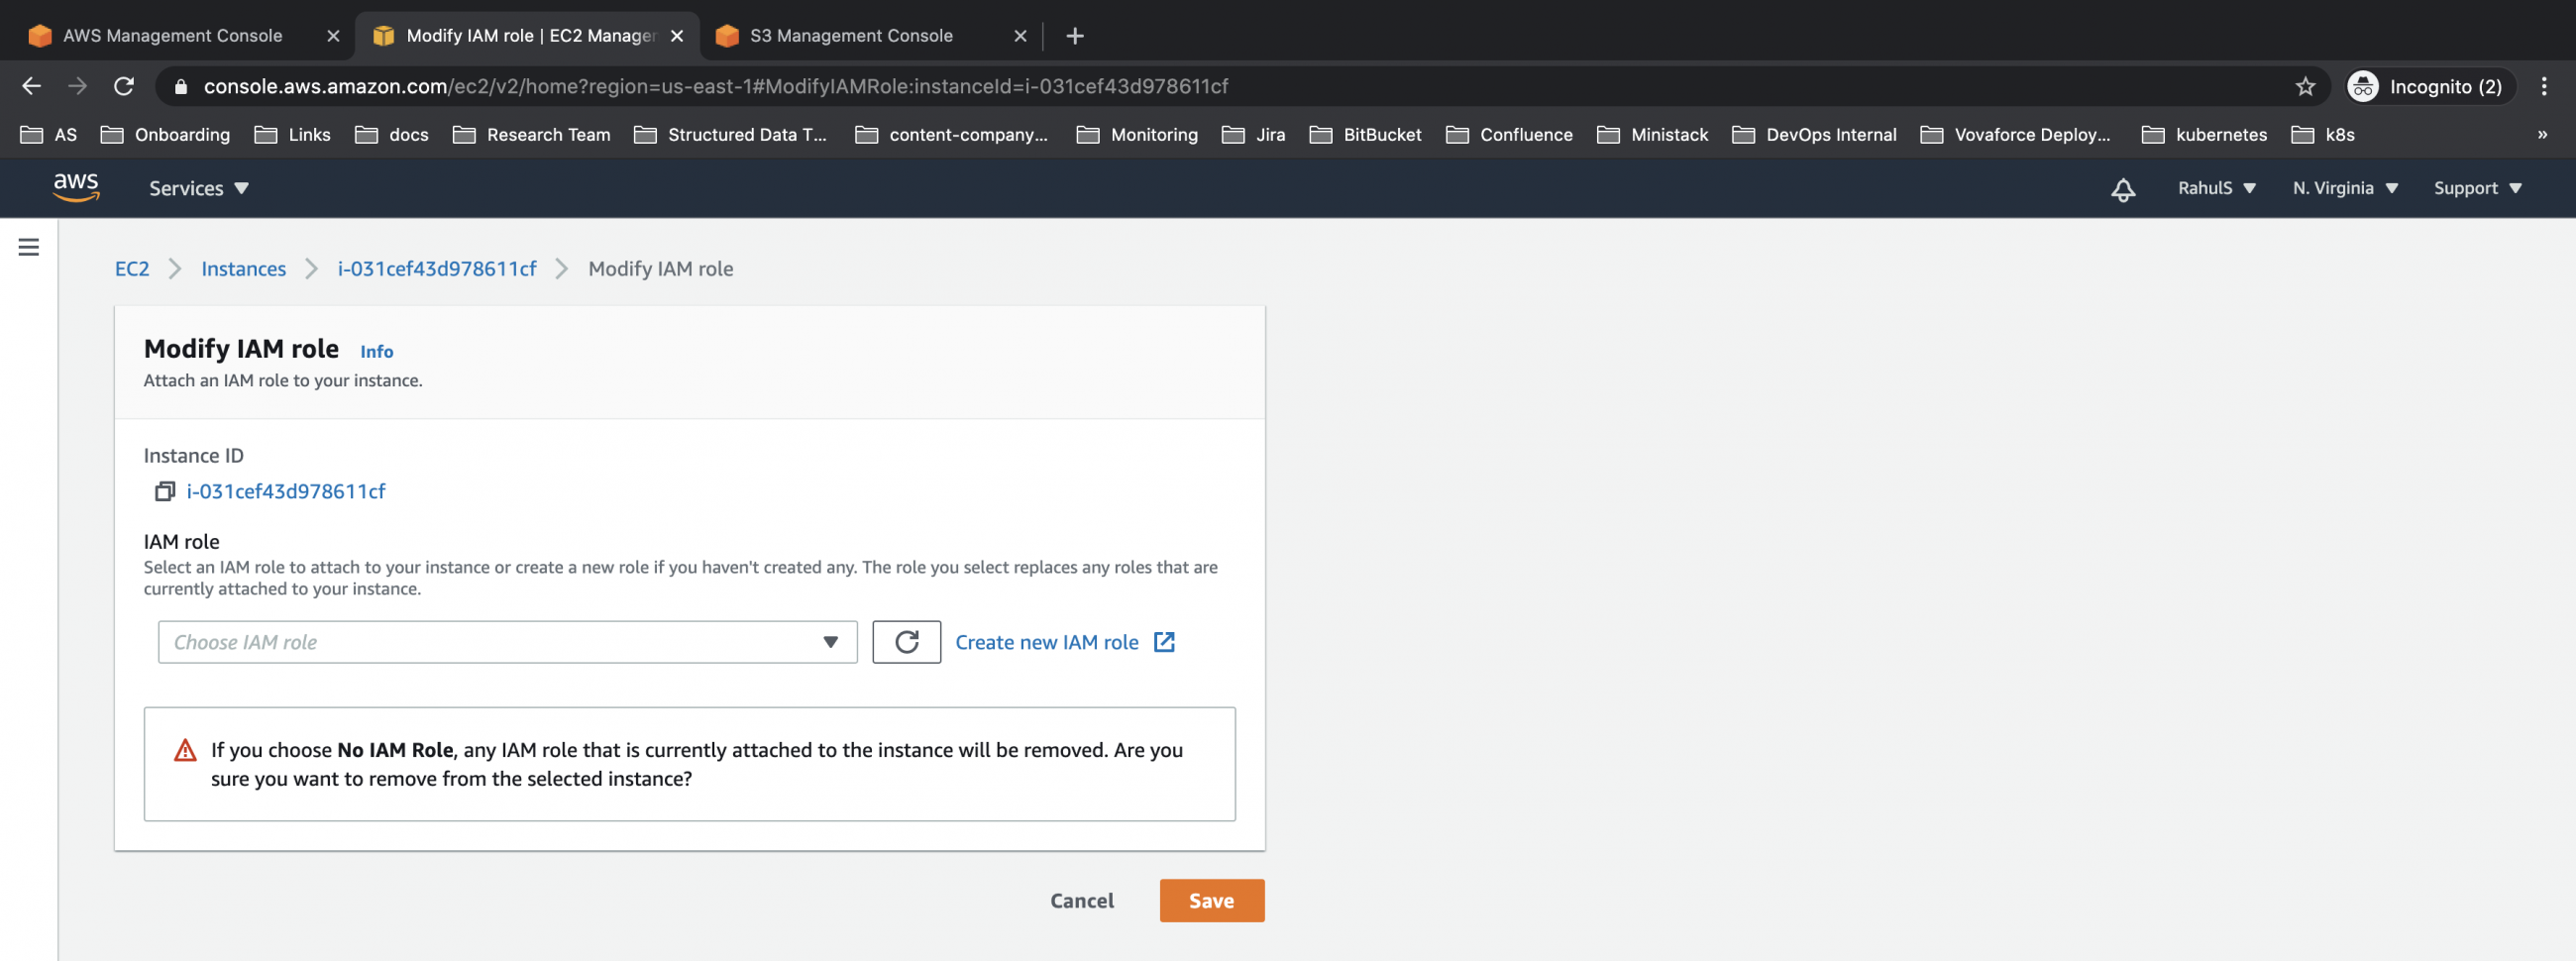
Confirm your operation.
This time if we execute "aws s3 ls" command, we won't be able to list buckets from the account. We will not be able to perform any of the operations from the EC2 Instance.

Conclusion
The way we manage the AWS S3 bucket from the AWS console, we can also manage it from the CLI. We saw the steps to install the aws-cli command-line utility. We also saw the steps to attach and detach the I am Role from the EC2 instance. We performed a few basic operations on the S3 bucket using the aws-cli command-line utility.

