How to Install SOGo Groupware on Debian 10
SOGo is a free, open-source and collaborative groupware server released under the GNU GPL/LGPL v2 and above. It comes with a simple and easy to use web-based interface and supports multiple native clients. It provides native Microsoft ActiveSync support and also supports mobile devices such as, Apple iPhone, Android, Windows Phone, and BlackBerry.
Features
- Supports multiple languages.
- Share your mail, calendars and address books with other users.
- Set alarms to important events and get alerted directly from your browser.
- Receive desktop notifications.
- Compose HTML mail with the complete inline rich-text editor.
- Supports multiple mail accounts.
- Import and Export calander and mailbox.
- Supports two factor authentication.
In this tutorial, we will show you how to install SOGo groupware server on Debian 10.
Prerequisites
- A server running Debian 10.
- A root password is configured the server.
Getting Started
Before starting, it is recommended to update and upgrade your server to the latest version. You can do it by running the following command:
apt-get update -y
apt-get upgrade -y
Once your server is updated, restart it to apply all the changes.
Install and Configure MariaDB
SOGo uses MariaDB/MySQL as a database backend. So you will need to install it in your server. You can install it by just running the following command:
apt-get install mariadb-server -y
Once the MariaDB is installed, you will need to secure the MariaDB installation. You can do it by running the following script:
mysql_secure_installation
Answer all the questions as shown below to set the root password:
Enter current password for root (enter for none):
OK, successfully used password, moving on...
Set root password? [Y/n] Y
Remove anonymous users? [Y/n] Y
Disallow root login remotely? [Y/n] Y
Remove test database and access to it? [Y/n] Y
Reload privilege tables now? [Y/n] Y
Once your MariaDB is secured, log in to the MariaDB with the following command:
mysql
Once login, create a database and user for SOGo with the following command:
MariaDB [(none)]> CREATE DATABASE sogo;
MariaDB [(none)]> GRANT ALL ON sogo.* TO 'sogo'@'localhost' IDENTIFIED BY 'password';
Next, change the database to SOGo and create a required table and insert some values with the following command:
MariaDB [(none)]> USE sogo;
MariaDB [sogo]> CREATE TABLE sogo_users (c_uid VARCHAR(10) PRIMARY KEY, c_name VARCHAR(10), c_password VARCHAR(32), c_cn VARCHAR(128), mail VARCHAR(128));
MariaDB [sogo]> INSERT INTO sogo_users VALUES ('admin', 'admin', MD5('password'), 'Hitesh', '[email protected]');
Next, flush the privileges and exit from the MariaDB with the following command:
MariaDB [sogo]> flush privileges;
MariaDB [sogo]> exit;
Once you are finished, you can proceed to the next step.
Install SOGo
By default, SOGo is not available in the Debian 10 default repository so you will need to download it from their official website. You can seel all the packages at Sope download page and Sogo download pageYou can also download it manually using the following command:
wget https://packages.inverse.ca/SOGo/nightly/5/debian/pool/buster/s/sogo/sogo_5.0.1.20201110-1_amd64.deb
wget https://packages.inverse.ca/SOGo/nightly/5/debian/pool/buster/s/sogo/sogo-activesync_5.0.1.20201110-1_amd64.deb
wget https://packages.inverse.ca/SOGo/nightly/5/debian/pool/buster/s/sogo/sogo-dbg_5.0.1.20201110-1_amd64.deb
wget https://packages.inverse.ca/SOGo/nightly/5/debian/pool/buster/s/sogo/sogo-dev_5.0.1.20201110-1_amd64.deb
wget https://packages.inverse.ca/SOGo/nightly/5/debian/pool/buster/s/sope/libsbjson2.3-dev_4.9.r1664.20201103_amd64.deb
wget https://packages.inverse.ca/SOGo/nightly/5/debian/pool/buster/s/sope/libsbjson2.3_4.9.r1664.20201103_amd64.deb
wget https://packages.inverse.ca/SOGo/nightly/5/debian/pool/buster/s/sope/libsope-appserver4.9-dev_4.9.r1664.20201103_amd64.deb
wget https://packages.inverse.ca/SOGo/nightly/5/debian/pool/buster/s/sope/libsope-appserver4.9_4.9.r1664.20201103_amd64.deb
wget https://packages.inverse.ca/SOGo/nightly/5/debian/pool/buster/s/sope/libsope-core4.9-dev_4.9.r1664.20201103_amd64.deb
wget https://packages.inverse.ca/SOGo/nightly/5/debian/pool/buster/s/sope/libsope-core4.9_4.9.r1664.20201103_amd64.deb
wget https://packages.inverse.ca/SOGo/nightly/5/debian/pool/buster/s/sope/libsope-gdl1-4.9-dev_4.9.r1664.20201103_amd64.deb
wget https://packages.inverse.ca/SOGo/nightly/5/debian/pool/buster/s/sope/libsope-gdl1-4.9_4.9.r1664.20201103_amd64.deb
wget https://packages.inverse.ca/SOGo/nightly/5/debian/pool/buster/s/sope/libsope-ldap4.9-dev_4.9.r1664.20201103_amd64.deb
wget https://packages.inverse.ca/SOGo/nightly/5/debian/pool/buster/s/sope/libsope-ldap4.9_4.9.r1664.20201103_amd64.deb
wget https://packages.inverse.ca/SOGo/nightly/5/debian/pool/buster/s/sope/libsope-mime4.9-dev_4.9.r1664.20201103_amd64.deb
wget https://packages.inverse.ca/SOGo/nightly/5/debian/pool/buster/s/sope/libsope-mime4.9_4.9.r1664.20201103_amd64.deb
wget https://packages.inverse.ca/SOGo/nightly/5/debian/pool/buster/s/sope/libsope-xml4.9-dev_4.9.r1664.20201103_amd64.deb
wget https://packages.inverse.ca/SOGo/nightly/5/debian/pool/buster/s/sope/libsope-xml4.9_4.9.r1664.20201103_amd64.deb
wget https://packages.inverse.ca/SOGo/nightly/5/debian/pool/buster/s/sope/libsope4.9-dev_4.9.r1664.20201103_all.deb
wget https://packages.inverse.ca/SOGo/nightly/5/debian/pool/buster/s/sope/sope4.9-appserver_4.9.r1664.20201103_amd64.deb
wget https://packages.inverse.ca/SOGo/nightly/5/debian/pool/buster/s/sope/sope4.9-dbg_4.9.r1664.20201103_amd64.deb
wget https://packages.inverse.ca/SOGo/nightly/5/debian/pool/buster/s/sope/sope4.9-gdl1-mysql_4.9.r1664.20201103_amd64.deb
wget https://packages.inverse.ca/SOGo/nightly/5/debian/pool/buster/s/sope/sope4.9-gdl1-postgresql_4.9.r1664.20201103_amd64.deb
wget https://packages.inverse.ca/SOGo/nightly/5/debian/pool/buster/s/sope/sope4.9-libxmlsaxdriver_4.9.r1664.20201103_amd64.deb
wget https://packages.inverse.ca/SOGo/nightly/5/debian/pool/buster/s/sope/sope4.9-stxsaxdriver_4.9.r1664.20201103_amd64.deb
Once all the packages are downloaded, install all of them by running the following command:
dpkg -i *.deb
After running the above command, you will get dependency error. You can install all missing dependencies by running the following command:
apt-get install -f
Once all the dependencies are installed, start the SOGo service and enable it to start at system reboot with the following command:
systemctl start sogo
systemctl enable sogo
Once you are finished, you can proceed to the next step.
Install and Configure Apache Web Server
Next, you will need to install and configure the Apache webserver to serve SOGo through the port 80. You can install it by running the following command:
apt-get install apache2 -y
Once the Apache webserver is installed, run the following command to enable all required modules:
a2enmod proxy proxy_http headers rewrite
Next, enable the SOGo default virtual host file with the following command:
a2enconf SOGo.conf
Next, you will need to edit the SOGo virtual host configuration file and replace https connection with http and 443 with the port 80:
nano /etc/apache2/conf-enabled/SOGo.conf
Find the following lines:
  RequestHeader set "x-webobjects-server-port" "443"
  RequestHeader set "x-webobjects-server-url" "https://%{HTTP_HOST}e" env=HTTP_HOST
And, replaced them with the following:
  RequestHeader set "x-webobjects-server-port" "80"
  RequestHeader set "x-webobjects-server-url" "http://%{HTTP_HOST}e" env=HTTP_HOST
Save and close the file then check the Apache server for any syntax error by running the following command:
apachectl configtest
If everything is fine, you should get the following output:
Syntax OK
Finally, restart the Apache service to apply the changes:
systemctl restart apache2
You can also verify the status of the Apache service with the following command:
systemctl status apache2
You should get the following output:
? apache2.service - The Apache HTTP Server
   Loaded: loaded (/lib/systemd/system/apache2.service; enabled; vendor preset: enabled)
   Active: active (running) since Thu 2020-11-12 04:17:37 UTC; 14s ago
     Docs: https://httpd.apache.org/docs/2.4/
  Process: 15278 ExecStart=/usr/sbin/apachectl start (code=exited, status=0/SUCCESS)
 Main PID: 15282 (apache2)
    Tasks: 55 (limit: 4701)
   Memory: 17.2M
   CGroup: /system.slice/apache2.service
           ??15282 /usr/sbin/apache2 -k start
           ??15283 /usr/sbin/apache2 -k start
           ??15284 /usr/sbin/apache2 -k start

Nov 12 04:17:37 debian10 systemd[1]: Starting The Apache HTTP Server...
At this point, the Apache webserver is installed and configured. You can now proceed to the next step.
Configure SOGo
Next, you will need to configure SOGo to use MariaDB for authentication, define SOGo profile, OCS folder, COS sessions and superuser name. You can do it by editing the SOGo main configuration file:
nano /etc/sogo/sogo.conf
Add the following lines before the last line }:
SOGoProfileURL = "mysql://sogo:password@localhost:5432/sogo/sogo_user_profile";
OCSFolderInfoURL = "mysql://sogo:password@localhost:5432/sogo/sogo_folder_info";
OCSSessionsFolderURL = "mysql://sogo:password@localhost:5432/sogo/sogo_sessions_folder";

SOGoPasswordChangeEnabled = YES;

SOGoUserSources =
  (
    {
      type = sql;
      id = users;
     viewURL = "mysql://sogo:[email protected]:3306/sogo/sogo_users";
     canAuthenticate = YES;
     isAddressBook = NO;
      userPasswordAlgorithm = md5;
    }
  );

  SOGoPageTitle = SOGo;
  SOGoVacationEnabled = YES;
  SOGoForwardEnabled = YES;
  SOGoSieveScriptsEnabled = YES;
  SOGoMailAuxiliaryUserAccountsEnabled = YES;
  SOGoTrustProxyAuthentication = NO;
  SOGoXSRFValidationEnabled = YES;

  SOGoSuperUsernames = (admin); // This is an array - keep the parens!
Save and close the file when you are finished then restart the SOGo service to apply the changes:
systemctl restart sogo
You can now verify the status of the SOGo service by running the following command:
systemctl status sogo
You should get the following output:
? sogo.service - LSB: SOGo server
   Loaded: loaded (/etc/init.d/sogo; generated)
   Active: active (running) since Thu 2020-11-12 04:19:00 UTC; 3s ago
     Docs: man:systemd-sysv-generator(8)
  Process: 15422 ExecStart=/etc/init.d/sogo start (code=exited, status=0/SUCCESS)
    Tasks: 4 (limit: 4701)
   Memory: 44.9M
   CGroup: /system.slice/sogo.service
           ??15493 /usr/sbin/sogod -WOWorkersCount 3 -WOPidFile /var/run/sogo/sogo.pid -WOLogFile /var/log/sogo/sogo.log
           ??15495 /usr/sbin/sogod -WOWorkersCount 3 -WOPidFile /var/run/sogo/sogo.pid -WOLogFile /var/log/sogo/sogo.log
           ??15496 /usr/sbin/sogod -WOWorkersCount 3 -WOPidFile /var/run/sogo/sogo.pid -WOLogFile /var/log/sogo/sogo.log
           ??15497 /usr/sbin/sogod -WOWorkersCount 3 -WOPidFile /var/run/sogo/sogo.pid -WOLogFile /var/log/sogo/sogo.log

Nov 12 04:19:00 debian10 systemd[1]: Starting LSB: SOGo server...
Nov 12 04:19:00 debian10 sogo[15422]: Starting SOGo: sogo.
Nov 12 04:19:00 debian10 systemd[1]: Started LSB: SOGo server.
At this point, SOGo is started and listening on port 20000. You can check it with the following command:
ss -ntpl | grep -i sogo
You should get the following output:
LISTEN 0 5 127.0.0.1:20000 0.0.0.0:* users:(("sogod",pid=15497,fd=3),("sogod",pid=15496,fd=3),("sogod",pid=15495,fd=3),("sogod",pid=15493,fd=3))
Once you are finished, you can proceed to the next step.
Access SOGo Web Interface
Now, open your web browser and type the URL http://your-server-ip/SOGo to access the SOGo web UI. You will be redirected to the following page:
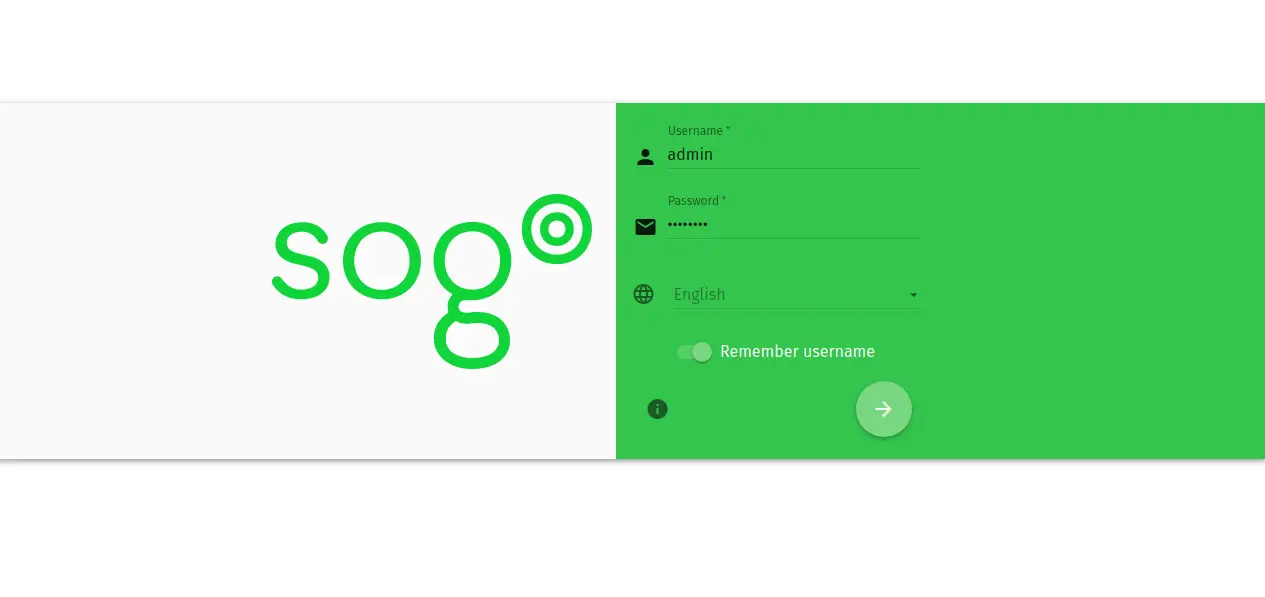
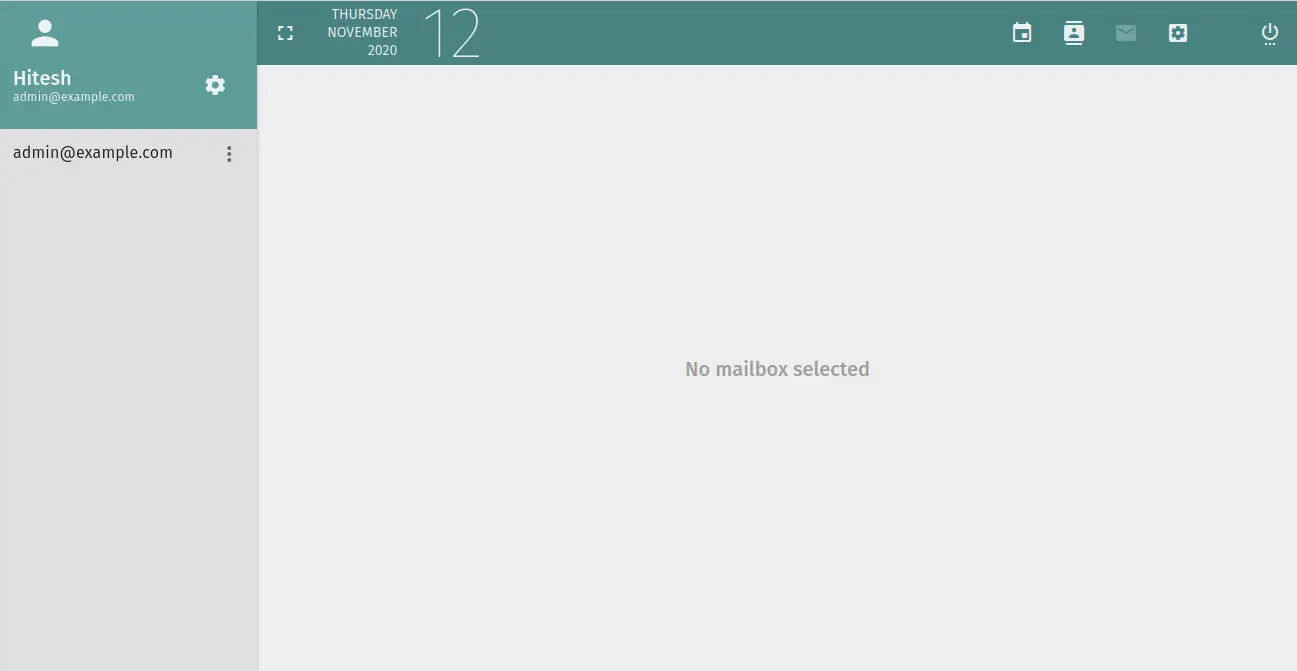
Provide your admin username as admin and the password as "password" then click on the > button. You should see the SOGo default dashboard in the following page:
Conclusion
Congratulations! you have successfully installed and configured SOGo groupware with Apache on Debian 10. You can now explore the SOGo for more features and deploy it in your production environment. Feel free to ask me if you have any questions.

