Here I am going to show you how to setup CodeIgniter 4 manually in your local environment. CodeIgniter framework version 4 is still under development and its size has been reduced significantly from its previous version. CodeIgniter 4 framework is intended to work with minimum version of PHP 7.2. You can also check the installation guide for other ways.
PHP based CodeIgniter framework enables developers to develop the projects much faster, it provides the core part that can easily be extended or replaced completely to make the system work smoothly.
CodeIgniter is right for you if:
- You want a framework with a small footprint.
- You need exceptional performance.
- You want a framework that requires nearly zero configuration.
- You want a framework that does not require you to use the command line.
- You want a framework that does not require you to adhere to restrictive coding rules.
- You are not interested in large-scale monolithic libraries like PEAR.
- You do not want to be forced to learn a templating language (although a template parser is optionally available if you desire one).
- You eschew complexity, favoring simple solutions.
- You need clear, thorough documentation.
Let’s move on to the local setup for CodeIgniter 4 framework.
Prerequisites
Apache HTTP Server 2.4 (Optional), PHP 7.4.3 (At least 7.2), CodeIgniter 4.0.4
Setup Instructions
- As a first step download the CodeIgniter framework and save it to anywhere you want in your system.
- Extract the downloaded achieve zip file either under the Apache server’s htdocs folder or anywhere you choose to save. If you want to run your application using Apache server then you won’t be able to run it if you do not put it under htdocs folder. If you extract it and save it any location in your system then you can use the development server that is shipped with CodeIgniter framework to run your application.
- In your PHP installation directory, edit the php.ini file and uncomment the line
;extension=intlto make it asextension=intl. If you do not so, you will see error Fatal error: Uncaught Error: Call to undefined function CodeIgniter\locale_set_default() while trying to run the application. - Make a copy of the existing file env in your extracted application folder and create a file called .env. Now edit the line
CI_ENVIRONMENT = productionand change it toCI_ENVIRONMENT = development. Once your application is going to be deployed then you can change it to production again.
Running the Application
So your setup has been done and you are ready to run your application. There are two ways you can run your application – either using the built-in development server shipped with CodeIgniter framework or external servers such as, Apache, Nginx, etc.
I am going to show you how to run your Codeigniter application using both built-in server and Apache HTTP server. First I will show you how to run your application using built-in server. Run the command php spark serve on your project root directory from the command line tool. Your application will run on localhost at 8080 port.
Accessing URL http://localhost:8080, you will see the below page:
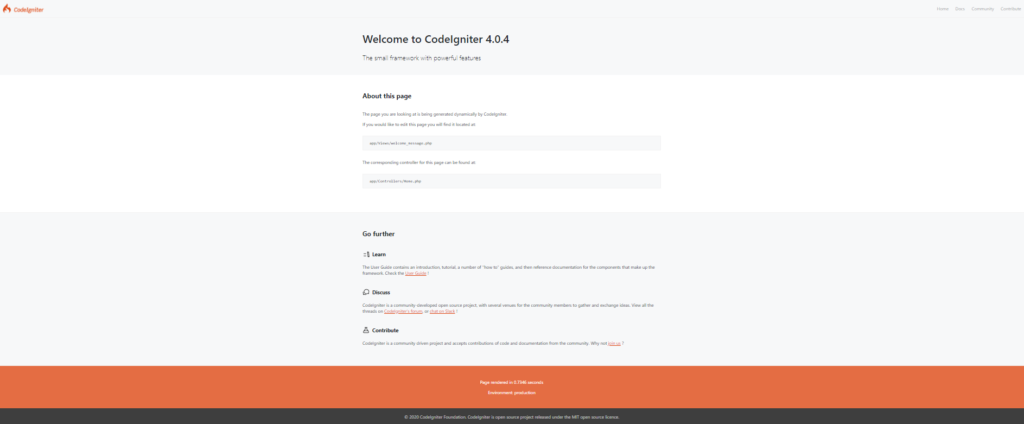
Now if you want to run using Apache HTTP server then you must have put the extracted Codeigniter files under htdocs folder. You need to run the Apache server and access the URL http://localhost/framework-4.0.4/public/ in the browser you will see the same output as shown in the above image.
Notice in the URL I have not mentioned the port because my Apache server is running on default port 80. Also make sure you have the root directory name of the application (example, framework-4.0.4) and public in the URL.
If you had run the application using built-in server from command line tool, you would see similar to the below output when you application deployed:
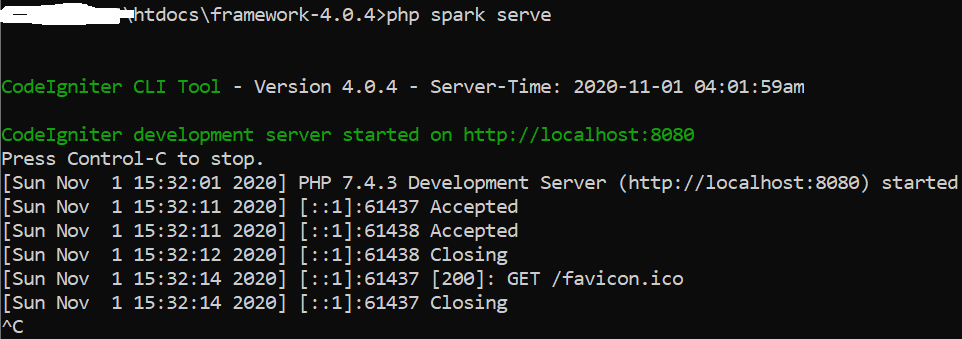
You need to press CTRL+C to stop the server.
Now you can develop your app inside the app folder, and the public folder will be your public-facing document root. Do not change anything inside the system folder.
That’s all about installing Codeigniter 4 manually in local environment.
Thanks man. Have been trying the composer way and always fail. This got me started. Just wanted to learn it. Good work bro.
Would be glad if you could show me step-by-step how to install and run CI4 on Ubuntu 20.04. It never works for me from any tutorial – be it video or text.