How to install ONLYOFFICE Workspace on Ubuntu
ONLYOFFICE Workspace is a free open-source self-hosted solution for team management and collaboration which includes:
- ONLYOFFICE Docs - online editors for documents, spreadsheets, and presentations (distributed under AGPL v.3).
- ONLYOFFICE Groups - productivity tools such as document and project management, mail, CRM, calendar, communication hub along with the
- Control Panel for the platform administration (distributed under Apache 2.0).
- ONLYOFFICE Mail Server - a solution to create corporate mailboxes and manage them (GPL v.2).
- ONLYOFFICE XMPP Server - an app to exchange instant messages (GPL v.2).
In this tutorial, we’ll learn how to install ONLYOFFICE Workspace Community Edition on your Ubuntu machine using the provided script.
What's new
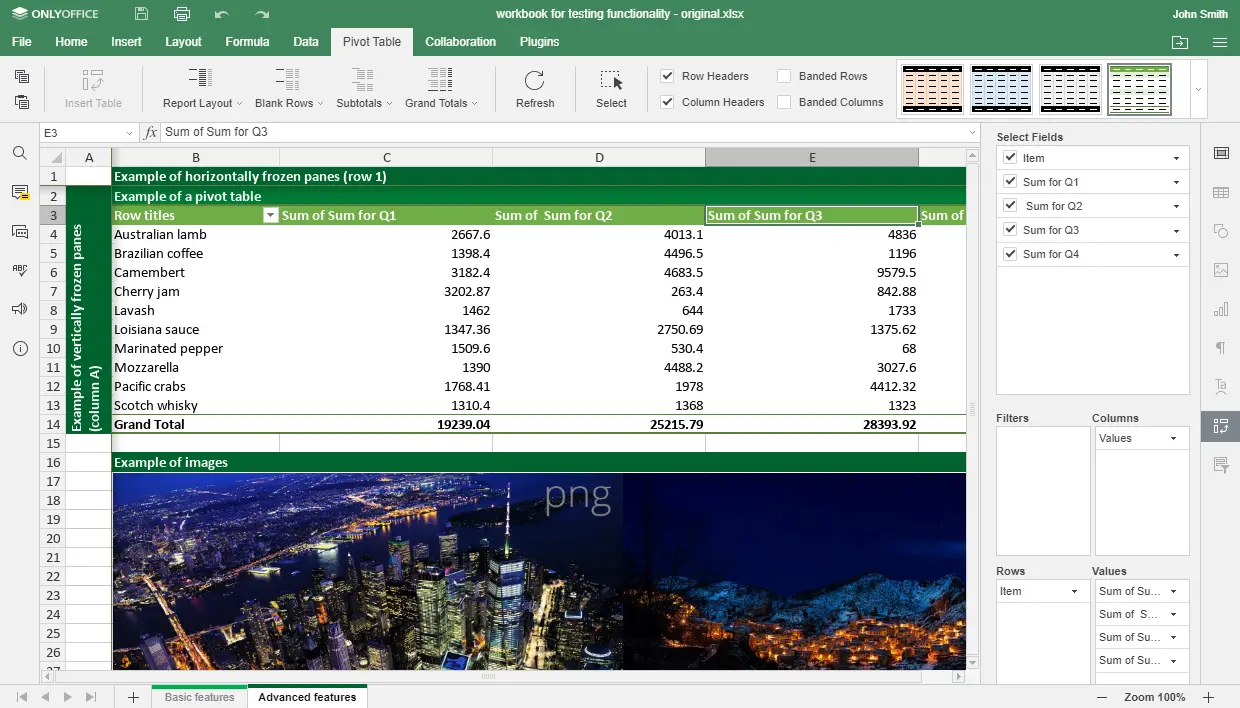
- ONLYOFFICE Docs 6.0
- Pivot tables to easily analyze data;
- Conditional formatting for viewing to visually explore data, detect issues, and identify trends;
- Slicers for formatted tables to visualize your filtering;
- Removing duplicates option to permanently delete unnecessary values;
- New hotkeys;
- Quick search via function name in the Insert Function window;
- Editing functions by setting arguments;
- Viewing endnotes in document editor;
- Ability to run macros automatically;
- AutoFit settings for shapes.
ONLYOFFICE Groups 11.0
- Encryption at rest to protect the storage with AES-256;
- Custom Filter to hide the data you don’t want to show before sharing your spreadsheet;
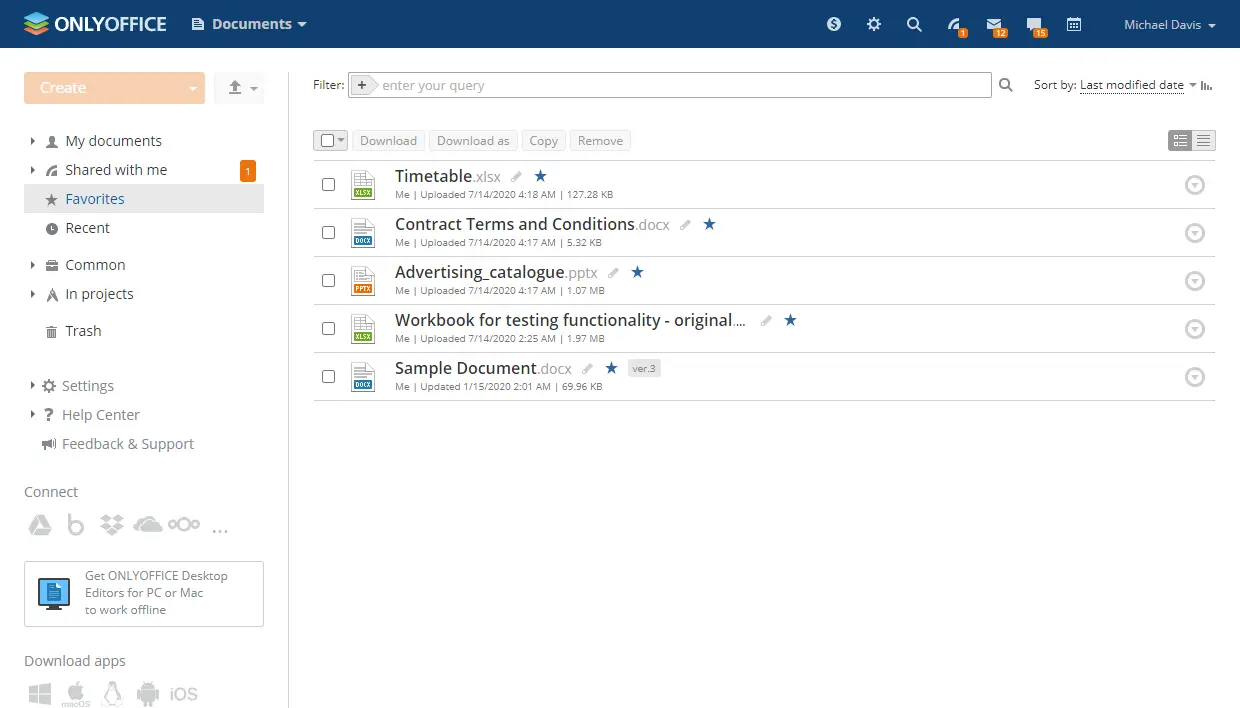
- Favorites and Recent folders for documents;
- Ability to connect a cloud storage kDrive via WebDAV;
- Portal notifications via Telegram.
Control Panel
Control Panel that previously was available for enterprise users only became a part of the open-source solution. It comprises tools to quickly configure and administrate your ONLYOFFICE, including centralizing access with SSO/ LDAP, tracking user actions, enabling full-text search, white labeling capabilities, multitenancy option.
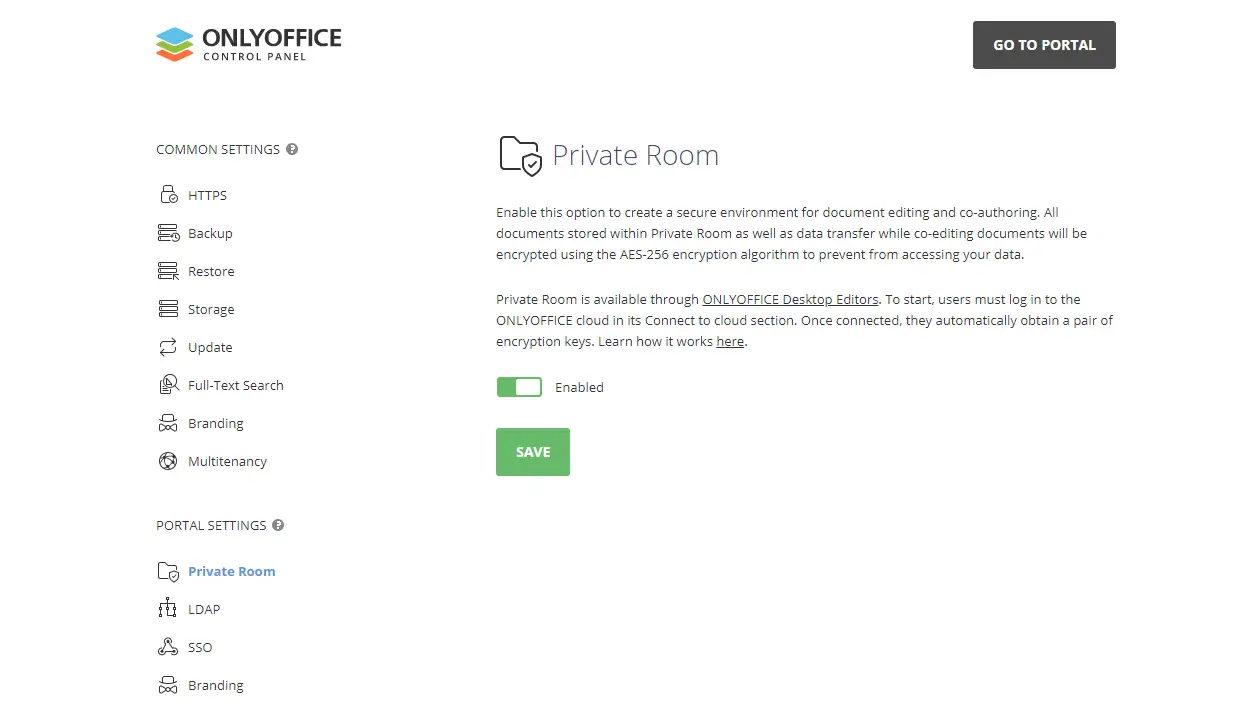
Private Rooms
The Documents module now has Private Rooms for encrypted collaboration. Private Rooms are protected workplaces where every symbol you type is encrypted using the AES-256 algorithm, even if you are co-editing documents with your teammates in real-time.
For using the Private Room feature the latest version of ONLYOFFICE Desktop Editors is required.
System requirements
- CPU: dual core 2 GHz or better
- RAM: 6 GB or more
- HDD: at least 40 GB of free space
- At least 6 GB of swap
- OS: amd64 Linux distribution with kernel version 3.10 or later
Step 1: Get ONLYOFFICE Workspace Community Edition script
Download the installation script file:
wget https://download.onlyoffice.com/install/workspace-install.sh
Once done, go ahead to the installation process.
Step 2: Run ONLYOFFICE Workspace Community Edition
Note that all installation actions must be performed with root rights.
To install all ONLYOFFICE Workspace Community Edition components and modules at once, run the following command:
bash workspace-install.sh -md "yourdomain.com"
Where yourdomain.com is your own domain that will be used for ONLYOFFICE Mail.
In case you want to install ONLYOFFICE Workspace Community Edition without ONLYOFFICE Mail, run the command:
bash workspace-install.sh -ims false
The list of all available script parameters is available with the below command:
bash workspace-install.sh -h
Step 3: Check ONLYOFFICE Workspace Community Edition for correct work
Launch the browser and enter the local network computer IP address into the URL bar. Don’t use either localhost or 127.0.0.1 network address for the same computer where you have ONLYOFFICE Workspace Community Edition installed, use its IP address in the local network instead.
That’s all! ONLYOFFICE Workspace Community Edition must be up and running indicating the successful installation.

