How to Install and Configure Nextcloud on Fedora 32
Nextcloud is an opensource software for storing and syncing your data across multiple devices. You can consider it as your own Dropbox clone. But apart from storing files, it also provides additional features like Calendar, Contacts, Scheduled Tasks, media streaming etc.
Nextcloud provides apps for Windows, Linux, MacOS and mobile apps for Android and iOS which you can use to sync files across your various devices.
In this tutorial, we will learn how to install and configure Nextcloud on a Fedora 32 based server. We will also be installing Nginx web server along with PHP 7.4 and MariaDB
Prerequisites
-
A server running Fedora 32.
-
A non-root sudo user.
-
Make sure everything is updated.
$ sudo dnf update -
Essential packages.
$ sudo dnf install wget curl bzip2 nano unzip policycoreutils-python-utils -ySome of these packages may already be on your system.
Configure Firewall
The first step is to configure the firewall. Fedora server comes with Firewalld firewall preinstalled.
Check if the firewall is running.
$ sudo firewall-cmd --state
running
Check the current allowed services/ports.
$ sudo firewall-cmd --permanent --list-services
It should show the following output.
dhcpv6-client mdns ssh
Allow HTTP and HTTPS ports.
$ sudo firewall-cmd --permanent --add-service=http
$ sudo firewall-cmd --permanent --add-service=https
Check the status of the firewall again.
$ sudo firewall-cmd --permanent --list-services
You should see a similar output.
dhcpv6-client http https mdns ssh
Reload the Firewall.
$ sudo systemctl reload firewalld
Install PHP
Fedora 32 by default ships with PHP 7.4 but to have an updated PHP repository, we will add the REMI repository.
Install the REMI repository which is the official Fedora repository for installing PHP packages.
$ sudo dnf -y install https://rpms.remirepo.net/fedora/remi-release-32.rpm
Enable the remi repository and disable the remi-modular repository. This enables the repository required to install PHP 7.4 packages.
$ sudo dnf config-manager --set-enabled remi
$ sudo dnf config-manager --set-disabled remi-modular
Install PHP 7.4 along with some additional packages.
$ sudo dnf install php-fpm php-cli php-gd php-mbstring php-intl php-mysqlnd php-imagick php-zip php-json php-process php-xml php-bcmath php-gmp php-ftp php-smbclient php-opcache
Check if PHP is working correctly.
$ php --version
PHP 7.4.11 (cli) (built: Sep 29 2020 10:17:06) ( NTS )
Copyright (c) The PHP Group
Zend Engine v3.4.0, Copyright (c) Zend Technologies
    with Zend OPcache v7.4.11, Copyright (c), by Zend Technologies
Configure PHP
Open the file /etc/php-fpm.d/www.conf.
$ sudo nano /etc/php-fpm.d/www.conf
We need to set the Unix user/group of PHP processes to nginx. Find the user=apache and group=apache lines in the file and change them to nginx.
...
; Unix user/group of processes
; Note: The user is mandatory. If the group is not set, the default user's group
;       will be used.
; RPM: apache user chosen to provide access to the same directories as httpd
user = nginx
; RPM: Keep a group allowed to write in log dir.
group = nginx
...
Uncomment the PHP environment variables below.
env[HOSTNAME] = $HOSTNAME
env[PATH] = /usr/local/bin:/usr/bin:/bin
env[TMP] = /tmp
env[TMPDIR] = /tmp
env[TEMP] = /tmp
Uncomment the opcache configuration on the last line.
php_value[opcache.file_cache] = /var/lib/php/opcache
Save the file by pressing Ctrl + X and entering Y when prompted.
Now edit the PHP opcache configuration /etc/php.d/10-opcache.ini.
$ sudo nano /etc/php.d/10-opcache.ini
Change the configuration as below.
opcache.enable=1
opcache.memory_consumption=128
opcache.interned_strings_buffer=8
opcache.max_accelerated_files=10000
opcache.revalidate_freq=1
opcache.save_comments=1
Save the file by pressing Ctrl + X and entering Y when prompted.
Run the following commands to increase the File upload and Memory limits for PHP.
$ sudo cp /etc/php.ini /etc/php.ini.bak
$ sudo sed -i "s/memory_limit = 128M/memory_limit = 512M/" /etc/php.ini
$ sudo sed -i "s/post_max_size = 8M/post_max_size = 100M/" /etc/php.ini
$ sudo sed -i "s/upload_max_filesize = 2M/upload_max_filesize = 100M/" /etc/php.ini
By default, there are 3 files in /var/lib/php/ directory whose group owner are set to apache, but we are using Nginx. So we need to give the nginx user permissions to read and write to the 3 directories with setfacl.
$ sudo setfacl -R -m u:nginx:rwx /var/lib/php/opcache/
$ sudo setfacl -R -m u:nginx:rwx /var/lib/php/session/
$ sudo setfacl -R -m u:nginx:rwx /var/lib/php/wsdlcache/
Enable and start the php-fpm process.
$ sudo systemctl enable php-fpm
$ sudo systemctl start php-fpm
Install Nginx
Fedora 32 by default ships with Nginx's latest Stable version.
Install Nginx.
$ sudo dnf install nginx -y
Check if it is working correctly.
$ nginx -v
nginx version: nginx/1.18.0
Start and enable Nginx.
$ sudo systemctl start nginx
$ sudo systemctl enable nginx
Open your server's IP address in a browser to see the following page. It means Nginx is working properly.

Install MariaDB
MariaDB is a drop-in replacement for MySQL which means commands to run and operate MariaDB are the same as those for MySQL.
Fedora 32 by default ships with MariaDB 10.4 which is the one we will use.
Install MariaDB server.
$ sudo dnf install mariadb-server
Check if MariaDB installed correctly.
$ mysql --version
mysql  Ver 15.1 Distrib 10.4.14-MariaDB, for Linux (x86_64) using  EditLine wrapper
Enable and start the MariaDB service.
$ sudo systemctl enable mariadb
$ sudo systemctl start mariadb
Run the following command to perform default configuration such as giving a root password, removing anonymous users, disallowing root login remotely and dropping test tables.
$ sudo mysql_secure_installation
Pressing Enter chooses the default option (the one that is capitalised, Y in this case).
Enter current password for root (enter for none): [PRESS ENTER]
Switch to unix_socket authentication [Y/n] [PRESS ENTER]
Change the root password? [Y/n] [ANSWER n]
Remove anonymous users? [Y/n] [PRESS ENTER]
Disallow root login remotely? [Y/n] [PRESS ENTER]
Remove test database and access to it? [Y/n] [PRESS ENTER]
Reload privilege tables now? [Y/n] [PRESS ENTER]
That's it. Next time you want to login to MySQL, use the following command
$ sudo mysql
Enter your root password when prompted.
Configure MariaDB
Enter the following command to enter the MySQL shell.
$ sudo mysql
Create a MySQL user to handle NextCloud Database.
mysql> CREATE USER 'nextuser'@'localhost' IDENTIFIED BY 'yourpassword';
Create the NextCloud database.
mysql> CREATE DATABASE nextcloud CHARACTER SET utf8mb4 COLLATE utf8mb4_general_ci;
Grant all privileges to Nextcloud database to the user we created.
mysql> GRANT ALL PRIVILEGES ON nextcloud.* TO 'nextuser'@'localhost';
Quit the MySQL Shell.
mysql> exit
Download Nextcloud
Time to download and setup the Nextcloud folders.
$ wget https://download.nextcloud.com/server/releases/latest.tar.bz2
$ tar -jxvf latest.tar.bz2
$ sudo mv nextcloud /var/www/html/
Next, we need to create a data folder.
$ sudo mkdir /var/www/html/nextcloud/data
$ sudo chown -R nginx:nginx /var/www/html/nextcloud
Install SSL
We will install SSL using Let’s Encrypt service.
For that, install Certbot.
$ sudo dnf install certbot
Stop Nginx because it will interfere with the Certbot process.
$ sudo systemctl stop nginx
Generate the certificate. We also create a DHParams certificate.
$ export LDOMAIN="nextcloud.example.com"
$ export LEMAIL="[email protected]"
$ sudo certbot certonly --standalone -d $LDOMAIN --preferred-challenges http --agree-tos -n -m $LEMAIL --keep-until-expiring
$ sudo systemctl start nginx
$ sudo openssl dhparam -out /etc/ssl/certs/dhparam.pem 2048
We also need to set up a cron job for renewing the SSL automatically. To open the crontab editor, run the following command
$ sudo EDITOR=nano crontab -e
The above command opens Crontab with Nano editor instead of the default Vim editor.
Paste the following line at the bottom.
25 2 * * * /usr/bin/certbot renew --quiet --pre-hook “systemctl stop nginx” --post-hook “systemctl start nginx”
The above cron job will run certbot at 2:25 am every day. You can change it to anything you want.
Save the file by pressing Ctrl + X and entering Y when prompted.
Configure SELinux/Permissions
SELinux needs to be configured to make Nextcloud work on Fedora. Enter the following commands to for basic SELinux settings that should work for everyone.
Make sure to adjust the file paths if they are different in your case.
$ sudo semanage fcontext -a -t httpd_sys_rw_content_t '/var/www/html/nextcloud/data(/.*)?'
$ sudo semanage fcontext -a -t httpd_sys_rw_content_t '/var/www/html/nextcloud/config(/.*)?'
$ sudo semanage fcontext -a -t httpd_sys_rw_content_t '/var/www/html/nextcloud/apps(/.*)?'
$ sudo semanage fcontext -a -t httpd_sys_rw_content_t '/var/www/html/nextcloud/.user.ini'
$ sudo semanage fcontext -a -t httpd_sys_rw_content_t '/var/www/html/nextcloud/3rdparty/aws/aws-sdk-php/src/data/logs(/.*)?'

$ sudo restorecon -Rv '/var/www/html/nextcloud/'
To enable updates via the Nextcloud’s web interface, run the following command as well.
$ sudo setsebool -P httpd_unified on
Configure Nginx for Nextcloud
Next, we need to configure Nginx for hosting Nextcloud.
For our purpose, Nextcloud will be hosted at the domain http://nextcloud.example.com,
Set up directories where the server blocks will live.
$ sudo mkdir /etc/nginx/sites-available
$ sudo mkdir /etc/nginx/sites-enabled
Open the /etc/nginx/nginx.conf file for editing.
$ sudo nano /etc/nginx/nginx.conf
Paste the following lines after the line include /etc/nginx/conf.d/*.conf
include /etc/nginx/sites-enabled/*.conf;
server_names_hash_bucket_size 64;
Press Ctrl + X to close the editor and press Y when prompted to save the file.
Create the file /etc/nginx/sites-available/nextcloud.conf using Nano editor.
$ sudo nano /etc/nginx/sites-available/nextcloud.conf
Paste the following code in the editor. Make sure to replace the example domain with your real domain before pasting.
upstream php-handler {
    #server 127.0.0.1:9000;
    server unix:/run/php-fpm/www.sock;
}

server {
    listen 80;
    listen [::]:80;
    server_name nextcloud.example.com;
    # enforce https
    return 301 https://$server_name:443$request_uri;
}

server {
    listen 443 ssl http2;
    listen [::]:443 ssl http2;
    server_name nextcloud.example.com;

	access_log /var/log/nginx/nextcloud.access.log;
    error_log /var/log/nginx/nextcloud.error.log;

    # Use Mozilla's guidelines for SSL/TLS settings
    # https://mozilla.github.io/server-side-tls/ssl-config-generator/
    # NOTE: some settings below might be redundant
    ssl_certificate /etc/letsencrypt/live/nextcloud.example.com/fullchain.pem;
    ssl_certificate_key /etc/letsencrypt/live/nextcloud.example.com/privkey.pem;
	ssl_protocols TLSv1.2 TLSv1.3;
	ssl_session_timeout 1d;
    ssl_session_cache shared:MozSSL:10m;  # about 40000 sessions
    ssl_session_tickets off;
	ssl_ciphers ECDHE-ECDSA-AES128-GCM-SHA256:ECDHE-RSA-AES128-GCM-SHA256:ECDHE-ECDSA-AES256-GCM-SHA384:ECDHE-RSA-AES256-GCM-SHA384:ECDHE-ECDSA-CHACHA20-POLY1305:ECDHE-RSA-CHACHA20-POLY1305:DHE-RSA-AES128-GCM-SHA256:DHE-RSA-AES256-GCM-SHA384;
    ssl_prefer_server_ciphers off;
	ssl_dhparam /etc/ssl/certs/dhparam.pem;

    # Add headers to serve security related headers
    # Before enabling Strict-Transport-Security headers please read into this
    # topic first.
    #add_header Strict-Transport-Security "max-age=15768000; includeSubDomains; preload;" always;
    #
    # WARNING: Only add the preload option once you read about
    # the consequences in https://hstspreload.org/. This option
    # will add the domain to a hardcoded list that is shipped
    # in all major browsers and getting removed from this list
    # could take several months.
    add_header Referrer-Policy "no-referrer" always;
    add_header X-Content-Type-Options "nosniff" always;
    add_header X-Download-Options "noopen" always;
    add_header X-Frame-Options "SAMEORIGIN" always;
    add_header X-Permitted-Cross-Domain-Policies "none" always;
    add_header X-Robots-Tag "none" always;
    add_header X-XSS-Protection "1; mode=block" always;

	# Remove X-Powered-By, which is an information leak
    fastcgi_hide_header X-Powered-By;

    # Path to the root of your installation
    root /var/www/html/nextcloud;

    location = /robots.txt {
        allow all;
        log_not_found off;
        access_log off;
    }

    # The following 2 rules are only needed for the user_webfinger app.
    # Uncomment it if you're planning to use this app.
    #rewrite ^/.well-known/host-meta /public.php?service=host-meta last;
    #rewrite ^/.well-known/host-meta.json /public.php?service=host-meta-json last;

    # The following rule is only needed for the Social app.
    # Uncomment it if you're planning to use this app.
    #rewrite ^/.well-known/webfinger /public.php?service=webfinger last;

    location = /.well-known/carddav {
      return 301 $scheme://$host:$server_port/remote.php/dav;
    }
    location = /.well-known/caldav {
      return 301 $scheme://$host:$server_port/remote.php/dav;
    }

    # set max upload size
    client_max_body_size 100M;
    fastcgi_buffers 64 4K;

    # Enable gzip but do not remove ETag headers
    gzip on;
    gzip_vary on;
    gzip_comp_level 4;
    gzip_min_length 256;
    gzip_proxied expired no-cache no-store private no_last_modified no_etag auth;
    gzip_types application/atom+xml application/javascript application/json application/ld+json application/manifest+json application/rss+xml application/vnd.geo+json application/vnd.ms-fontobject application/x-font-ttf application/x-web-app-manifest+json application/xhtml+xml application/xml font/opentype image/bmp image/svg+xml image/x-icon text/cache-manifest text/css text/plain text/vcard text/vnd.rim.location.xloc text/vtt text/x-component text/x-cross-domain-policy;

    # Uncomment if your server is build with the ngx_pagespeed module
    # This module is currently not supported.
    #pagespeed off;

    location / {
        rewrite ^ /index.php;
    }

    location ~ ^\/(?:build|tests|config|lib|3rdparty|templates|data)\/ {
        deny all;
    }
    location ~ ^\/(?:\.|autotest|occ|issue|indie|db_|console) {
        deny all;
    }

    location ~ ^\/(?:index|remote|public|cron|core\/ajax\/update|status|ocs\/v[12]|updater\/.+|oc[ms]-provider\/.+|.+\/richdocumentscode\/proxy)\.php(?:$|\/) {
        fastcgi_split_path_info ^(.+?\.php)(\/.*|)$;
        set $path_info $fastcgi_path_info;
        try_files $fastcgi_script_name =404;
        include fastcgi_params;
        fastcgi_param SCRIPT_FILENAME $document_root$fastcgi_script_name;
        fastcgi_param PATH_INFO $path_info;
        fastcgi_param HTTPS on;
        # Avoid sending the security headers twice
        fastcgi_param modHeadersAvailable true;
        # Enable pretty urls
        fastcgi_param front_controller_active true;
        fastcgi_pass php-handler;
        fastcgi_intercept_errors on;
        fastcgi_request_buffering off;
    }

    location ~ ^\/(?:updater|oc[ms]-provider)(?:$|\/) {
        try_files $uri/ =404;
        index index.php;
    }

    # Adding the cache control header for js, css and map files
    # Make sure it is BELOW the PHP block
    location ~ \.(?:css|js|woff2?|svg|gif|map)$ {
        try_files $uri /index.php$request_uri;
        add_header Cache-Control "public, max-age=15778463";
        add_header Referrer-Policy "no-referrer" always;
        add_header X-Content-Type-Options "nosniff" always;
        add_header X-Download-Options "noopen" always;
        add_header X-Frame-Options "SAMEORIGIN" always;
        add_header X-Permitted-Cross-Domain-Policies "none" always;
        add_header X-Robots-Tag "none" always;
        add_header X-XSS-Protection "1; mode=block" always;

        # Optional: Don't log access to assets
        access_log off;
    }

    location ~ \.(?:png|html|ttf|ico|jpg|jpeg|bcmap|mp4|webm)$ {
        try_files $uri /index.php$request_uri;
        # Optional: Don't log access to other assets
        access_log off;
    }
}
Press Ctrl + X to close the editor and press Y when prompted to save the file.
Activate this configuration file by linking it to the sites-enabled directory.
$ sudo ln -s /etc/nginx/sites-available/nextcloud.conf /etc/nginx/sites-enabled/
Test the Nginx configuration.
$ sudo nginx -t
Reload the Nginx service if everything is okay.
$ sudo systemctl reload nginx
Install Nextcloud
There are two ways to configure Nextcloud - via command line or via the graphical interface. We will opt for the command line method.
Enter the Nextcloud directory.
$ cd /var/www/html/nextcloud
Run the following command to install Nextcloud.
$ sudo -u nginx php occ maintenance:install --database "mysql" --database-name "nextcloud" --database-user "nextuser" --database-pass "yourpassword" --admin-user "admin" --admin-pass "password"
This command is run as nginx user because it has write permissions to the Nextcloud folder.
Next, we need to add our domain to the trusted domains list. Open the /var/www/html/nextcloud/config/config.php file.
$ sudo nano config/config.php
Change the Value of trusted_domains variable by adding your Server IP address and your Nextcloud domain nextcloud.example.com to it so you can access your installation from your domain.
'trusted_domains' =>
  array (
    0 => 'localhost',
    1 => '167.172.35.56',
    2 => 'nextcloud.example.com',
  ),
Press Ctrl + X to close the editor and press Y when prompted to save the file.
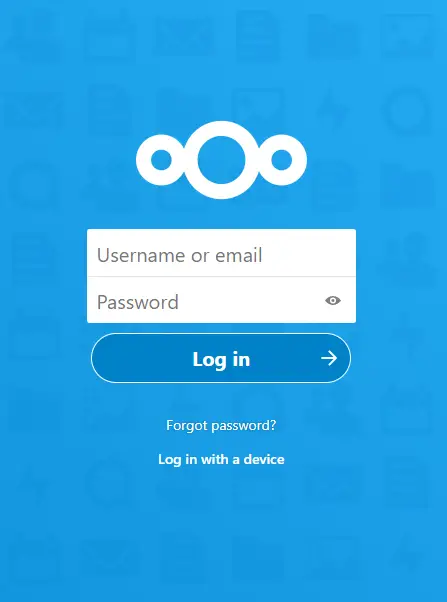
Launch your Nextcloud install by opening https://nextcloud.example.com in your browser and you will see the following screen.
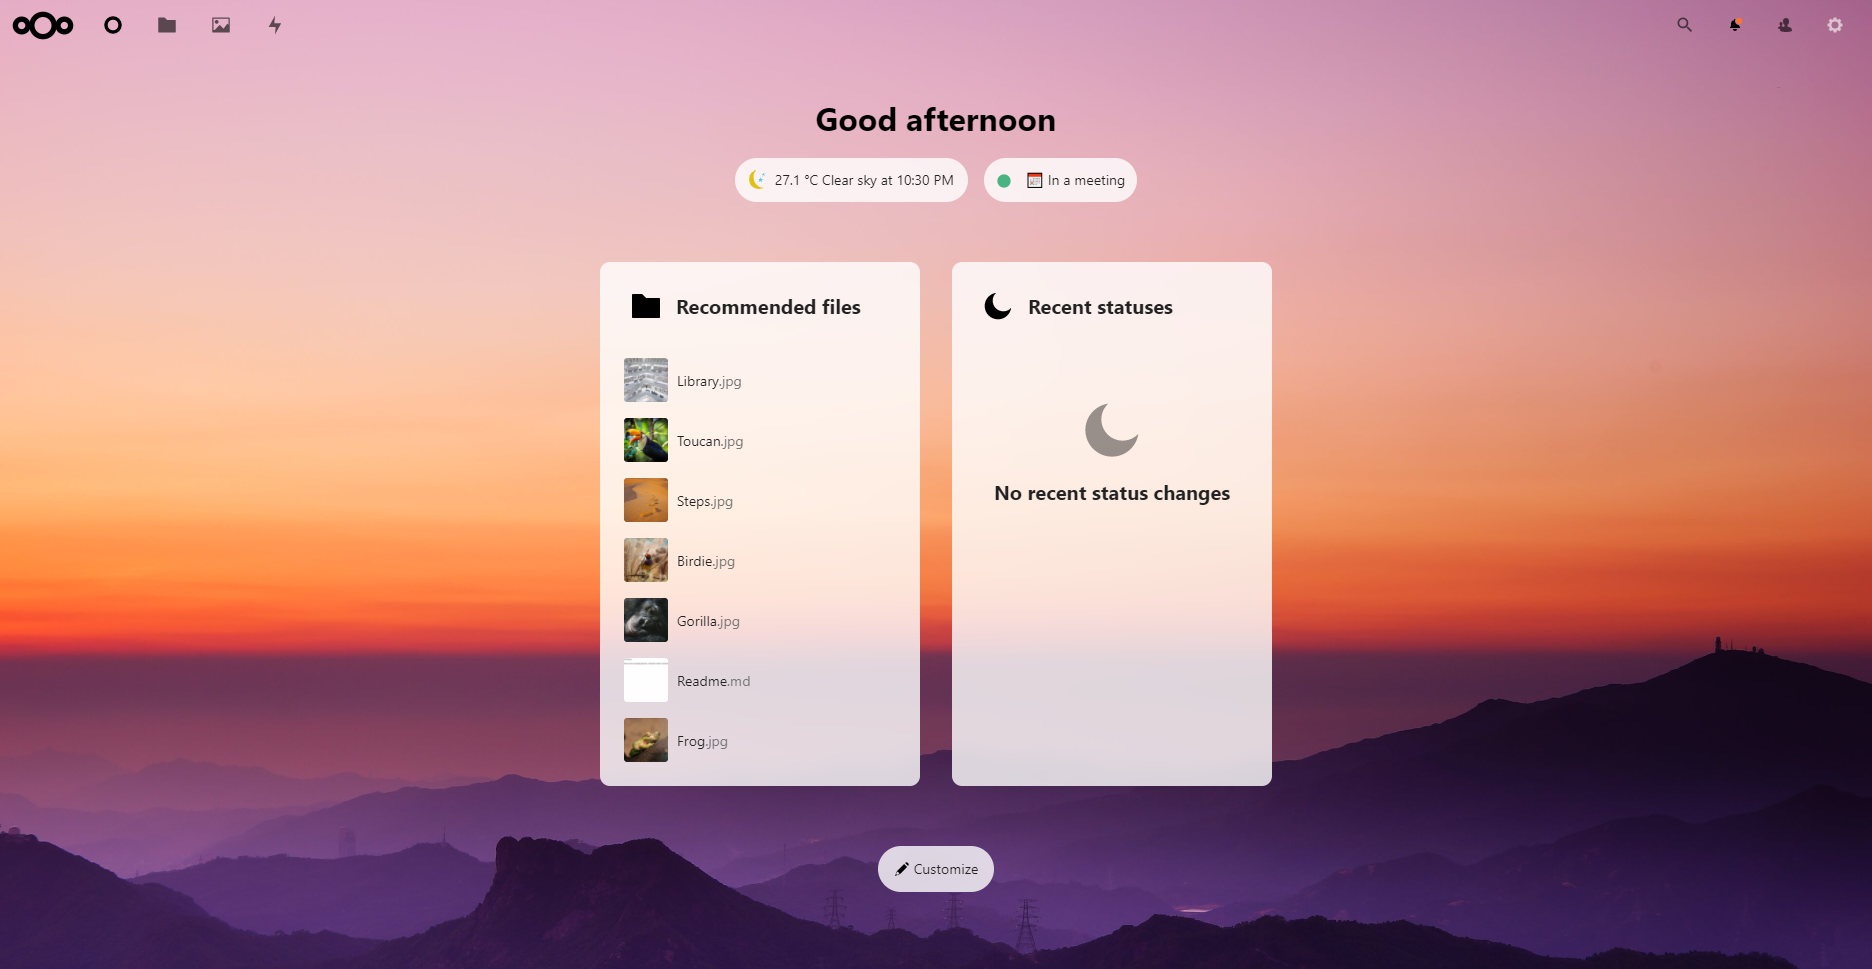
Enter your Administration Login Details. Scroll through the introductory Nextcloud banners, set your weather location and status and choose a wallpaper and once you are done you should be greeted with a similar screen.
Conclusion
This concludes our tutorial on installing Nextcloud on Fedora 32 server. If you have any questions, post them in the comments below.

