Jobs in Kubernetes
A job creates one or more Pods to perform a particular operation and ensures the pods successfully terminate. When a specified number of pods successfully complete, the job is complete. When a job is deleted, it deletes the Pods it created. A Job can also be used to run multiple Pods in parallel.
To know more about Kubernetes Jobs, click here.
In this article, we will see the implementation of a simple job, a job with a time limit and a cronjob.
Pre-requisites
- Kubernetes Cluster with at least 1 worker node.
If you want to learn to create a Kubernetes Cluster, click here. This guide will help you create a Kubernetes cluster with 1 Master and 2 Nodes on AWS Ubuntu 18.04 EC2 Instances.
What will we do?
- Create Jobs
Create Jobs
Simple Job
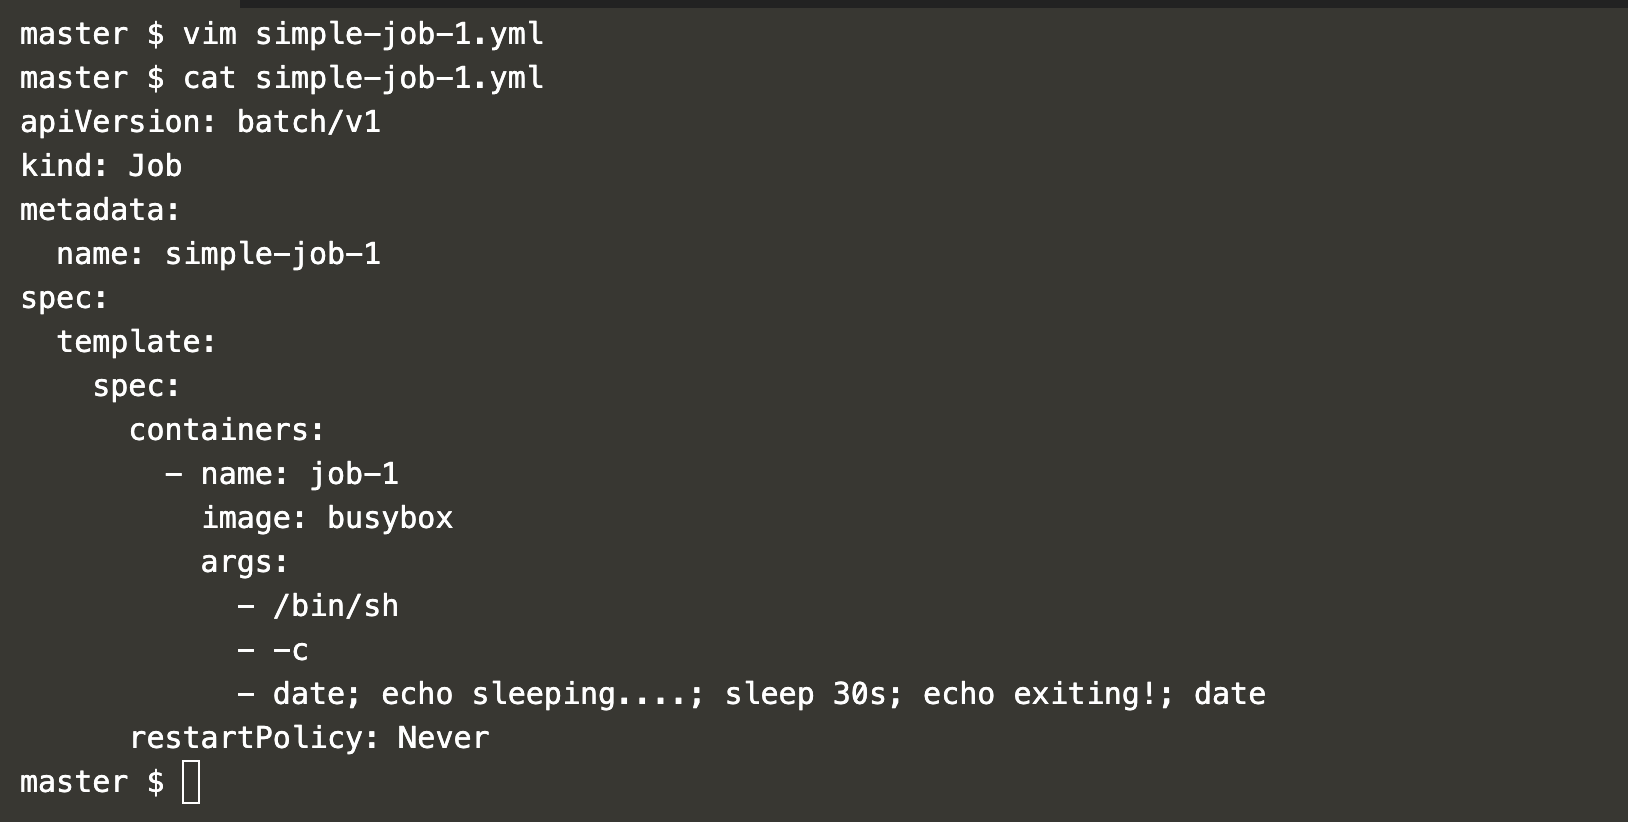
Create a multi-container port definition file using the following content.
vim simple-job-1.yml
apiVersion: batch/v1
kind: Job
metadata:
  name: simple-job-1
spec:
  template:
    spec:
      containers:
        - name: job-1
          image: busybox
          args:
            - /bin/sh
            - -c
            - date; echo sleeping....; sleep 30s; echo exiting!; date
      restartPolicy: Never
Get a list of existing pods and jobs in the Kubernetes Cluster and create a job using the following commands.
kubectl get pods
kubectl get jobs
kubectl create -f simple-job-1.yml
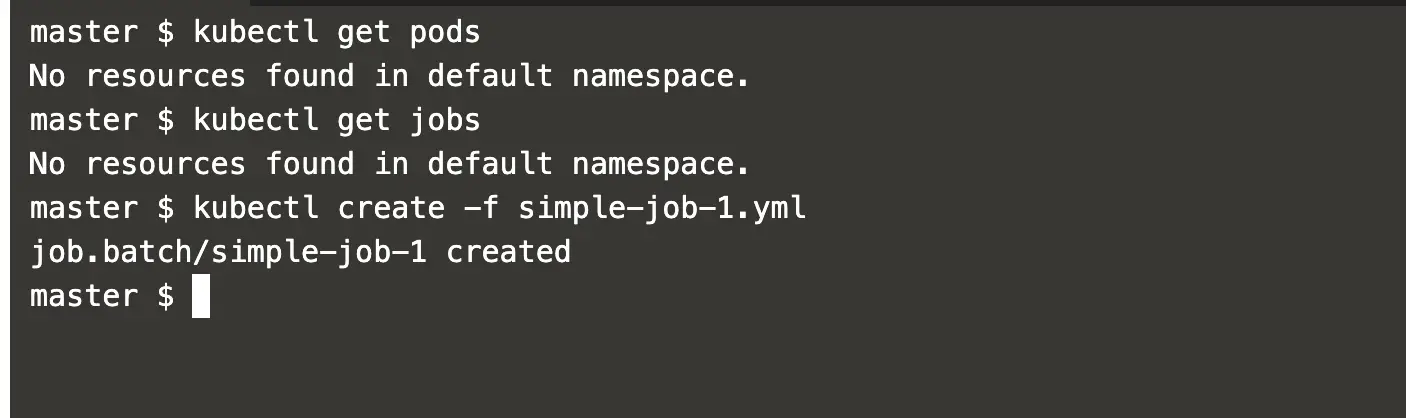
In the above screenshot, you can see that there are no pods and jobs in the existing cluster and a new job has been created.
When you create a job, a pod with the job name gets created along with the job.
You can get the pod and the job using the following commands.
kubectl get pods
kubectl get jobs
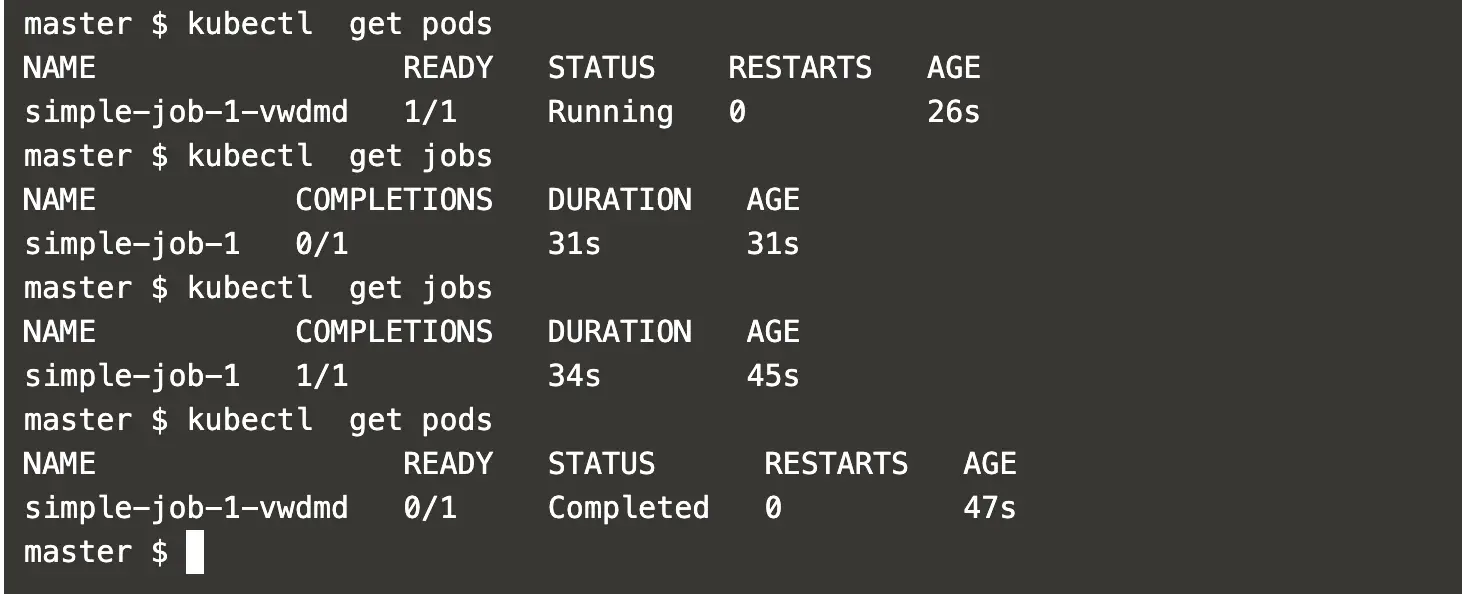
In the above screenshot, you can see that the job gets completed after its execution.
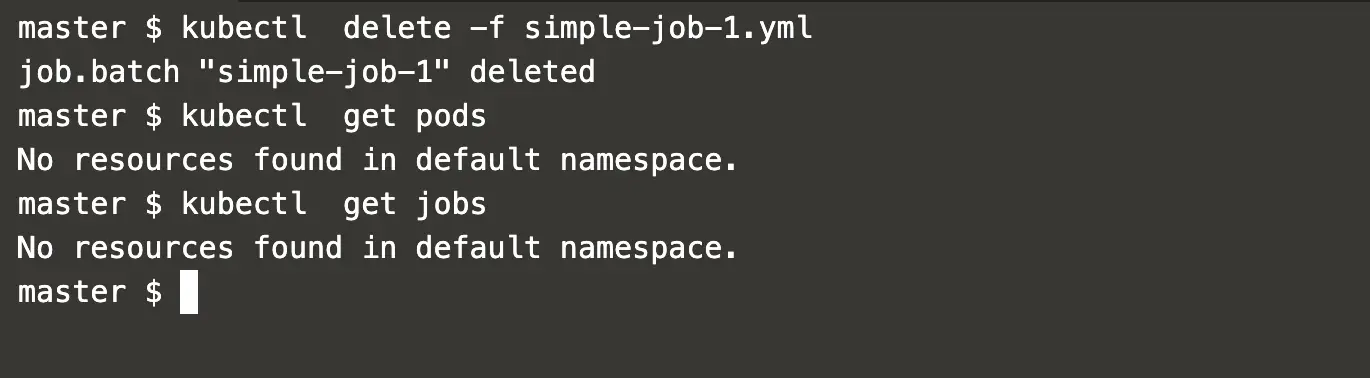
When you no longer need your job you can delete it using the following command.
kubectl delete -f simple-job-1.yml
kubectl get pods
kubectl get jobs
A job with Enforce Time Limit
You can enforce a time limit in the job which makes sure that the job must complete its execution within the specified time limit.
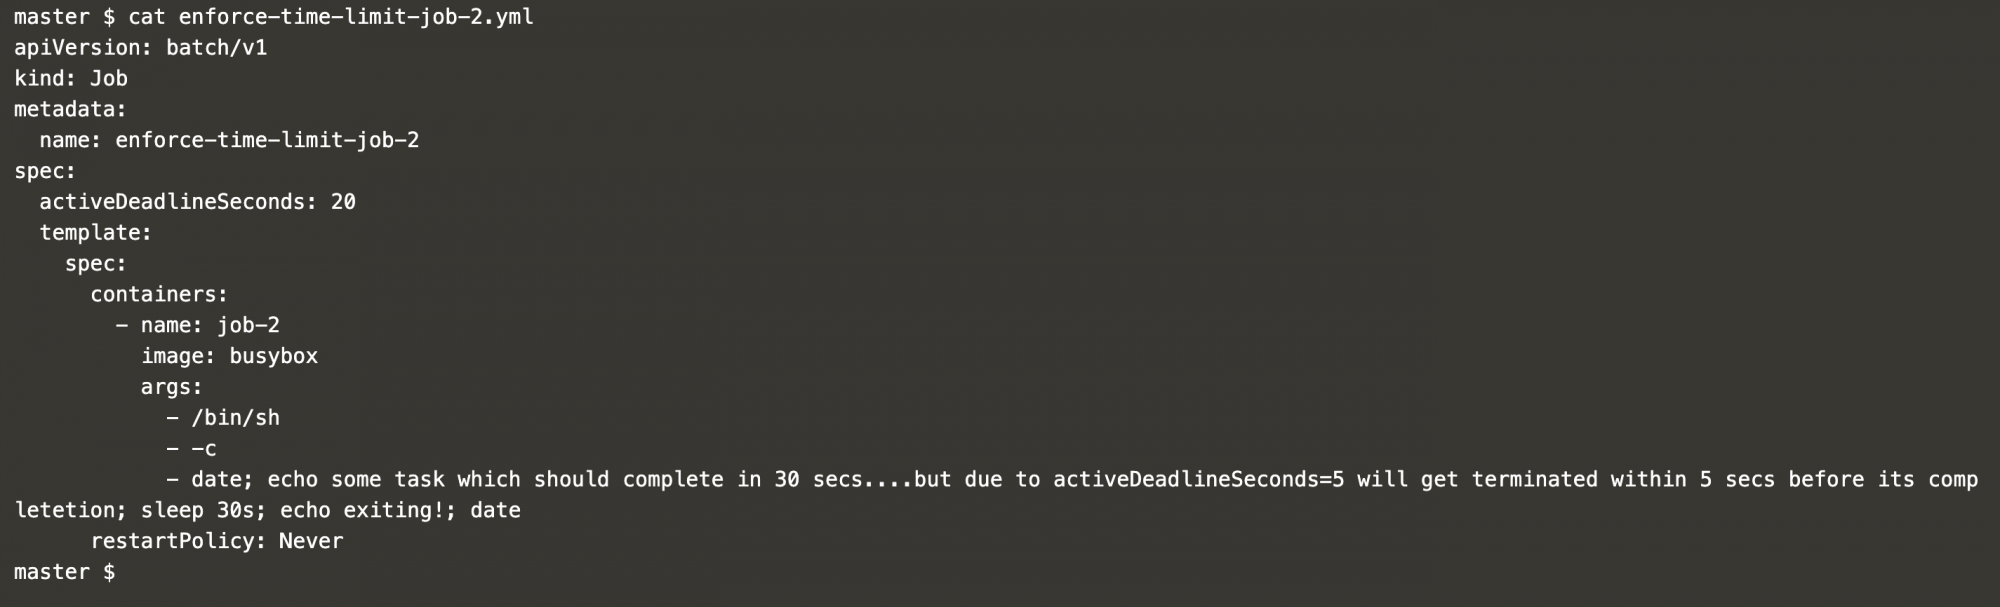
Create a job definition file with the following content.
vim enforce-time-limit-job-2.yml
apiVersion: batch/v1
kind: Job
metadata:
  name: enforce-time-limit-job-2
spec:
  activeDeadlineSeconds: 20
  template:
    spec:
      containers:
        - name: job-2
          image: busybox
          args:
            - /bin/sh
            - -c
            - date; echo some task which should complete in 30 secs....but due to activeDeadlineSeconds=5 will get terminated within 5 secs before its completetion; sleep 30s; echo exiting!; date
      restartPolicy: Never
Again get a list of pods and jobs in the Kubernetes cluster and create a job using the above file.
kubectl get jobs
kubectl get pods
kubectl create -f enforce-time-limit-job-2.yml
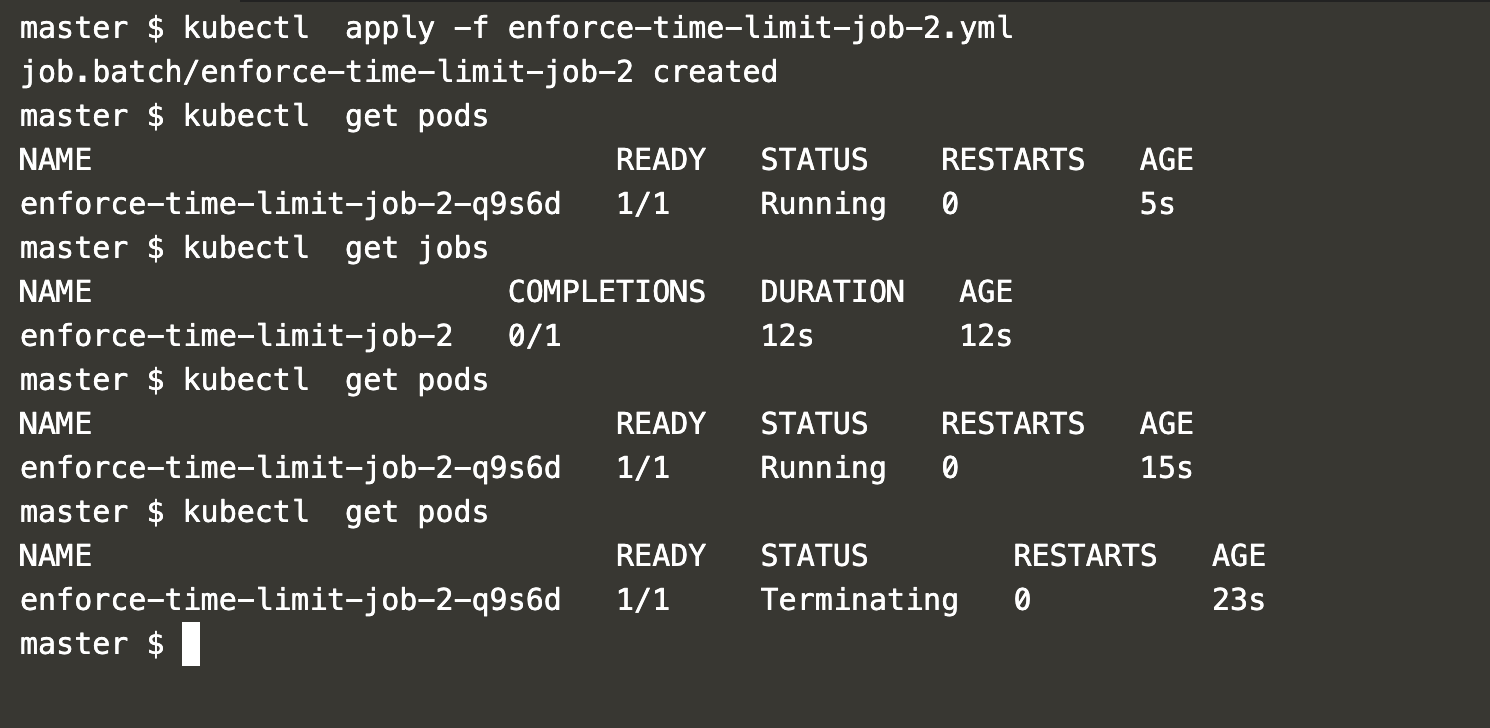
After you create the job if you check its details you can observe that the pod which gete created after creating the job terminates before its completion, i.e. it doesn't execute for 30 seconds and gets terminated
Check the reason for its termination use the following command
kubectl get pods
kubectl get jobs enforce-time-limit-job-2 -o yaml
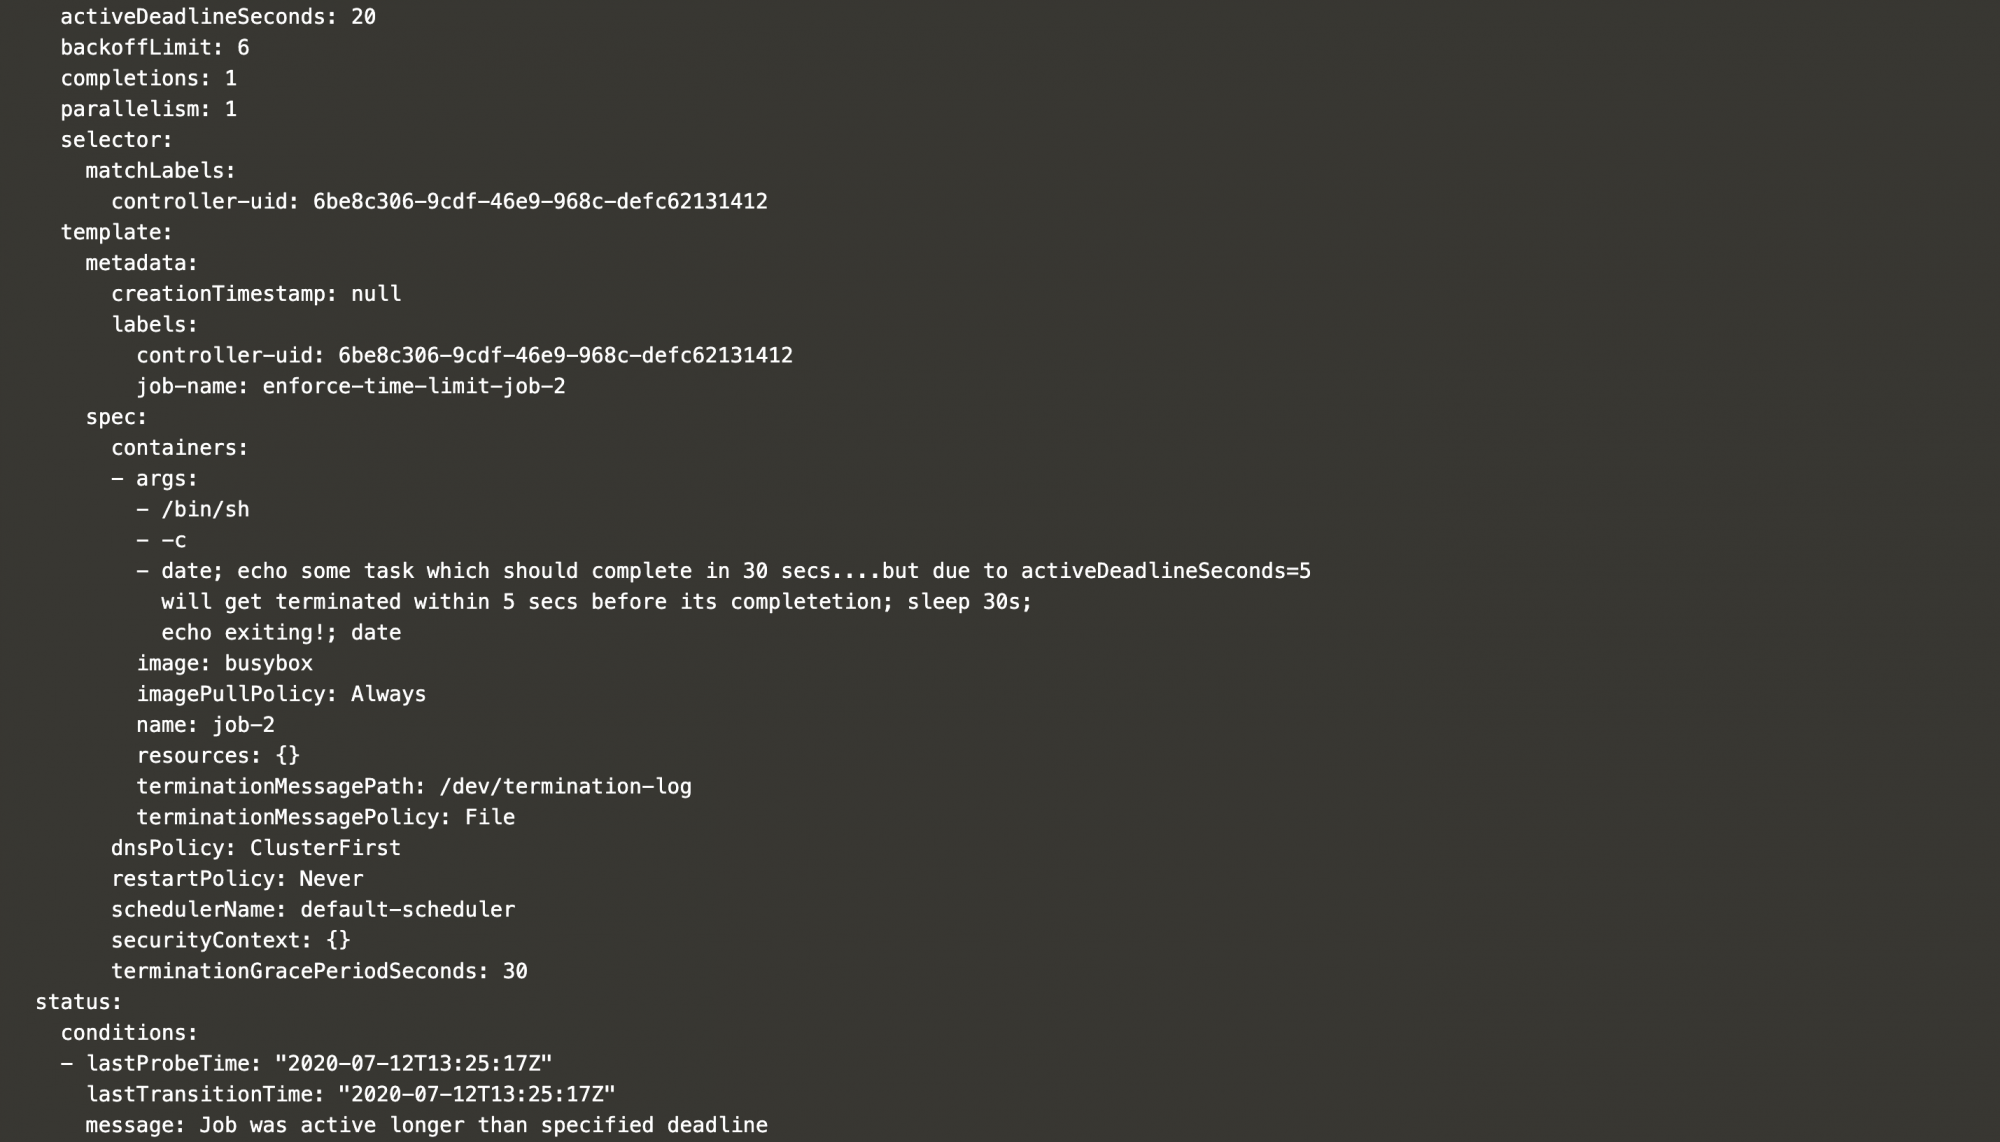
In the above screenshot at the first line, you can see that we have specified activeDeadlineSeconds=20. And we have specified sleep=30 seconds. This means that our pod should have been alive for 30 seconds but it got terminated within 20 seconds.
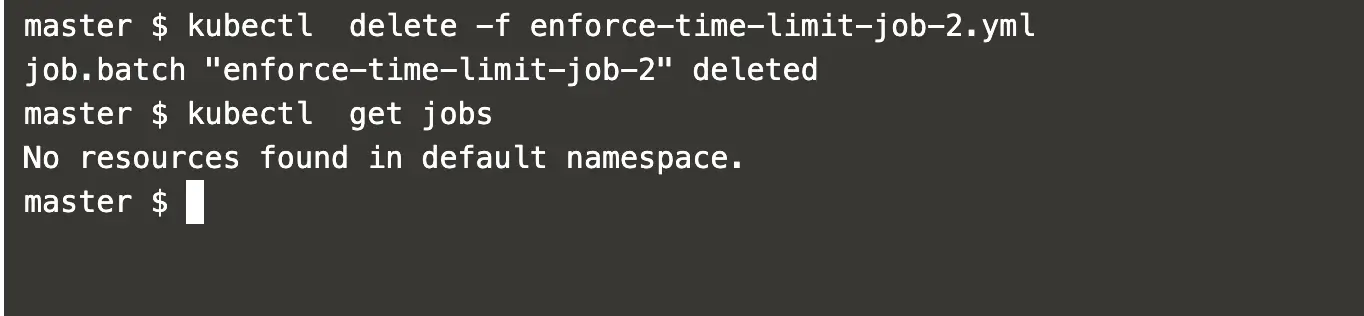
Now to delete the job, you can use the following command.
kubectl delete -f enforce-time-limit-job-2.yml
kubectl get jobs
Cronjob
To create a cronjob job as an object in the Kubernetes, create a file with the following content. This cronjob in Kubernetes is same as the Cronjob in Linux.
vim cronjob-3.yml
apiVersion: batch/v1beta1
kind: CronJob
metadata:
  name: cronjob-3
spec:
  schedule: "*/1 * * * *"
  jobTemplate:
    spec:
      template:
        spec:
          containers:
            - name: cronjob-container
              image: busybox
              args:
                - /bin/sh
                - -c
                - date; echo sleeping for 5 secs....; sleep 5s; echo exiting...;
          restartPolicy: Never
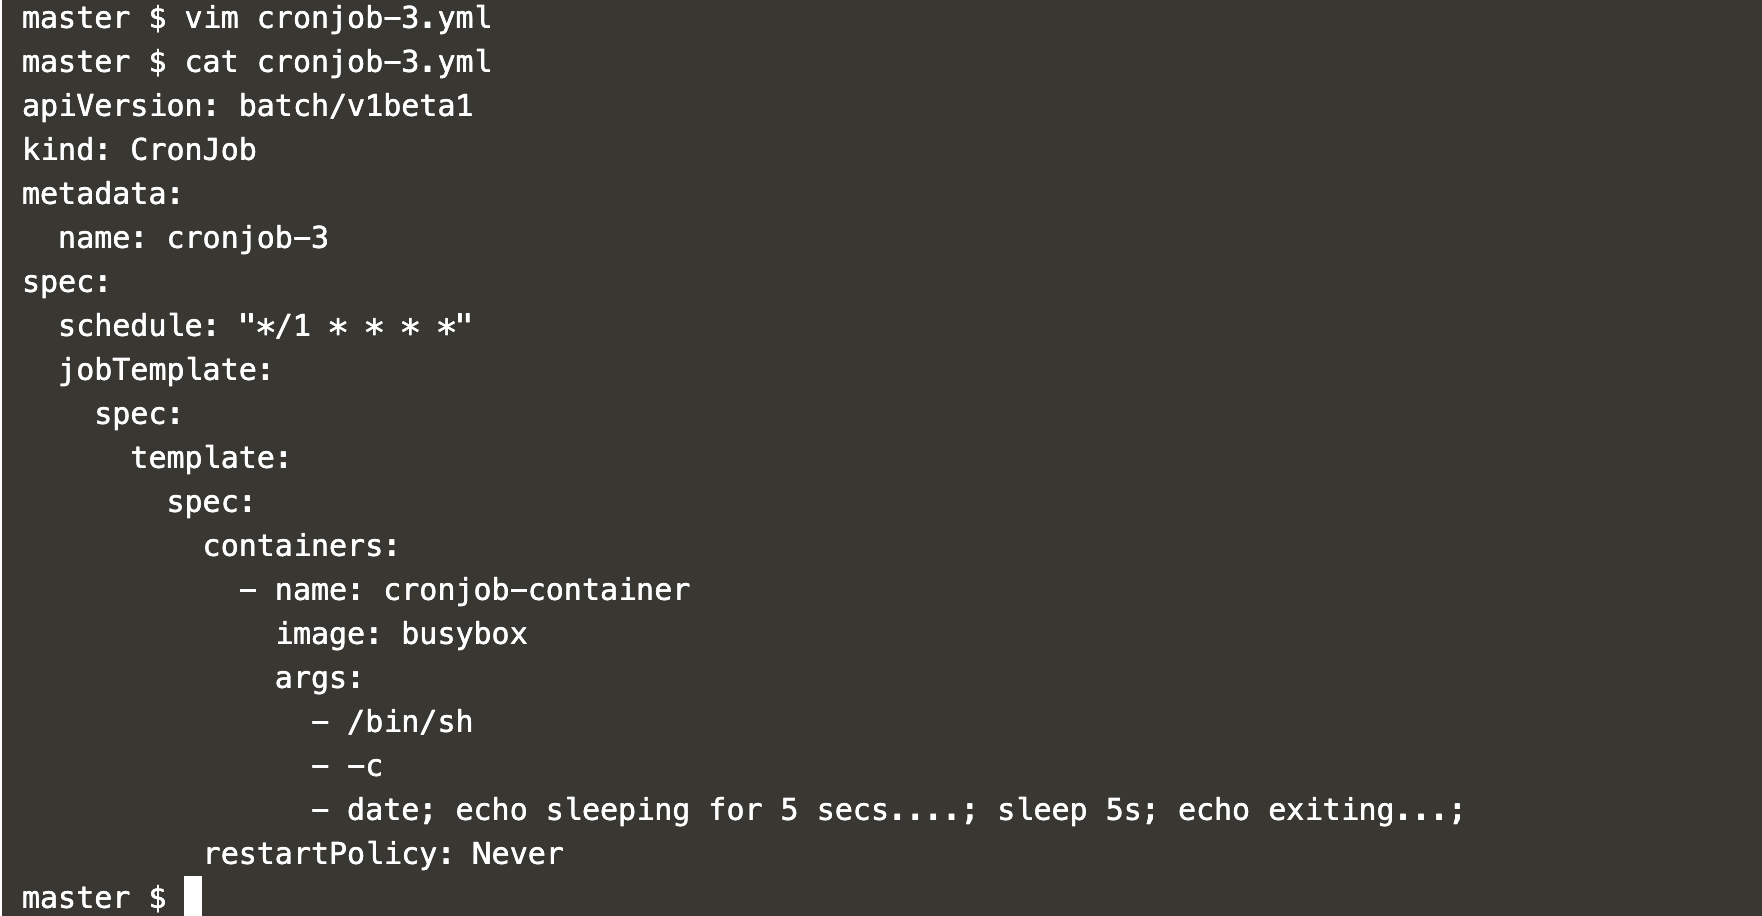
The above definition says that the job will be created after every 1 minute and will last for 5 seconds.
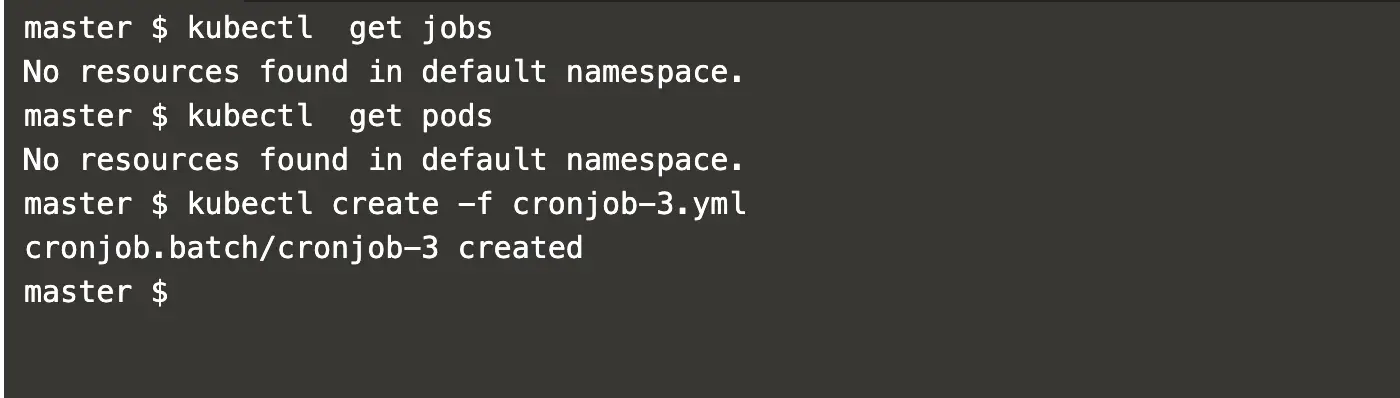
Use the following commands to get a list of existing jobs and pods and create a cronjob.
kubectl get jobs
kubectl get pods
kubectl create -f cronjob-3.yml
To see that the new job gets created after every 1 minute to complete the defined task use the following command.
kubectl get jobs -w
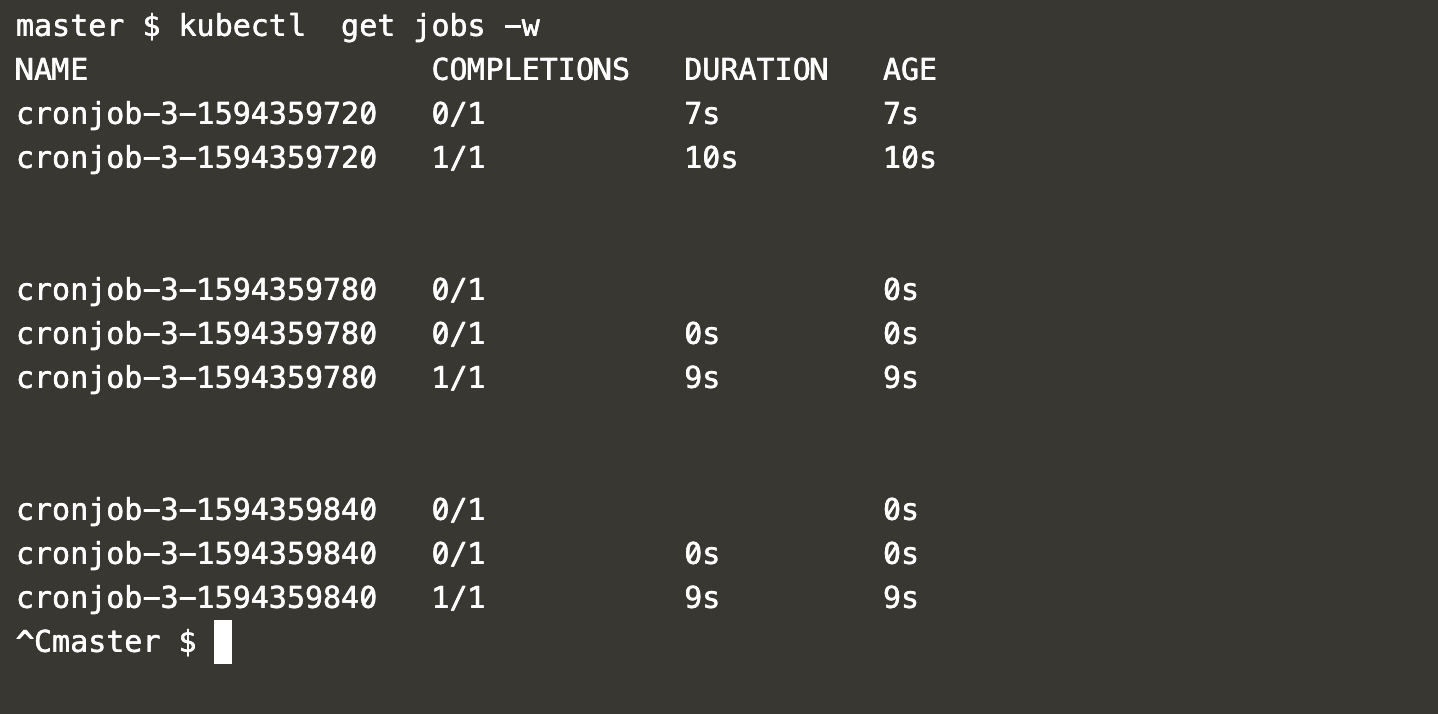
Now you can check the logs in which you can observe that the job starts after every 1 minute.
kubectl get pods
kubectl logs cronjob-3-1594359720-jfkcl
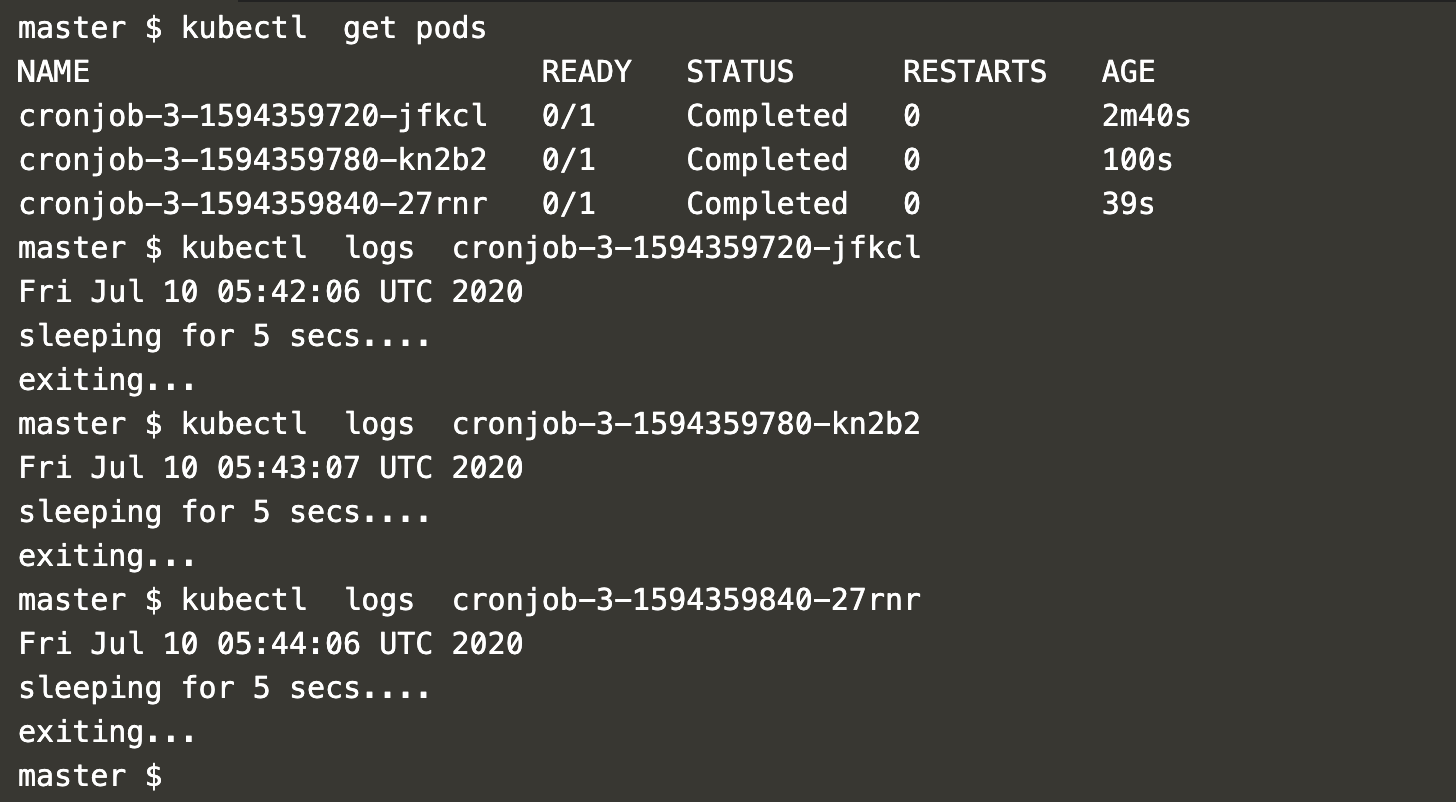
In the above screenshot, you can see the logs of different pods which got created as a part of the job after every one minute.
This means that the job was triggered after every one minute.
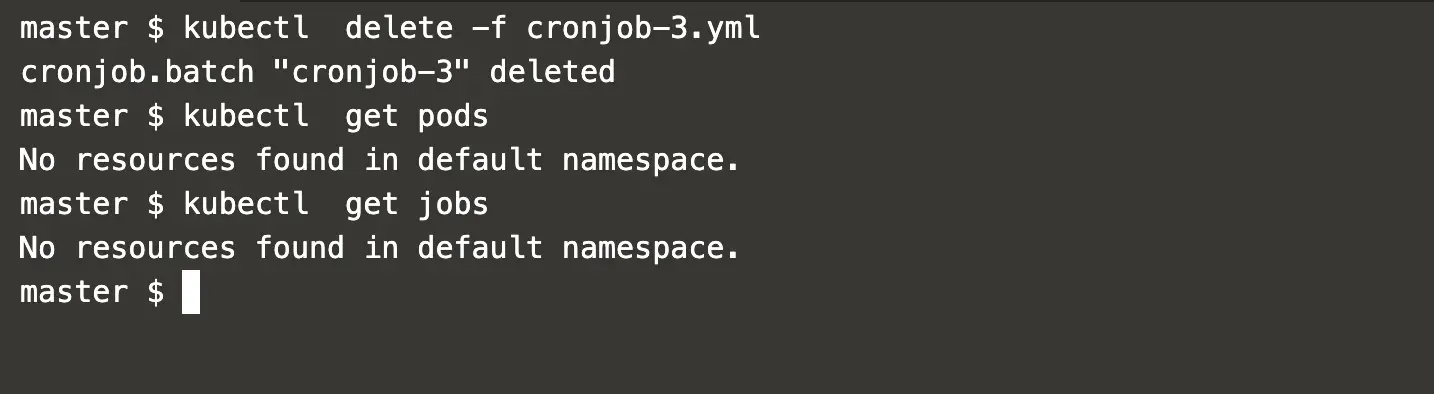
When you no longer need the job you can delete it using the following command.
kubectl delete -f cronjob-3.yml
kubectl get pods
kubectl get jobs
Conclusion
In this article, we learned to create a simple job in Kubernetes. We saw how we can enforce the time limit on the job to make sure that the job does not execute for too long. In the end, we saw the steps to create a cronjob that gets created on its own to accomplish the task at the specified time. This Cronjob object in Kubernetes is similar to the Cronjob job in Linux.

