How to Install and Configure GitLab CE on CentOS 8
This tutorial exists for these OS versions
- CentOS 8
- CentOS 7
On this page
GitLab is an open-source repository manager based on Rails developed by GitLab Inc. It is a web-based git repository manager that allows your team to collaborate on coding, testing, and deploying applications. GitLab provides several features, including wikis, issue tracking, code reviews, and activity feeds.
GitLab Inc offers 4 products:
- Gitlab CE (Community Edition) - self-hosted and free; support from the Community forum.
- Gitlab EE (Enterprise Edition) - self-hosted and paid; comes with additional features.
- GitLab.com - SaaS and free.
- GitLab.io - Private GitLab instance managed by GitLab Inc.
In this tutorial, we will show you how to install the GitLab CE on the CentOS 8 server. We will install the GitLab CE using the 'omnibus' package provided by GitLab, do some basic configuration of GitLab, and test to create a new GitLab project.
Prerequisite
For this guide, we will install the GitLab CE on the latest version CentOS 8 Server with 4GB of RAM, 30GB free disk space, and 2 CPUs.
What we will do?
- Install Packages Dependencies
- Add Repository and Install GitLab CE (Community Edition)
- Generate SSL Letsencrypt and DHPARAM Certificate
- Enable Nginx HTTPS for GitLab
- Configure Firewalld
- GitLab Post Installation
- Testing
Step 1 - Install Packages Dependencies
First, we will install some packages dependencies that needed by GitLab, including the OpenSSH packages and Postfix.
Install packages dependencies for GitLab CE using the dnf command below.
sudo dnf -y install curl policycoreutils openssh-server openssh-clients postfix
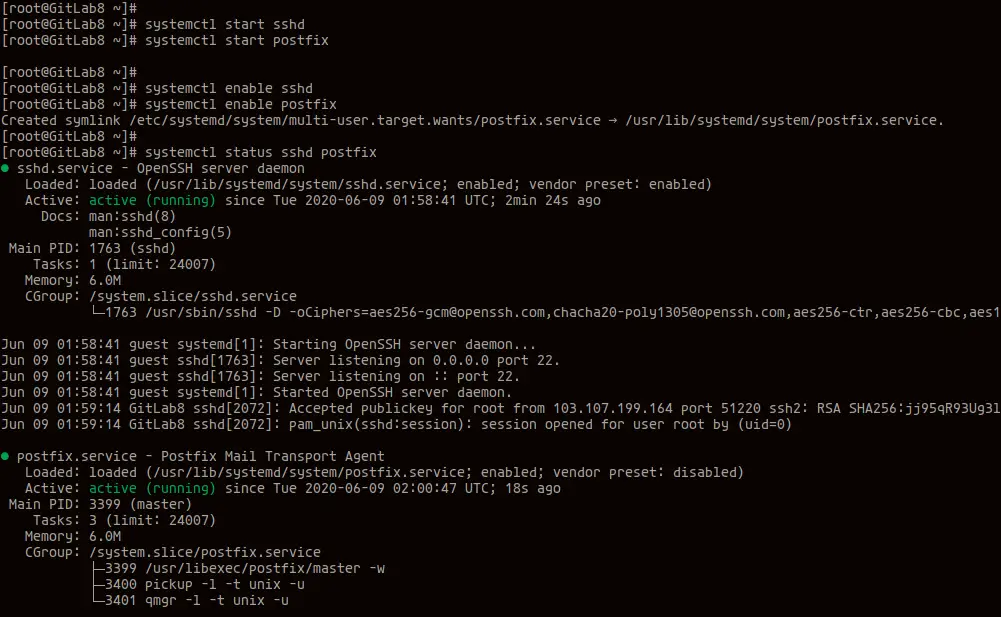
Once all installation is completed, start the SSH and Postfix services.
systemctl start sshd
systemctl start postfix
Next, add both services to the system boot.
systemctl enable sshd
systemctl enable postfix
As a result, the installation of packages dependencies has been completed.
Step 2 - Add Repository and Install GitLab
In this step, we will add the official GitLab repository to our CentOS 8 system and install the GitLab CE packages.
Add the GitLab repository using the installer script below.
curl -s https://packages.gitlab.com/install/repositories/gitlab/gitlab-ce/script.rpm.sh | sudo bash
Once all is completed, below is the result you will get.
Generating yum cache for gitlab_gitlab-ce...
Importing GPG key 0x51312F3F:
 Userid     : "GitLab B.V. (package repository signing key) <[email protected]>"
 Fingerprint: F640 3F65 44A3 8863 DAA0 B6E0 3F01 618A 5131 2F3F
 From       : https://packages.gitlab.com/gitlab/gitlab-ce/gpgkey
Importing GPG key 0xF27EAB47:
 Userid     : "GitLab, Inc. <[email protected]>"
 Fingerprint: DBEF 8977 4DDB 9EB3 7D9F C3A0 3CFC F9BA F27E AB47
 From       : https://packages.gitlab.com/gitlab/gitlab-ce/gpgkey/gitlab-gitlab-ce-3D645A26AB9FBD22.pub.gpg
Generating yum cache for gitlab_gitlab-ce-source...
The repository is setup! You can now install packages.
To verify the GitLab repository, run the dnf command below.
sudo dnf repolist
And you will get the GitLab repository on the list.

Next, install the GitLab CE packages using the command
sudo dnf install gitlab-ce -y
Once all installation is completed, you will get the result as below.
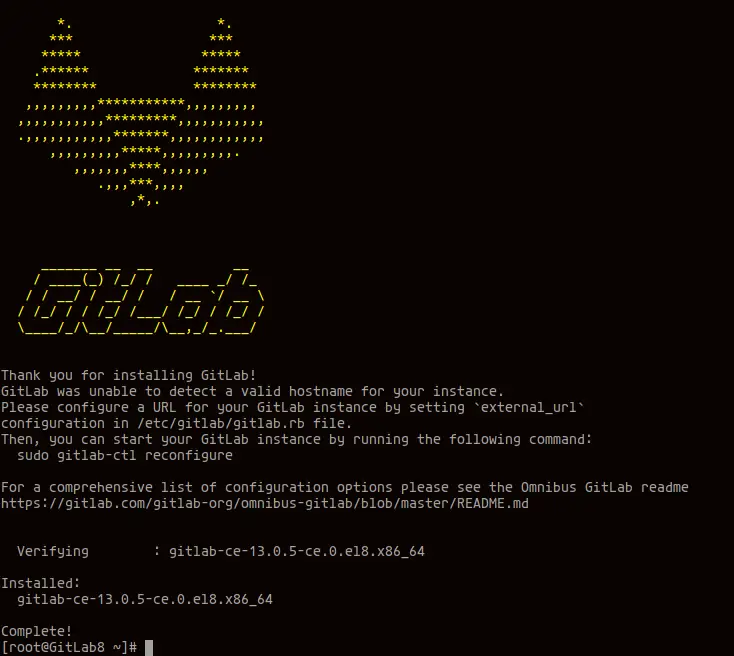
As a result, the GitLab CE Community Edition is now installed on the CentOS 8 System.
Step 3 - Generate SSL Letsencrypt and DHPARAM
For this tutorial, we will run the GitLab on the secure HTTPS connection, and we will be using the SSL Letsencrypt from Letsencrypt and DHAPRAM that can be generated using the openssl command.
In this step, we will generate the SSL Letsencrypt using the certbot command-line tool, which can be installed from the EPEL repository, and then generate the DHPARAM certificate using the openssl.
Add the EPEL repository to the CentOS 8 system using the command below.
sudo dnf install epel-release
Next, install the certbot packages using the dnf command below.
sudo dnf install certbot
Once all installation is completed, generate the SSL Letsencryp for GitLab using the certbot command below.
certbot certonly --rsa-key-size 2048 --standalone --agree-tos --no-eff-email --email [email protected] -d gitlab.hakase-labs.io
Now your SSL certificates will be available at the '/etc/letsencrypt/live/gitlab.hakase-labs.io' directory, check using the following command.
ls -lah /etc/letsencrypt/live/gitlab.hakase-labs.io/
You will get the 'fullchain.pem' and 'privkey.pem' certificates.
Next, generate the DHPARAM certificate to the '/etc/gitlab' directory using the openssl command below.
sudo openssl dhparam -out /etc/gitlab/dhparams.pem 2048
Once all is completed, change the permission of the 'dhparam.pem' certificate to '0600'.
sudo chmod 600 /etc/gitlab/dhparams.pem
As a result, the SSL Letsencrypt and DHPARAM certificates for GitLab has been generated.
Step 4 - Set up Domain Name Enable Nginx HTTPS for GitLab
In this step, we will set up the domain name and enable the Nginx HTTPS secure connection for GitLab.
Go to the '/etc/gitlab' directory and edit the configuration 'gitlab.rb'.
cd /etc/gitlab/
vim gitlab.rb
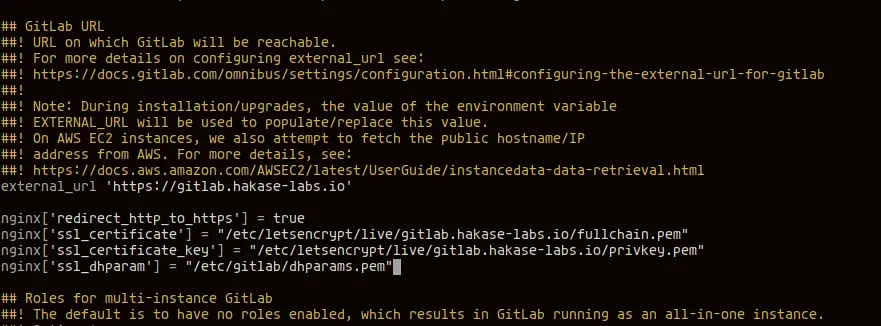
On the 'external_url' line, change the default domain name with your own and change the http to https protocol as below.
external_url 'https://gitlab.hakase-labs.io'
Next, add the following configuration after the 'external_url' line, and make sure to change the SSL and DHPARAM certificate with your own.
nginx['redirect_http_to_https'] = true
nginx['ssl_certificate'] = "/etc/letsencrypt/live/gitlab.hakase-labs.io/fullchain.pem"
nginx['ssl_certificate_key'] = "/etc/letsencrypt/live/gitlab.hakase-labs.io/privkey.pem"
nginx['ssl_dhparam'] = "/etc/gitlab/dhparams.pem"
Save and close.
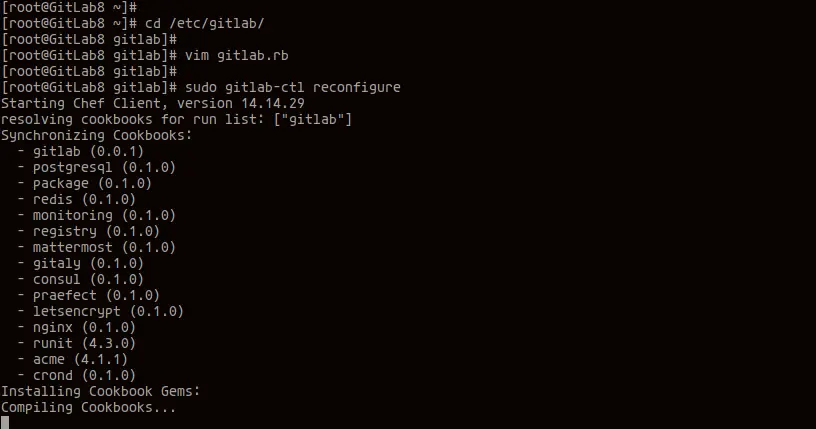
Next, run the following command to reconfigure the GitLab and apply the new configuration.
sudo gitlab-ctl reconfigure
The command will invoke the Chef script that powered the Omnibus GitLab to reconfigure your GitLab installation.
Once all is completed, go to the next step.
Step 5 - Configure Firewalld
After enabling the HTTPS on GitLab, we will add the HTTP and HTTPS services to the firewalld.
Run the firewall-cmd command below.
firewall-cmd --add-service=ssh --permanent
firewall-cmd --add-service=http --permanent
firewall-cmd --add-service=https --permanent
After that, reload the firewalld service to apply a new configuration.
firewall-cmd --reload
Now check all services on firewalld using the command below.
firewall-cmd --list-services
Now you will get the SSH, HTTP, and HTTPS services on the list.
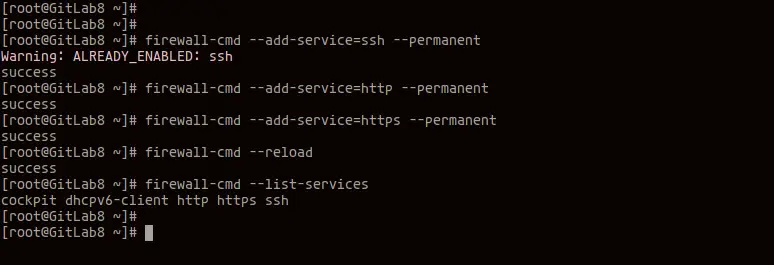
As a result, you've added the HTTP and HTTPS services to the firewalld, and the GitLab is now ready and accessible.
Step 6 - GitLab Post Installation
Open your web browser and type your GitLab domain name installation on the address bar. Mine is: https://gitlab.hakase-labs.io/, use your address.
And you will be redirected to the reset password page.
- GitLab Reset Default Password
Type the new password for the default GitLab user 'root'.
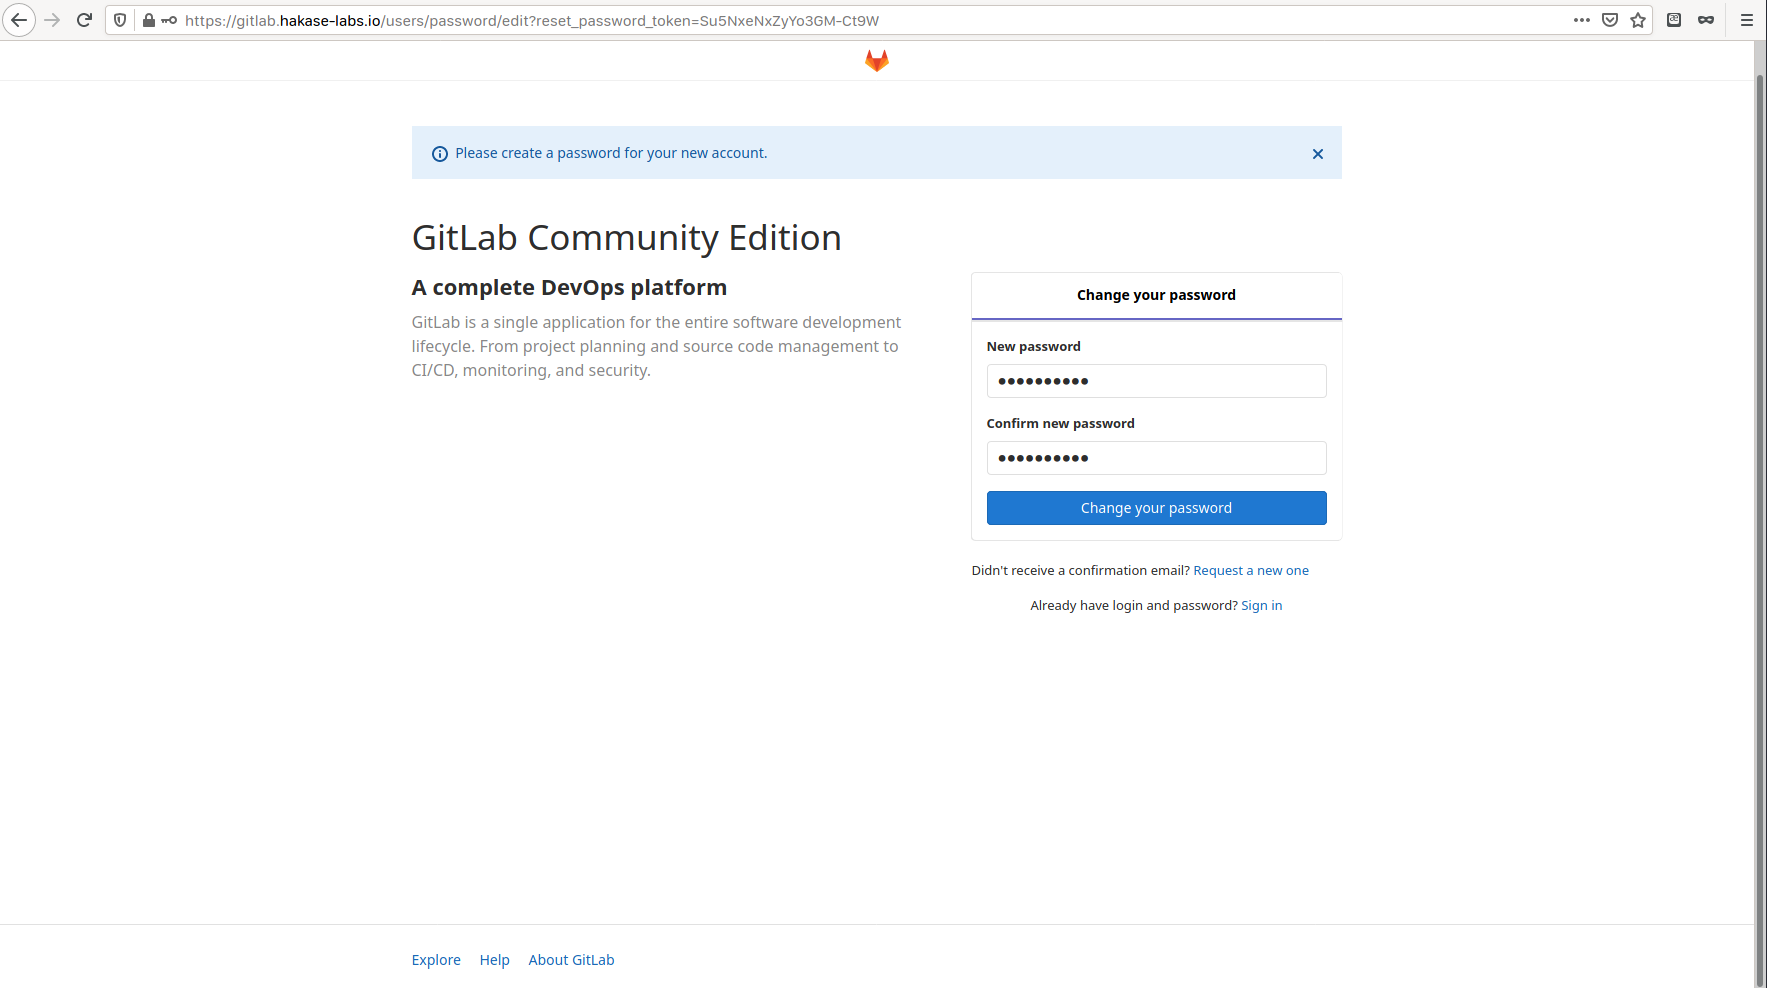
Now click the 'Change your password' button and you will be redirected to the GitLab login page.
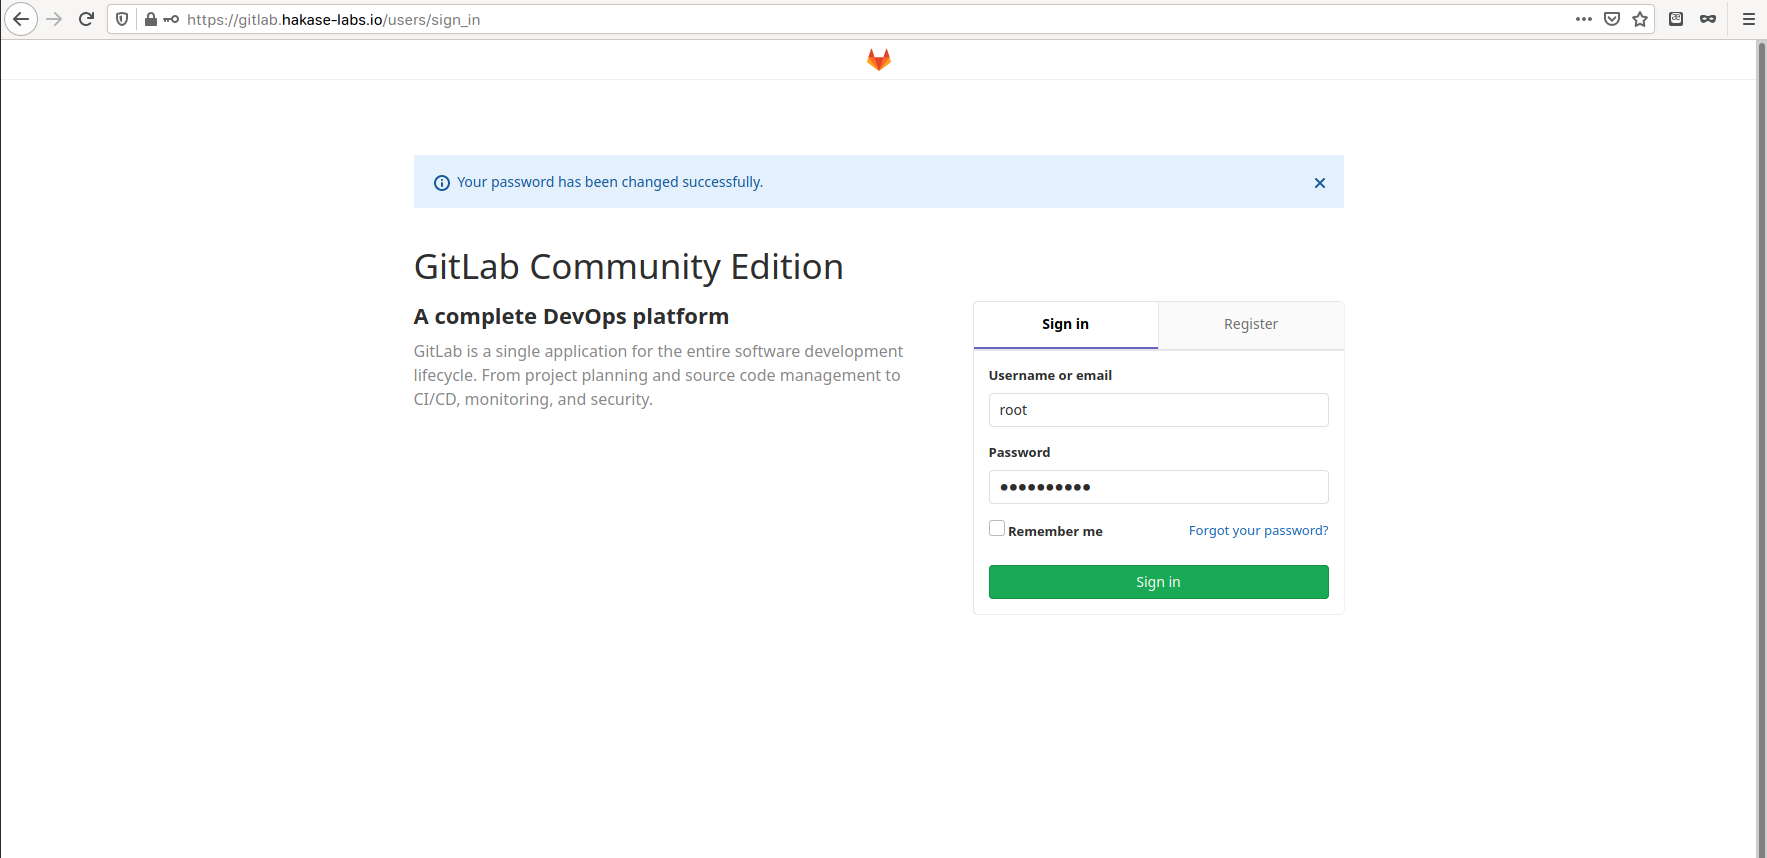
Type the default user 'root' and your password, then click the 'Sign in' button, and you will get the GitLab Dashboard as below.
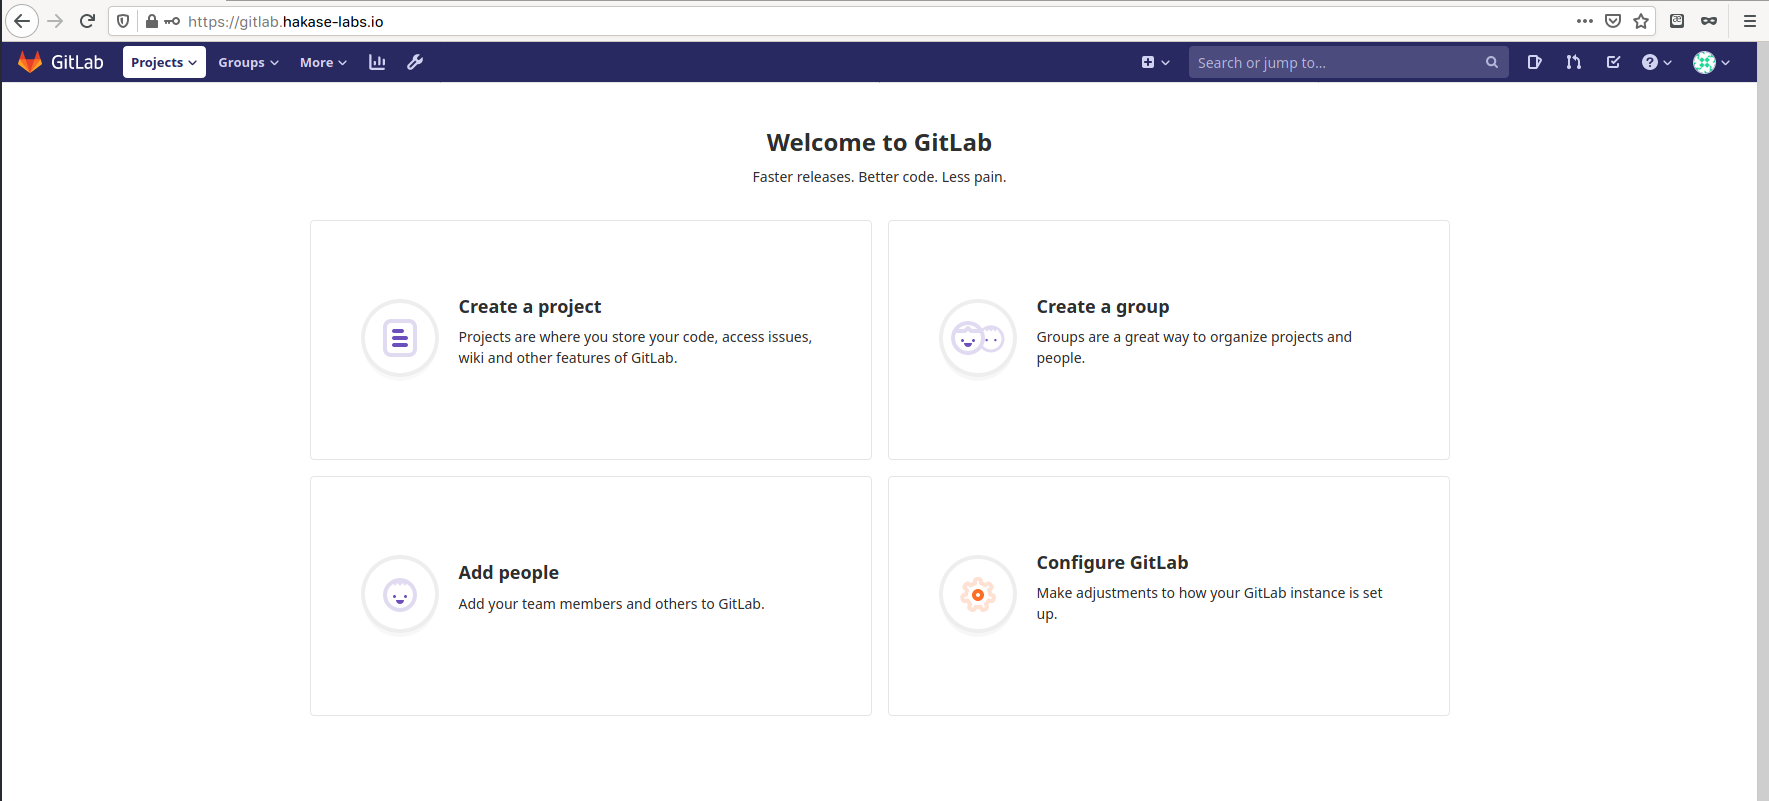
Change Profile and Username
After you logged in to the GitLab Dashboard, change the default 'root' user with your own.
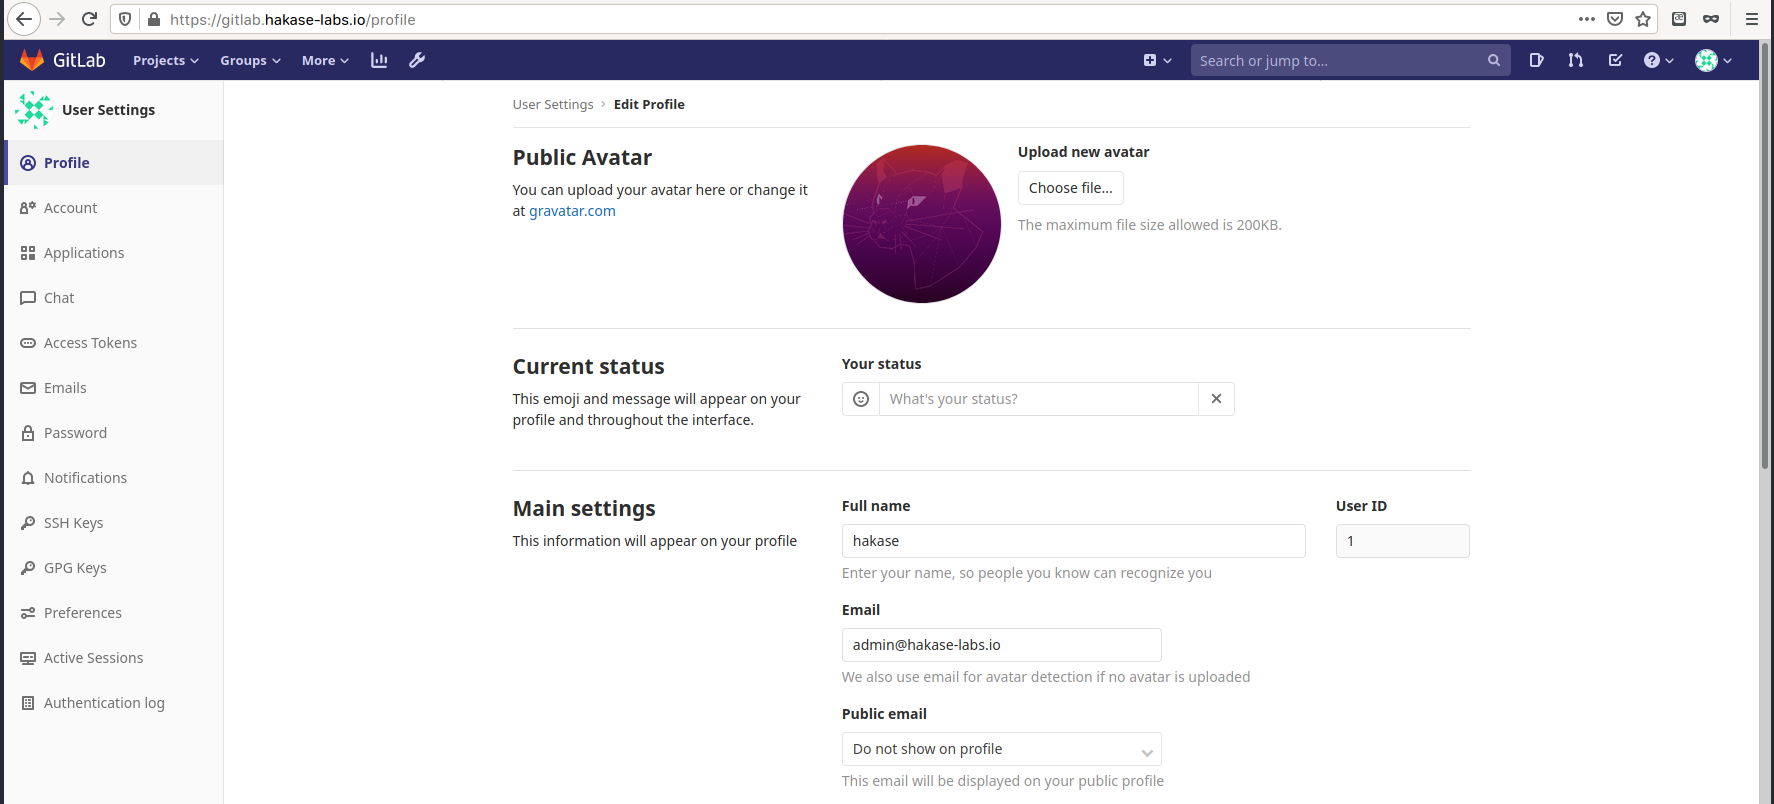
To change your profile setting, click on the top right of your icon profile, and click the 'Settings' icon to set up your profile.
Now type your new username and email address, then scroll to the bottom page and click the 'update profile settings' button.
Next, click on the 'Account' tab, change the default username 'root' with your own, then click the 'update username' button.
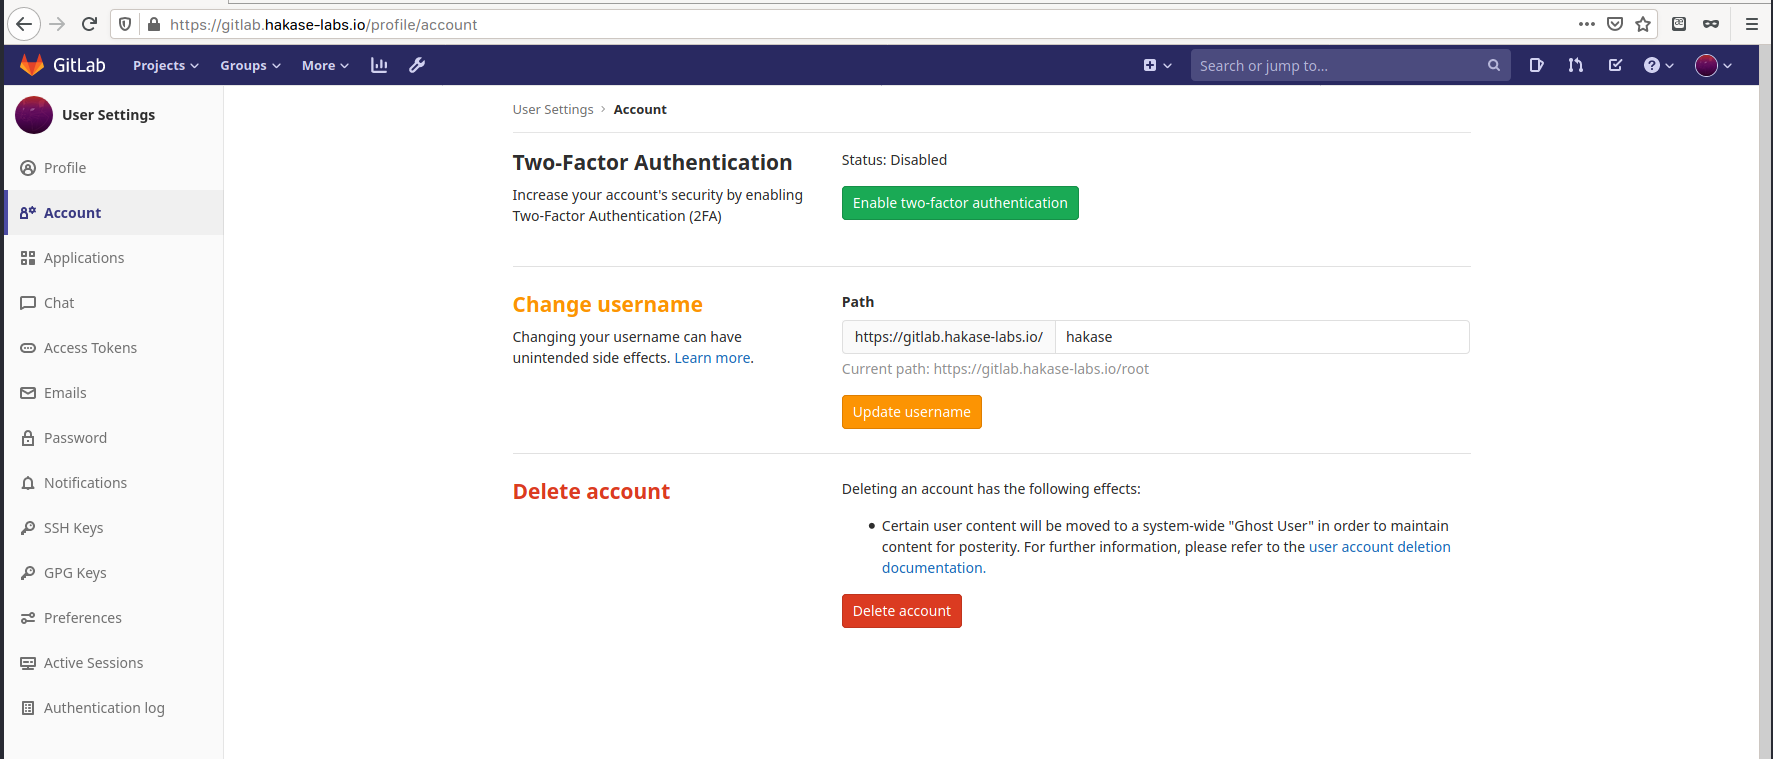
As a result, the default username and email address for the root user have been changed.
Add SSH Key
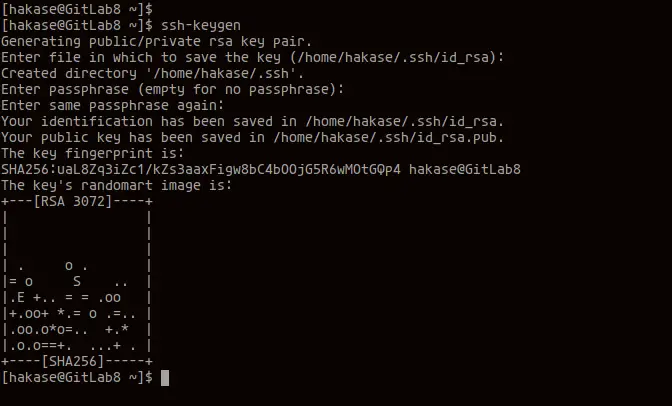
Now we will add the SSH Key to the GitLab. Make sure you have got the SSH key, and if you don't, you can generate the SSH key using the following command.
ssh-keygen
Now you will get your SSH key generated at the '~/.ssh' directory, inside the user home directory.
Next, back to the GitLab dashboard and click on the 'SSH Keys' tab menu.
Copy the content of your SSH public key '~/.ssh/id_rsa.pub' and paste to the GitLab page, then click the 'Add key' button.
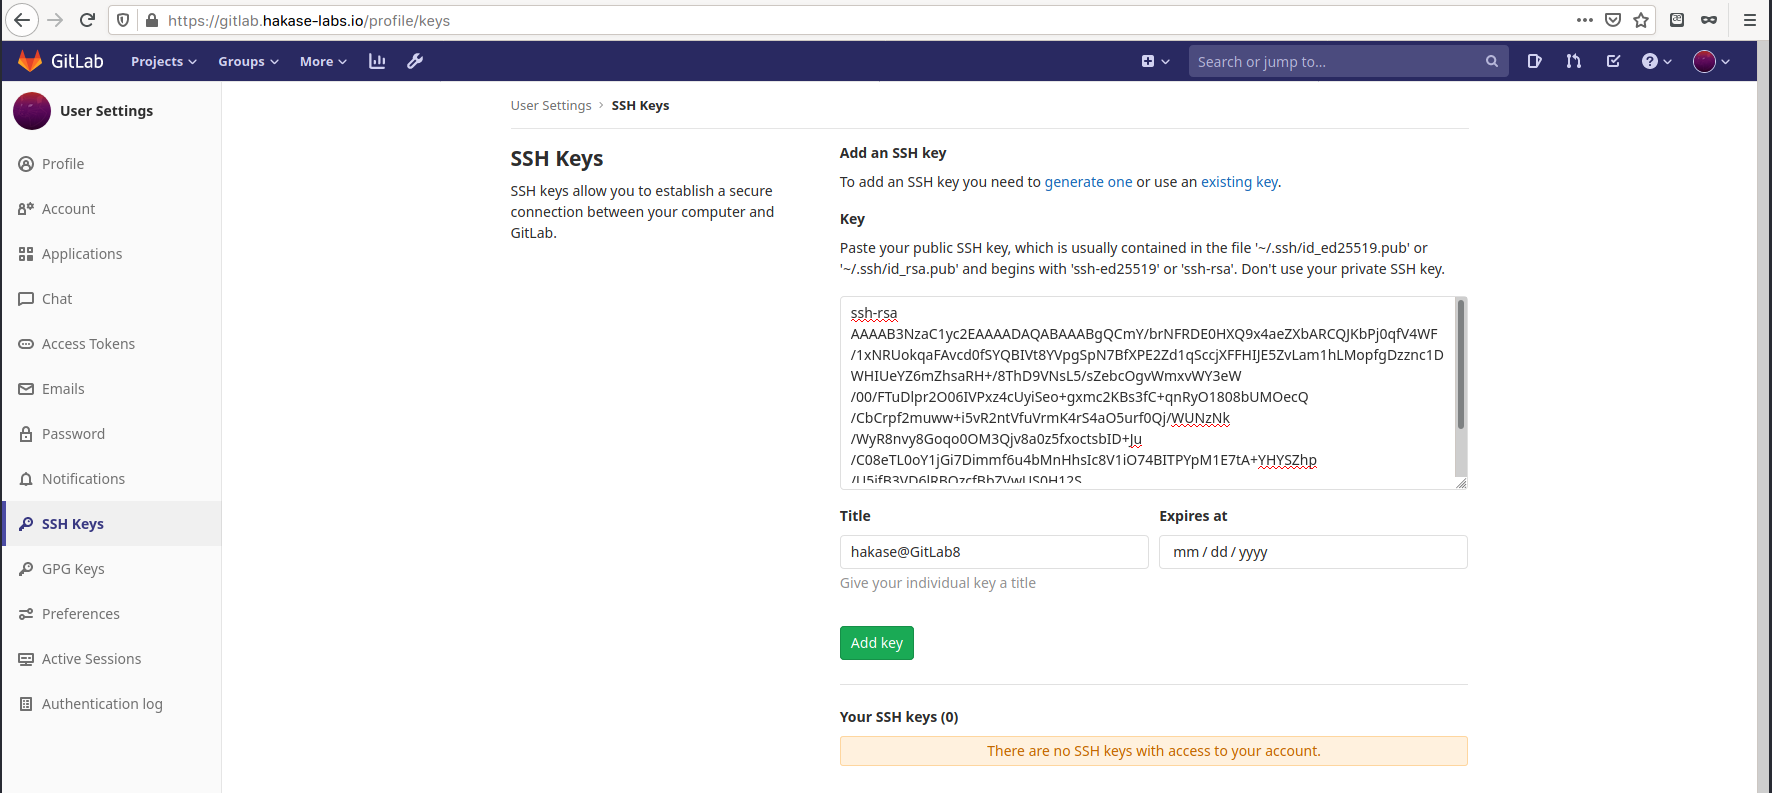
As a result, the SSH key has been added to GitLab.
Setup Project Limit per Account
On the top middle menu, click the 'Settings' button.
Now click 'Settings' > 'General', on the 'Account and limit' section, click 'Expand'.
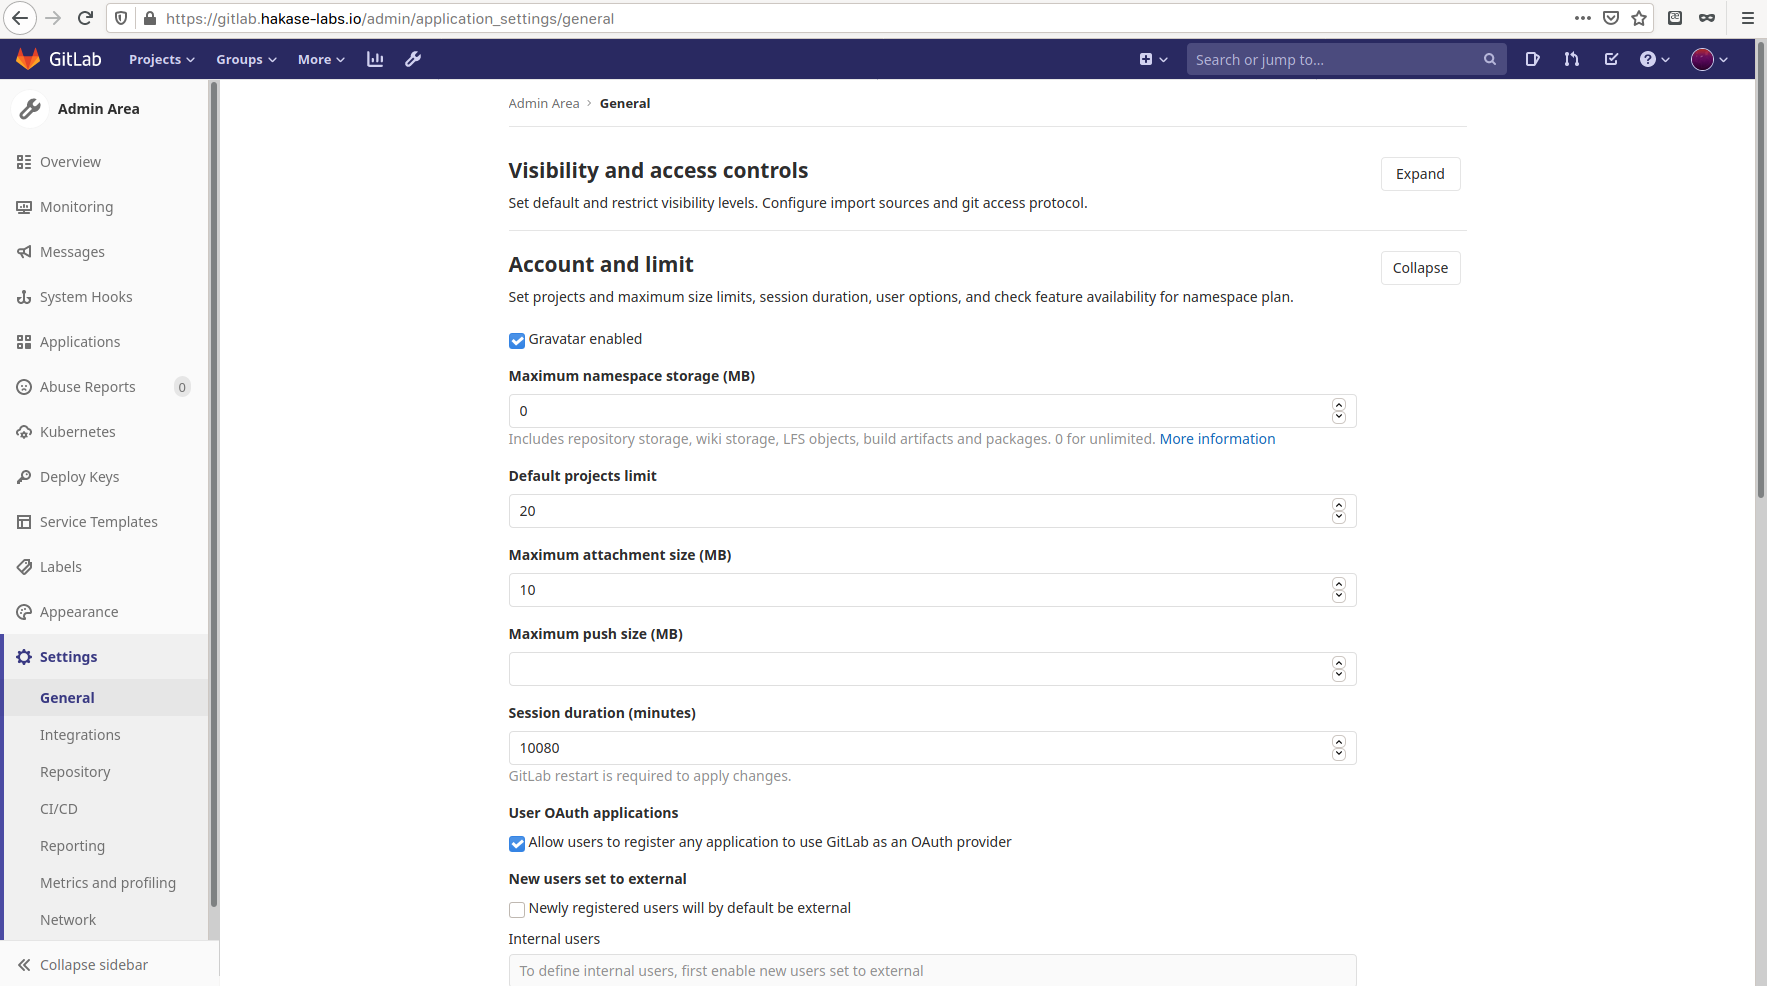
Change the "Default projects limit" as you need and click the 'Save' button.
As a result, the default project limit for every account has been changed.
Step 7 - Create New Project and Commit
In this step, we will test our GitLab installation by creating a new GitLab project.
Create New GitLab Project
To create a new project on GitLab, click on the '+' plug button on the top-right menu.
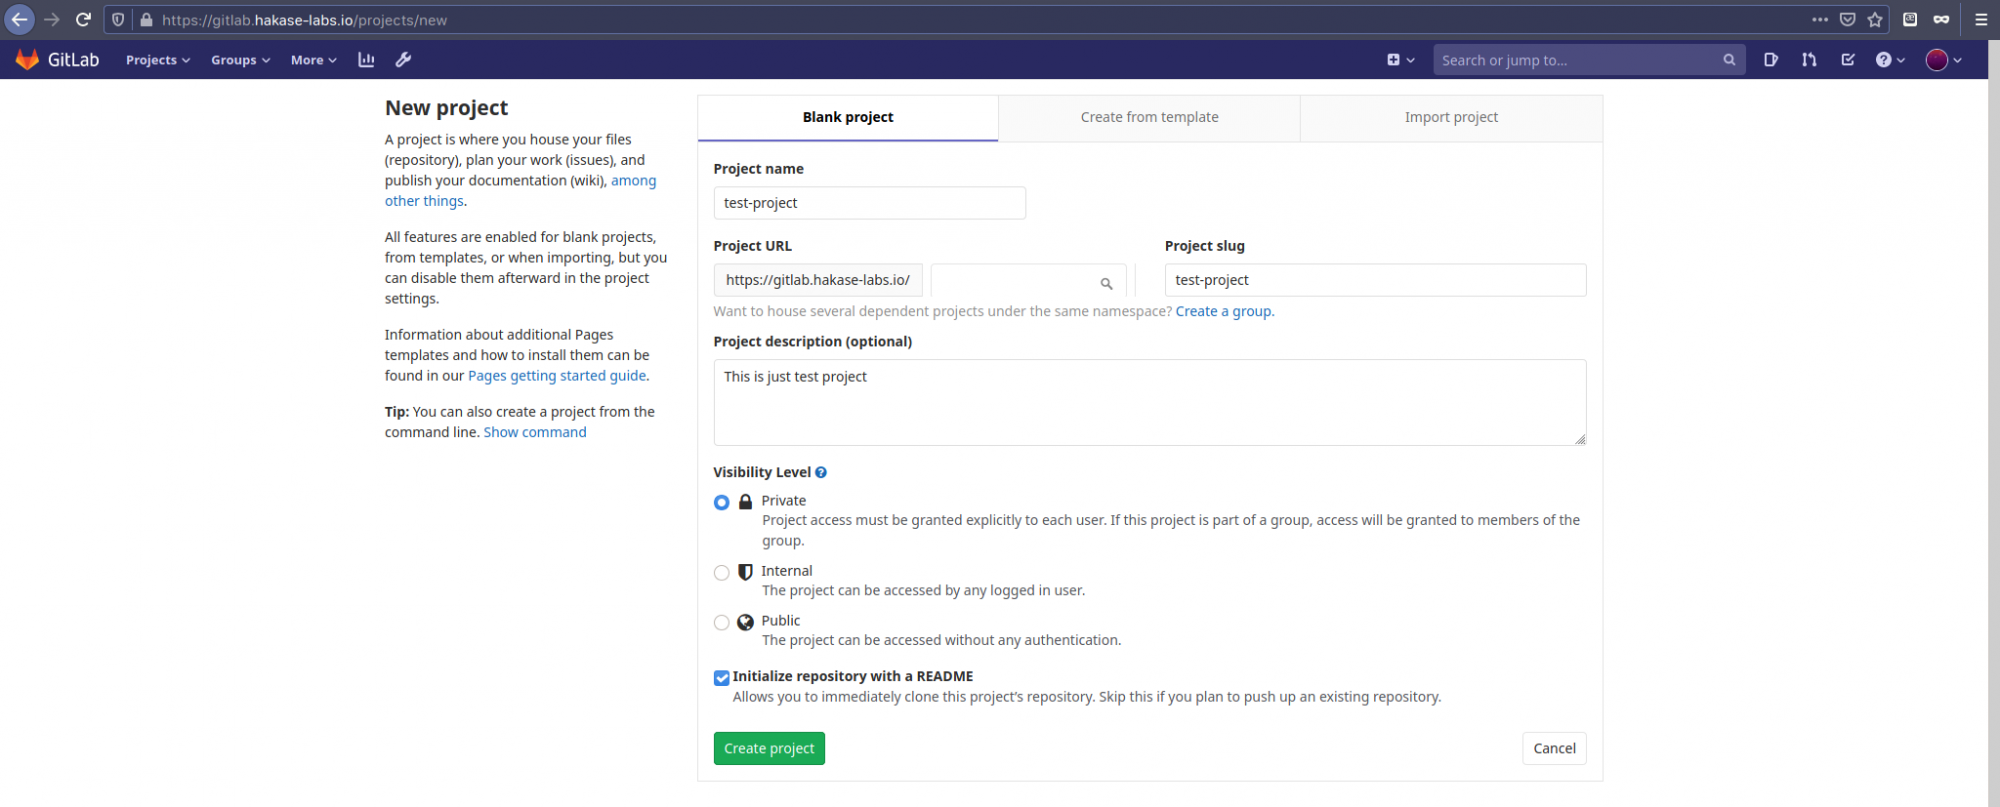
Now type details your project name, project slug, and description, then click 'Create project' button.
And the new GitLab project has been created.
Setup GitLab on your Laptop
After creating a new project on GitLab, we will set up the GitLab account on the local computer.
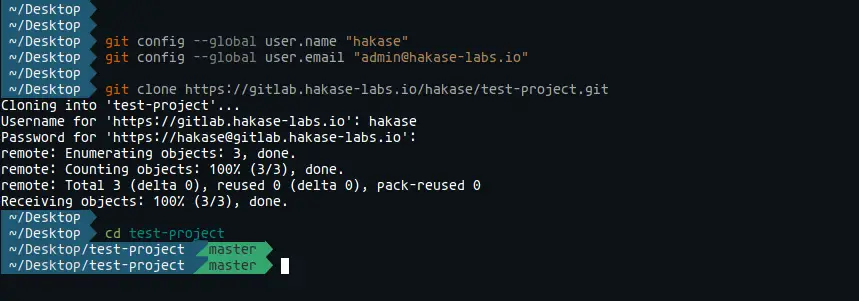
Open your terminal and run the following git command to set up the default user and email address for git.
git config --global user.name "hakase"
git config --global user.email "[email protected]"
Next, clone your GitLab project to your local computer directory and go into it.
git clone https://gitlab.hakase-labs.io/hakase/test-project.git
cd test-project/
As a result, the default user and email for Git has been configured, and the GitLab project has been cloned to the local computer.
Make a Change and Commit it
Now we have the GitLab project on our local computer, and we will test to change the 'README.md' file and do the first commit to our GitLab project.
Edit the 'README.md' file using your editor.
vim README.md
Now make a change on the file, then save and close.
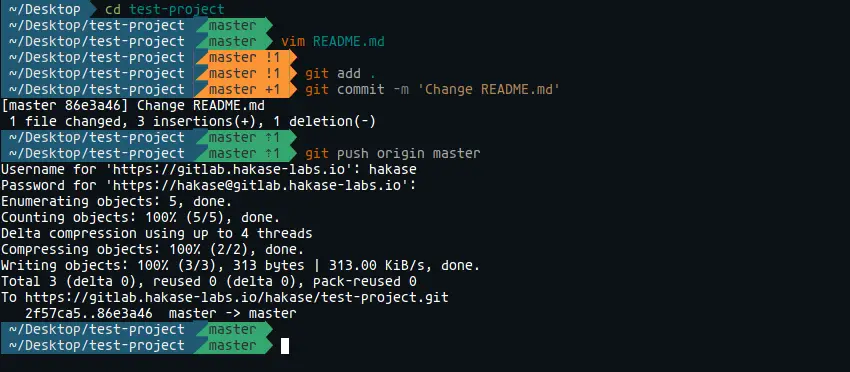
After that, add the new version of 'README.md' file and commit' using the command below.
git add .
git commit -m "Change README.md"
Now push the new changes to the GitLab repository using the git push command below.
git push origin master
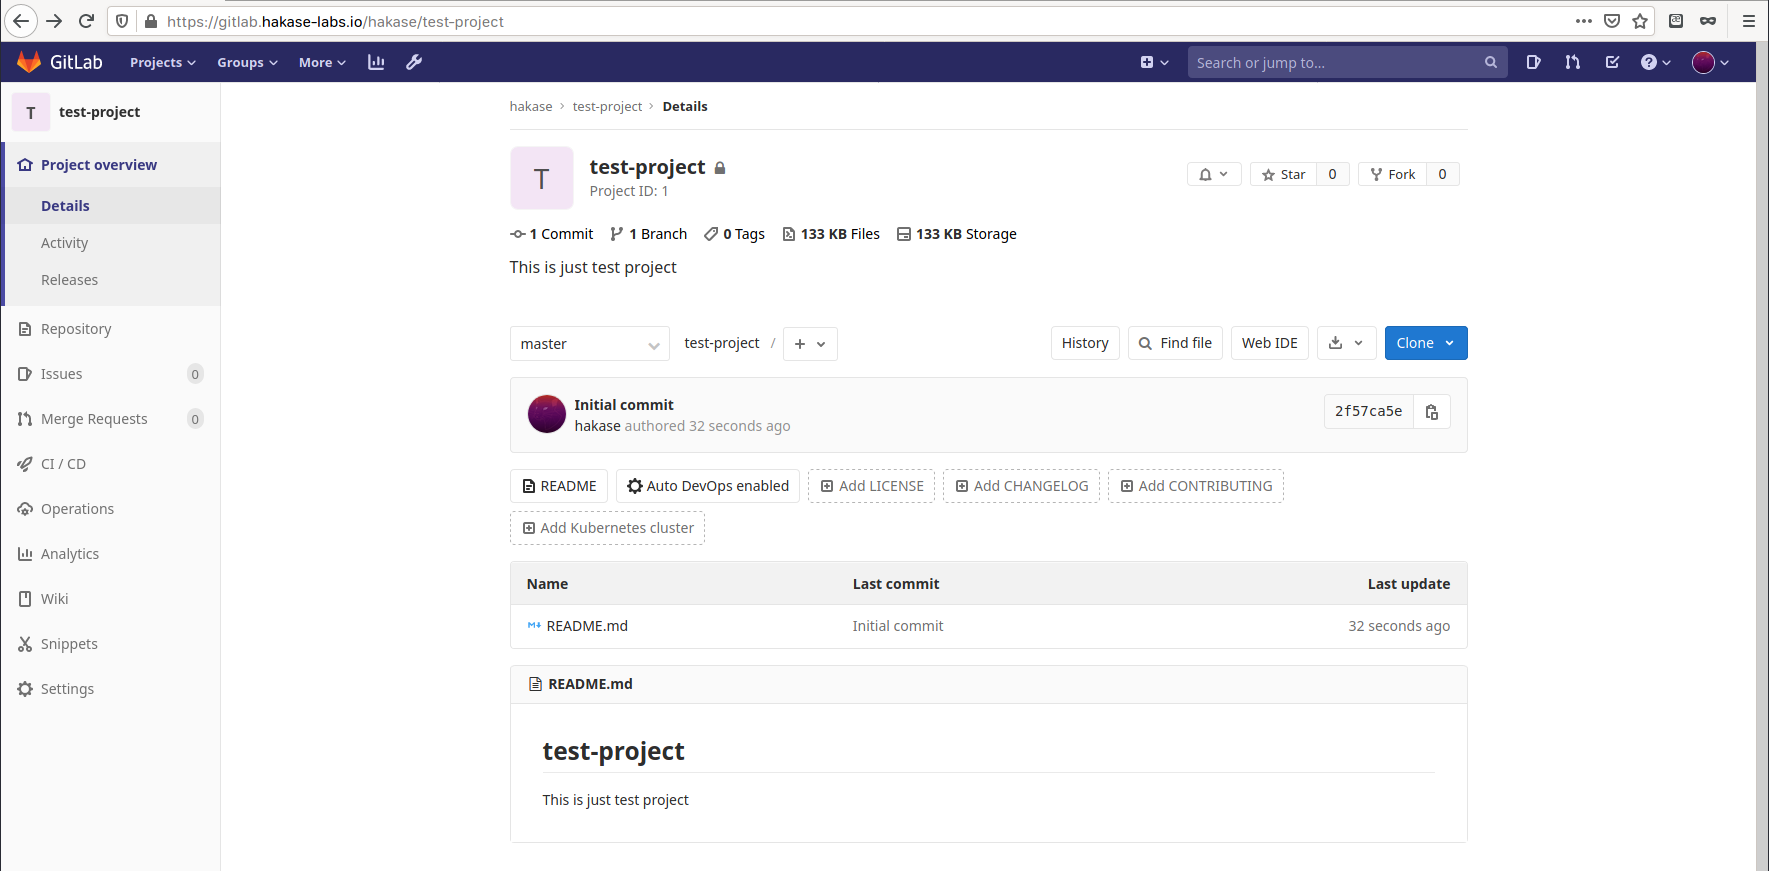
The new changes of 'README.md' file has been pushed to the GitLab repository.
Next, back to your GitLab repository on your web browser and you will get the new version of 'README.md' file with the commit comment as on top.
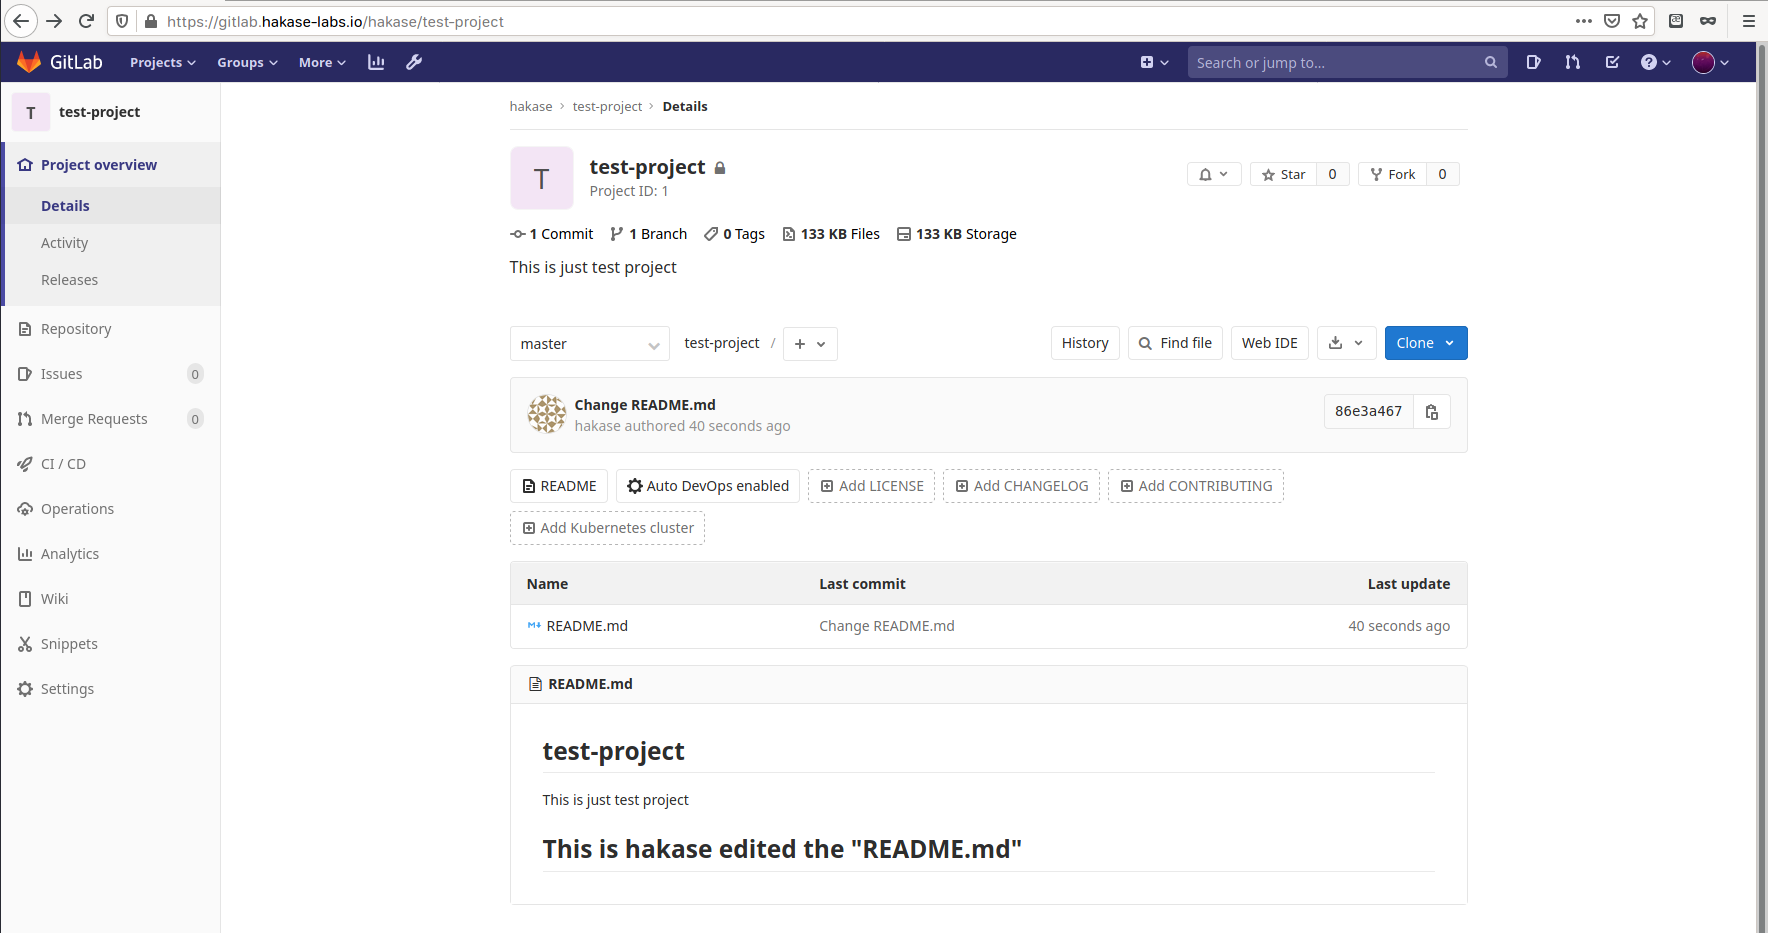
As a result, we've successfully created a new GitLab project and make changes into it.
Finally, the installation and configuration GitLab on CentOS 8 Server has been completed successfully.

