How to Install Icinga 2 Monitoring Software on Ubuntu 20.04 LTS
This tutorial exists for these OS versions
- Ubuntu 22.04 (Jammy Jellyfish)
- Ubuntu 20.04 (Focal Fossa)
- Ubuntu 18.04 (Bionic Beaver)
On this page
Icinga is a free and open-source monitoring tool for your data center. It's a computer system and network monitoring application that checks the availability of your network and computer resources, notifies system outages, generates performance data of your resources, and provides the high-availability and distributed monitoring setup with the built-in cluster feature.
Icinga was created as a fork of the Nagios Monitoring tool in 2009. And now, it has been rewritten from scratch in C++, and become one of the most popular monitoring tools on the internet. The word 'Icinga' is a Zulu word meaning 'it looks for', or 'it browsers', or 'it examines'.
In this tutorial, we will show you how to install and configure the Icinga 2 monitoring tool using an Ubuntu 20.04 LTS server. We will install Icinga 2 from the official repository and then configure the icingaweb2, the lightweight, and extensible web interface for an icinga2 monitoring tool.
Prerequisites
For this guide, we will install the icinga2 and icingaweb2 using the Ubuntu 20.04 Server with 2GB of RAM Memory. If you're on large deployments, you can use more than that.
What we will do?
- Install Icinga2 and Nagios Monitoring Plugins
- Install and Configure MySQL Database
- Install and Configure Icinga MySQL Module
- Install Apache2 and PHP Packages
- Install and Configure Icingaweb2
- Icinga2 Stack Post-Installation
Step 1 - Install Icinga2 and Nagios Monitoring Plugins
First` we will add the icinga2 repository for the Ubuntu 20.04 and install the icinga2 packages and nagios Monitoring plugins.
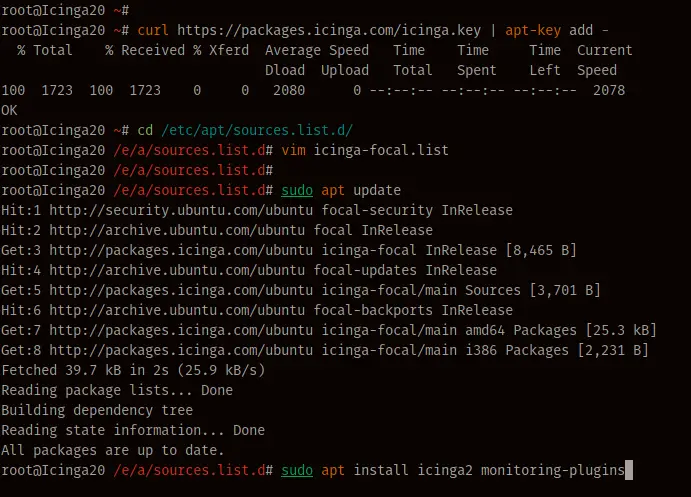
Add the GPG key of the Icinga2 to your system.
curl https://packages.icinga.com/icinga.key | apt-key add -
Now go to the '/etc/apt/sources.list.d' directory and create a new repository file 'icinga-focal.list'.
cd /etc/apt/sources.list.d/
vim icinga-focal.list
Paste the following repository configuration.
deb http://packages.icinga.com/ubuntu icinga-focal main
deb-src http://packages.icinga.com/ubuntu icinga-focal main
Save and close.
Next, update all available repositories and install the Icinga2 and Nagios Monitoring Plugins using the apt command below.
sudo apt update
sudo apt install icinga2 monitoring-plugins
Once all installation is completed, start the Icinga2 service and add it to the system boot.
systemctl start icinga2
systemctl enable icinga2
After that, verify the icinga2 service using the command below.
systemctl status icinga2
Below is the result you will get.
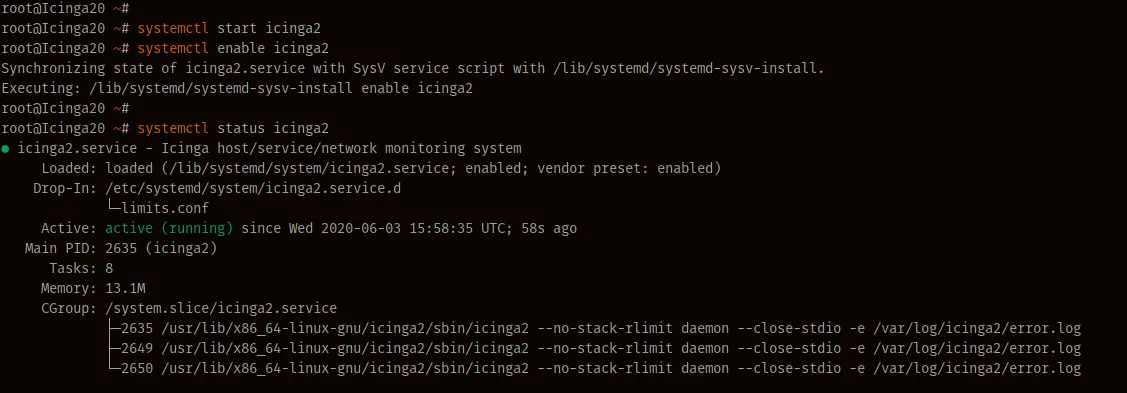
As a result, the icinga2 service is up and running on the Ubuntu 20.04 FocalFossa.
Step 2 - Instal and Configure MySQL Database Server
In this step, we will install the latest MySQL server to our Ubuntu 20.04 and set up the password for the default MySQL root user.
Install the MySQL server using the apt command below.
sudo apt install mysql-server mysql-client
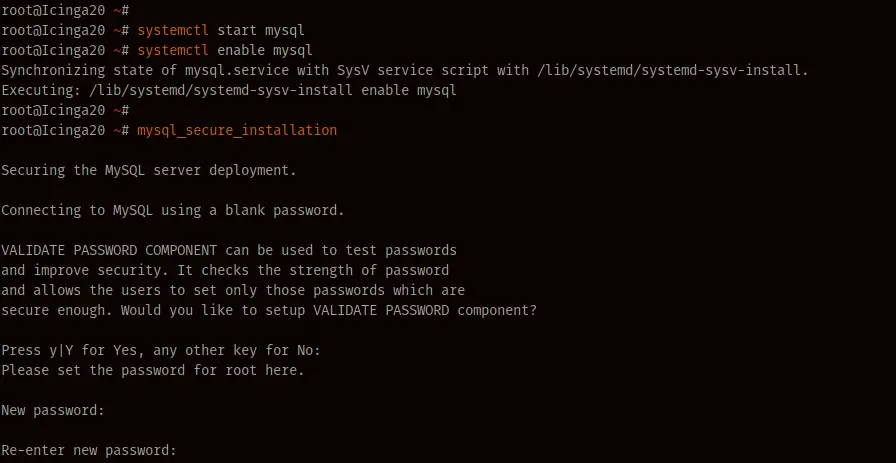
After that, start the MySQL service and add it to the system boot.
systemctl start mysql
systemctl enable mysql
And the MySQL service is up and running.
Next, we will configure the password for the MySQL root user using the command-line tool 'mysql_secure_installation', which provided by the MySQL packages.
Run the 'mysql_secure_installation' command below.
mysql_secure_installation
Now you will be asked to configure a new password for the root user, type your strong password, and type 'Y' for other configurations.
Press y|Y for Yes, any other key for No:
Please set the password for root here.

New password:
Re-enter new password:

Remove anonymous users? (Press y|Y for Yes, any other key for No) : Y
Disallow root login remotely? (Press y|Y for Yes, any other key for No) : Y
Remove test database and access to it? (Press y|Y for Yes, any other key for No) : Y
Reload privilege tables now? (Press y|Y for Yes, any other key for No) : Y
As a result, the installation of MySQL server and configuration it's default root password has been completed.
Step 3 - Install and Configure Icinga2 MySQL Module
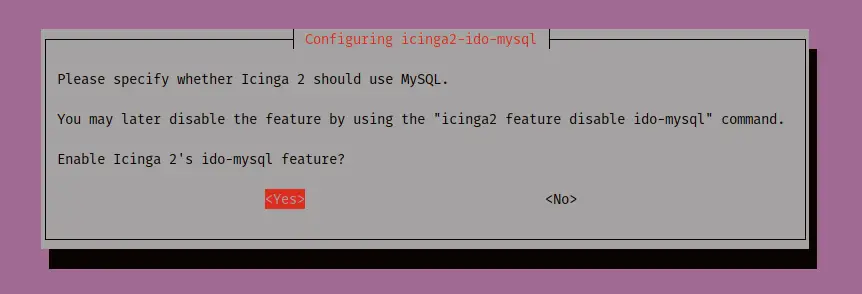
After installing the MySQL Server, we will install the icinga2 module for the MySQL support named 'icinga2-ido-mysql'.
Install the 'icinga2-ido-mysql' using the apt command below.
sudo apt install icinga2-ido-mysql
Now you will be asked to enable the icinga2 ido-mysql feature, choose 'Yes' to continue.
Configure the 'icinga2-ido-mysql' with the dbconfig-command, choose 'Yes' to continue.
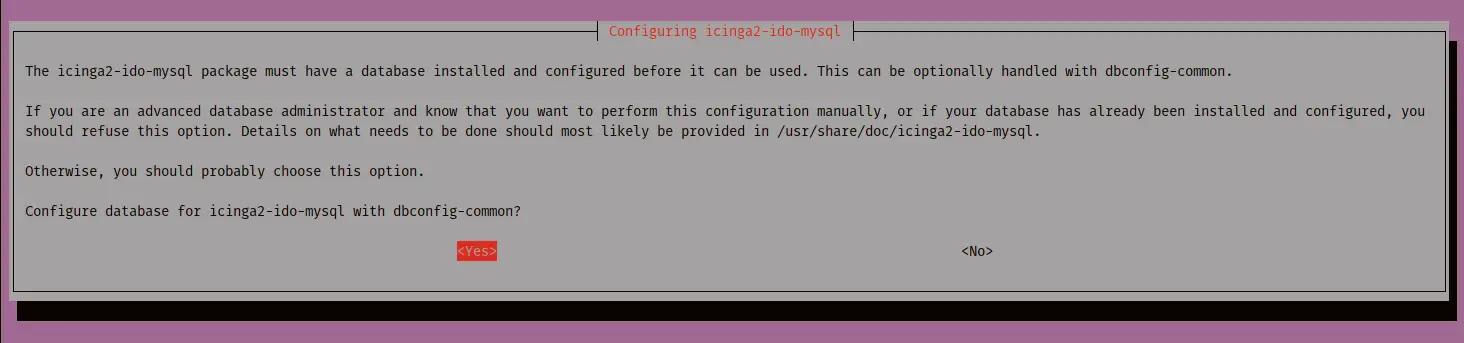
Type your password for the 'icinga2-ido-mysql'.

Repeat the password for the 'icinga2-ido-mysql'.

As a result, the installation of the 'icinga2-ido-mysql' package has been completed, and the new MySQL user 'icinga2' has been created.
Next, to make the Icinga works with the new MySQL version, we will configure the MySQL user 'icinga2' with the MySQL native password authentication.
Log in to the MySQL shell using the command below.
mysql -u root -p
Now change the authentication of user 'icinga2@localhost' with the native MySQL authentication plugin using the following query.
ALTER USER icinga2@localhost IDENTIFIED WITH mysql_native_password BY 'aqwe123@#$';
flush privileges;
Type 'exit' to log out from the MySQL shell, and the MySQL user 'icinga2' is now using the native authentication plugin.
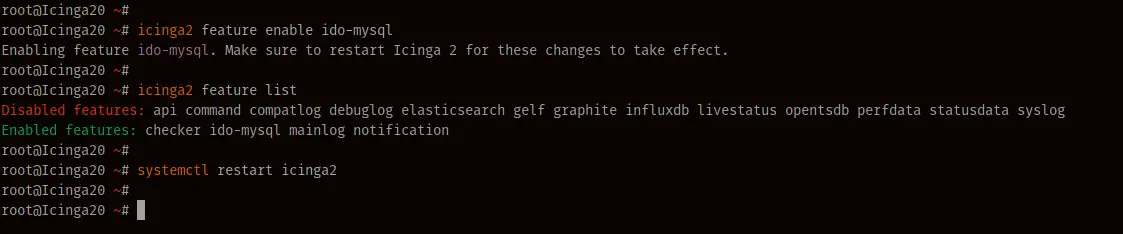
Next, enable the 'ido-mysql' feature and check all enabled plugins using the following command.
icinga2 feature enable ido-mysql
icinga2 feature list
And you will get the feature 'ido-mysql' is enabled, to apply the new configuration, restart the icinga2 service.
systemctl restart icinga2
And the installation and configuration of 'icinga2-ido-mysql' have been completed.
Step 4 - Install Apache2 and PHP Packages
In this step, we will install the Apache and PHP packages for the icingaweb2. And we will use PHP 7.3 which available on the PPA repository because, at this time, the icingaweb2 is not yet supported with new version PHP 7.4.
First, install the 'python3-software-properties' package and add the PHP PPA repository using the following command.
sudo apt install python3-software-properties
sudo add-apt-repository ppa:ondrej/php
Next, install Apache and PHP packages using the apt command below.
sudo apt install apache2 php7.3 php7.3-common php7.3-gd php7.3-ldap php7.3-intl php7.3-curl libapache2-mod-php7.3 php7.3-mysql php7.3-pgsql php7.3-xml
Once all installation is completed, edit the 'php.ini' configuration using vim editor.
vim /etc/php/7.3/apache2/php.ini
Uncomment the 'date.timezone' option and type your timezone.
date.timezone = Asia/Singapore
Uncomment the 'cgi.fix_pathinfo' configuration and change the value to '0'.
cgi.fix_pathinfo=0
Save and close.
Next, restart the Apache2 service and add it to the system boot.
systemctl restart apache2
systemctl enable apache2
The Apache2 service is up and running, check it using the following command.
systemctl status apache2
Below is the result you will get.
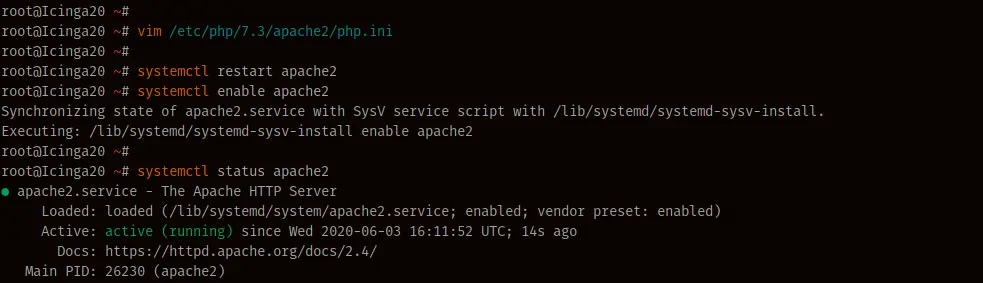
As a result, the installation of Apache and PHP packages for icingaweb2 has been completed.
Step 5 - Install Icingaweb2
After installing Apache and PHP packages, we will install the icingaweb2 package and create a new MySQL database for the icingaweb2.
Install icingaweb2 and icingacli packages using the apt command.
sudo apt install icingaweb2 icingacli
Once all installation is completed, generate the icingaweb2 token for the installation using the command below.
icingacli setup token create
Below is the result you will get.
The newly generated setup token is: 9b871ead0a60c94f
Now copy the token code to your note, it will be used for the icingaweb2 installation.
Next, log in to the MySQL shell using the mysql command below.
mysql -u root -p
Now create a new database and user using the following queries.
create database icingaweb2;
create user icingaweb2@localhost identified with mysql_native_password by "icingaweb2pass";
grant all privileges on icingaweb2.* to icingaweb2@localhost with grant option;
flush privileges;
Type 'exit' to logout from the MySQL shell.
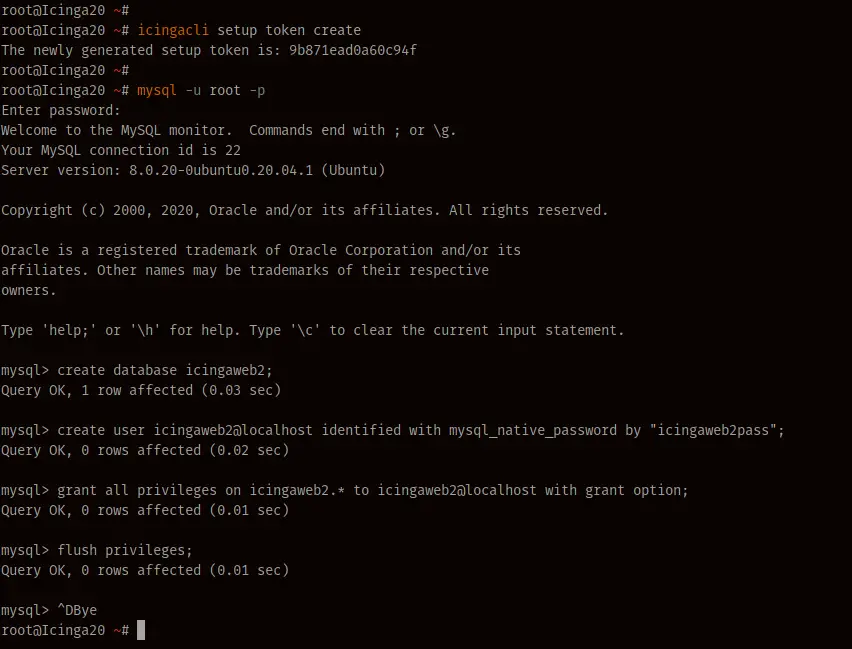
As a result, the installation of icingaweb2 is completed, and the new database for icingaweb2 has been created
Step 6 - Icinga 2 and Icinga Web 2 Post-Installation
Open your web browser and type the server IP address as below. Replace the IP with your server IP.
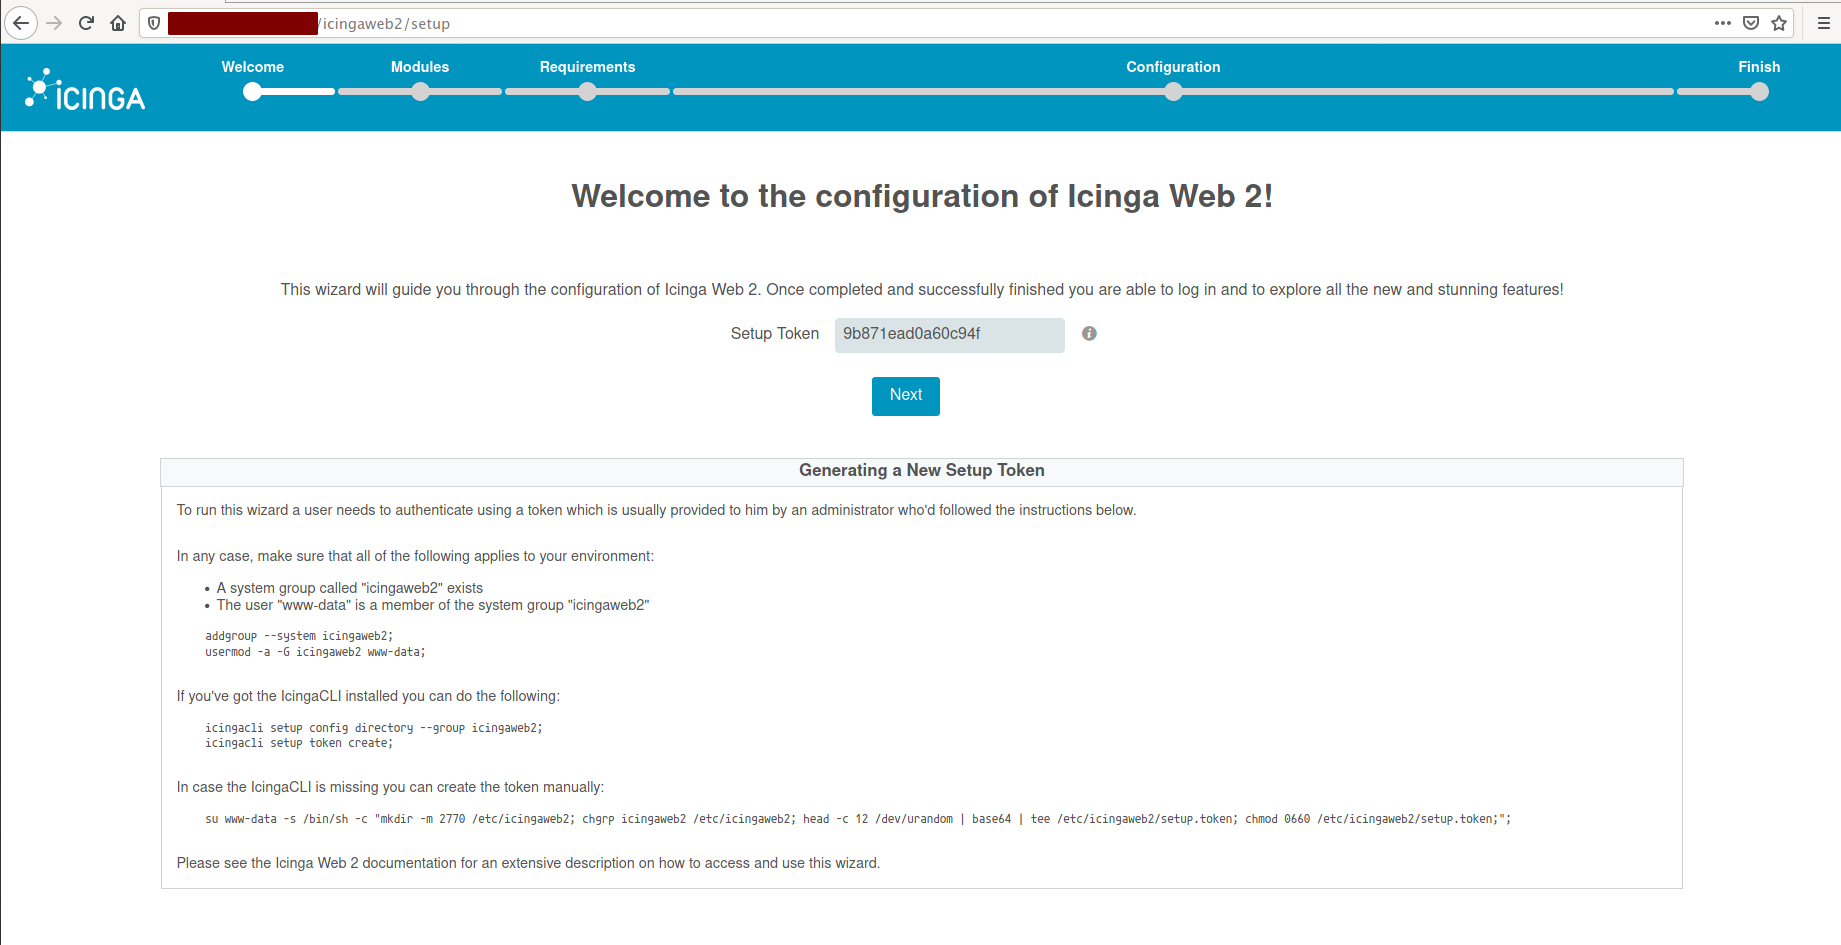
http://10.5.5.20/icingaweb2/setup
Paste the setup token code on the box and click the 'Next' button.
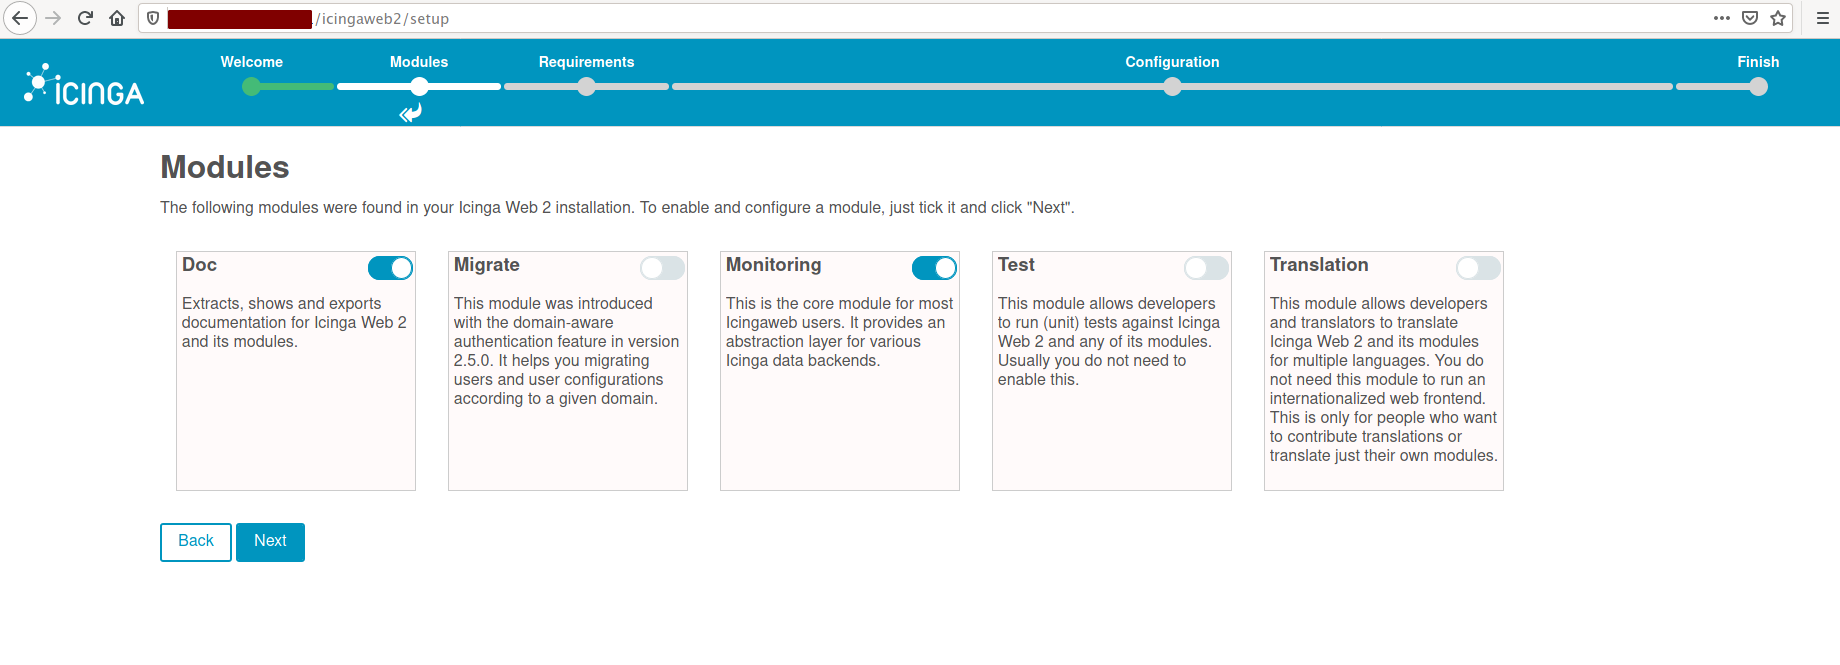
Now you need to choose the Icinga module for your installation, leave the 'Monitoring' module and click 'Next'.
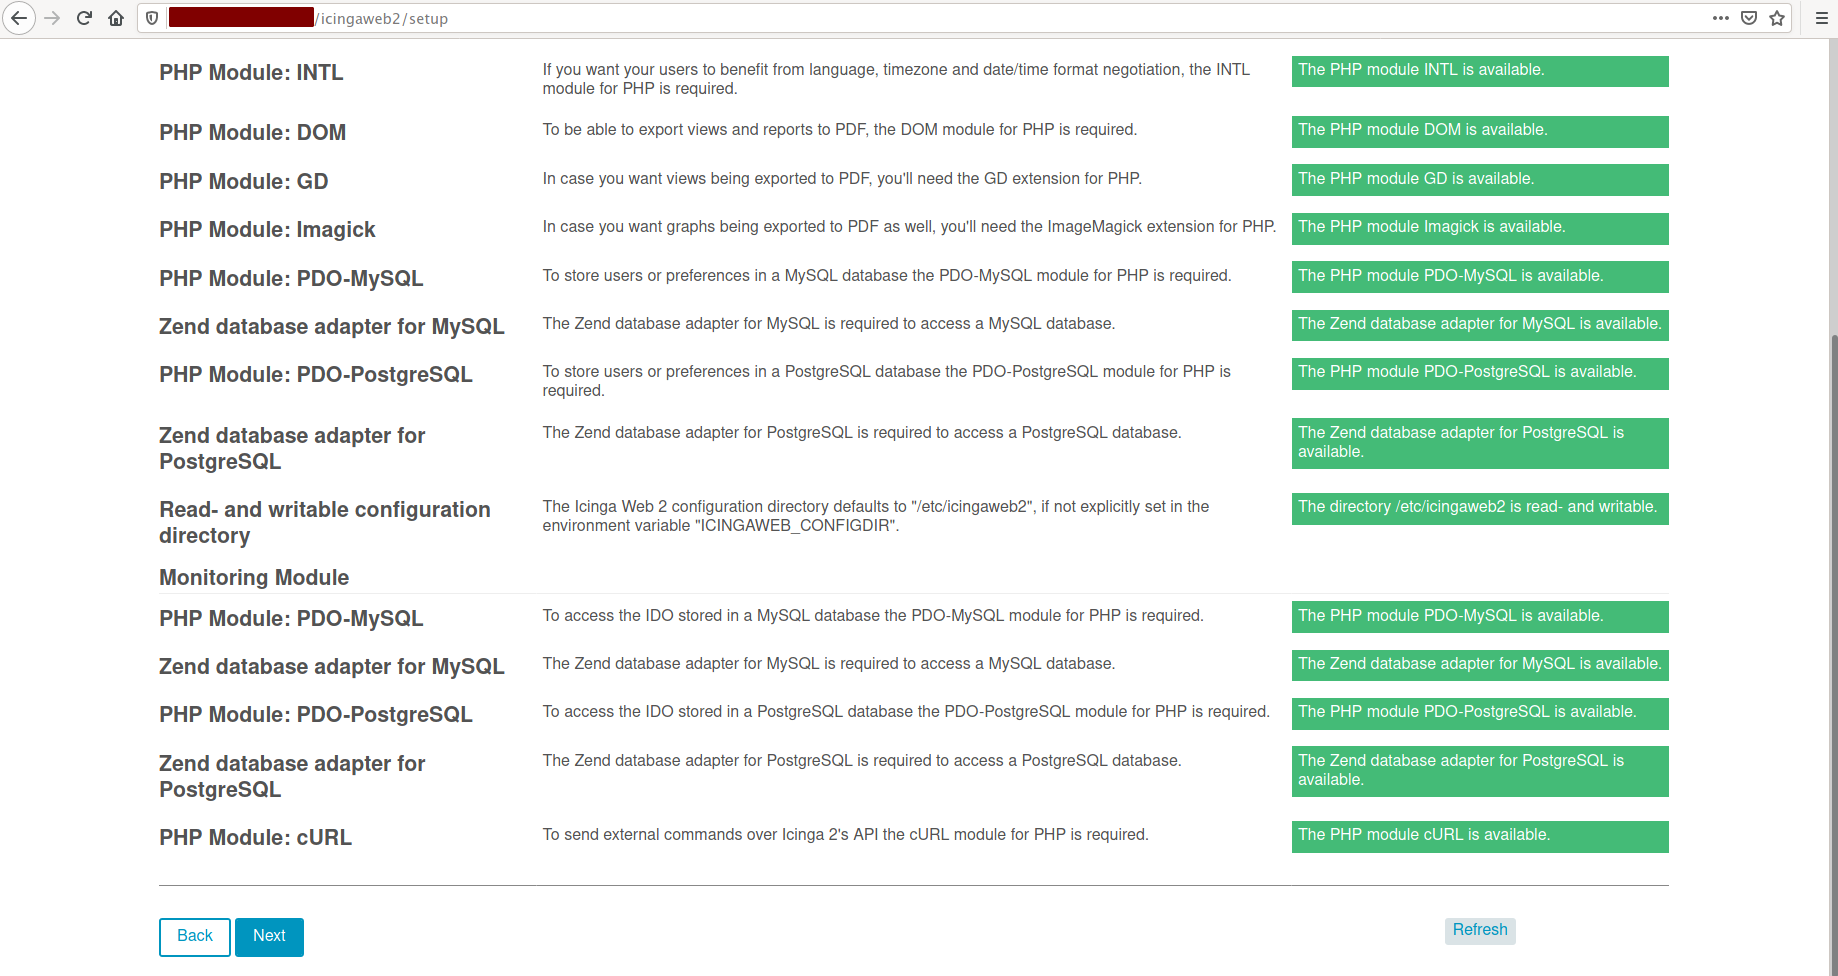
After that, the Icinga will check the environment for its installation. Ensure all modules needed is on the green status except for the 'PostgreSQL modules', then click 'Next'.
Now you need to choose Authentication for accessing the icingaweb2, choose 'Database' and click 'Next'.

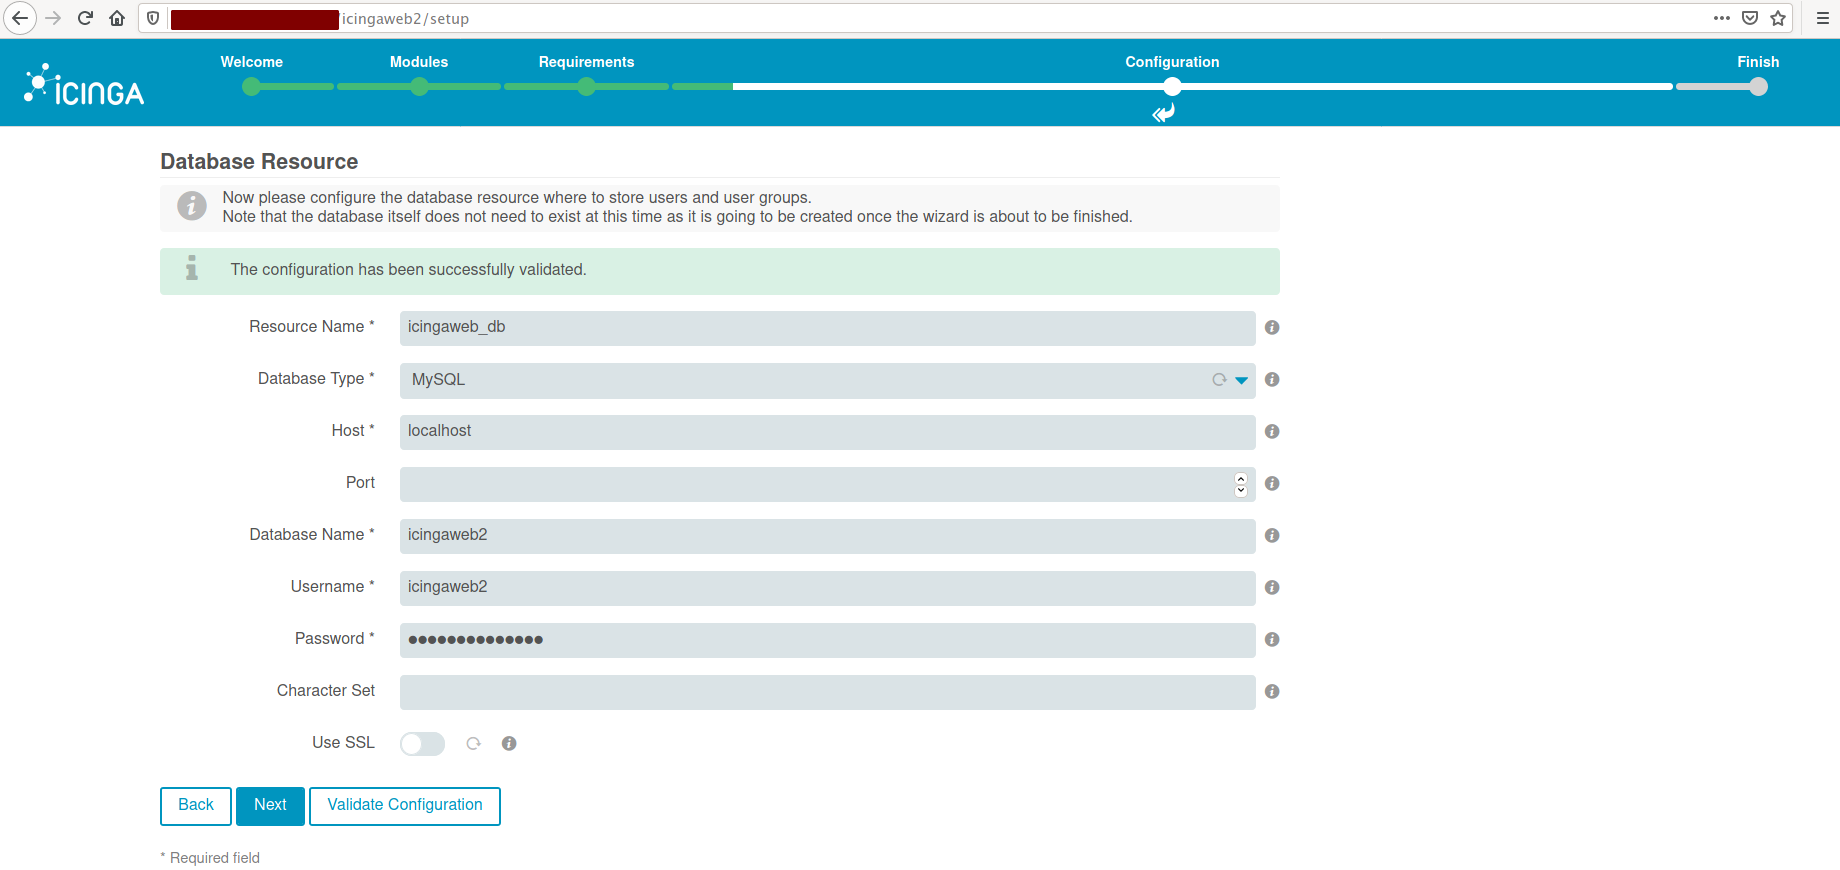
Type in all database details for the 'icingaweb2' and click 'Validate Configuration' to test. Once it's successful, click the 'Next' button.
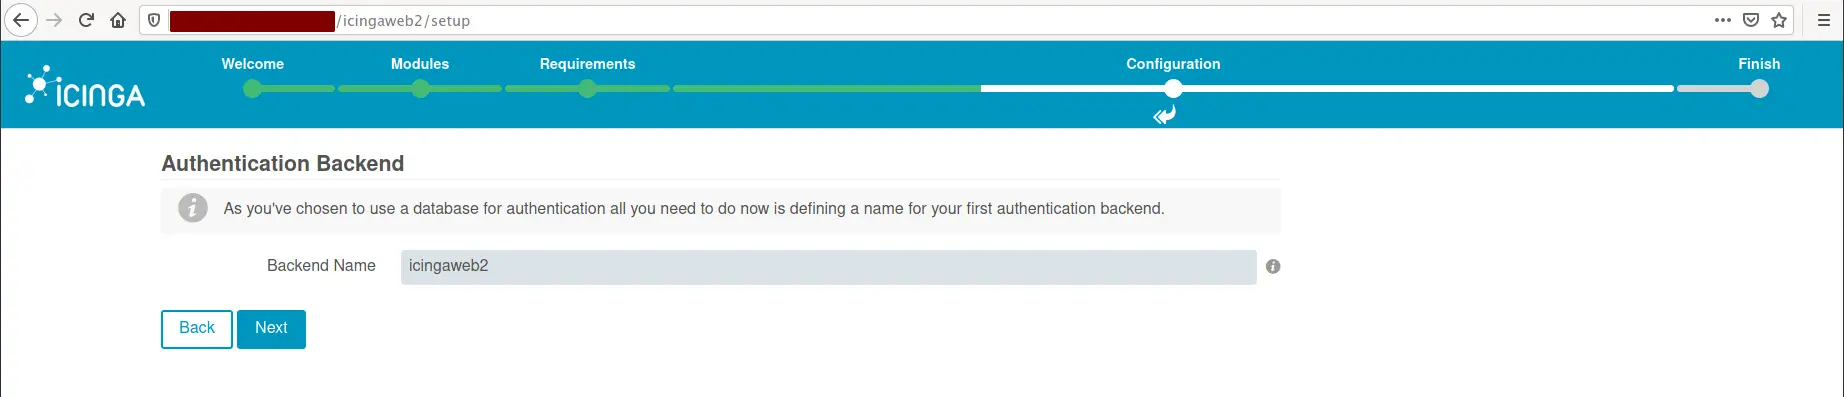
Now for the Backend Authentication, choose the 'icingaweb2' and click 'Next'.
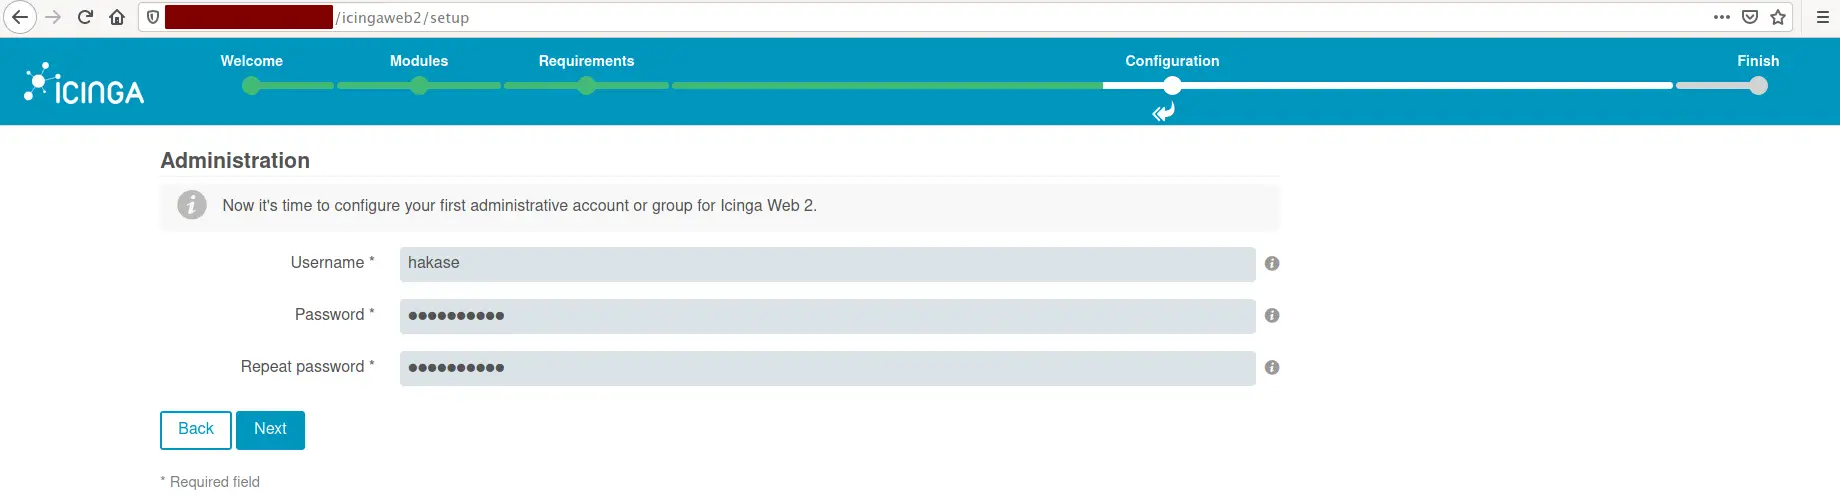
Type the admin and password for icingaweb2 and click 'Next' again.
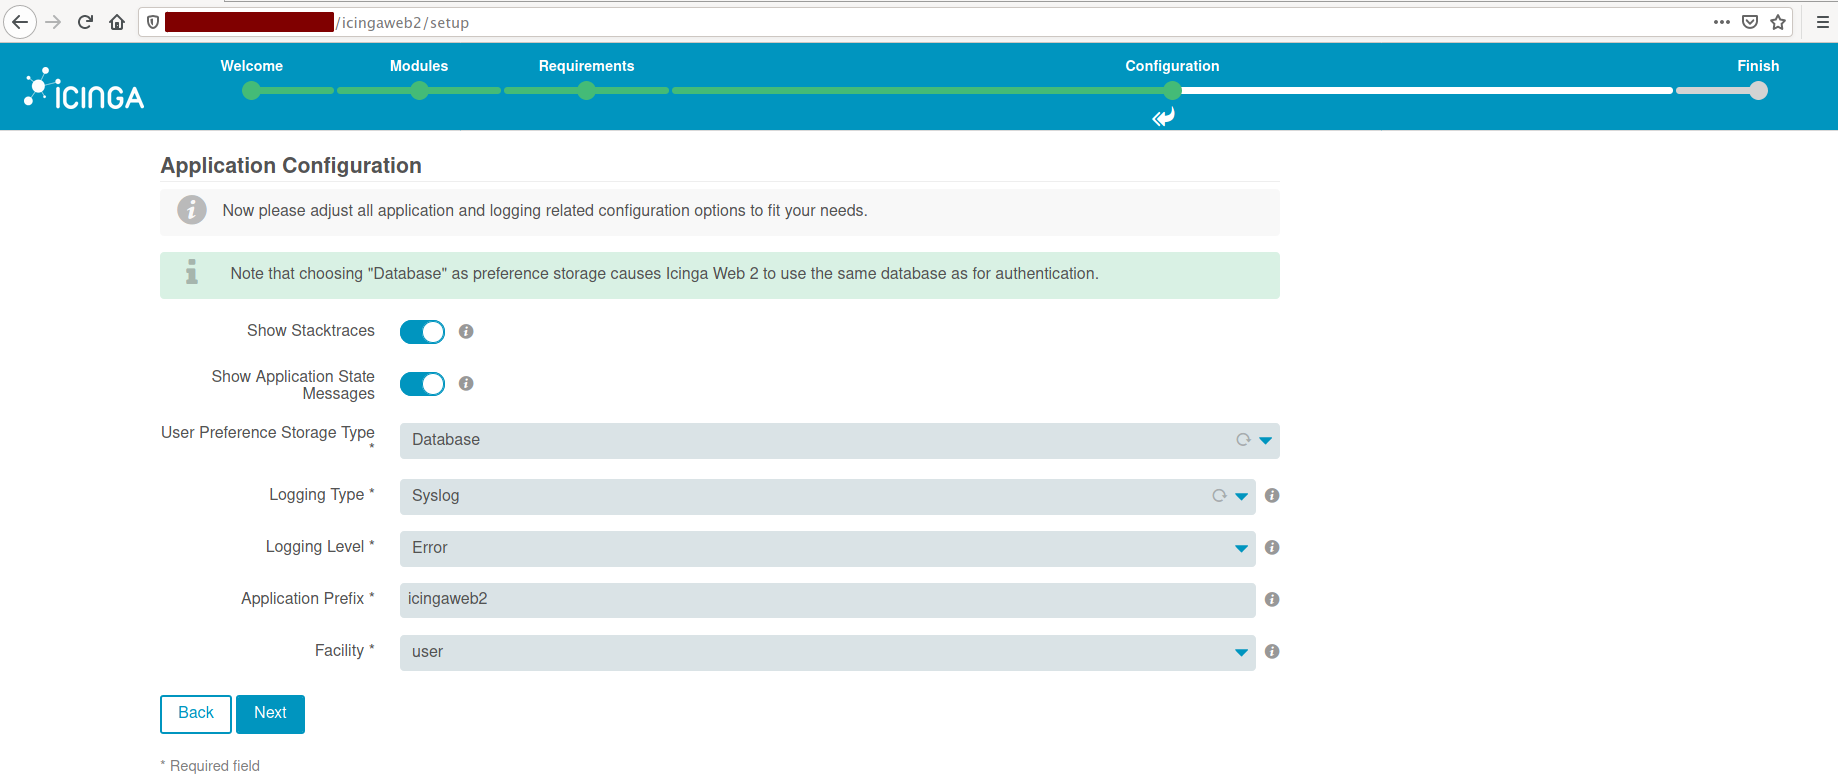
On the Application Configuration, leave it as default and click 'Next'.
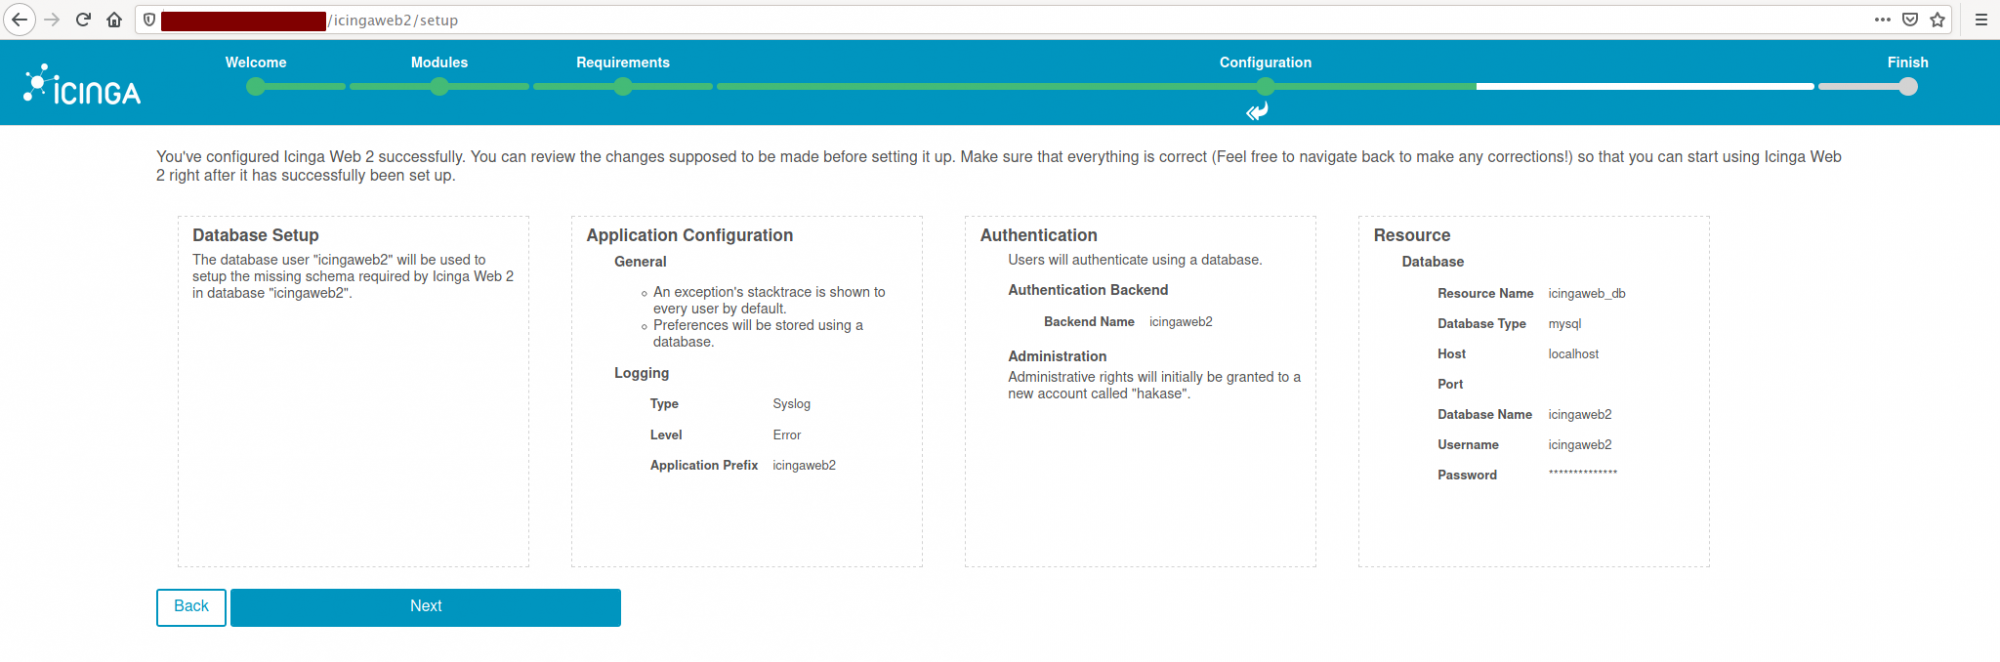
Confirm all configuration and click 'Next'.
And you will get the welcome page to the icingaweb2. Click 'Next' again to configure the monitoring backend.

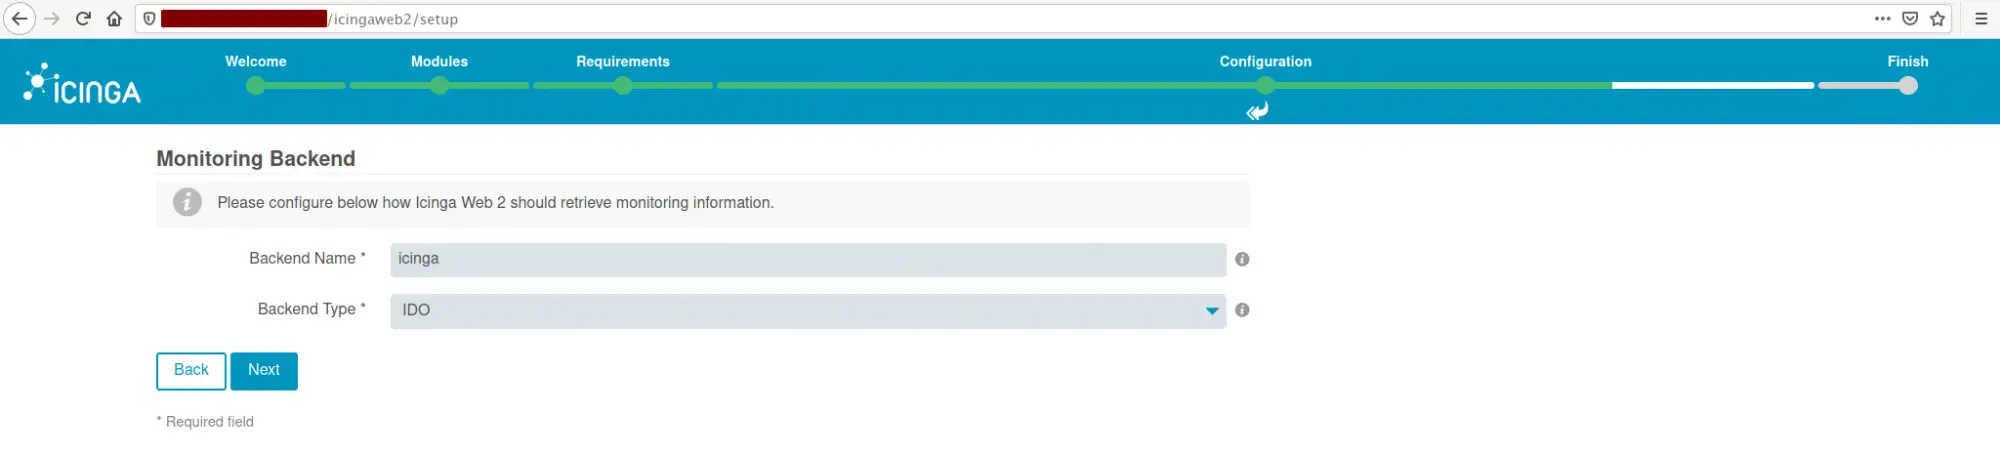
Set the Backend name as 'icinga2' with the type 'IDO', then click 'Next'.
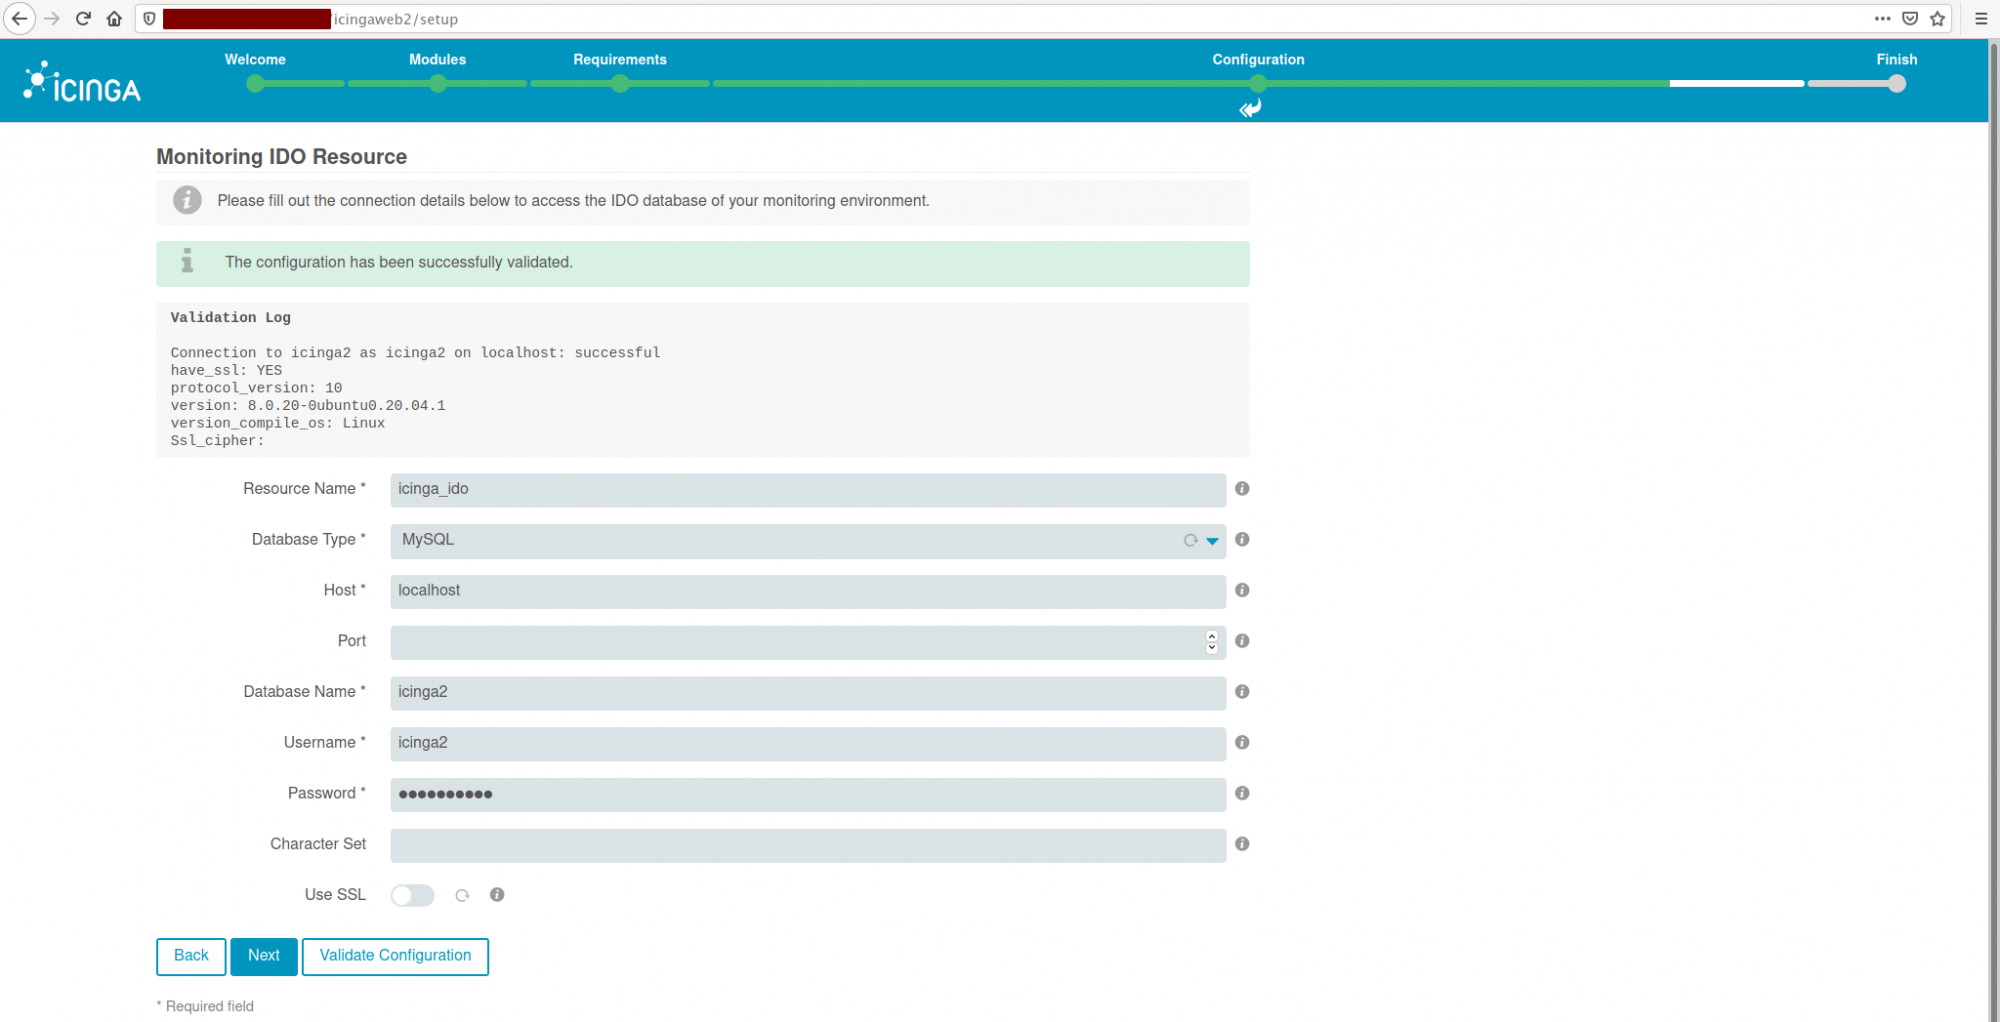
Now you need to configure MySQL IDO backend resource for the icinga2 application. Type details database for icinga2 and click 'Validate Configuration'. Once it's successful, click the 'Next' button.
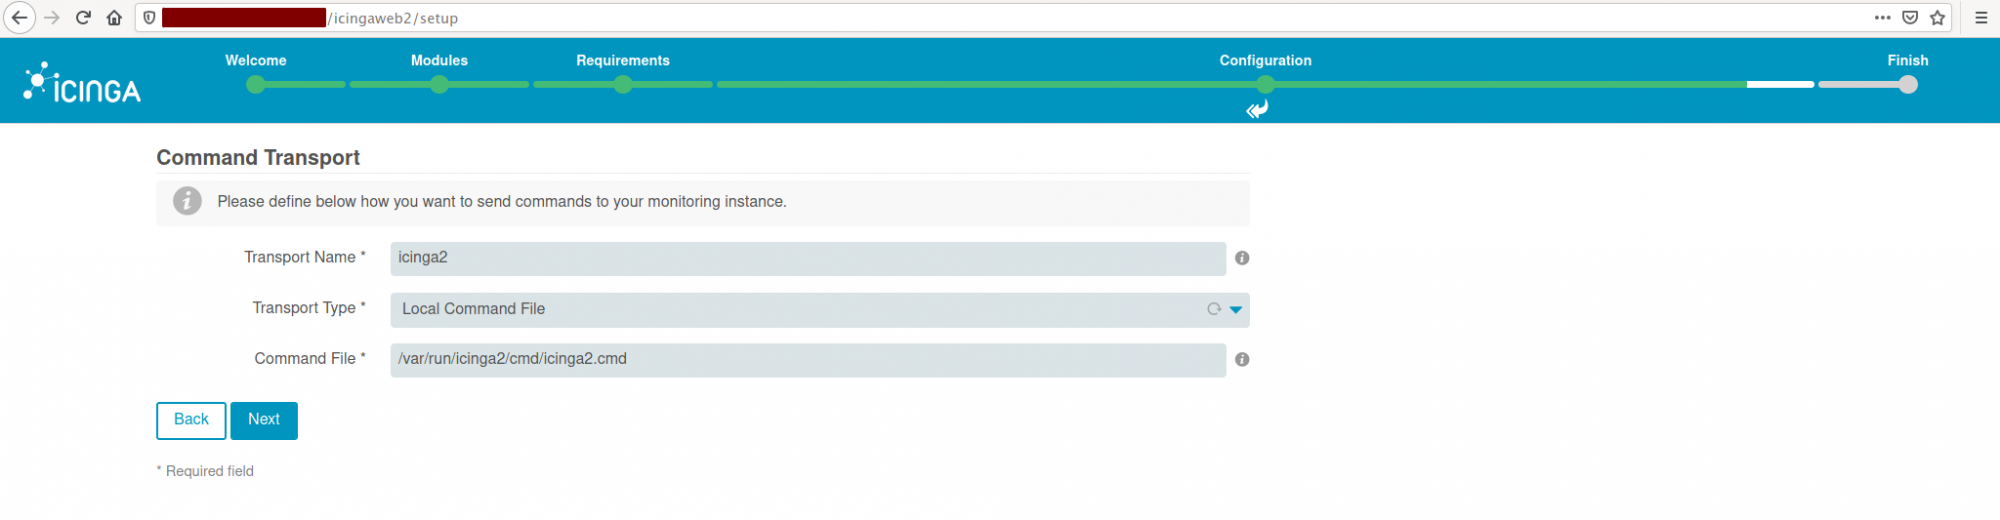
For the 'Command Transport', choose the 'Local Command File' and leave it as default. Then click 'Next'.
And for the Monitoring Security, leave it as default and click 'Next'.

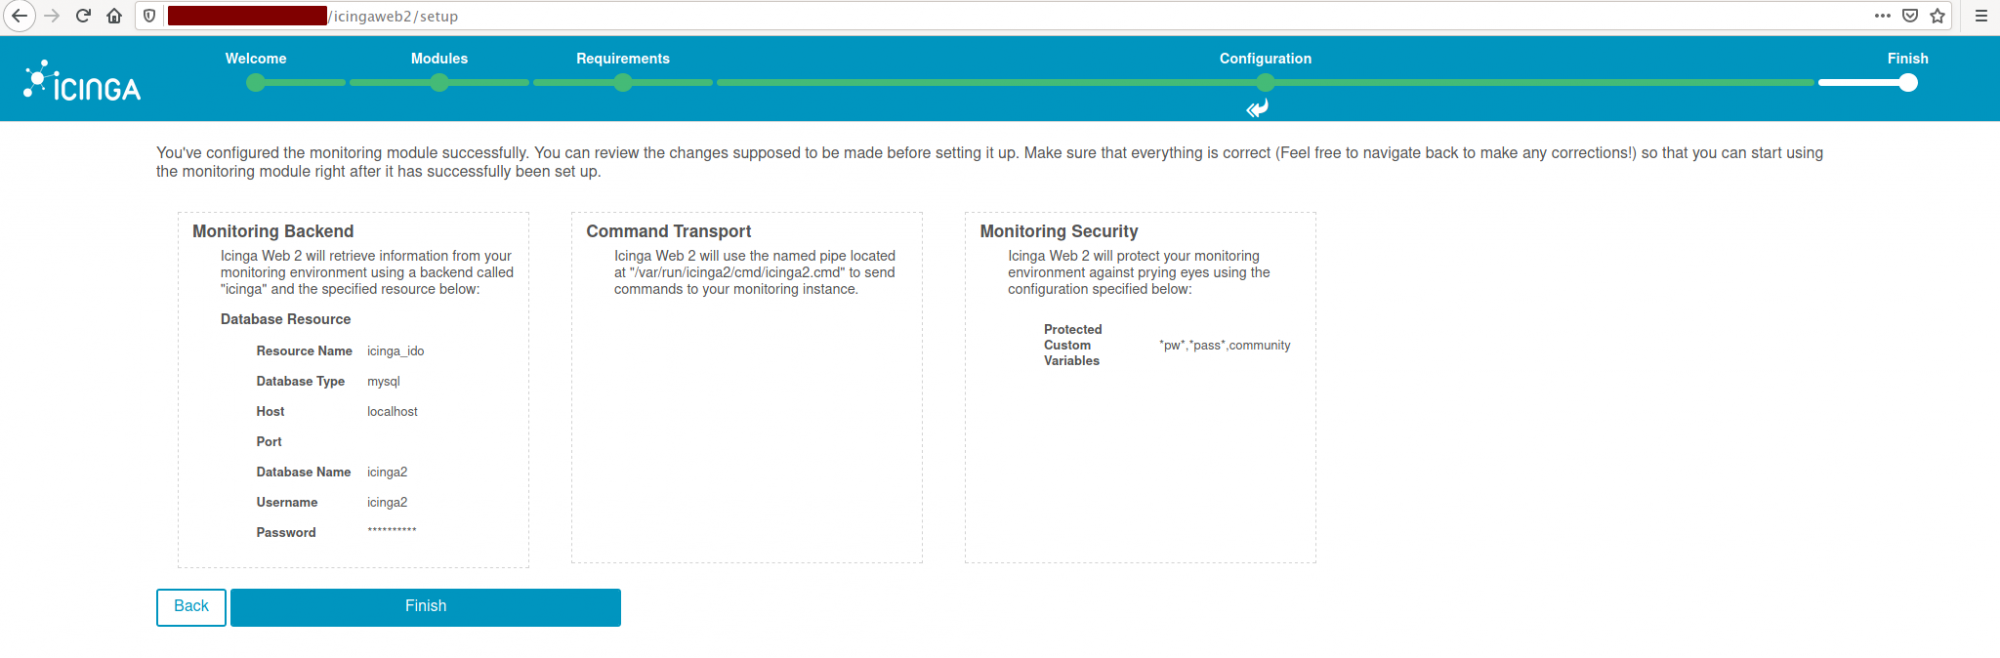
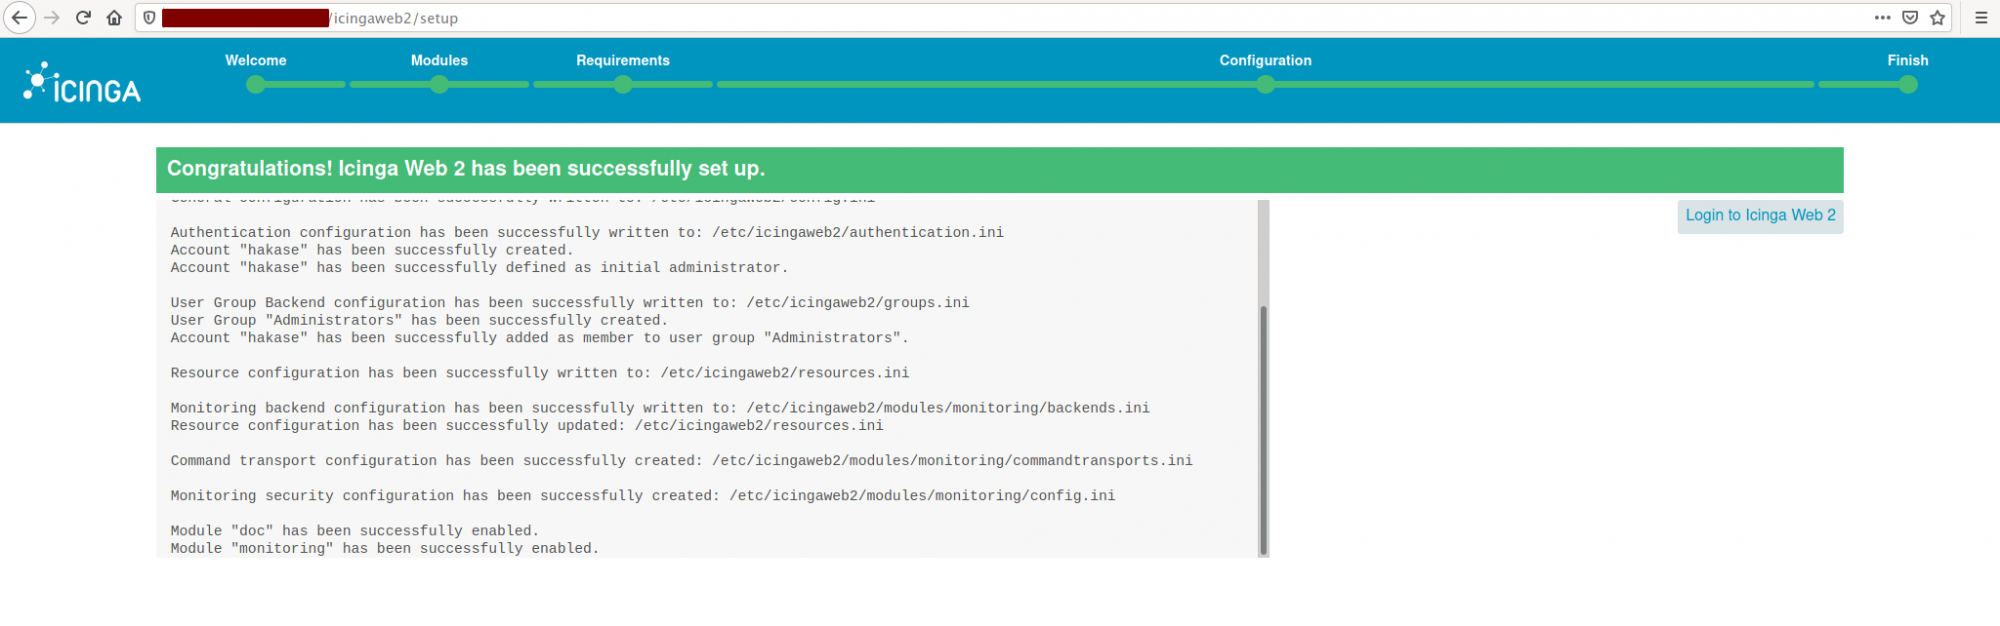
Confirm all configuration and click the 'Finish' button.
Now the Icinga 2 and Icinga web 2 installations are completed, click the 'Login to Icinga Web 2' button and you will be redirected to the login page.
Type the user that you've configured at the top and click the 'Login' button.
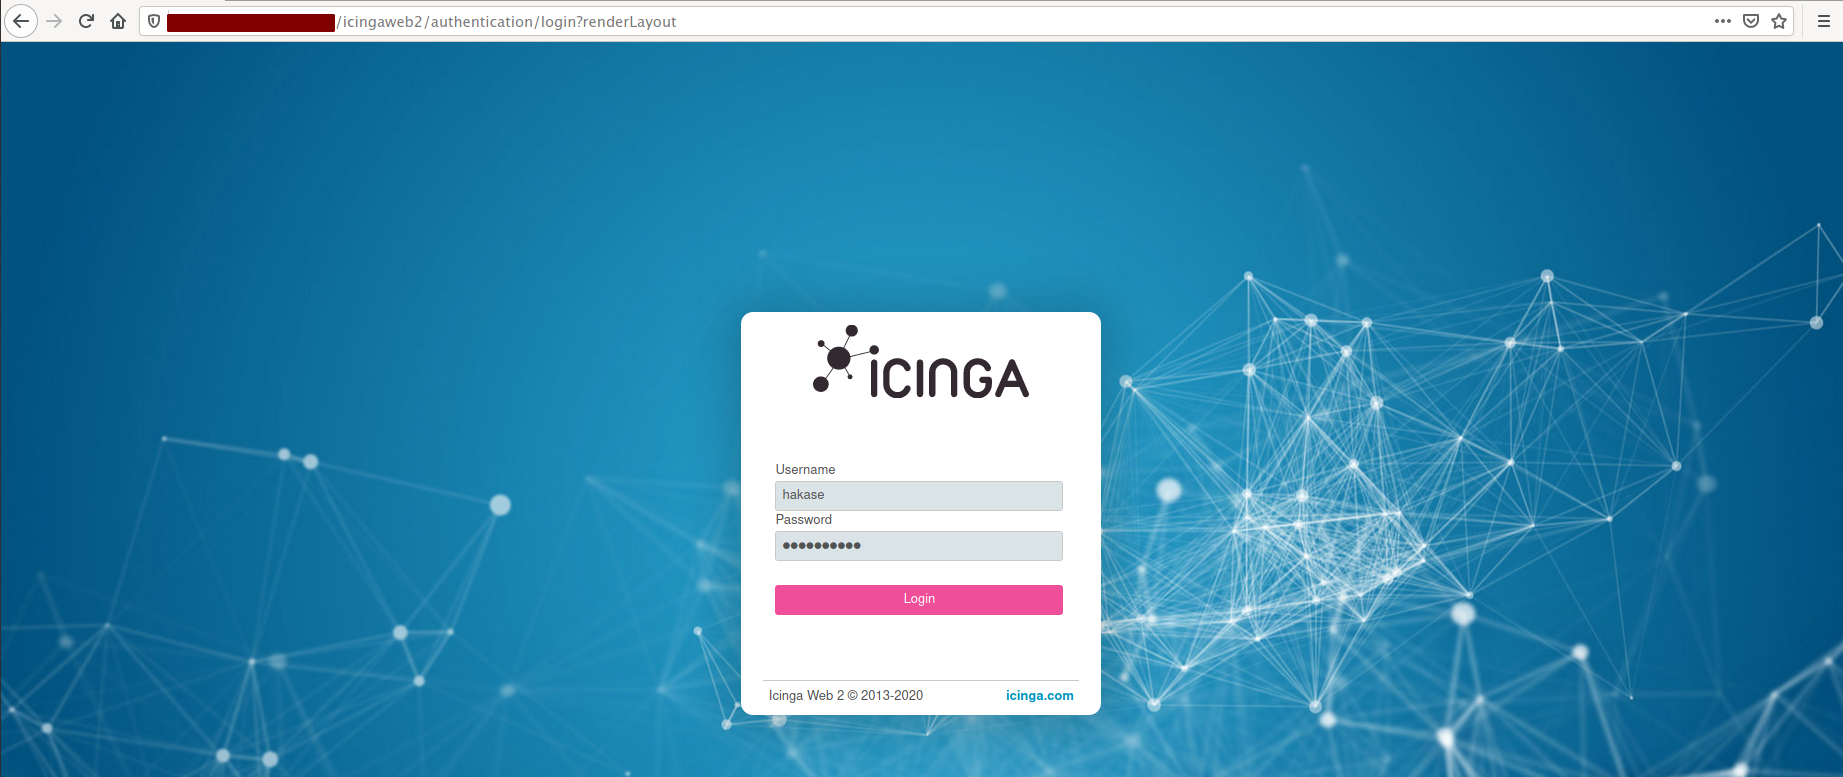
Type the user that you've configured at the top and click the 'Login' button.
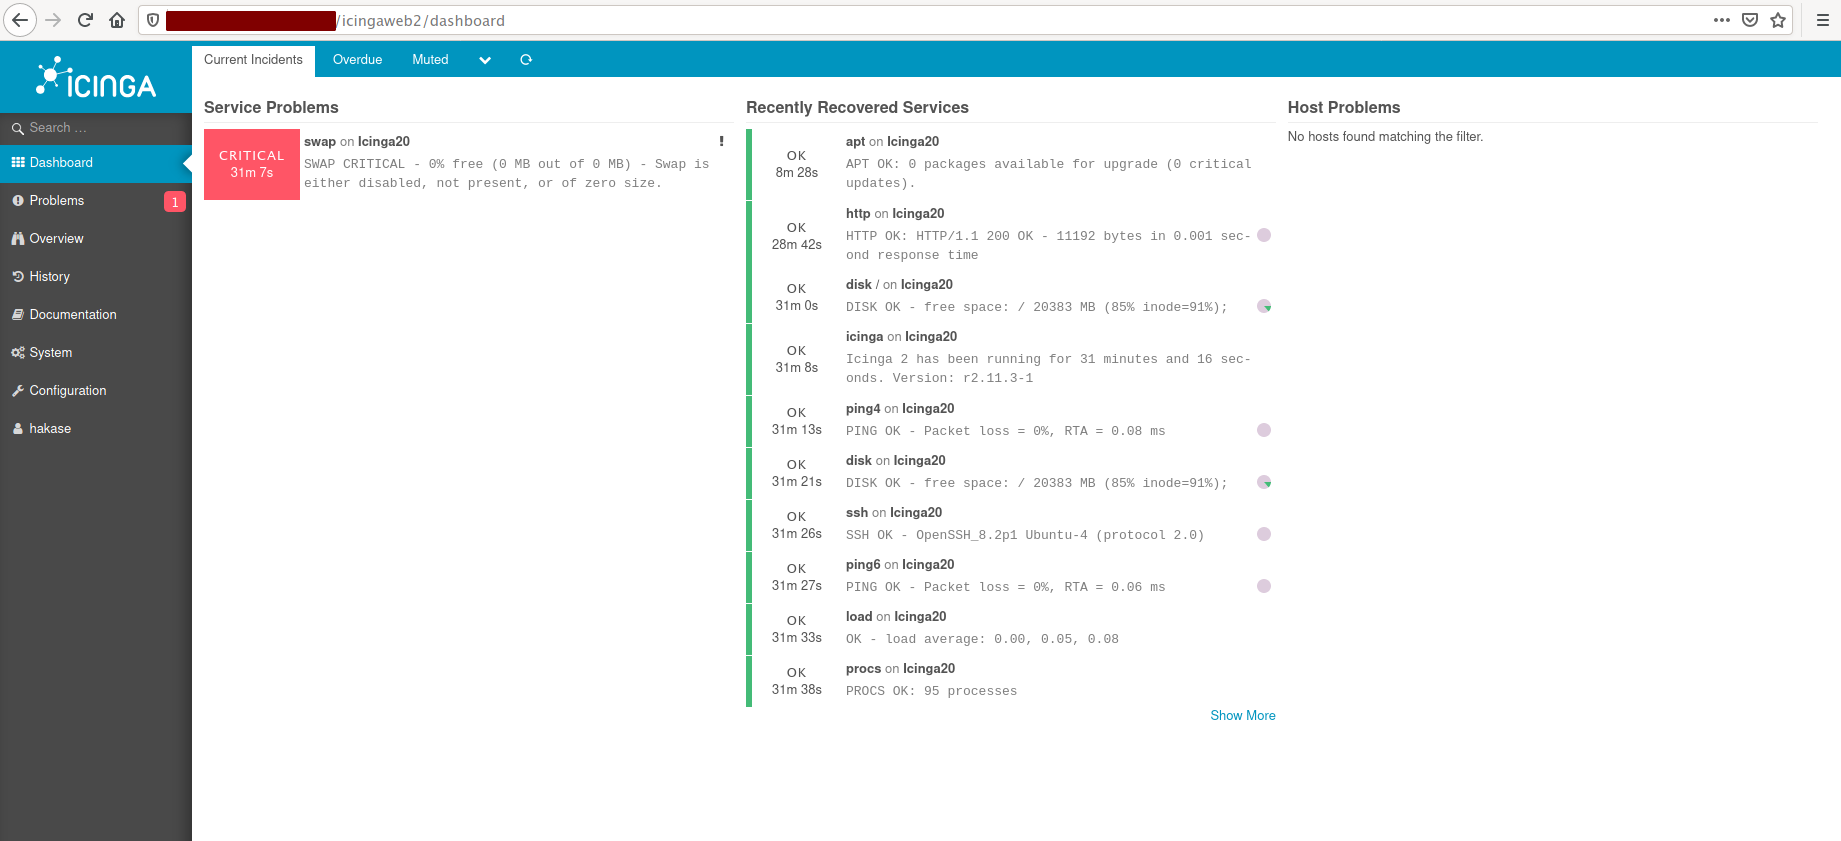
And finally, the installation and configuration of icinga2 and icingaweb2 on Ubuntu 20.04 server have been completed successfully.

