How to Install Cacti SNMP Monitoring Tool on Debian 10
This tutorial exists for these OS versions
- Debian 11 (Bullseye)
- Debian 10 (Buster)
- Debian 9 (Stretch)
On this page
Cacti is a free and open-source, web-based network monitoring, and graphics tool. It provides a fast poller with advanced graphic template creation and multiple data collection methods. Cacti is a complete front end for RRDTool, it stores all necessary information about monitoring devices to create graphics and populate them with data from the MySQL database.
In this tutorial, we will show you how to install Cacti on Debian Buster 10. We will install Cacti under the LAMP stack, the Apache web server, PHP 7.3, and the MariaDB server on the current Debian Buster 10.
Prerequisite
For this tutorial we will install Cacti on a Debian system with 1 GB RAM, 25 GB free disk space and 2 CPUs. We will also use the sudo root privileges to install packages and edit the configuration on the system.
What we will do?
- Install Apache Webserver
- Install and Configure MariaDB Server
- Install and Configure PHP 7.3
- Install Additional Packages
- Install Cacti on the Debian 10
- Testing
Step 1 - Install Apache Webserver
First, we will install the Apache webserver on the Debian 10 Server.
Update al repositories on the Debian system and install Apache2 packages using the apt command below.
sudo apt update
sudo apt install apache2 apache2-utils
Once all installation is completed, start the Apache2 service and add it to the system boot.
systemctl start apache2
systemctl enable apache2
The Apache2 web server is up and running, check it using the systemctl command below.
systemctl status apache2
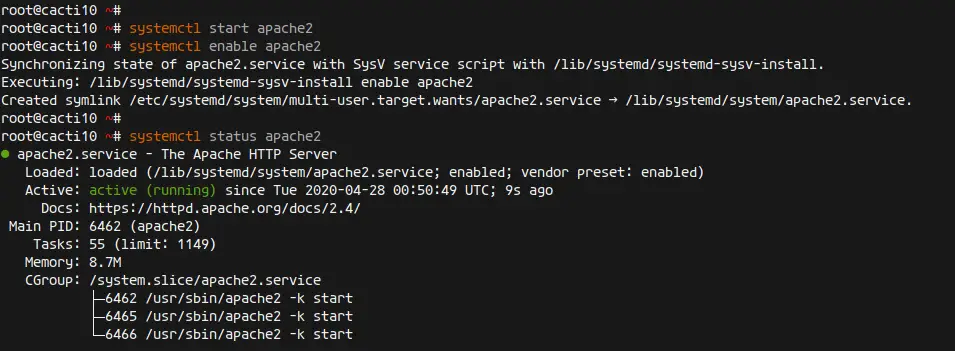
As a result, the installation of the Apache2 webserver is completed.
Step 2 - Install MariaDB
In this step, we will install and configure the MariaDB database server.
Install the MariaDB database using the apt command below.
sudo apt install mariadb-server
Once all installation is completed, start the MariaDB service and add it to the system boot.
systemctl start mariadb
systemctl enable mariadb
The MariaDB service is up and running.
Next, we will edit the MariaDB configuration for the Cacti installation.
Edit the MariaDB configuration '/etc/mysql/mariadb.conf.d/50-server.cnf' using vim editor.
vim /etc/mysql/mariadb.conf.d/50-server.cnf
Paste the following configuration under the '[mysqld]' section as below.
[mysqld]
...
collation-server = utf8mb4_unicode_ci
character-set-server  = utf8mb4
innodb_flush_log_at_timeout = 4
innodb_read_io_threads = 34
innodb_write_io_threads = 17
max_heap_table_size = 70M
tmp_table_size = 70M
join_buffer_size = 130M
innodb_buffer_pool_size = 250M
innodb_io_capacity = 5000
innodb_io_capacity_max = 10000
innodb_file_format = Barracuda
innodb_large_prefix = 1
...
Save and close.
Now restart the MariaDB service and make sure there is no error, then check the MariaDB service status.
systemctl restart mariadb
systemctl status mariadb
Below is the result you will get.
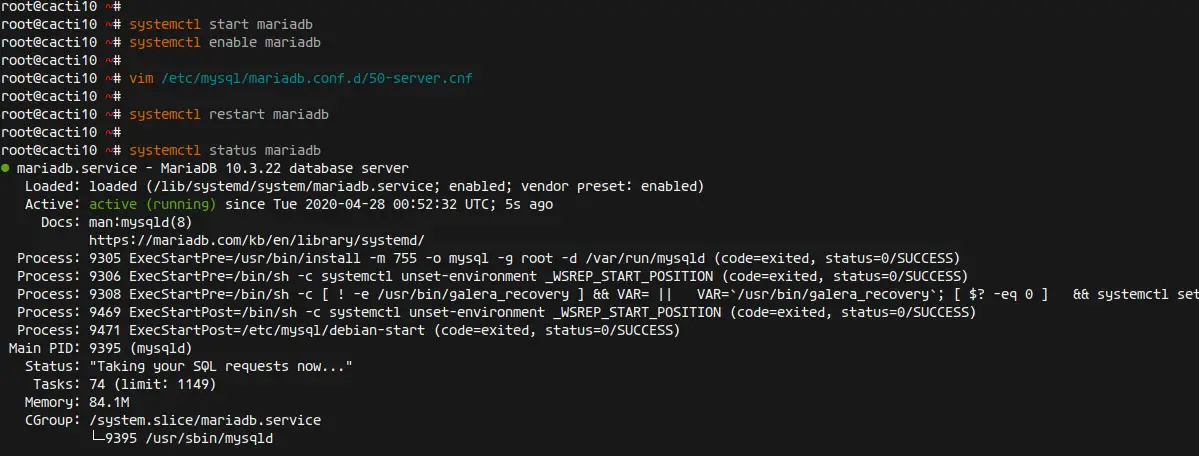
As a result, the installation and configuration of MariaDB Server for the Cacti installation has been completed successfully.
Step 3 - Install PHP 7.3
In this step, we will install PHP 7.3 packages with additional packages needed for the Cacti installation.
Install PHP 7.3 packages using the apt command below.
sudo apt install php php-common php-mysql php-snmp php-xml php-mbstring php-json php-gd php-gmp php-zip php-ldap php-pear php-php-gettext php-phpseclib php-twig
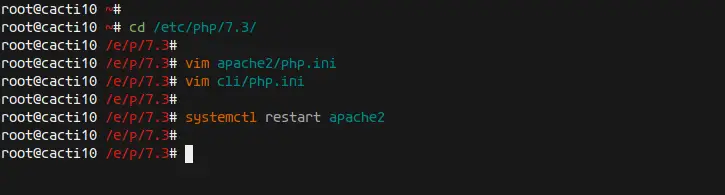
Once all installation is completed, go to the '/etc/php/7.3' directory.
cd /etc/php/7.3/
Edit the 'php.ini' configuration for both Apache2 and cli.
vim apache2/php.ini
vim cli/php.ini
Uncomment the 'date.timezone' option and change the value with your timezone.
date.timezone = Asia/Singapore
Now uncomment the 'cgi.fix_pathinfo' option and change thge value to '0'.
cgi.fix_pathinfo = 0
Save and close.
Next, restart the Apache2 service to apply the new configuration.
systemctl restart apache2
As a result, the installation and configuration of PHP 7.3 for Cacti installation has been completed successfully.
Step 4 - Install SNMP and RRDTool
In this step, we will install the SNMP and rrdtool packages to the Debian 10 server.
The SNMP or (Simple Network Management Protocol) is used for the exchange management information between the agent (server) and clients. And the rrdtool (Round Robin the Database tool) is used to store and display time-series data for system monitoring with graphical support.
Install the SNMP and rrdtool packages using the apt command below.
sudo apt install snmp php-snmp rrdtool librrds-perl
Once all installation is complete, go to the next step to install the Cacti Monitoring Tool.
Step 5 - Install Cacti
By default, the Cacti Monitoring Tool is available on the Debian Buster 10 repository, can be installed using the apt command.
Show the cacti package on the Debian repository using the following command.
sudo apt search cacti
sudo apt show cacti
Now install Cacti and Cacti-spine (Alternative pooler based on C) using the apt command below.
sudo apt install cacti cacti-spine
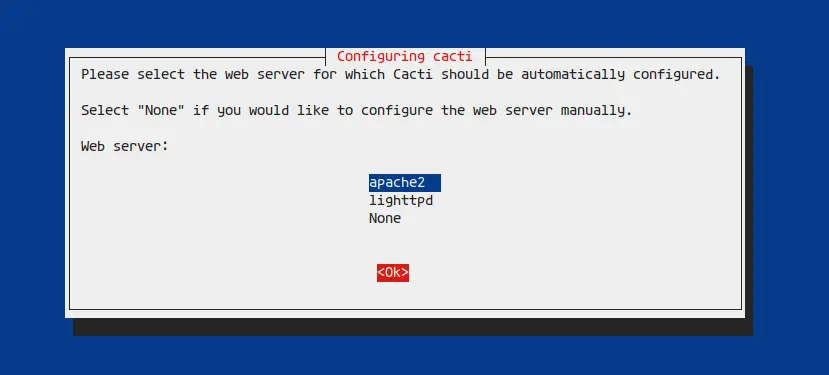
During the installation, you will be asked for the webserver and dbconfig-common configuration.
For the web server configuration, choose the 'apache2' and select 'OK'.
Next, you will be asked for the database configuration through the 'dbconfig-common', choose 'Yes' to continue.

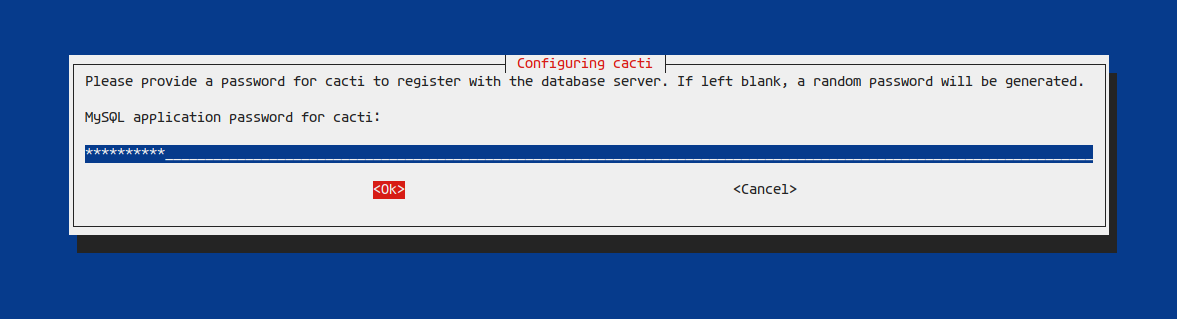
Now type your password for the cacti database configuration and the cacti admin login.
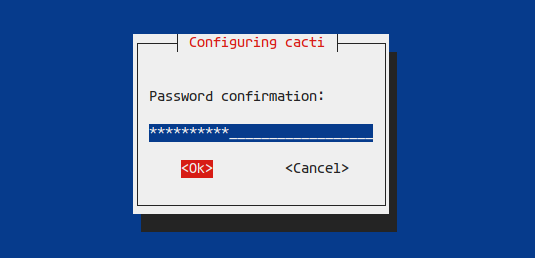
Repeat the password and choose 'OK'.
And the Cacti installation has been completed, it's now accessible from the web browser.
Step 6 - Testing
Open your web browser and type the server IP address with the path 'cacti' on the address bar.
http://serverip/cacti/
Now you will get the Cacti login page as below.
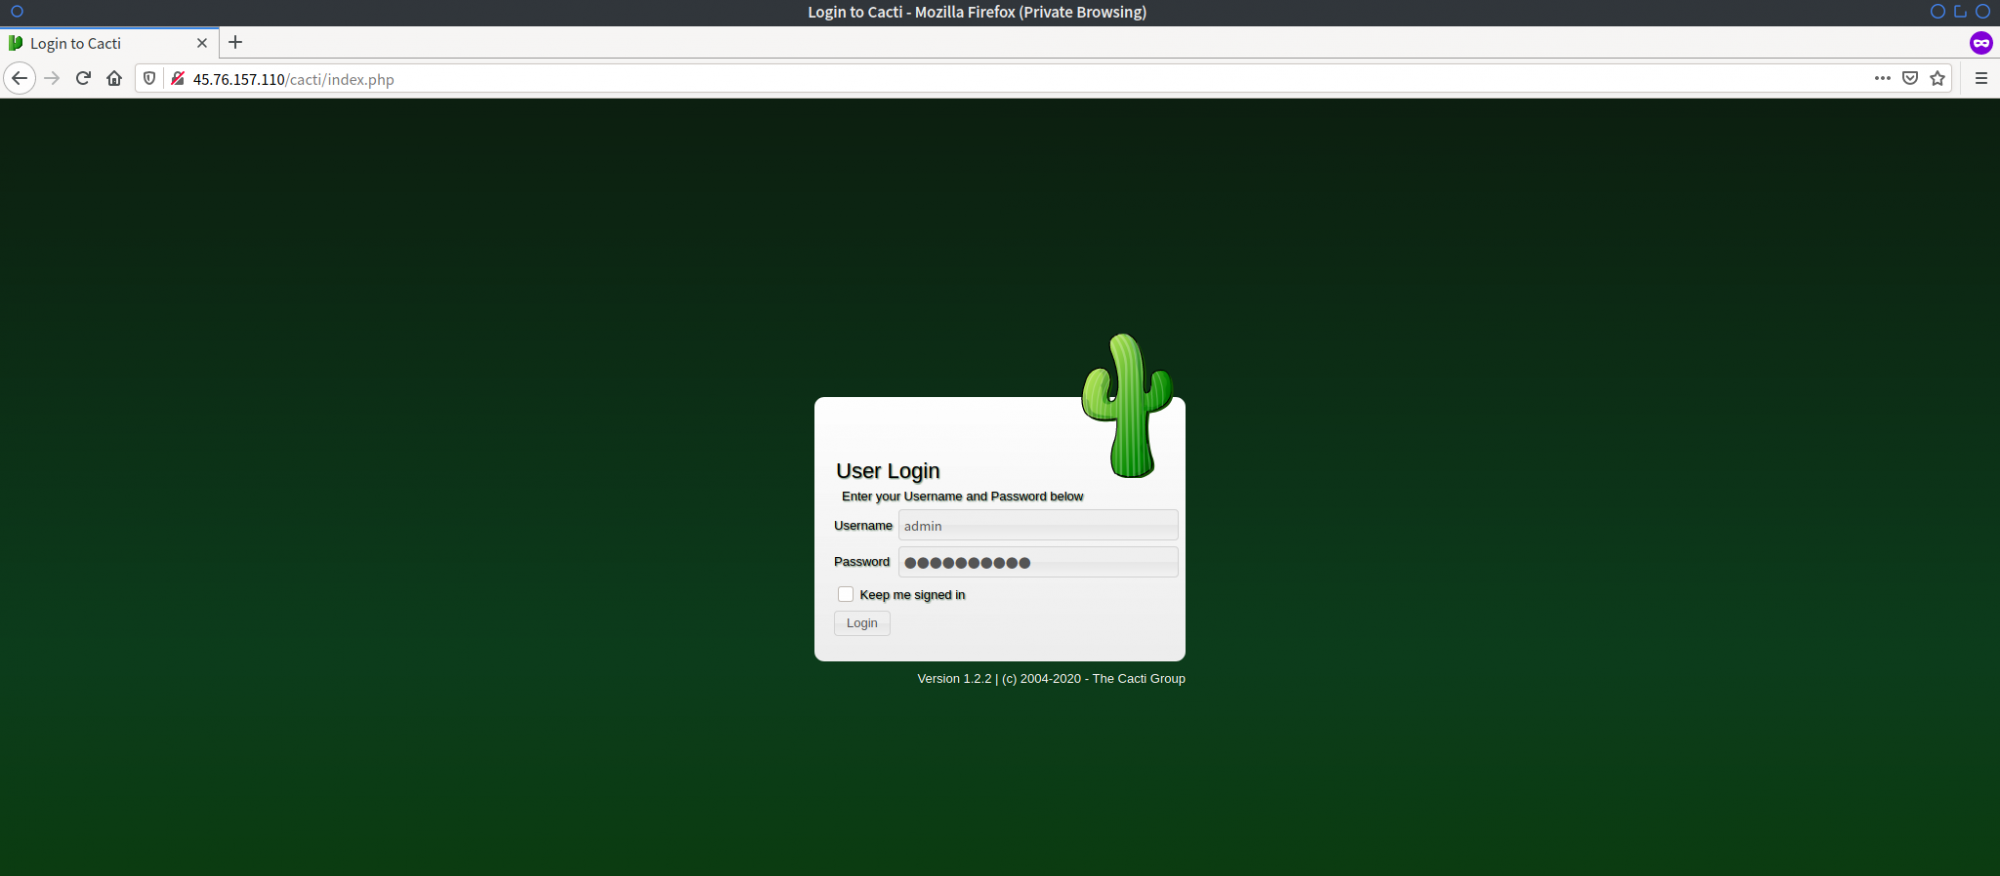
Type the default user 'admin' with the password that you just configured and click the 'Login' button.
Now you will get the Cacti Admin Dashboard as below.
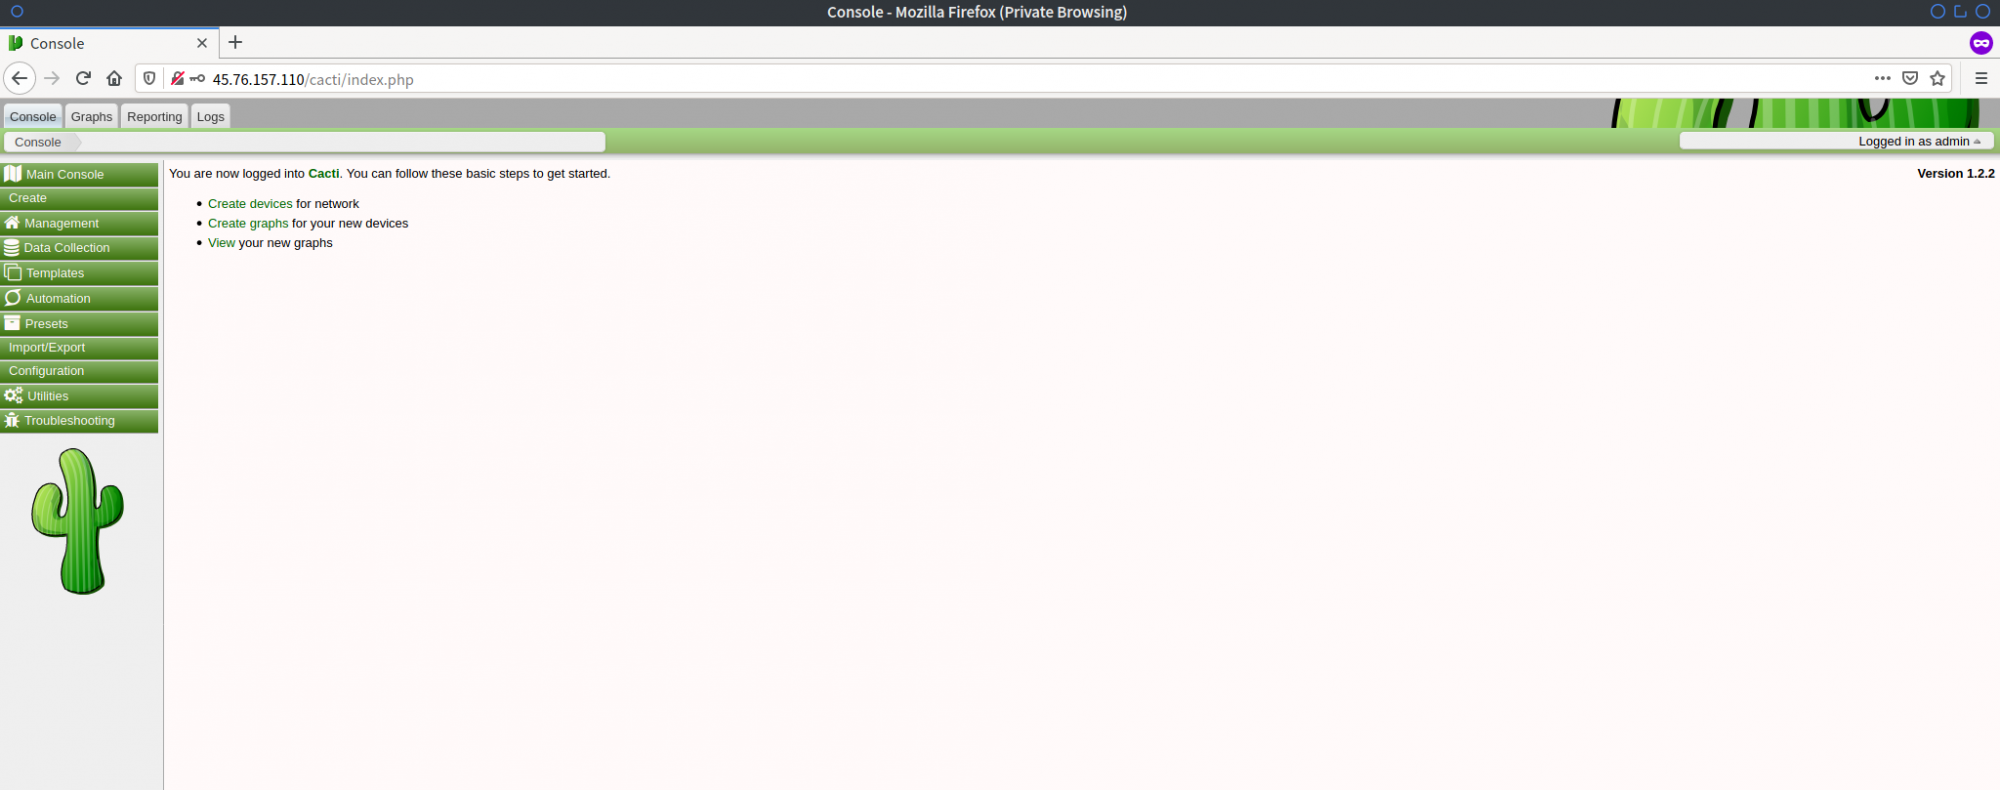
As a result, the installation and configuration of the Cacti Monitoring Tool with the LAMP Stack on the Debian Buster 10 has been completed successfully.

