How To Install Discourse Forum on Ubuntu 20.04 LTS
This tutorial exists for these OS versions
- Ubuntu 20.04 (Focal Fossa)
- Ubuntu 18.04 (Bionic Beaver)
On this page
Discourse is a free and open-source discussion platform designed for creating community discussion forums and mailing lists for your team. It is written in Ember.js and Ruby on Rails, and uses PostgreSQL for database back-end. It is a modern forum solution that powers discussions on thousands of sites to drive user engagement. You can create customizable questions and ideas, and integrate it with popular services.
Discourse offers a rich set of features including, Spam blocking, Dynamic notifications, Social login, Two-factor authentication, Comprehensive API, Powerful moderation, Built-in mobile layout and many more.
In this tutorial, we will learn how to install Discourse forum with Docker on Ubuntu 20.04.
Prerequisites
- A server running Ubuntu 20.04.
- A valid domain name is pointed with your server.
- An SMTP mail server. If you don't have mail server, you can use Gmail SMTP server.
- A root password is configured on your server.
Install Docker
First, you will need to install Docker in your system. By default, the latest version of Docker is available in the Ubuntu 20.04 default repository. You can install it by running the following command:
apt-get install docker.io -y
Once the Docker is installed, start the Docker service and enable it to start at reboot with the following command:
systemctl start docker
systemctl enable docker
Once you are finished, you can proceed to the next step.
Download Discourse
Before starting, create a directory for Discourse. You can create it with the following command:
mkdir /opt/discourse
Next, download the latest version of Discourse from the Git Hub repository with the following command:
git clone https://github.com/discourse/discourse_docker.git /opt/discourse
Next, you will also install net-tools package in your system. You can install it with the following command:
apt-get install net-tools -y
Once the installation is completed, you can proceed to the next step.
Install and Configure Discourse
Now, change the directory to /opt/discourse and run the Discourse setup script using the following command:
cd /opt/discourse
./discourse-setup
You will be asked to provide the hostname of your system as shown below:
Ports 80 and 443 are free for use
'samples/standalone.yml' -> 'containers/app.yml'
Found 4GB of memory and 2 physical CPU cores
setting db_shared_buffers = 1024MB
setting UNICORN_WORKERS = 4
containers/app.yml memory parameters updated.

Hostname for your Discourse? [discourse.linuxbuz.com]: discourse.linuxbuz.com
Provide your valid fully qualified domain name and hit Enter. You will be asked to provide an email address for admin account, SMTP server, SMTP username, SMTP password and email address for Let's Encrypt as shown below:
Checking your domain name . . .
Connection to discourse.linuxbuz.com succeeded.
Email address for admin account(s)? [[email protected],[email protected]]: [email protected]
SMTP server address? [smtp.example.com]: smtp.gmail.com
SMTP port? [587]:
SMTP user name? [[email protected]]: [email protected]
SMTP password? [pa$$word]: vyom@123
Optional email address for Let's Encrypt warnings? (ENTER to skip) [[email protected]]: [email protected]
Provide all the details and hit Enter. You should see the following output:
Does this look right?

Hostname      : discourse.linuxbuz.com
Email         : [email protected]
SMTP address  : smtp.gmail.com
SMTP port     : 587
SMTP username : [email protected]
SMTP password : asdfgsd
Let's Encrypt : [email protected]

ENTER to continue, 'n' to try again, Ctrl+C to exit:
Press Enter to start the installation. Once the installation has been completed, you should see the following output:
Enabling Let's Encrypt
web.ssl.template.yml enabled
letsencrypt.ssl.template.yml enabled

Configuration file at  updated successfully!

Updates successful. Rebuilding in 5 seconds.
Building app
Ensuring launcher is up to date
Fetching origin
Launcher is up-to-date

+ /usr/bin/docker run --shm-size=512m -d --restart=always -e LANG=en_US.UTF-8 -e RAILS_ENV=production -e UNICORN_WORKERS=4 -e UNICORN_SIDEKIQS=1 -e RUBY_GLOBAL_METHOD_CACHE_SIZE=131072 -e RUBY_GC_HEAP_GROWTH_MAX_SLOTS=40000 -e RUBY_GC_HEAP_INIT_SLOTS=400000 -e RUBY_GC_HEAP_OLDOBJECT_LIMIT_FACTOR=1.5 -e DISCOURSE_DB_SOCKET=/var/run/postgresql -e DISCOURSE_DB_HOST= -e DISCOURSE_DB_PORT= -e LETSENCRYPT_DIR=/shared/letsencrypt -e DISCOURSE_HOSTNAME=discourse.linuxbuz.com -e [email protected] -e DISCOURSE_SMTP_ADDRESS=smtp.gmail.com -e DISCOURSE_SMTP_PORT=587 -e [email protected] -e DISCOURSE_SMTP_PASSWORD=asdfgsd -e [email protected] -h ubuntu2004-app -e DOCKER_HOST_IP=172.17.0.1 --name app -t -p 80:80 -p 443:443 -v /var/discourse/shared/standalone:/shared -v /var/discourse/shared/standalone/log/var-log:/var/log --mac-address 02:43:15:82:15:a7 local_discourse/app /sbin/boot
7e303b07344c3643846a03d5c2f758ec67a6aa94b2a6a399bcb2766ccd02b3c2
The above setup script will generate a configuration file called app.yml inside discourse/containers directory. If you want to make any configuration changes, just edit your /opt/discouse/containers/app.yml file and run ./launcher rebuild app to apply the changes.
Access Discourse Web Interface
Now, open your web browser and type the URL https://discourse.linuxbuz.com. You will be redirected to the Discourse registration page:
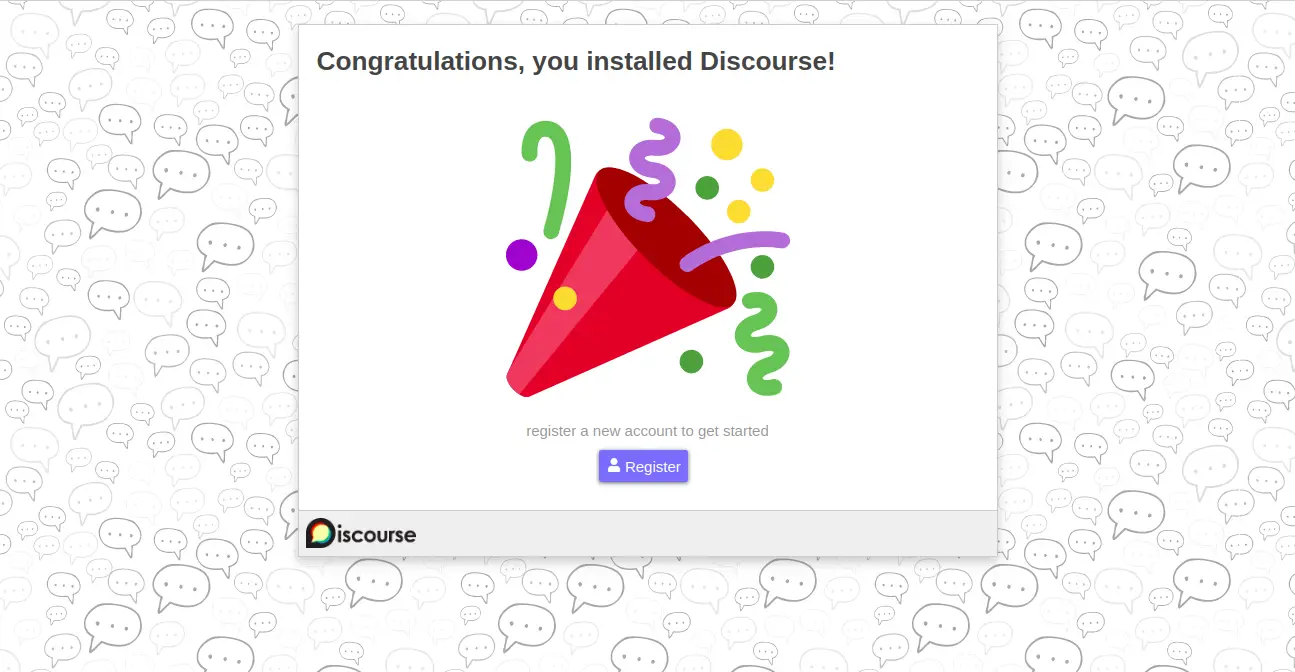
Click on the Register button. You should see the following page:
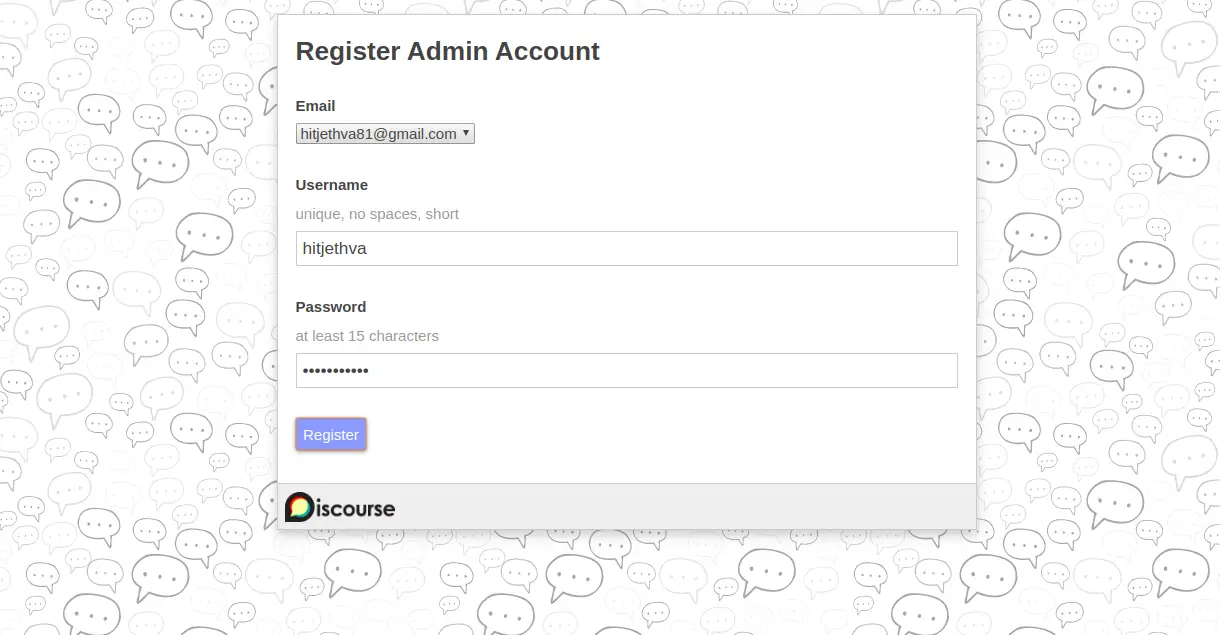
Provide username and password for your admin account and click on the Register button. You should see the following page:
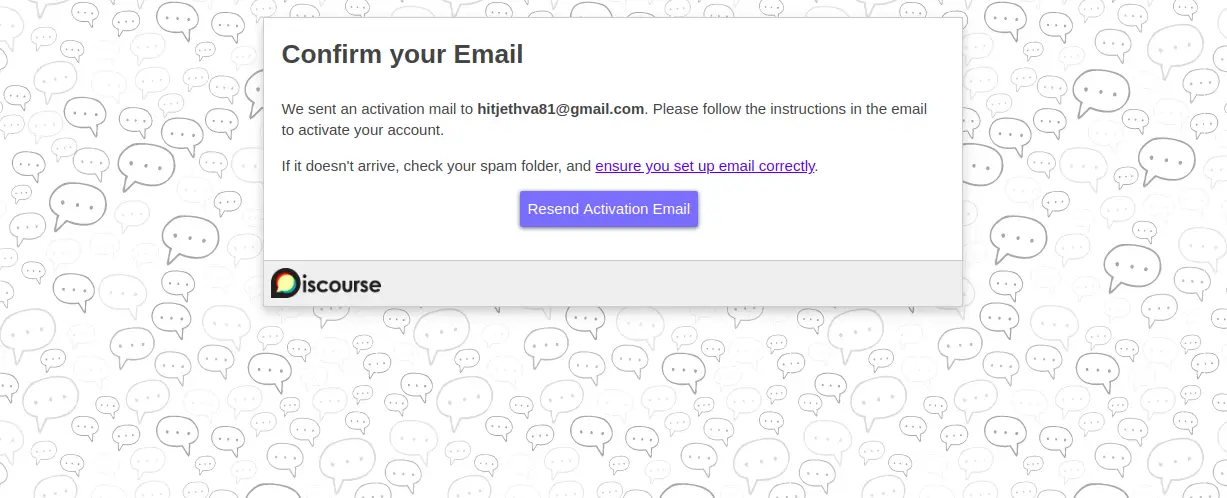
You should receive an email to activate your account.
Conclusion
Congratulations! you have successfully installed Discourse forum with Docker on Ubuntu 20.04 server. I hope you can now easily deploy your own online discussion forum with Discourse. Feel free to ask me if you have any questions.

