How easy is it to build a Marvel search engine with Blazor?
May 21, 2020 · 7 minute read · Tags: blazor
So Blazor WASM has arrived with the promise of enabling us all to build modern web applications using C# instead of javascript.
But just how quickly can you go from dotnet new blazorwasm to something useful/interesting appearing in the browser?
What better way to find out than to take the Marvel Developer API and use it to drive a Blazor WASM character search engine?!
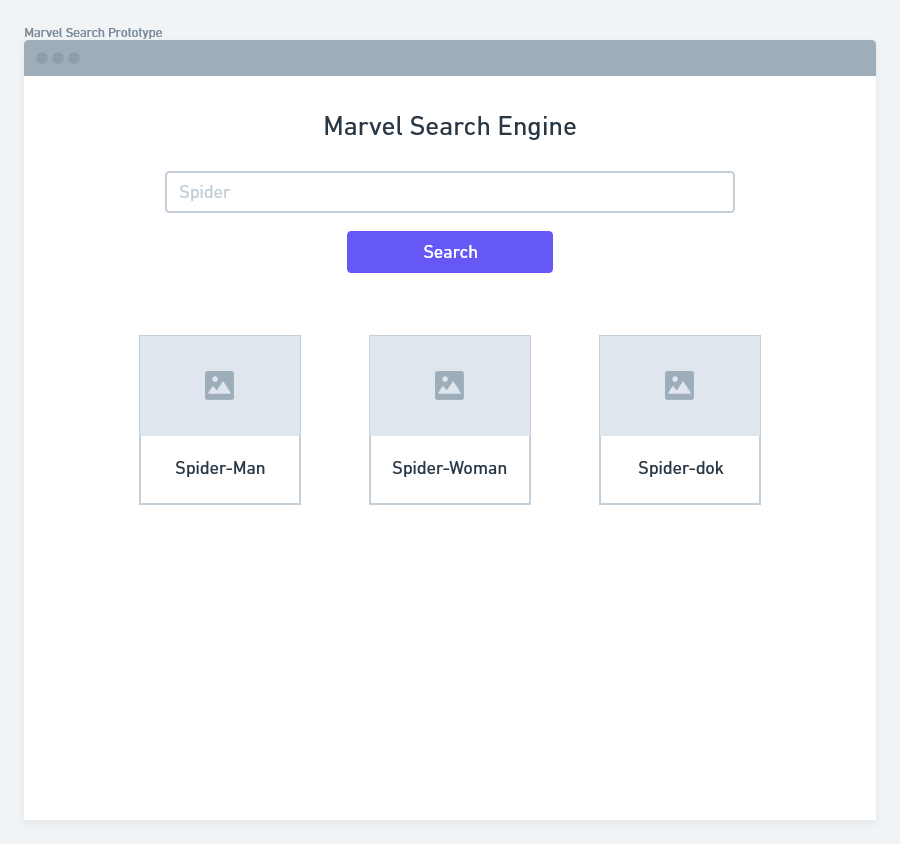
I find it difficult to build anything without visualising it first, so here’s a rough mockup of what I’m aiming for…
Where to start?
I’m using VS Code, but Visual Studio, Jetbrains Rider, even a terminal and text editor will work too!
First we need a project.
dotnet new blazorwasm -o MarvelSearch
Then we can check to ensure it’s working…
cd MarvelSearch
dotnet watch run
Now we should get the familiar Blazor project template (if you’ve seen it once, you’ve seen it a thousand times!)
Let’s get rid of the nav bars etc. so we have a really simple minimal page (think Google home page before they started showing doodles of the day and what not).
By the time I’ve finished ripping out most of markup from Shared/MainLayout.razor I’m left with this.
MainLayout.razor
@inherits LayoutComponentBase

<div class="main">
    <div class="content px-4">
        @Body
    </div>
</div>
I’ve updated Index.razor too.
Index.razor
@page "/"

<h1>Marvel Search Engine</h1>
Which leaves us with this super impressive starting point!
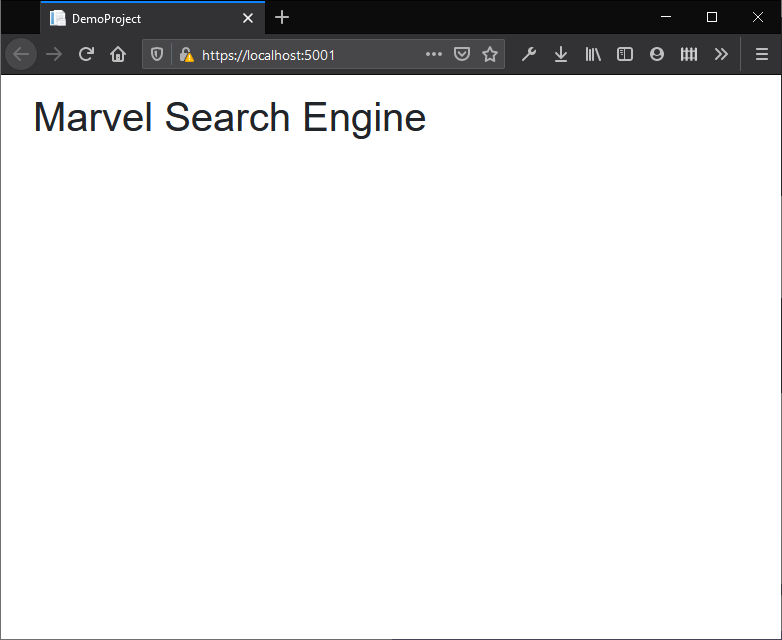
I mean, we’re halfway there right?!
Get the markup right first
Before worrying about APIs and fetching data I’ll focus on the markup for the search input and search results.
Bitter experience has taught me this is the part which can end up taking the longest with any web project (with my CSS skills at least) so probably best to get it out of the way first.
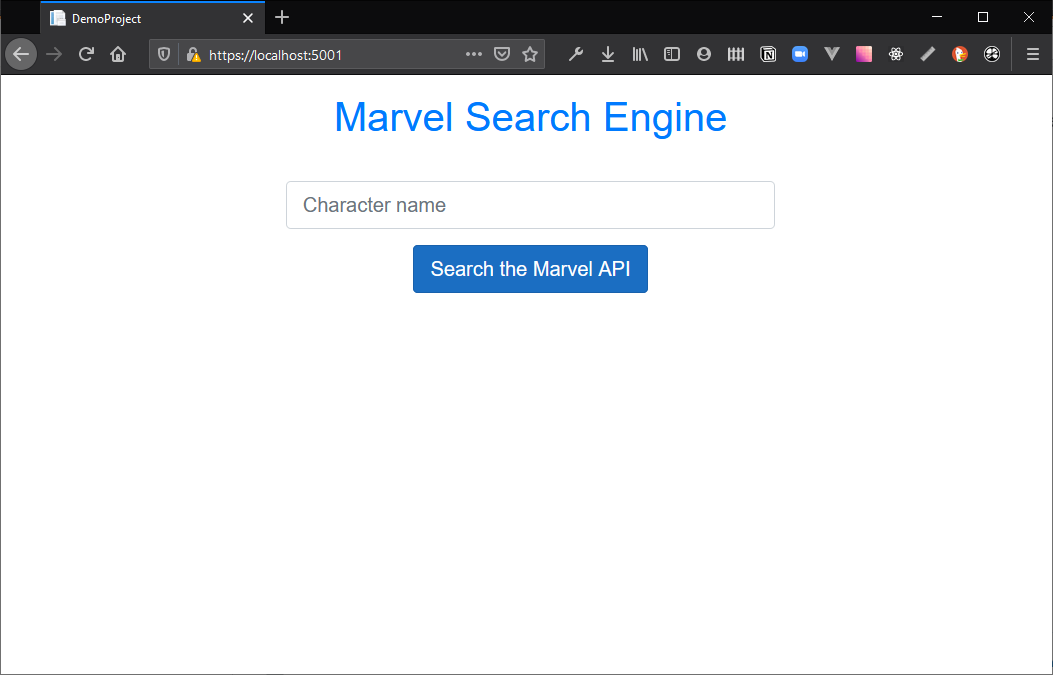
After a little bit of tinkering, I can get to a form that looks close(ish) to my mockup…
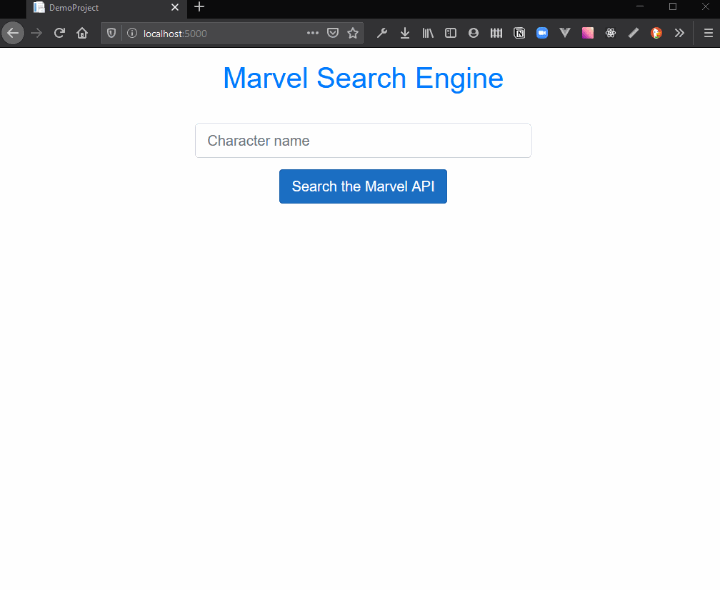
Index.razor
@page "/"

<h1 class="text-center text-primary">Marvel Search Engine</h1>

<div class="text-center">
    <div class="p-2">
        <input class="form-control form-control-lg w-50 mx-auto mt-4" placeholder="Character name"/>
    </div>
    <div class="p-2">
        <button class="btn btn-primary btn-lg">Search the Marvel API</button>
    </div>
</div>
So far I’m just building everything in Index.razor.
Blazor is all about components, so it will likely make sense to start pulling some of this markup out into separate components soon.
However, at this stage where we’re just prototyping, it’s quicker and easier to pull the markup around and try things out if we keep it all in one place. Then when we’re happy with it Blazor makes it trivial to pull sections of the UI out into their own components.
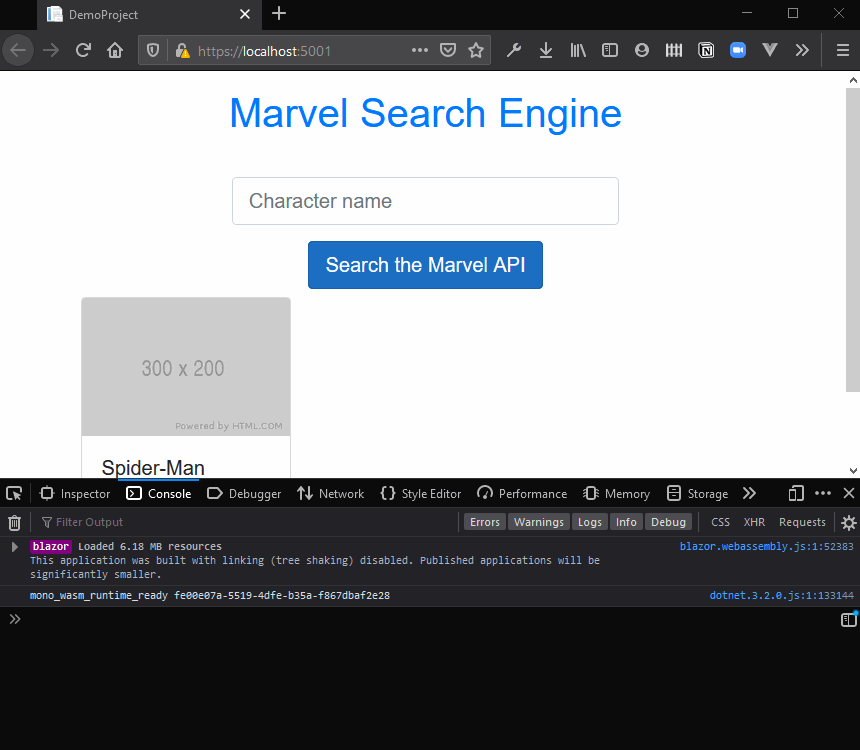
Now to tackle the search result “cards”.
Bootstrap has a super handy card component for exactly this sort of thing!
<div class="container">
    <div class="row row-cols-1 row-cols-md-2 row-cols-lg-3">
        <div class="col mb-4">
            <div class="card">
                <img src="https://via.placeholder.com/300x200"
                     class="card-img-top">
                <div class="card-body">
                    <h5 class="card-title">Spider-Man</h5>
                    <p class="card-text">
                        Very spidery
                    </p>
                </div>
            </div>
        </div>
    </div>
</div>
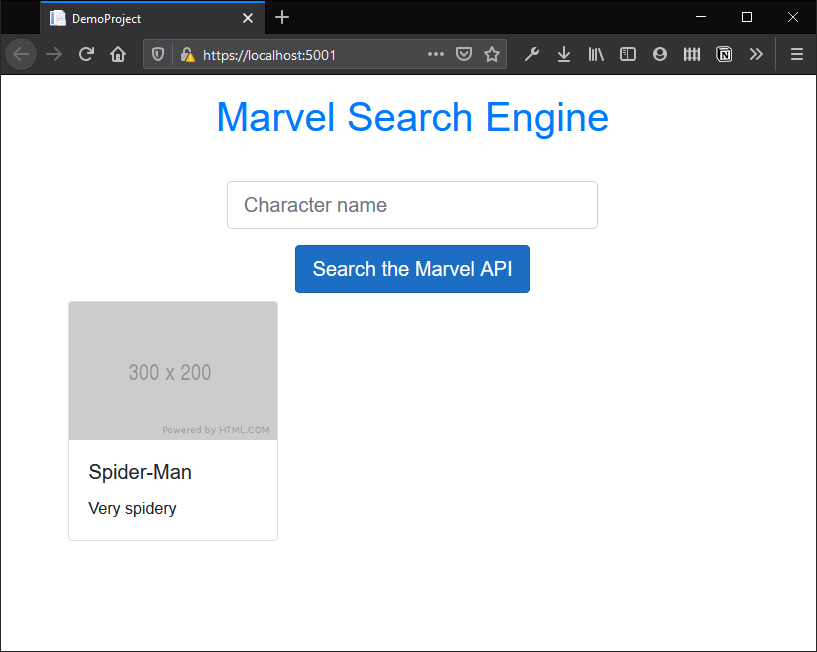
Looks like we have a reasonable first version of the UI. So far this has been all CSS and HTML but now the fun bit; we get to write C# Blazor code.
Accept user input
I want to grab whatever the user types into the character search box, then wire up the submit button to a handler (ready to make the Marvel API call).
For this we need to do two things:
- Bind the value of the Character Search input to a field
- Wire up an event handler for the search button
Index.razor
<div class="text-center">
    <div class="p-2">
        <input class="form-control form-control-lg w-50 mx-auto mt-4" placeholder="Character name" @bind-value="_searchTerm"/>
    </div>
    <div class="p-2">
        <button class="btn btn-primary btn-lg" @onclick="HandleSearch">Search the Marvel API</button>
    </div>
</div>
Now our markup expects a string field called _searchTerm and a method called HandleSearch.
We can add these in a @code block in Index.razor.
@code
{
    private string _searchTerm;

    private async Task HandleSearch()
    {
        Console.WriteLine(_searchTerm);
    }
}
It turns out, Console.WriteLine does exactly what you’d hope in an application running in the browser; writes to the Developer Tools console.
So now we know we can grab the search term entered by the user.
Hello Marvel
A quick visit to the Marvel Developer portal and a form or two later, I have a public API key I can use to search the Marvel database.
Their interactive API tester has also given me the precise URL I need to use to search for Marvel characters whose name begins with a search term…
https://gateway.marvel.com:443/v1/public/characters?nameStartsWith=spider&apikey=<my-public-api-key>
Now I just need a way to make this call from @code in Index.razor.
Tweak the default HttpClient
Blazor WASM projects come with an HttpClient pre-configured to use a base address of the current web site.
You’ll find the code for this in Program.cs
builder.Services.AddTransient(sp => new HttpClient {
    BaseAddress = new Uri(builder.HostEnvironment.BaseAddress)
});
This would make all our API calls default to the address of the site (localhost:5000 in this case) so we’ll need to update that to point to the Marvel API.
builder.Services.AddTransient(sp => new HttpClient {
    BaseAddress = new Uri("https://gateway.marvel.com:443/v1/public/")
});
Inject HttpClient into our component
We can use dependency injection to inject HttpClient into the Index component.
@page "/"
@inject HttpClient HttpClient
Then call it in HandleSearch.
    private MarvelSearchResult _searchResponse;

    private async Task HandleSearch()
    {
        var url = $"characters?nameStartsWith={_searchTerm}&apikey=<your-key-here>";

        _searchResponse = await HttpClient
            .GetFromJsonAsync<MarvelSearchResult>(url, new JsonSerializerOptions
            {
                PropertyNamingPolicy = JsonNamingPolicy.CamelCase
            });
    }
I’ve also added a _searchResponse field to store the results.
MarvelSearchResult is a standard C# class we can use to deserialise the result of the Marvel call.
public class MarvelSearchResult
    {
        public string AttributionText { get; set; }
        public Datawrapper Data { get; set; }

        public class Datawrapper
        {
            public List<Result> Results { get; set; }
        }

        public class Result
        {
            public int Id { get; set; }
            public string Name { get; set; }
            public string Description { get; set; }
            public Image Thumbnail { get; set; }

            public class Image
            {
                public string Path { get; set; }
                public string Extension { get; set; }
            }
        }
    }
I’ve simplified this, omitting most of the details the Marvel API call returns, keeping just the parts I want to show in the UI.
Show data in the markup
We’re almost there; time to render the results.
When this component first loads, _searchResponse will be null, so we’ll want to add a defensive check…
@if (_searchResponse != null)
{

}
Then we can show the attribution text (you know, for legal reasons!)
<p class="text-center">@_searchResponse.AttributionText</p>
Finally we can loop over the search results and bind the details we want to show.
@foreach (var result in _searchResponse.Data.Results){

}
Pulling everything together we get this:
Index.razor
@if (_searchResponse != null)
{
    <p class="text-center">@_searchResponse.AttributionText</p>

    <div class="container">
        <div class="row row-cols-1 row-cols-md-2 row-cols-lg-3">
            @foreach (var result in _searchResponse.Data.Results)
            {
                <div class="col mb-4">
                    <div class="card h-100">
                        <img src="@($"{result.Thumbnail.Path}.{result.Thumbnail.Extension}")"
                             class="card-img-top"
                             style="object-fit: cover; height: 300px">
                        <div class="card-body">
                            <h5 class="card-title">@result.Name</h5>
                            <p class="card-text">
                                @result.Description
                            </p>
                        </div>
                    </div>
                </div>
            }
        </div>
    </div>
}
Note I made a few tweaks to the img element.
 <img src="@($"{result.Thumbnail.Path}.{result.Thumbnail.Extension}")"
                             class="card-img-top"
                             style="object-fit: cover; height: 300px">
For some reason the Marvel API returns the image path in two parts (path and extension) so this puts the two together with a period between them.
I also added a teeny tiny bit of inline styling just to make the images stay the same height even as we move between different screen sizes etc.
The final result
We have a working Marvel Search Engine!
Now there’s plenty we could do from here to make this more useful, but it’s a pretty good start.
It’s worth noting I spent much (much) more time fiddling with the CSS to make this look right than I did wiring up the API call and binding the results using Blazor!
Here’s a quick recap of the entire process, from start to finish:
- Start with a mockup
- Build up the HTML (to get the rough look and feel)
- Configure HttpClient’s base address in
Program.cs - Use HttpClient to call an API (from your component)
- Use defensive
ifchecks to protect against null data (before the API call returns)
With that, we’ve learned that building web applications with Blazor WASM is really quite fast…
… and CSS is still hard!