How to Install Ruby on Rails (RoR) on Debian 10
This tutorial exists for these OS versions
- Debian 12 (Bookworm)
- Debian 11 (Bullseye)
- Debian 10 (Buster)
On this page
Ruby on Rails (RoR) is an open-source web application framework, published under the MIT License. It is a server-side web application framework that follows the MVC (Model-View-Controller) concept.
Rails are providing default structures for the database, web service, and web pages. More than 3000 developers have contributed code to the Rails framework and there are many well-known applications based on Rails, such as Github, Airbnb, Soundcloud, etc.
In this tutorial, we will show you how to install Ruby on Rails on the Debian Buster 10. This guide will cover the RVM (Ruby Version Manager) installation, PostgreSQL database installation, and creating the simple CRUD application with Ruby on Rails and using PostgreSQL as the backend database.
Prerequisites
For this guide, we will use the latest Debian Buster 10 with 2GB of RAM and 25GB free disk space and 2 CPUs.
What we will do?
- Install RVM (Ruby Version Manager)
- Install Ruby with RVM
- Install Nodejs and Yarn
- Upgrade RubyGem (Ruby Package Manager)
- Install Ruby on Rails Stable
- Install and Configure PostgreSQL Database
- Starting Project with Ruby on Rails
Step 1 - Install RVM (Ruby Version Manager)
First, we will install the RVM (Ruby Version Manager) to our Debian Server. The RVM will make you easy to install and manage Ruby on your system, especially when you use multiple Ruby versions.
Before going any further, install the gnupg2 package using the apt command below.
sudo apt install gnupg2
Next, import the GPGP key for the RVM package using the gpg command below.
gpg --keyserver hkp://pool.sks-keyservers.net --recv-keys 409B6B1796C275462A1703113804BB82D39DC0E3 7D2BAF1CF37B13E2.69D6956105BD0E739499BDB
Download the RVM installer script and install it using the command below.
curl -sSL https://get.rvm.io | bash -s stable --ruby
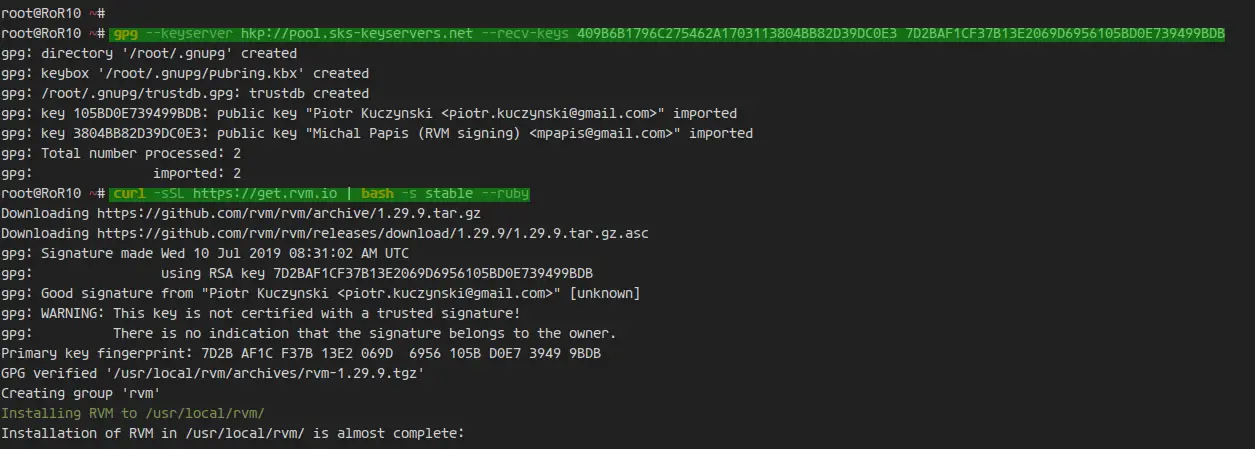
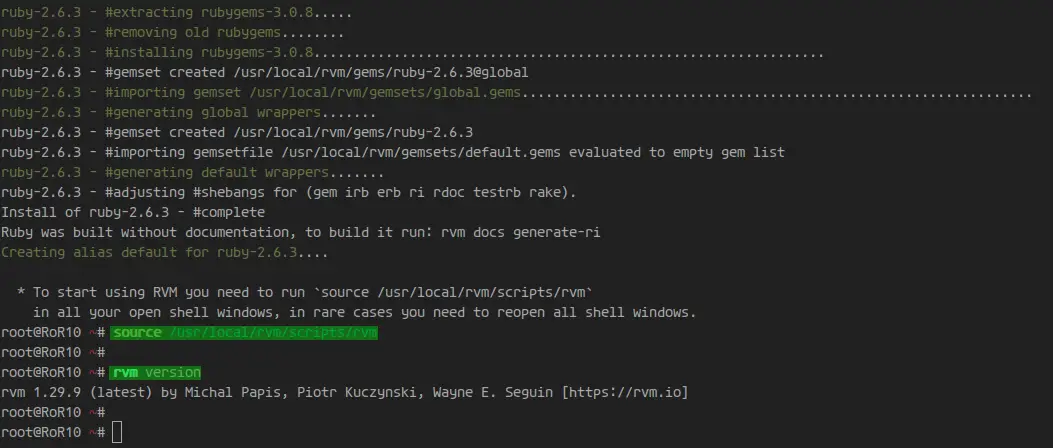
Once the installation is complete, load the RVM to the Debian system.
source /usr/local/rvm/scripts/rvm
And the Ruby Version Manager has been installed to the Debian 10 system, check it using the 'rvm' command below.
rvm version
As a result, the RVM (Ruby Version Manager) xxx has been installed on the Debian Buster 10.
Step 2 - Install Ruby with RVM
In this step, we will upgrade the RVM package to the latest version and install the latest stable version of Ruby, and make it as default Ruby version on our system.
Upgrade the RVM to the latest stable version using the command below.
rvm get stable --autolibs=enable
After that, add the 'root' user to the 'rvm' group. In effect, the root user will be able to run the rvm command.
usermod -a -G rvm root
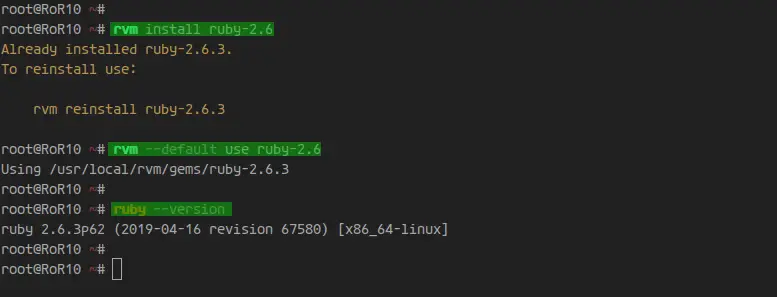
Next, install the latest stable version 'Ruby 2.6' using the rvm command below.
rvm install ruby-2.6
Once the installation is complete, make the Ruby 2.6 as a default Ruby version on the Debian system.
rvm --default use ruby-2.6
Now check the installed version of Ruby using the command below.
ruby --version
As a result, the latest stable version of 'Ruby 2.6' has been installed through the RVM and it's used as default Ruby on the Debian 10 system.
Step 3 - Install Nodejs and Yarn
In this step, we will install the Nodejs and Yarn to the Debian system. It will be used by Rails for processing the JavaScript files.
First, install the Development Tools to the Debian system using the apt command below.
sudo apt install gcc g++ make
After that, add the Nodesource repository for Nodejs 12.
curl -sL https://deb.nodesource.com/setup_12.x | bash -
Then add the Yarn GPG key and repository.
curl -sL https://dl.yarnpkg.com/debian/pubkey.gpg | sudo apt-key add -
echo "deb https://dl.yarnpkg.com/debian/ stable main" | sudo tee /etc/apt/sources.list.d/yarn.list
Update and refresh all repositories and install NodeJS and Yarn using the apt command below.
sudo apt update
sudo apt install -y nodejs yarn
Once the installation is complete, check using the command below.
node --version
yarn --version
As a result, the Nodejs JavaScript Runtime and Yarn package manager has been installed on the Debian Buster 10.

Step 4 - Upgrade RubyGem (Ruby Package Manager)
RubyGems is a Ruby Package Manager, coming with the gem command-line tool and automatically installed when we install Ruby on the system. For this step, we will upgrade the RubyGem to the latest version.
Upgrade RubyGem using the command below.
gem update --system
Once it's complete, check the gem version using the command below.
gem -v
As a result, the RubyGem has been upgraded to the latest version.
Optionally:
The RubyGem is a package manager for installing Ruby packages. It will install the Ruby packages and it's documentation.
To make Ruby packages installation small, you can disable the installation of Ruby package documentation through the RubyGem configuration.
Add/create the gem option on the ~/.gemrc configuration as below.
echo "gem: --no-document" >> ~/.gemrc
As a result, the RubyGem will only install the core package of Ruby packages, without the documentations.
Step 5 - Install Ruby on Rails Stable
In this step, we will install the Ruby on Rails to the Debian system. We will install the latest version of Ruby on Rails v6.0.2.1.
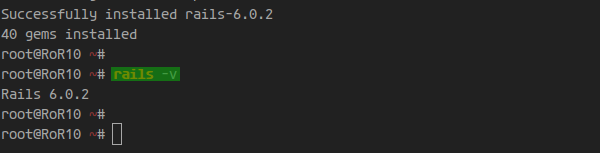
Install Ruby on Rails using the RubyGem command as below.
gem install rails -v 6.0.2
Once the installation is complete, check the rails command as below.
rails -v
As a result, the Ruby on Rails 6.0.2.1 has been installed on the Debian Buster 10. And you're ready to start a new Application using Rails.
Step 6 - Install and Configure PostgreSQL Database
For this tutorial, we will use PostgreSQL as the backend database for Ruby on Rails.
Install PostgreSQL to the Debian system using the apt command below.
sudo apt install postgresql postgresql-contrib libpq-dev -y
Once the installation is complete, start the PostgreSQL service and add it to the system boot.
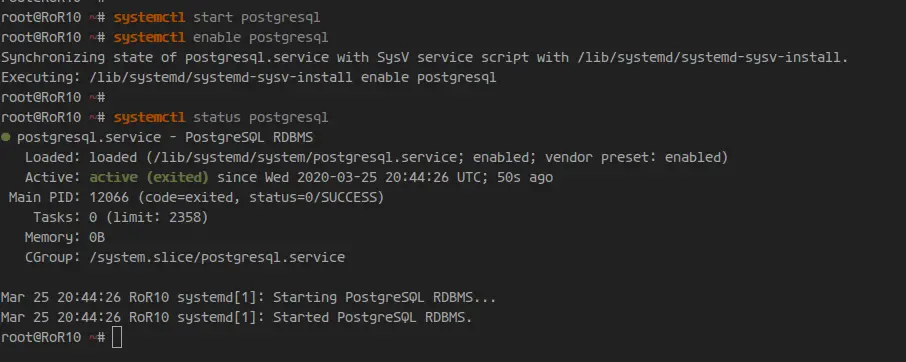
systemctl start postgresql
systemctl enable postgresql
The PostgreSQL service is up and running.
Next, log in to the PostgreSQL shell using the command below.
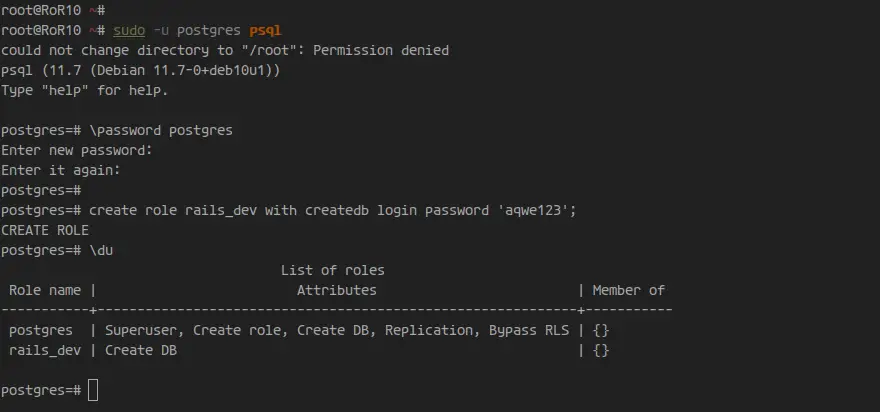
sudo -i -u postgres psql
Change the password for default PostgreSQL user 'postgres'.
\password postgres
Type the new password for the 'postgres' user.
Next, create a new PostgreSQL role named 'rails_dev' with the 'CreateDB' privilege and the password 'aqwe123' using the PostgreSQL query below.
create role rails_dev with createdb login password 'aqwe123';
The 'createdb' privileges will allow the 'rails_dev' user to create a new database for the Ruby on Rails project.
Now all available users on the PostgreSQL using the command below.
\du
You will get the 'rails_dev' user with the privileges of 'CreateDB' for creating databases.
Type 'exit' to log out from the PostgreSQL shell.
As a result, you've installed the PostgreSQL database on the Debian buster 10. Also, you've created a new PostgreSQL role 'rails_dev' with the 'CreateDB' privilege for the 'Ruby on Rails' project.
Step 7 - Starting Project with Ruby on Rails
In this step, we will create a new simple CRUD project using the Ruby on Rails with PostgreSQL as the backend database.
Start Rails Project with PostgreSQL
First, start a new project named 'myapp' using the rails command below.
rails new myapp -d postgresql
It will generate the project directory named 'myapp' with the PostgreSQL as the backend database.
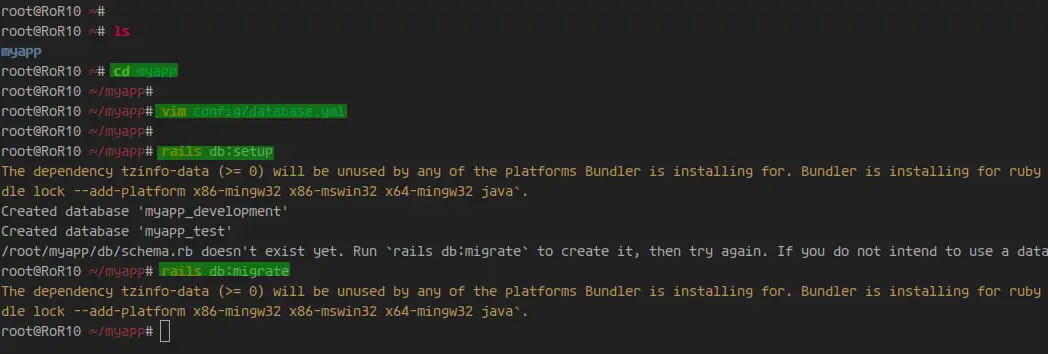
Now go to the 'myapp' directory and edit the database configuration 'config/database.yml'.
cd myapp/
vim config/database.yml
On the 'Development' section, add the PostgreSQL details configuration below.
  username: rails_dev
  password: aqwe123
  host: localhost
  port: 5432
On the 'Testing' section, add the PostgreSQL details configuration below.
  host: localhost
  port: 5432
  username: rails_dev
  password: aqwe123
Save and close.
Next, generate the PostgreSQL database scheme and make sure there is no error.
rails db:setup
rails db:migrate
When all is finished, start the puma rails web server using the command below.
rails s -b 149.28.140.6 -p 8080
The Ruby on Rails project is up and running on port '8080'.
Open your web browser and type the server IP address with port '8080'.
http://10.5.5.31:8080/
You will get the default index.html page of Rails project. Also, it will detect your Rails deployment environment.
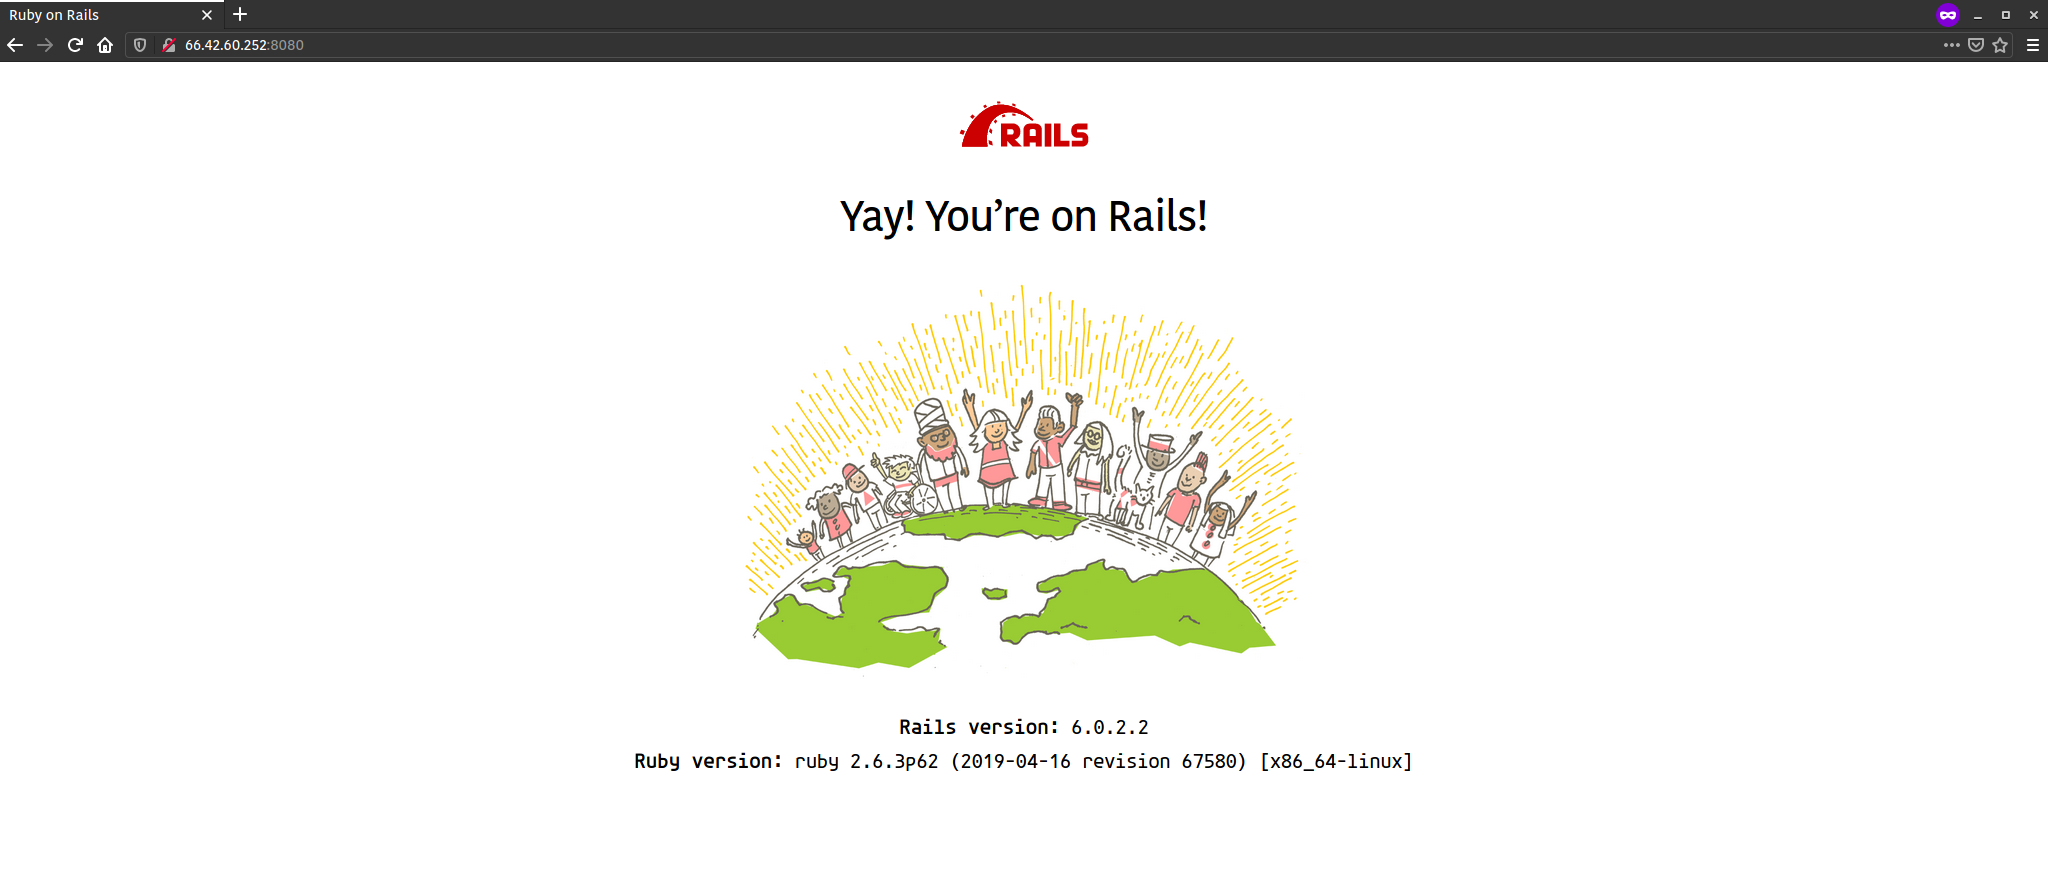
As a result, you've created a new project with Ruby on Rails with PostgreSQL as the database backend.
Create Simple CRUD app
Next, we will generate the simple CRUD on our project 'myapp'.
Generate CRUD on Ruby on Rails using the command below.
rails g scaffold Post title:string body:text
rake db:migrate

Start the rails project using the command below.
rails s -b 192.168.1.10 -p 8080
Back to your web browser and check your rails project with the URL below.
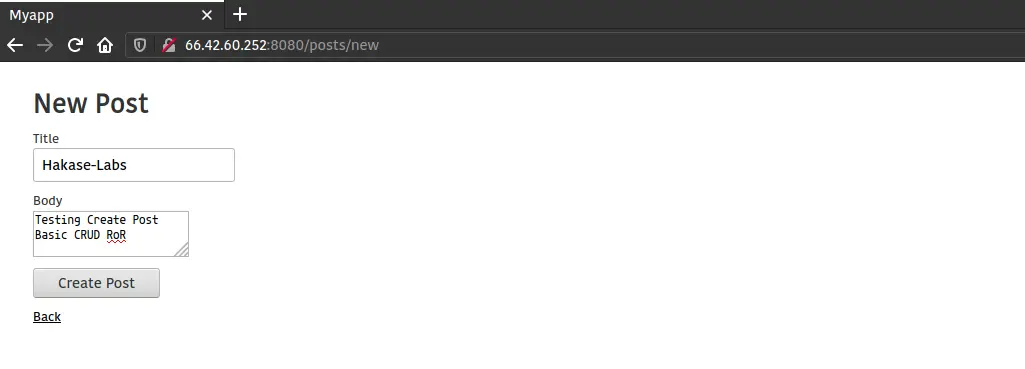
http://10.5.5.31:8080/posts/
Now you will get the simple CRUD application as below.
Below is the result after creating a sample post.
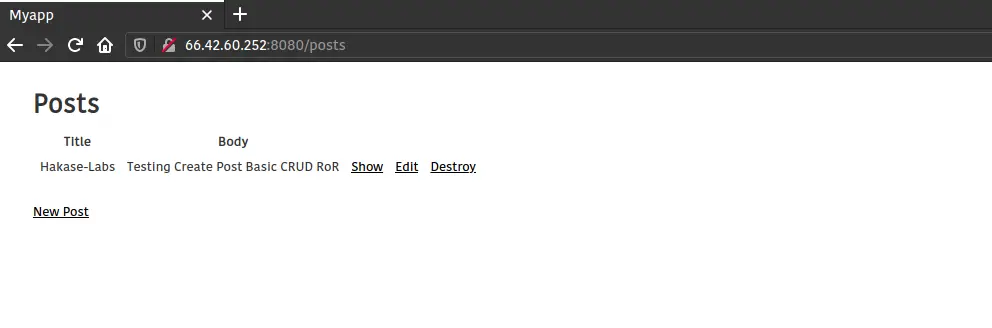
Finally, the installation of Ruby on Rails with the PostgreSQL database on the Debian Buster 10 has been completed successfully.

