How to setup Apache Tomcat cluster with 3 Nodes on Ubuntu
In this article, we will see how to set up a cluster of Apache Tomcat servers. We will be using 3 Ubuntu 18.04 EC2 Instances or VMs, here I have used EC2 instances. We will also see the steps to install Java since Apache Tomcat requires Java.
The following are the details of my cluster.
Cluster Details:
- Node1: Base Directory = /root/tomcat1, IP = 172.31.35.11
- Node2: Base Directory = /root/tomcat2, IP = 172.31.39.120
- Node3: Base Directory = /root/tomcat3, IP = 172.31.32.185
Pre-requisites
- AWS Account (Create if you don’t have one and want to create a cluster on EC2 Instances) (Optional).
- 3 EC2 Instances (Click here to learn to create an EC2 Instance) OR 3 VMs with Ubuntu 18.04 LTS on them.
- Root access to the servers.
What we will do
- Download Apache Tomcat
- Install Java8
- Configure Apache Tomcat Cluster
- Start/Stop Apache Tomcat
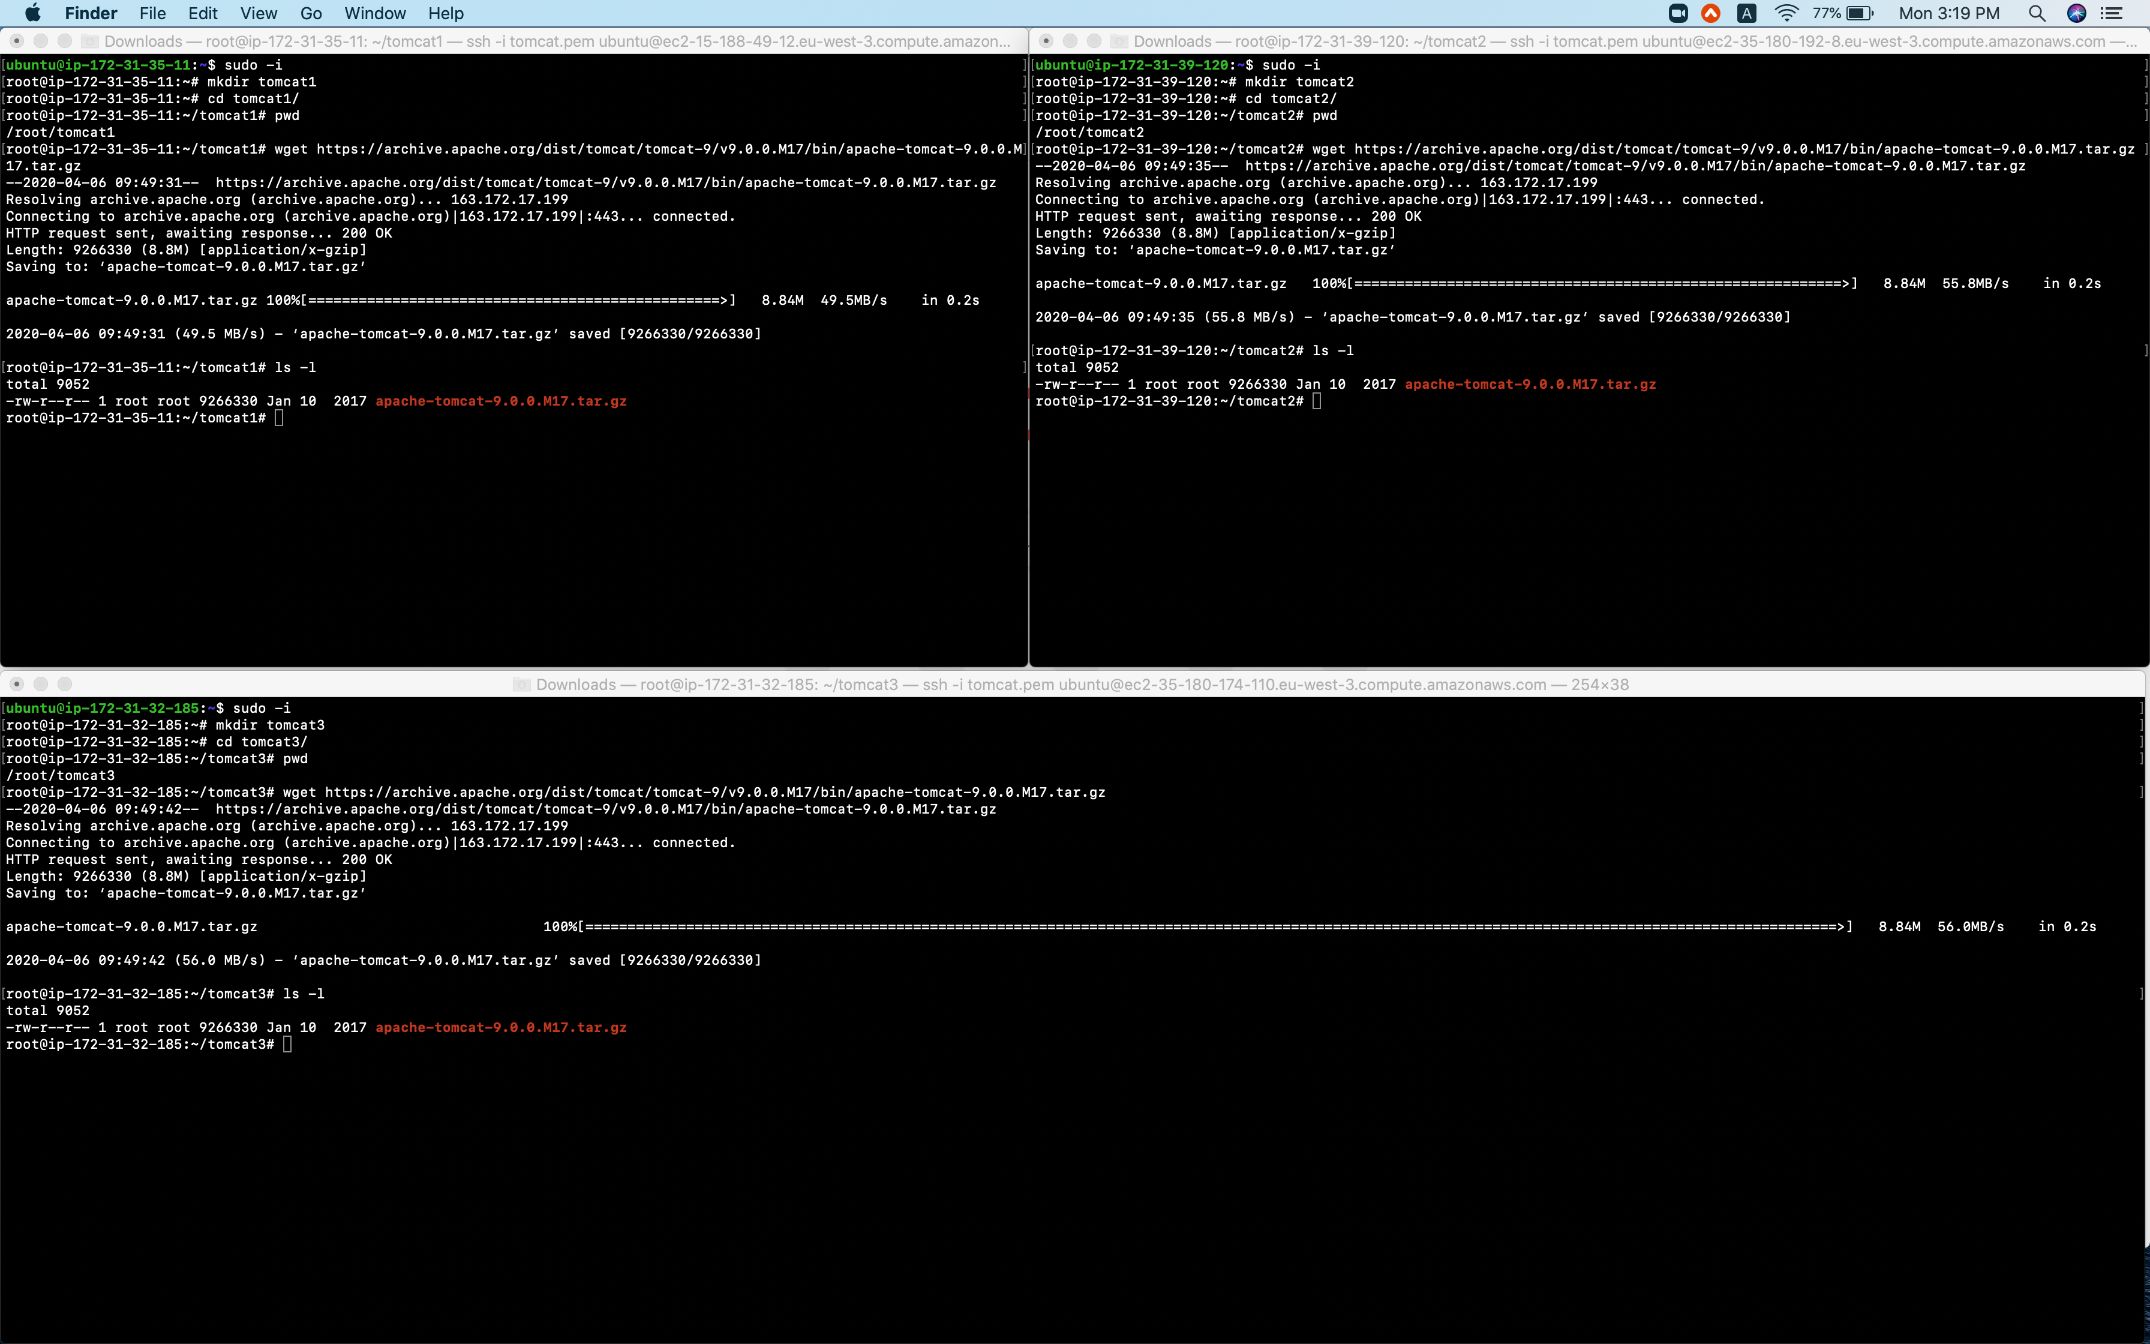
Download Apache Tomcat
Change to "root" user to avoid permission errors. But it is not recommended to use "root" user on Production Environments.
sudo -i
Create a directory. Here we will store Apache Tomcat Package.
mkdir tomcat1 #On Node2 mkdir tomcat2, On Node3 mkdir tomcat3
cd tomcat1/ #On Node2 cd tomcat2/, On Node3 cd tomcat3/
Download and Extract Apache-Tomcat-9.0.0.M17 or you can download a version of your choice from here.
#On each Node
wget https://archive.apache.org/dist/tomcat/tomcat-9/v9.0.0.M17/bin/apache-tomcat-9.0.0.M17.tar.gz #Download
tar -zxvf apache-tomcat-9.0.0.M17.tar.gz #Extract
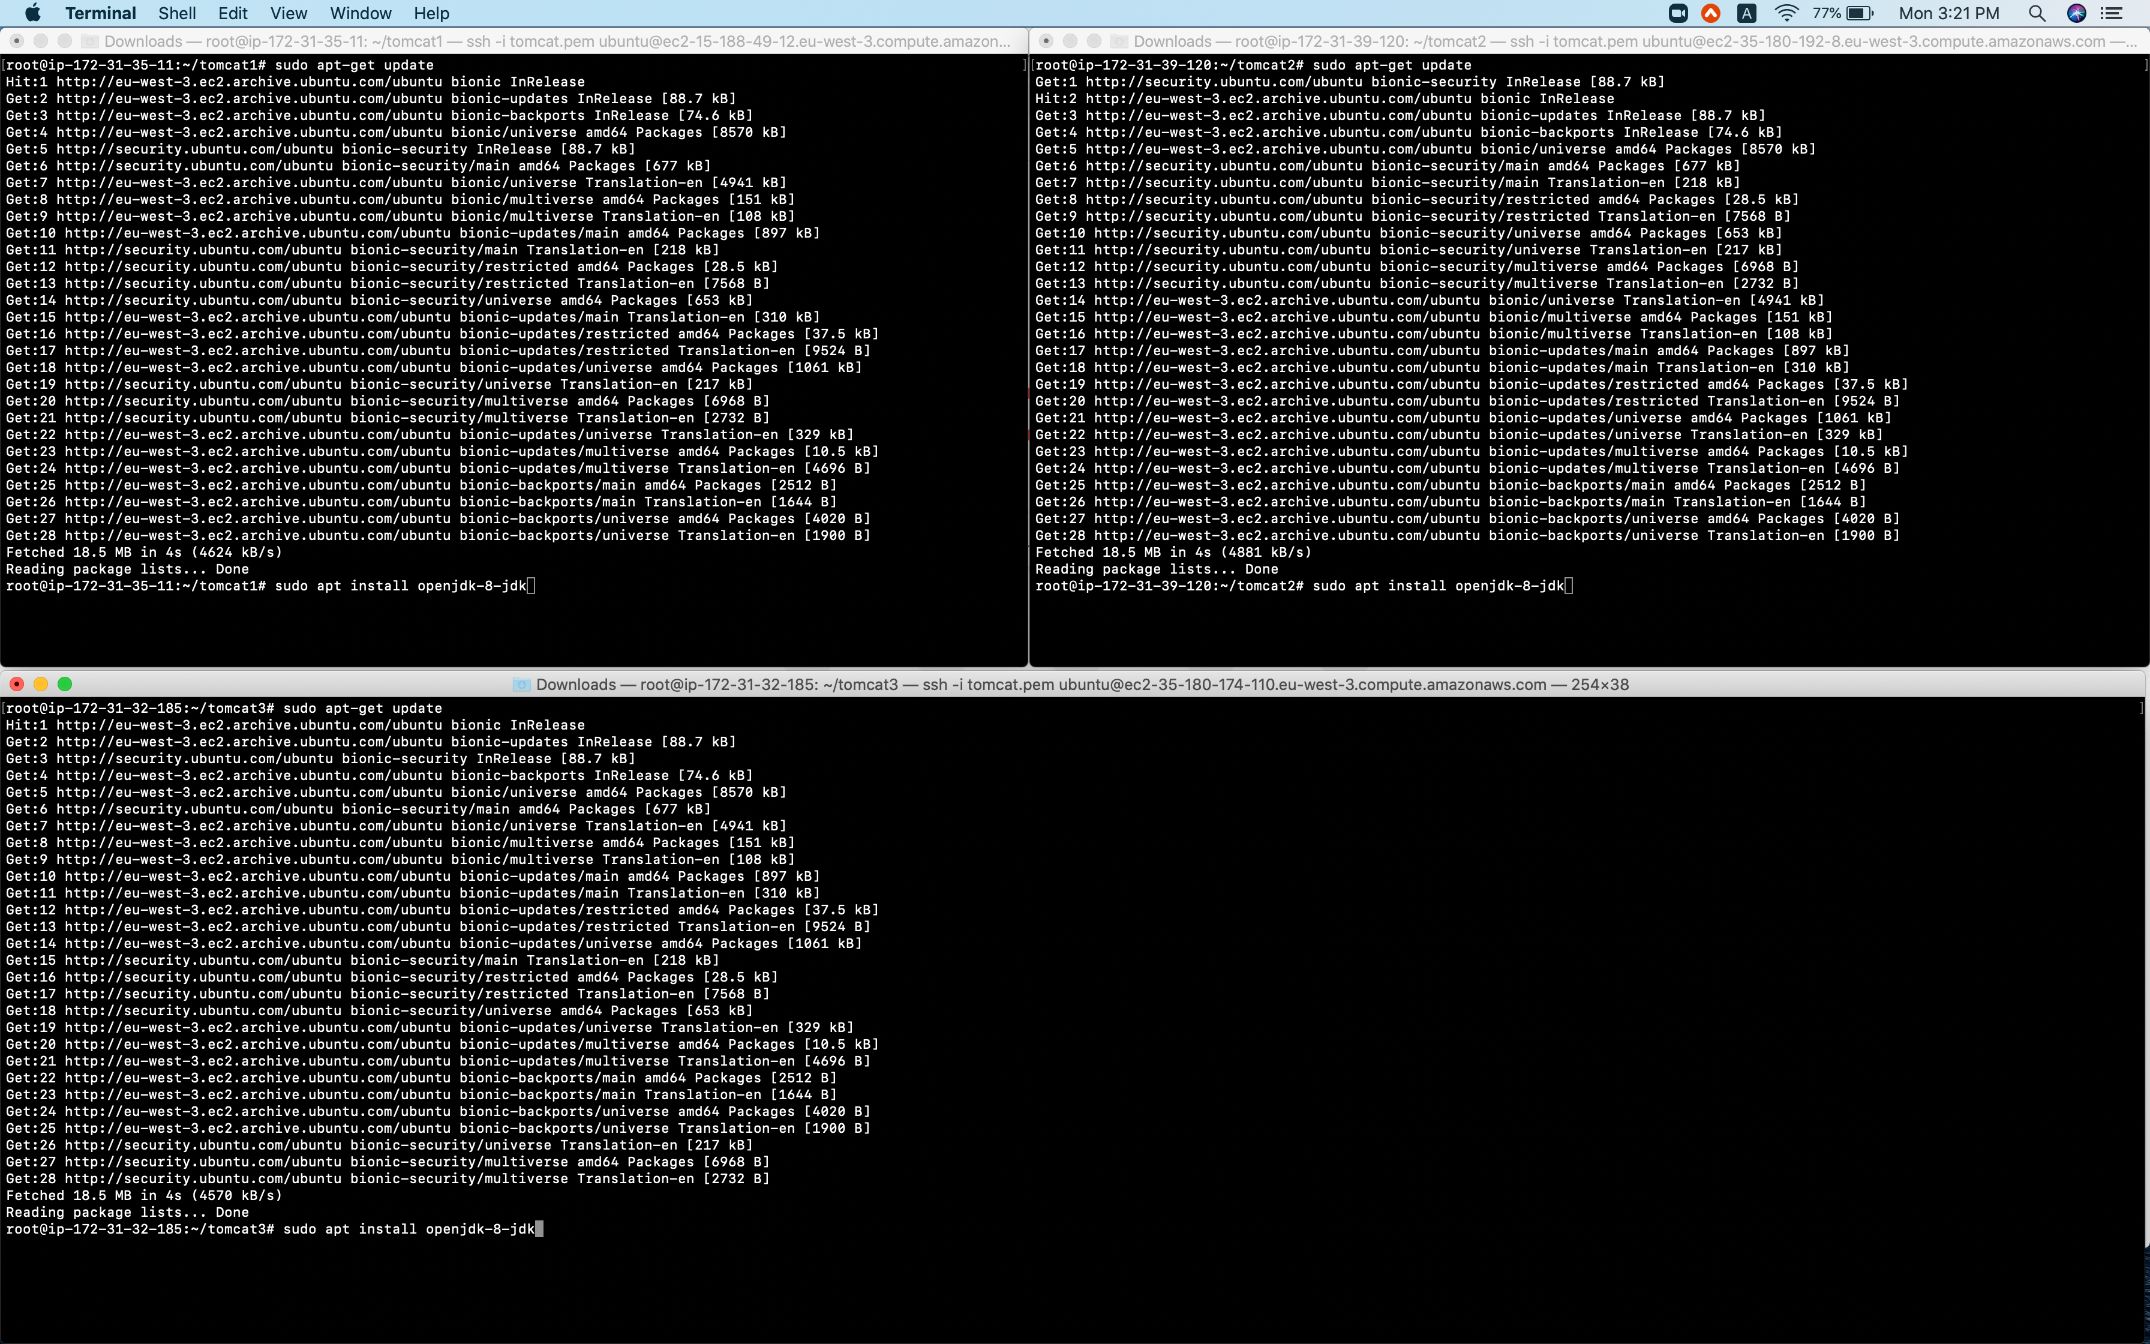
Install Java 8
#On each node
sudo apt-get update #Update System Package Details
sudo apt install openjdk-8-jdk #Install Java
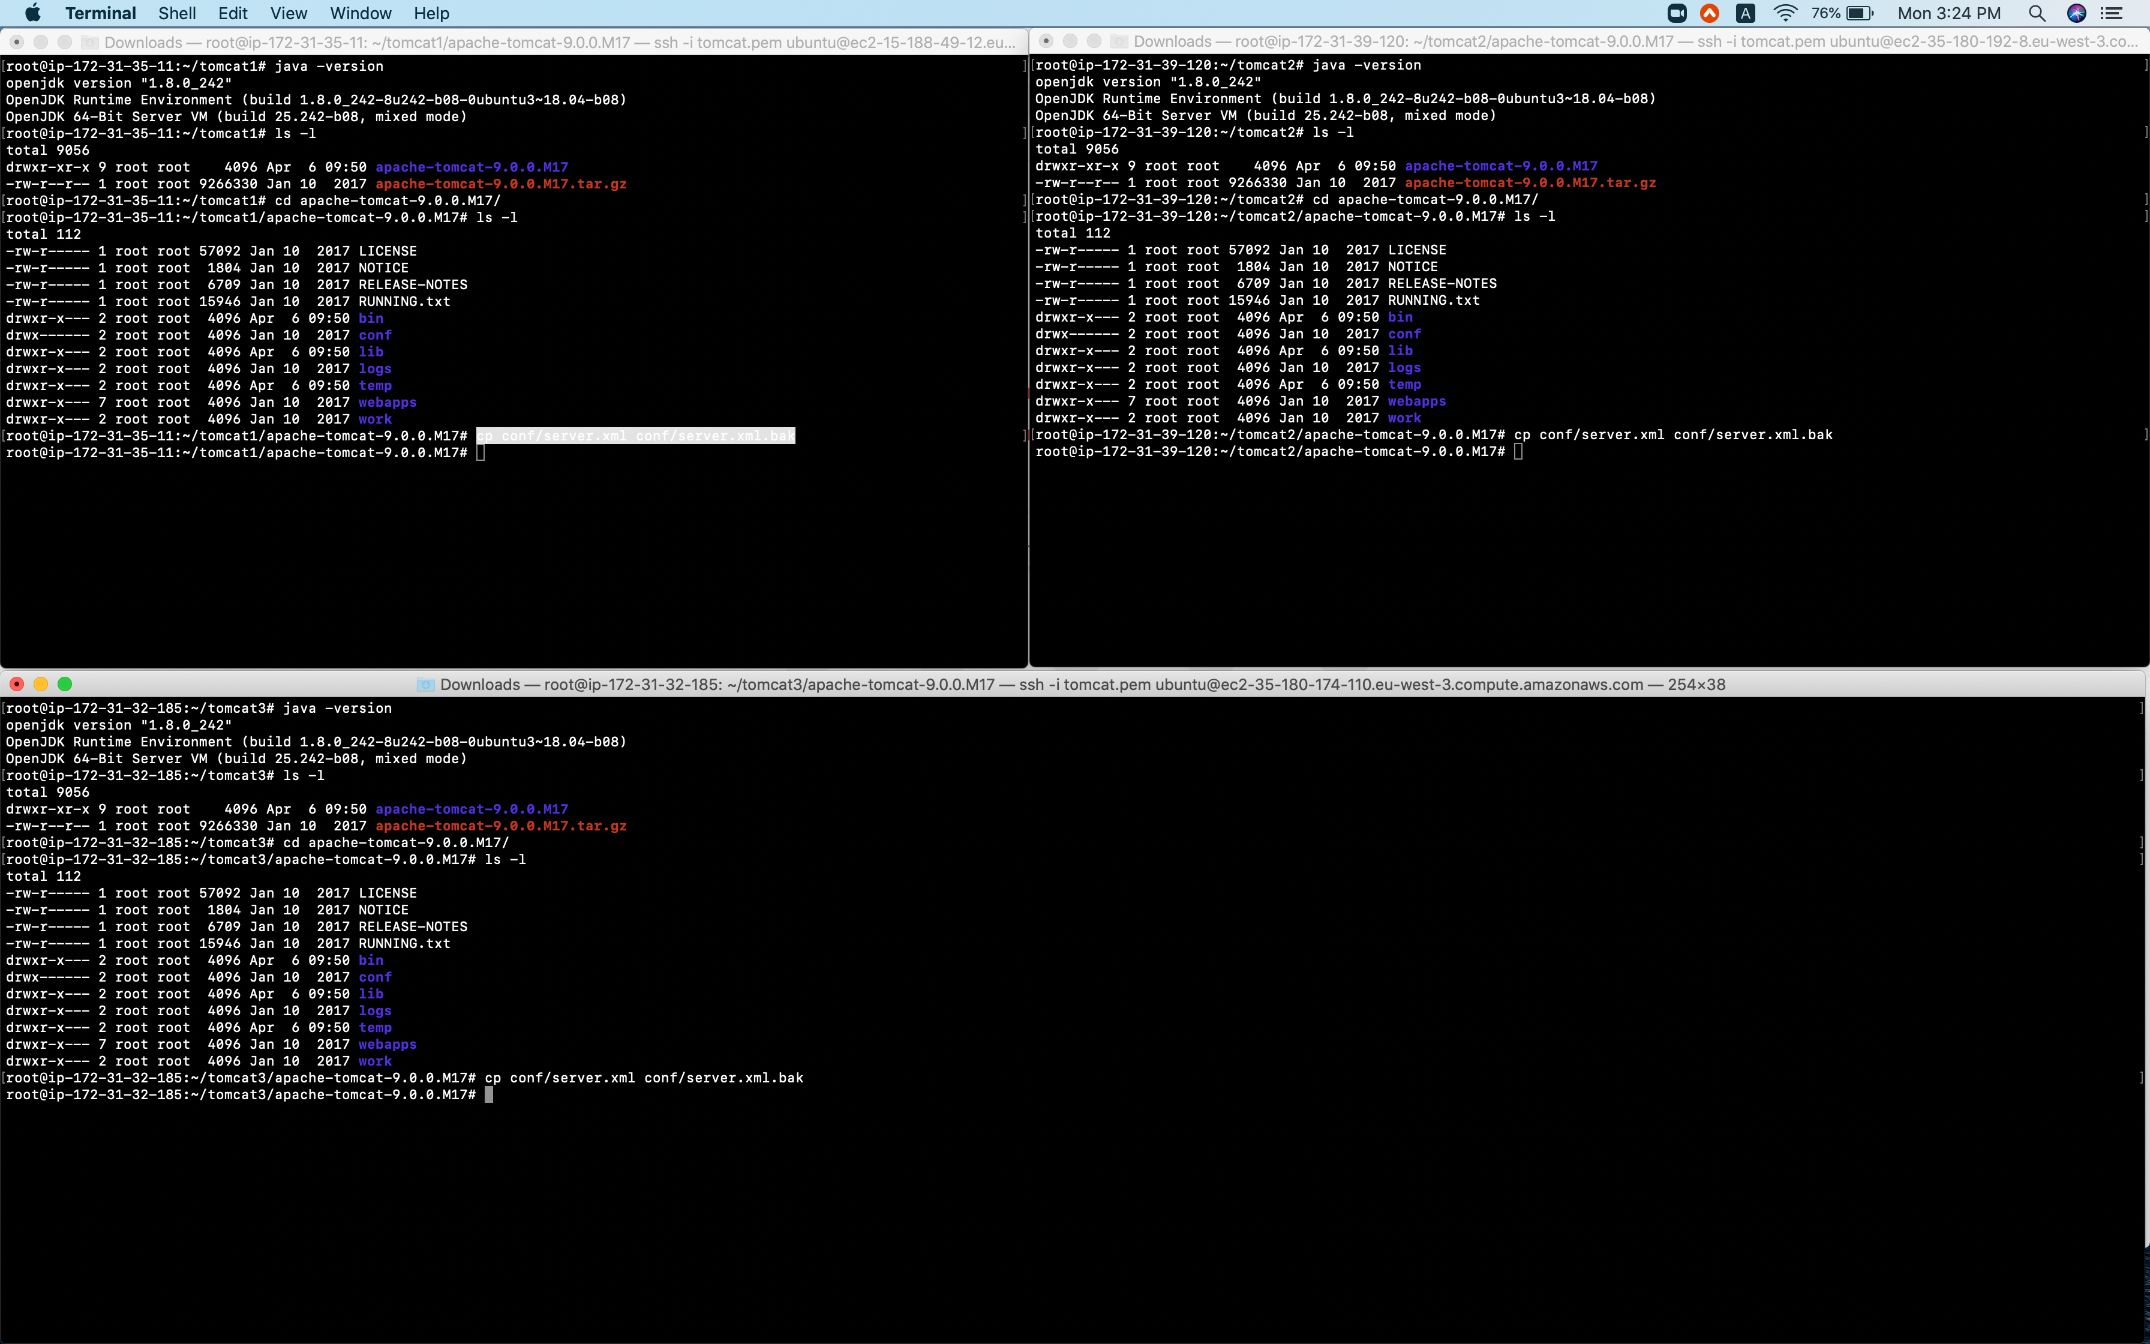
java --version #Check Java Version
Configure Apache Tomcat
Before making the required changes let's take a backup of the default server.xml file.
#On each node
cd apache-tomcat-9.0.0.M17/ #Change the directory.
cp conf/server.xml conf/server.xml.bak #Take a backup of the existing configuration file.
Make the required changes in server.xml file.
#On each node
ifconfig #Get IP of the server.
vim conf/server.xml #Open configuration file to make the required configurations.
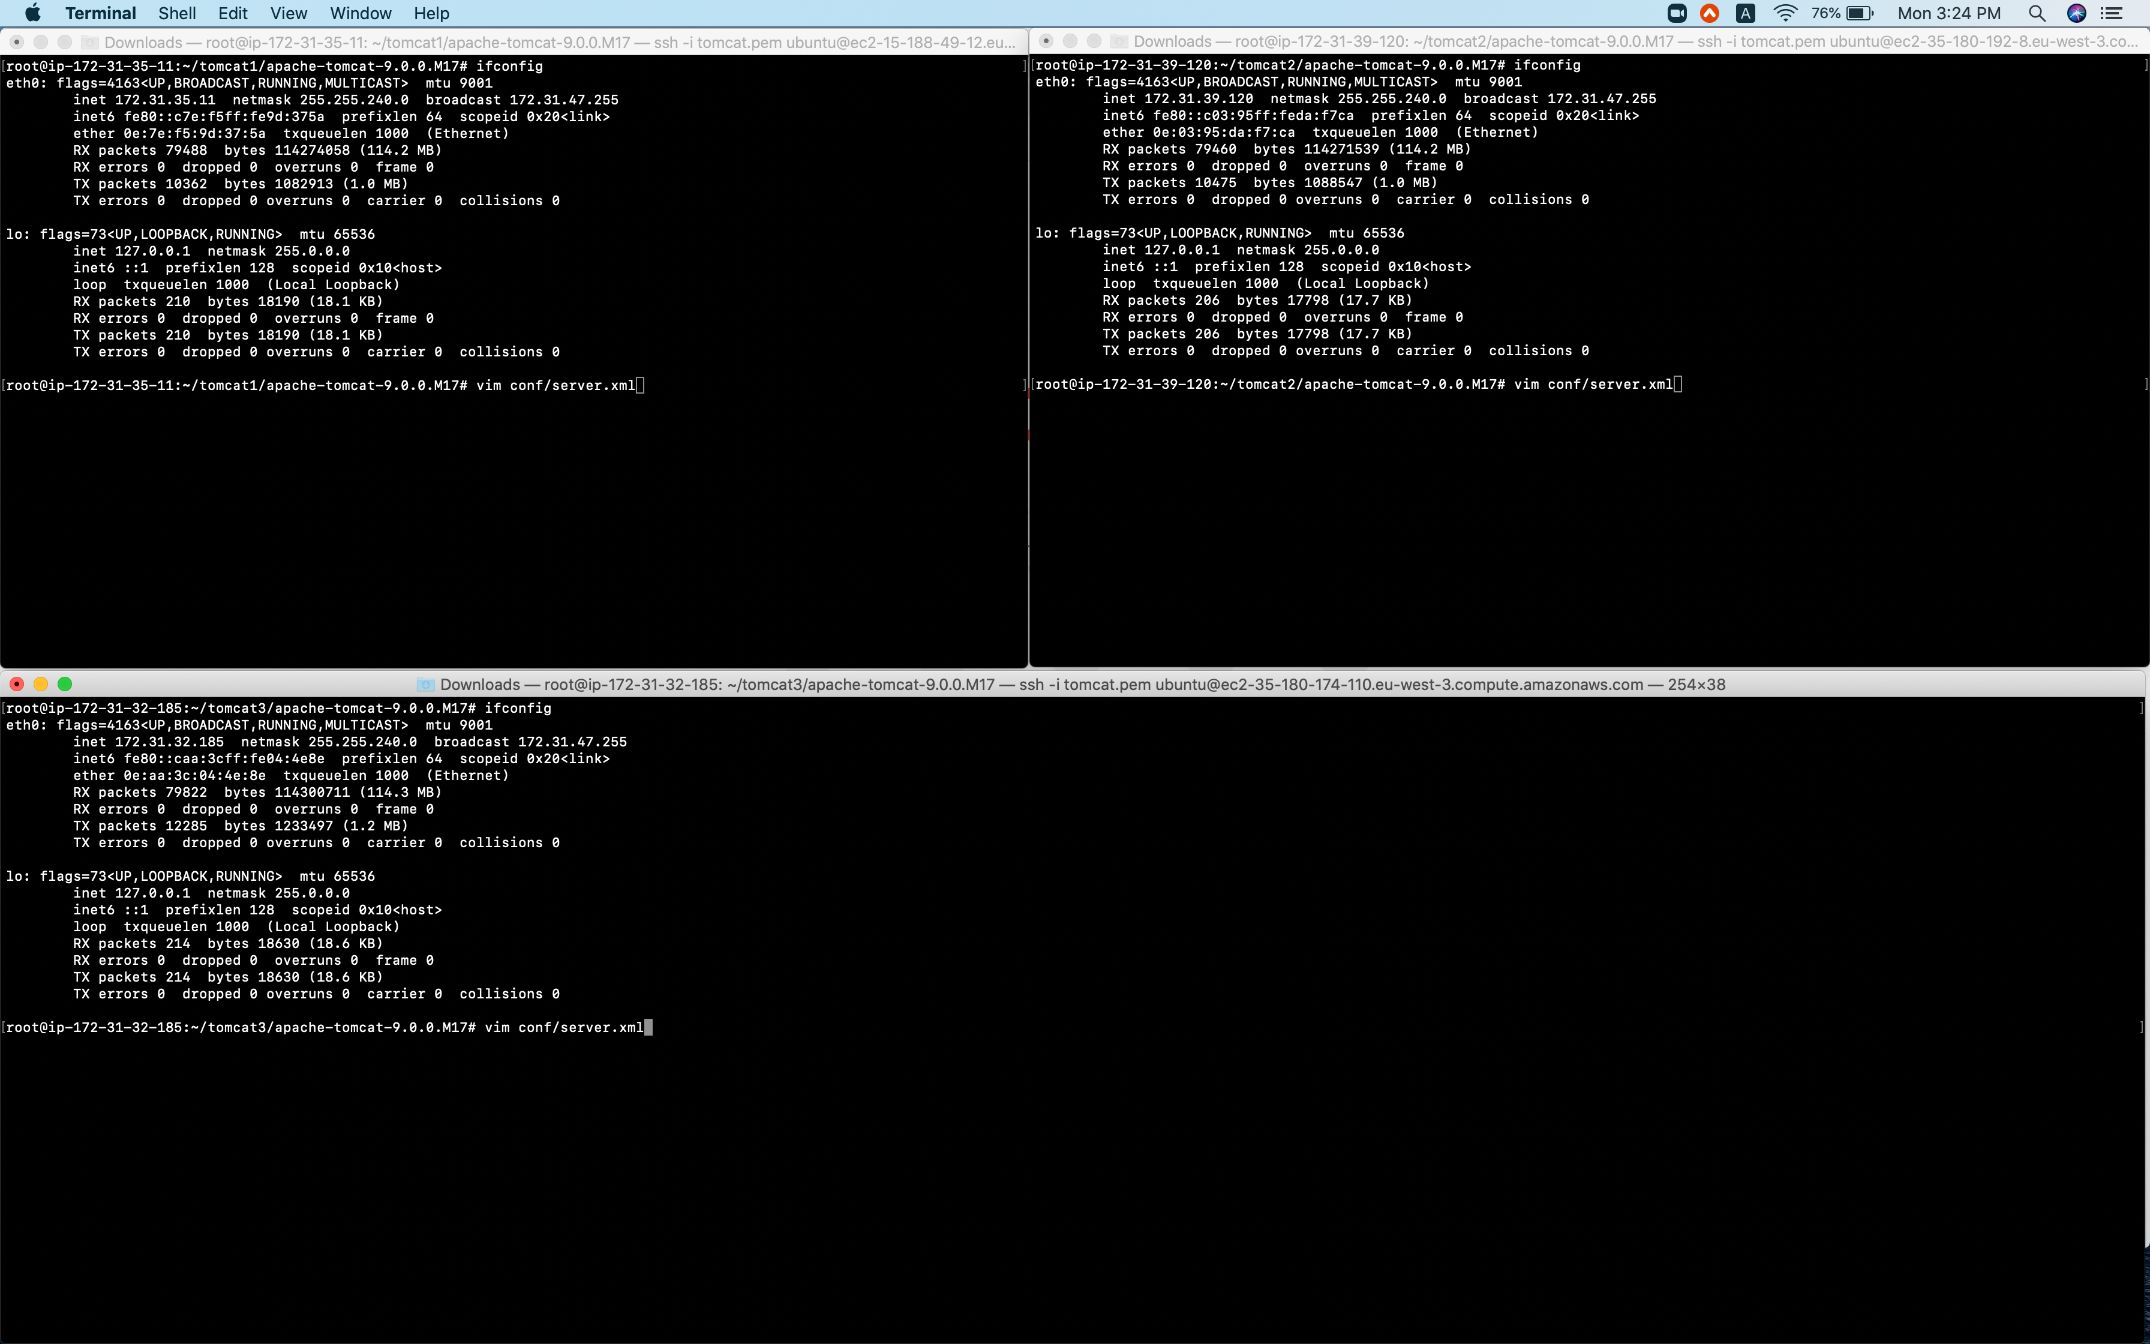
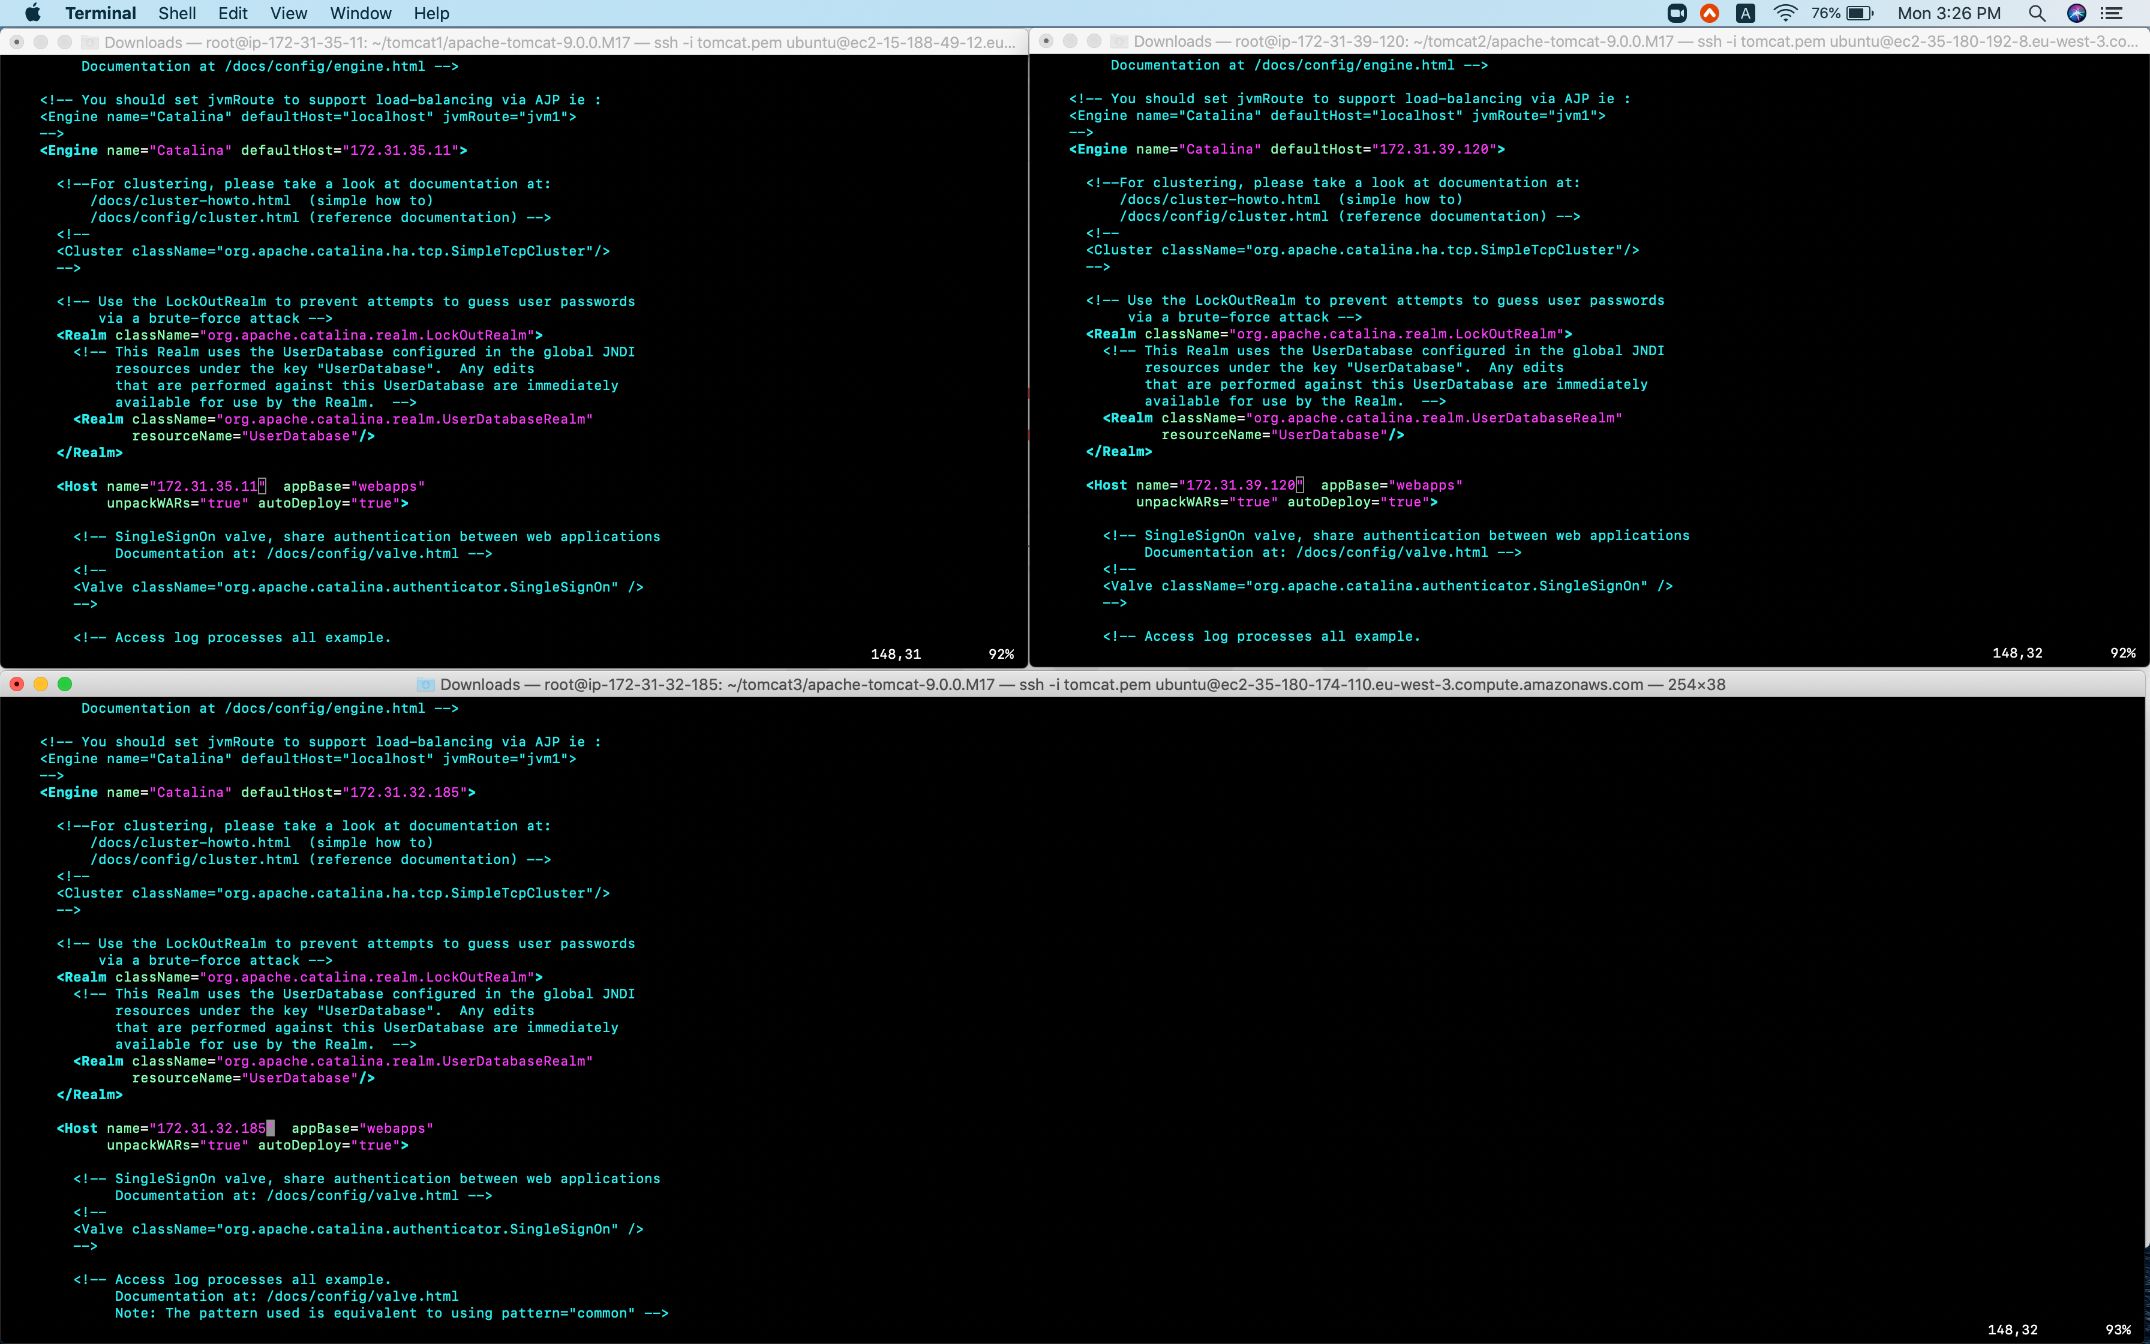
Find the following lines and change localhost to IP of the Node
<Engine name="Catalina" defaultHost="localhost">
<Host name="localhost" appBase="webapps
For setting up the cluster, search for the following code
      <!--
      <Cluster className="org.apache.catalina.ha.tcp.SimpleTcpCluster"/>
      -->
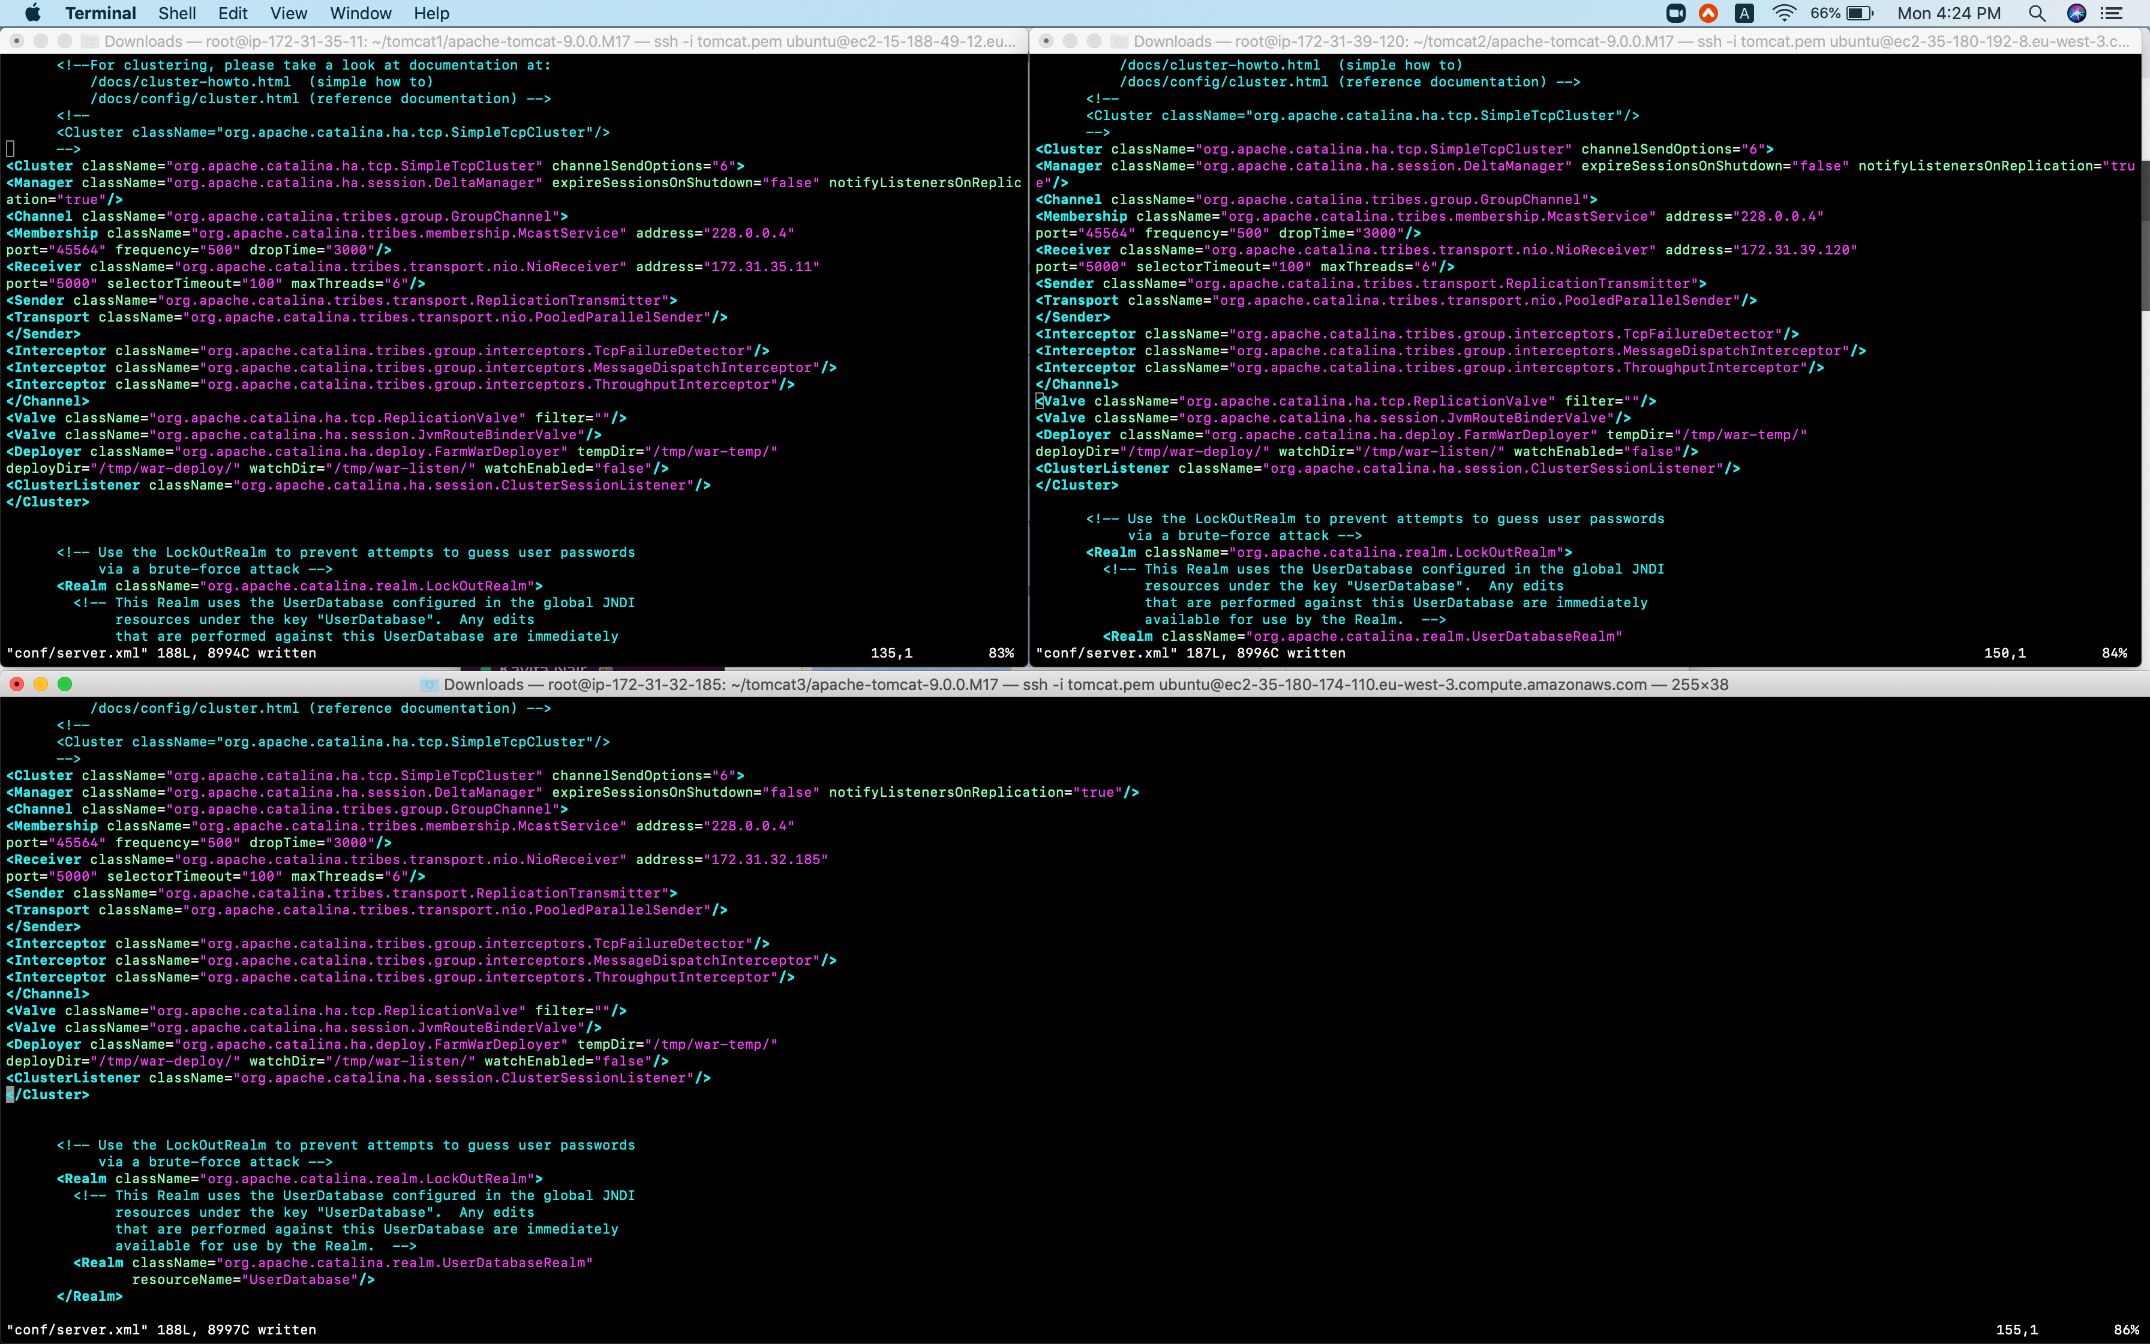
And add the following code on each node and replace IP-Of-Node with the IP of the node itself.
<Cluster className="org.apache.catalina.ha.tcp.SimpleTcpCluster" channelSendOptions="6">
        <Manager className="org.apache.catalina.ha.session.DeltaManager" expireSessionsOnShutdown="false" notifyListenersOnReplication="true"/>
        <Channel className="org.apache.catalina.tribes.group.GroupChannel">
                <Membership className="org.apache.catalina.tribes.membership.McastService" address="228.0.0.4"
                        port="45564" frequency="500" dropTime="3000"/>
                <Receiver className="org.apache.catalina.tribes.transport.nio.NioReceiver" address="IP-Of-Node"
                                port="5000" selectorTimeout="100" maxThreads="6"/>
                <Sender className="org.apache.catalina.tribes.transport.ReplicationTransmitter">
                                <Transport className="org.apache.catalina.tribes.transport.nio.PooledParallelSender"/>
                </Sender>
                <Interceptor className="org.apache.catalina.tribes.group.interceptors.TcpFailureDetector"/>
                <Interceptor className="org.apache.catalina.tribes.group.interceptors.MessageDispatchInterceptor"/>
                <Interceptor className="org.apache.catalina.tribes.group.interceptors.ThroughputInterceptor"/>
        </Channel>
        <Valve className="org.apache.catalina.ha.tcp.ReplicationValve" filter=""/>
        <Valve className="org.apache.catalina.ha.session.JvmRouteBinderValve"/>
        <Deployer className="org.apache.catalina.ha.deploy.FarmWarDeployer" tempDir="/tmp/war-temp/"
                deployDir="/tmp/war-deploy/" watchDir="/tmp/war-listen/" watchEnabled="false"/>
        <ClusterListener className="org.apache.catalina.ha.session.ClusterSessionListener"/>
</Cluster>
Start/Stop Apache Tomcat
Start Apache Tomcat
Use startup.sh file to start the Apache Tomcat service. Using netstat command you can see that the service has started on the default port 8080.
#On each node
bin/startup.sh #Start Apache Tomcat Service.
netstat -tulpn #Check ports being used currently on the system.
Check Logs
catalina.out contains the logs of Apache Tomcat. You can use tail command to see the last lines from the file.
tail -100f logs/catalina.out
Shutdown Apache Tomcat
The Apache Tomcat service can be stopped using shutdown.sh file
bin/shutdown.sh #Stop Apache Tomcat Service.

Conclusion
In this article, we saw the steps to create a cluster of Apache tomcat with 3 nodes, saw the basic configuration that needs to be done to create a cluster.

