How to Install Fuel CMS with Nginx on Fedora 31
Fuel CMS is an open-source content management system for premium grade websites and blogs. It is built on CodeIgniter, a popular PHP web framework. This tutorial will cover how to install Fuel CMS on a Fedora 31 based server.
Prerequisites
-
A server running Fedora 31 configured with LEMP Stack. You can follow our guide for doing so.
-
A non-root sudo user.
-
Make sure everything is updated.
$ sudo dnf upgrade
Configure MariaDB for Fuel CMS
First, we need to set up a database to use for the Fuel CMS. To do that login to MySQL prompt.
$ sudo mysql
Once at the prompt, enter the following commands which will set up a database named fuelcms and a database user named fueluser and grant it access to the database.
mysql> CREATE DATABASE fuelcms;
mysql> CREATE USER 'fueluser'@'localhost' IDENTIFIED BY 'yourpassword';
mysql> GRANT ALL PRIVILEGES ON fuelcms.* TO 'fueluser'@'localhost';
mysql> exit
Configure PHP for Fuel CMS
In our guide, we installed PHP 7.4 but Fuel CMS is not yet compatible with it at the time of this tutorial. When it does become compatible, you can skip this step.
Now, we need to install PHP 7.3 alongside PHP 7.4. This can be done easily by using the following command.
$ sudo dnf install php73-php-fpm php73-php-mysqlnd php73-php-cli -y
This installs PHP 7.3 as a collection which allows you to run it simultaneously with PHP 7.4.
Start and enable PHP 7.3 service.
$ sudo systemctl start php73-php-fpm
$ sudo systemctl enable php73-php-fpm
To check whether it is installed properly, run the following command.
$ php73 --version
PHP 7.3.16 (cli) (built: Mar 17 2020 10:18:38) ( NTS )
Copyright (c) 1997-2018 The PHP Group
Zend Engine v3.3.16, Copyright (c) 1998-2018 Zend Technologies
Open the file /etc/opt/remi/php73/php-fpm.d/www.conf.
$ sudo nano /etc/opt/remi/php73/php-fpm.d/www.conf
We need to set the Unix user/group of PHP processes to nginx. Find the user=apache and group=apache lines in the file and change them to nginx.
...
; Unix user/group of processes
; Note: The user is mandatory. If the group is not set, the default user's group
;       will be used.
; RPM: apache user chosen to provide access to the same directories as httpd
user = nginx
; RPM: Keep a group allowed to write in log dir.
group = nginx
...
Also, locate the variable listen.acl_users and change its value as following.
listen.acl_users = nginx
Also, make note of the listen variable. It will give you the path on where to listen to the PHP-FPM process. For us, it shows the following.
listen = /var/opt/remi/php73/run/php-fpm/www.sock
Copy the path because we will need it.
Save the file by pressin Ctrl + X and entering Y when prompted.
Restart the PHP-fpm process.
$ sudo systemctl restart php73-php-fpmConfigure Nginx
Run the following command to add a configuration file for Fuel CMS.
$ sudo nano /etc/nginx/sites-available/fuel.conf
Paste the following code in the editor.
server {
  listen 80;
  listen [::]:80;
  root /var/www/fuel;
  index index.php index.html index.htm;
  server_name fuel.example.com;

  client_max_body_size 100M;

  location / {
    try_files $uri $uri/ /index.php?q=$uri&$args;
  }

  access_log /var/log/nginx/fuel.example.com.access.log;
  error_log /var/log/nginx/fuel.example.com.error.log;

  location ~ \.php$ {
    fastcgi_pass unix:/run/php-fpm/www.sock;
    fastcgi_index index.php;
    fastcgi_param SCRIPT_FILENAME $document_root$fastcgi_script_name;
    include fastcgi_params;
  }
}
This file assumes that we will be installing Fuel CMS to the domain example.com and in the directory /var/www/fuel. We also used the value of the listen variable from above to specify a value for fastcgi_pass.
Activate this configuration file by linking it to the sites-enabled directory.
$ sudo ln -s /etc/nginx/sites-available/fuel.conf /etc/nginx/sites-enabled/
Test the Nginx configuration.
$ sudo nginx -t
You should see the following output indicating your configuration is correct.
nginx: the configuration file /etc/nginx/nginx.conf syntax is ok
nginx: configuration file /etc/nginx/nginx.conf test is successful
Reload the Nginx service.
$ sudo systemctl reload nginxInstall Fuel CMS
Create an empty document root folder for Fuel CMS.
$ sudo mkdir -p /var/www/fuel
The -p argument ensures that parent directories var and www are automatically created if they don't exist.
Navigate to the document root folder.
$ cd /var/www/fuel
Grab the latest version of Fuel CMS from its Git repository.
$ sudo wget https://github.com/daylightstudio/FUEL-CMS/archive/master.zip
Extract the file into the /var/www/fuel folder.
$ sudo unzip master.zip
$ sudo rm master.zip
$ sudo mv FUEL-CMS-master/* .
$ sudo rm -r FUEL-CMS-master
Create the sessions directory.
$ sudo mkdir /var/www/fuel/fuel/application/sessions
Open the file /var/www/fuel/application/config/database.php.
$ sudo nano /var/www/fuel/fuel/application/config/database.php
Configure the database parameters we created before.
$db['default'] = array(
        'dsn'   => '',
        'hostname' => 'localhost',
        'username' => 'fueluser',
        'password' => 'yourpassword',
        'database' => 'fuelcms',
        'dbdriver' => 'mysqli',
Save the file by pressing Ctrl + X and entering Y when prompted.
Import the /var/www/fuel/install/fuel_schema.sql file into the newly created database.
$ mysql -u fueluser -p fuelcms < /var/www/fuel/fuel/install/fuel_schema.sql
Generate a random encryption key using OpenSSL. You can use any number instead of 20.
$ openssl rand -base64 20
You will get a random key as the output. Copy it.
Open the file /var/www/fuel/fuel/application/config/config.php.
$ sudo nano /var/www/fuel/fuel/application/config/config.php
Change the value of $config[‘encryption_key’] to the key you got from the previous step.
$config['encryption_key'] = 'nisT56baLm+U24ZYFRvVbVKIdOE=';
Next, locate the value $config['sess_save_path'] and change its value from NULL to the session path we created above.
$config['sess_save_path'] = APPPATH.'sessions/';
APPPATH here refers to the /var/www/fuel/fuel/applications/ directory. Save the file by pressing Ctrl + X and entering Y when prompted.
Next, we need to enable the Administration panel. For that, open the file /var/www/fuel/fuel/application/config/MY_fuel.php.
$ sudo nano /var/www/fuel/fuel/application/config/MY_fuel.php
Make the following change.
// whether the admin backend is enabled or not
$config['admin_enabled'] = TRUE;
....
$config['fuel_mode'] = 'auto';
Setting the fuel_mode to auto allows Fuel CMS to first check its database for the page and if not found, it will pick up the page from its view folder. You can change various other settings like the name of the site in Administration panel, image upload size, set an email, file upload size, select a text editor, set a parser engine and its configuration and set a list of allowed modules.
Save the file by pressing Ctrl + X and entering Y when prompted.
The final step is to give proper permissions to the /var/www/fuel directory.
sudo chown -R nginx:nginx /var/www/fuel
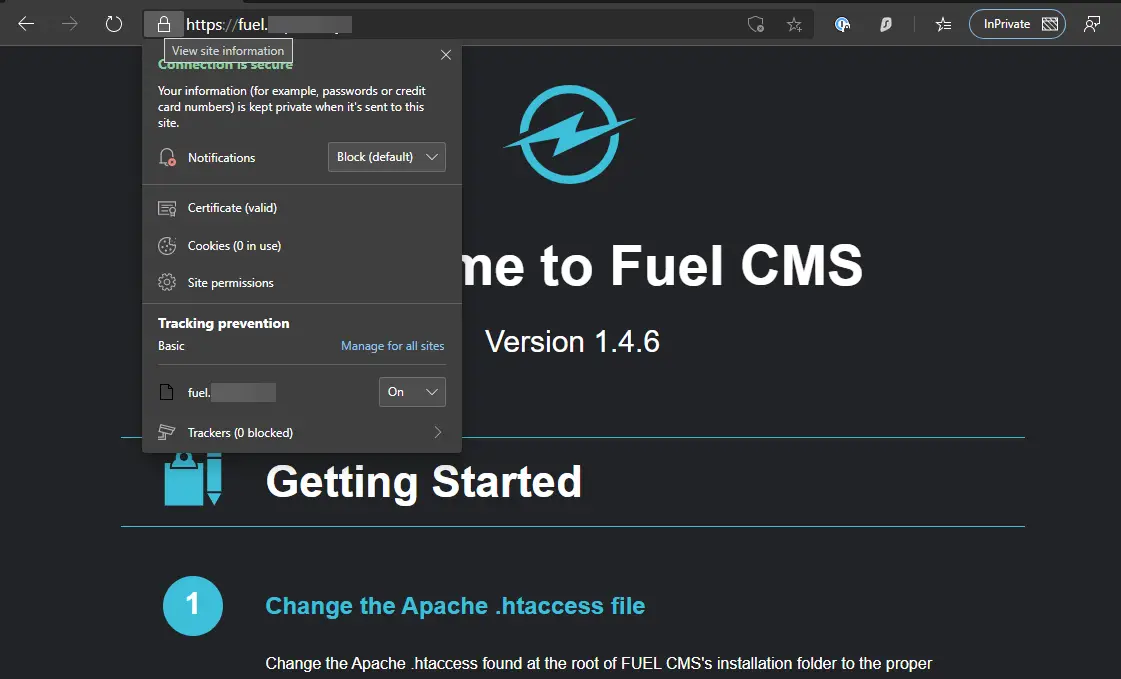
The setup is now complete. Open fuel.example.com/fuel in your browser and log in with the credentials you created above and start developing.
Configuring Fuel CMS
Once you login to the administration panel, you will be prompted to change the password. Click on Change password to continue.
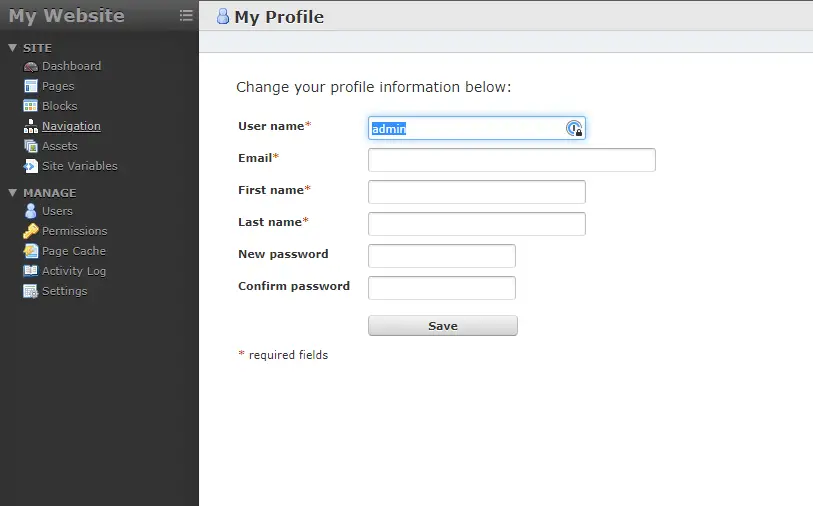
On the page that opens, you can change your password. You should also change your default username and add an email address. You will also have to fill your name to proceed. Save to proceed when you are finished.
For more information refer to the official Fuel CMS documentation.
Setting up HTTPS using Let's Encrypt
For using Let's encrypt, we need to install the Certbot package.
Install Certbot.
$ sudo dnf install certbot certbot-nginx -y
Install the certificate.
$ sudo certbot --nginx -d fuel.example.com
If this is your first time with the tool on this server, you need to agree to the terms and enter your email address. Say no when asked if you want to share your email with the EFF foundation.
If that’s successful, certbot will ask how you’d like to configure your HTTPS settings.
Please choose whether or not to redirect HTTP traffic to HTTPS, removing HTTP access.
-------------------------------------------------------------------------------
1: No redirect - Make no further changes to the webserver configuration.
2: Redirect - Make all requests redirect to secure HTTPS access. Choose this for
new sites, or if you're confident your site works on HTTPS. You can undo this
change by editing your web server's configuration.
-------------------------------------------------------------------------------
Select the appropriate number [1-2] then [enter] (press 'c' to cancel):
Select 2 and then hit ENTER. Your certificate is now installed and activated.
Run the following command to set up automatic renewal.
$ echo "0 0,12 * * * root python -c 'import random; import time; time.sleep(random.random() * 3600)' && certbot renew" | sudo tee -a /etc/crontab > /dev/null
Launch https://fuel.example.com in your browser to check.
Conclusion
This concludes our tutorial. You can now use Fuel CMS for creating your websites. If you have any questions, post it in comments.

