How to Install Magento on CentOS 8
Magento is one of the most popular open-source e-commerce platforms that allows you to set up e-commerce websites and online stores in minutes. It is written in PHP, based on Zend Framework and uses the Entity Attribute Value (EAV) database model to store data. It comes with a simple and user-friendly interface that allows you to customize your online store and sell your products and services easily.
In this tutorial, we will show you how to install Magento eCommerce platform on CentOS 8 with Let's Encrypt free SSL.
Requirements
- A server running CentOS 8 with 2 GB of RAM.
- A valid domain name pointed with your server IP.
- A root password is configured on the server.
Install LEMP Server
First, install Nginx web server, MariaDB database server, PHP and other required PHP libraries by running the following command:
dnf install nginx mariadb-server php php-cli php-mysqlnd php-opcache php-xml php-gd php-soap php-bcmath php-intl php-mbstring php-json php-iconv php-fpm php-zip unzip git -y
Once all the packages are installed, start the Nginx, MariaDB and PHP-FPM service and enable them to start after system reboot with the following command:
systemctl start nginx
 systemctl start mariadb
 systemctl start php-fpm
 systemctl enable nginx
 systemctl enable mariadb
 systemctl enable php-fpm
Next, you will need to edit php.ini file and tweak some settings:
nano /etc/php.ini
Change the following lines:
memory_limit =512M
upload_max_filesize = 200M
zlib.output_compression = On
max_execution_time = 300
date.timezone = Asia/Kolkata
Save and close the file when you are finished.
Configure Database
By default, MariaDB is not secured so you will need to secure it first. Run the following script to secure the MariaDB:
mysql_secure_installation
Answer all the questions as shown below:
Enter current password for root (enter for none):
Set root password? [Y/n] Y
New password:
Re-enter new password:
Remove anonymous users? [Y/n] Y
Disallow root login remotely? [Y/n] Y
Remove test database and access to it? [Y/n] Y
Reload privilege tables now? [Y/n] Y
Once you are done, log in to MariaDB shell with the following command:
mysql -u root -p
Provide your root password when prompt then create a database and user for Magento a shown below:
MariaDB [(none)]> CREATE DATABASE magentodb;
 MariaDB [(none)]> GRANT ALL ON magentodb.* TO magento@localhost IDENTIFIED BY 'password';
Next, flush the privileges and exit from the MariaDB shell with the following command:
MariaDB [(none)]> flush privileges;
 MariaDB [(none)]> exit;
Configure PHP-FPM for Magento
Next, you will need to configure PHP-FPM pool for your Magento instance. You can configure it by creating the following file:
nano /etc/php-fpm.d/magento.conf
Add the following lines:
[magento]
user = nginx
group = nginx
listen.owner = nginx
listen.group = nginx
listen = /run/php-fpm/magento.sock
pm = ondemand
pm.max_children =  50
pm.process_idle_timeout = 10s
pm.max_requests = 500
chdir = /
Save and close the file then restart the PHP-FPM service to implement the changes:
systemctl restart php-fpm
Download Magento
First, download the latest version of Magento from the Git repository using the following command:
cd /var/www/html
 wget https://github.com/magento/magento2/archive/2.3.zip
Once downloaded, unzip the downloaded file as shown below:
unzip 2.3.zip
Next, move the extracted directory to magento2 as shown below:
mv magento2-2.3 magento2
Next, you will need to install the Composer to install PHP dependencies for Magento.
You can install the Composer with the following command:
curl -sS https://getcomposer.org/installer | php
 mv composer.phar /usr/local/bin/composer
Next, change the directory to magento2 and install all Magento dependencies with the following command:
cd /var/www/html/magento2
 composer update
 composer install
Next, you will need to create the Magento crontab to schedule tasks. You can create it with the following command:
./bin/magento cron:install
You can verify the crontab using the following command:
crontab -l
You should get the following output:
#~ MAGENTO START f73db5f5dcf223372d4c9fab56bef0c1730eece898fad5cbee0c313b46b0dd1f
* * * * * /usr/bin/php /var/www/html/magento2/bin/magento cron:run 2>&1 | grep -v "Ran jobs by schedule" >> /var/www/html/magento2/var/log/magento.cron.log
* * * * * /usr/bin/php /var/www/html/magento2/update/cron.php >> /var/www/html/magento2/var/log/update.cron.log
* * * * * /usr/bin/php /var/www/html/magento2/bin/magento setup:cron:run >> /var/www/html/magento2/var/log/setup.cron.log
#~ MAGENTO END f73db5f5dcf223372d4c9fab56bef0c1730eece898fad5cbee0c313b46b0dd1f
Next, give proper permissions to the magento2 directory:
chown -R nginx:nginx /var/www/html/magento2
 chmod -R 755 /var/www/html/magento2
Configure Nginx for Magento
Next, you will need to create an Nginx virtual host file for the Magento. You can create it with the following command:
nano /etc/nginx/conf.d/magento.conf
Add the following lines:
upstream fastcgi_backend {
  server   unix:/run/php-fpm/magento.sock;
}

server {
    listen 80;
    server_name magento.linuxbuz.com;

    set $MAGE_ROOT /var/www/html/magento2;
    set $MAGE_MODE developer;

    access_log /var/log/nginx/magento-access.log;
    error_log /var/log/nginx/magento-error.log;

    include /var/www/html/magento2/nginx.conf.sample;
}
Save and close the file when you are finished. Then, restart Nginx and PHP-FPM service to implement changes:
systemctl restart php-fpm
 systemctl restart nginx
Configure SELinux and Firewall
By default, SELinux is enabled in CentOS 8. So you will need to configure SELinux for the Magento to work correctly.
You can configure SELinux with the following command:
semanage permissive -a httpd_t
Next, you will need to create a firewall rule to allow HTTP and HTTPS service from external networks. You can allow it with the following command:
firewall-cmd --permanent --add-service=http
firewall-cmd --permanent --add-service=https
 firewall-cmd --reload
Secure Magento with Let's Encrypt SSL
Magento is now installed and configured. It's time to secure it with Let's Encrypt free SSL.
To do so, you will need to download the certbot client on your server. You can download and set correct permission by running the following command:
wget https://dl.eff.org/certbot-auto
 mv certbot-auto /usr/local/bin/certbot-auto
 chown root /usr/local/bin/certbot-auto
 chmod 0755 /usr/local/bin/certbot-auto
Now, run the following command to obtain and install an SSL certificate for your Magento website.
certbot-auto --nginx -d magento.linuxbuz.com
The above command first install all the required dependencies as shown below:
Installed:
  gcc-8.2.1-3.5.el8.x86_64                                                  mod_ssl-1:2.4.37-12.module_el8.0.0+185+5908b0db.x86_64
  python3-virtualenv-15.1.0-18.module_el8.0.0+33+0a10c0e1.noarch            python36-devel-3.6.8-2.module_el8.0.0+33+0a10c0e1.x86_64
  redhat-rpm-config-116-1.el8.0.1.noarch                                    augeas-libs-1.10.1-8.el8.x86_64
  libffi-devel-3.1-18.el8.x86_64                                            openssl-devel-1:1.1.1-8.el8.x86_64
  annobin-8.64-1.el8.x86_64                                                 cpp-8.2.1-3.5.el8.x86_64
  dwz-0.12-9.el8.x86_64                                                     efi-srpm-macros-3-2.el8.noarch
  ghc-srpm-macros-1.4.2-7.el8.noarch                                        go-srpm-macros-2-16.el8.noarch
  isl-0.16.1-6.el8.x86_64                                                   libmpc-1.0.2-9.el8.x86_64
  ocaml-srpm-macros-5-4.el8.noarch                                          openblas-srpm-macros-2-2.el8.noarch
  perl-srpm-macros-1-25.el8.noarch                                          platform-python-devel-3.6.8-2.el8_0.0.1.x86_64
  python-rpm-macros-3-37.el8.noarch                                         python-srpm-macros-3-37.el8.noarch
  python3-rpm-generators-5-4.el8.noarch                                     python3-rpm-macros-3-37.el8.noarch
  qt5-srpm-macros-5.11.1-2.el8.noarch                                       rust-srpm-macros-5-2.el8.noarch
  glibc-devel-2.28-42.el8.1.x86_64                                          glibc-headers-2.28-42.el8.1.x86_64
  kernel-headers-4.18.0-80.11.2.el8_0.x86_64                                keyutils-libs-devel-1.5.10-6.el8.x86_64
  krb5-devel-1.16.1-22.el8.x86_64                                           libcom_err-devel-1.44.3-2.el8.x86_64
  libkadm5-1.16.1-22.el8.x86_64                                             libselinux-devel-2.8-6.el8.x86_64
  libsepol-devel-2.8-2.el8.x86_64                                           libverto-devel-0.3.0-5.el8.x86_64
  libxcrypt-devel-4.1.1-4.el8.x86_64                                        pcre2-devel-10.32-1.el8.x86_64
  pcre2-utf16-10.32-1.el8.x86_64                                            pcre2-utf32-10.32-1.el8.x86_64
  zlib-devel-1.2.11-10.el8.x86_64

Complete!
Creating virtual environment...
Installing Python packages...
Installation succeeded.
Once all the dependencies are installed, you will be asked to provide your email address and agree to the term of service as shown below:
Saving debug log to /var/log/letsencrypt/letsencrypt.log
Plugins selected: Authenticator nginx, Installer nginx
Enter email address (used for urgent renewal and security notices) (Enter 'c' to
cancel): [email protected]

- - - - - - - - - - - - - - - - - - - - - - - - - - - - - - - - - - - - - - - -
Please read the Terms of Service at
https://letsencrypt.org/documents/LE-SA-v1.2-November-15-2017.pdf. You must
agree in order to register with the ACME server at
https://acme-v02.api.letsencrypt.org/directory
- - - - - - - - - - - - - - - - - - - - - - - - - - - - - - - - - - - - - - - -
(A)gree/(C)ancel: A

Saving debug log to /var/log/letsencrypt/letsencrypt.log
Plugins selected: Authenticator nginx, Installer nginx
Obtaining a new certificate
Performing the following challenges:
http-01 challenge for magento.linuxbuz.com
Waiting for verification...
Cleaning up challenges
Deploying Certificate to VirtualHost /etc/nginx/conf.d/magento.conf
Next, you will need to choose whether or not to redirect HTTP traffic to HTTPS as shown below:
Please choose whether or not to redirect HTTP traffic to HTTPS, removing HTTP access.
- - - - - - - - - - - - - - - - - - - - - - - - - - - - - - - - - - - - - - - -
1: No redirect - Make no further changes to the webserver configuration.
2: Redirect - Make all requests redirect to secure HTTPS access. Choose this for
new sites, or if you're confident your site works on HTTPS. You can undo this
change by editing your web server's configuration.
- - - - - - - - - - - - - - - - - - - - - - - - - - - - - - - - - - - - - - - -
Select the appropriate number [1-2] then [enter] (press 'c' to cancel): 2
Type 2 and hit Enter to install the Let's Encrypt SSL certificate for your domain as shown below:
Redirecting all traffic on port 80 to ssl in /etc/nginx/conf.d/magento.conf

- - - - - - - - - - - - - - - - - - - - - - - - - - - - - - - - - - - - - - - -
Congratulations! You have successfully enabled https://magento.linuxbuz.com

You should test your configuration at:
https://www.ssllabs.com/ssltest/analyze.html?d=magento.linuxbuz.com
- - - - - - - - - - - - - - - - - - - - - - - - - - - - - - - - - - - - - - - -

IMPORTANT NOTES:
 - Congratulations! Your certificate and chain have been saved at:
   /etc/letsencrypt/live/magento.linuxbuz.com/fullchain.pem
   Your key file has been saved at:
   /etc/letsencrypt/live/magento.linuxbuz.com/privkey.pem
   Your cert will expire on 2020-03-23. To obtain a new or tweaked
   version of this certificate in the future, simply run certbot-auto
   again with the "certonly" option. To non-interactively renew *all*
   of your certificates, run "certbot-auto renew"
 - If you like Certbot, please consider supporting our work by:

   Donating to ISRG / Let's Encrypt:   https://letsencrypt.org/donate
   Donating to EFF:                    https://eff.org/donate-le
Access Magento
Magento is now installed and configured. It's time to access the Magento installation wizard.
Open your web browser and type the URL https://magento.linuxbuz.com. You will be redirected to the Magento Welcome page:
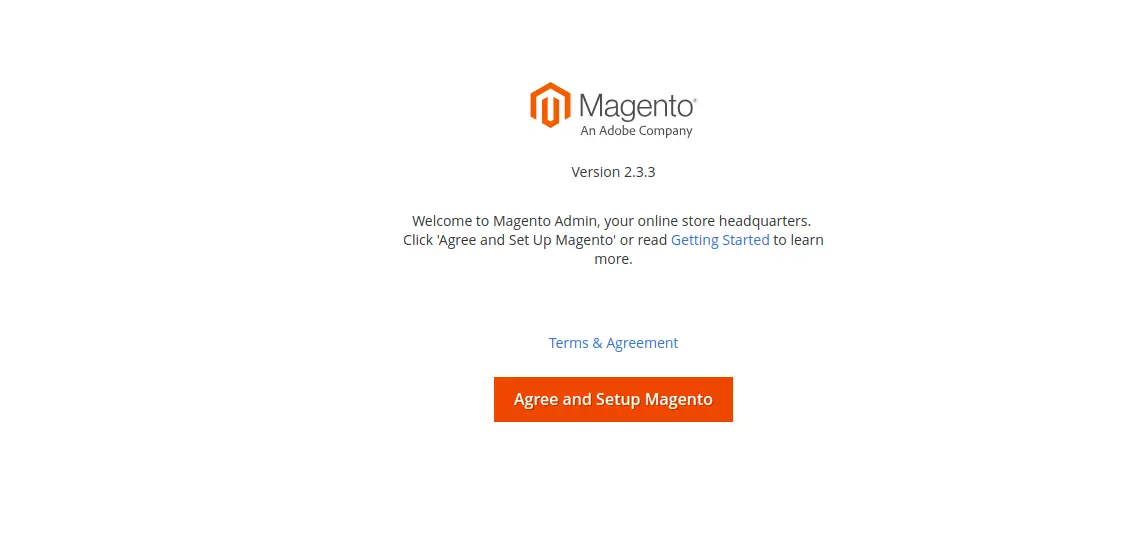
Click on the Agree and Setup Magento button. You should see the Magento readiness check wizard:
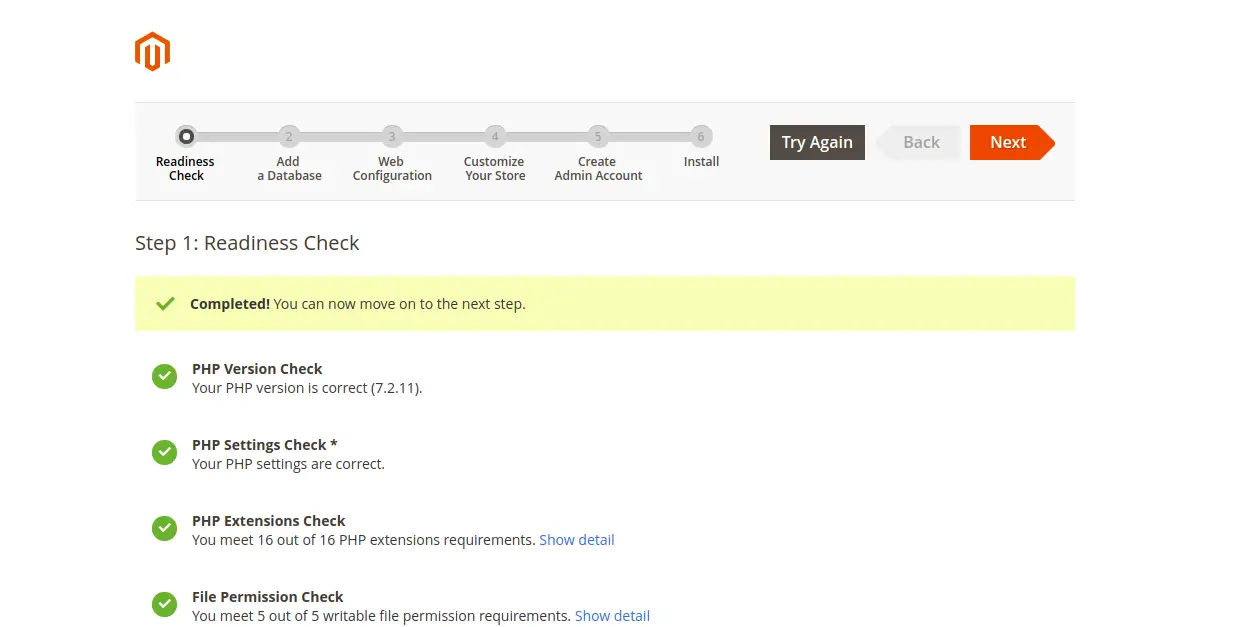
Now, click on the Next button. You should see the following page:
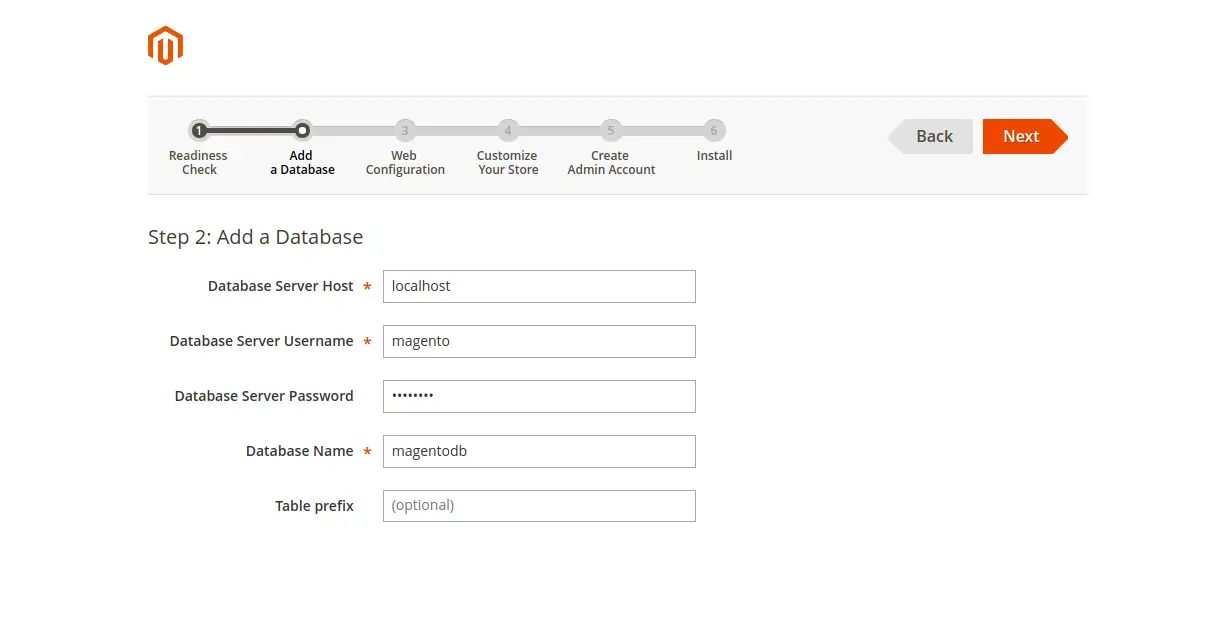
Provide your database details and click on the Next button. You should see the following page:
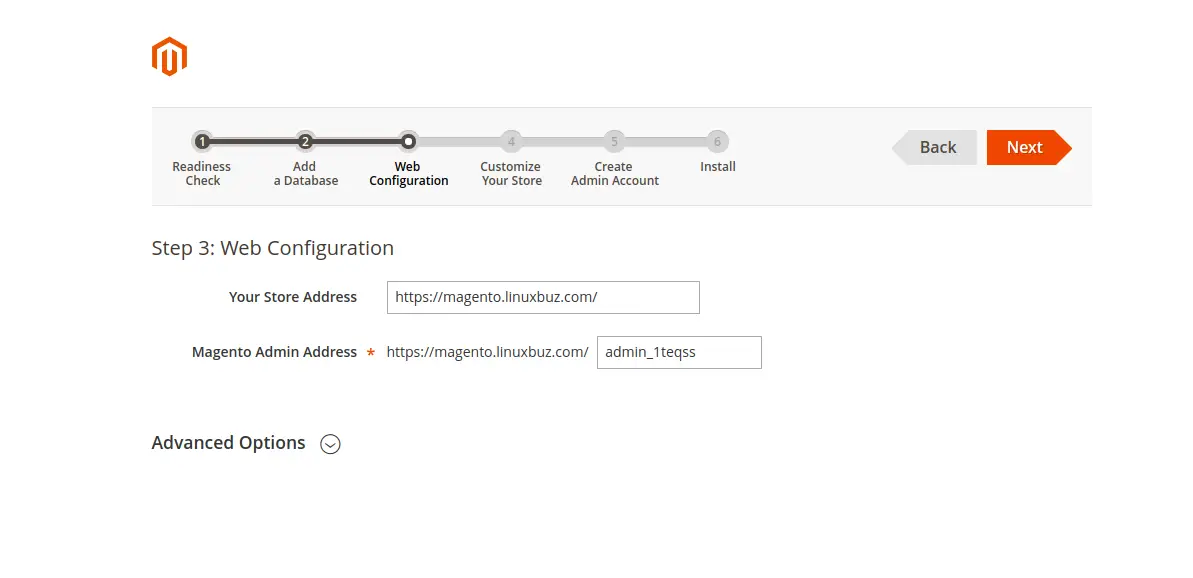
Now, provide your Magento store and admin URL, and click on the Next button. You should see the following page:
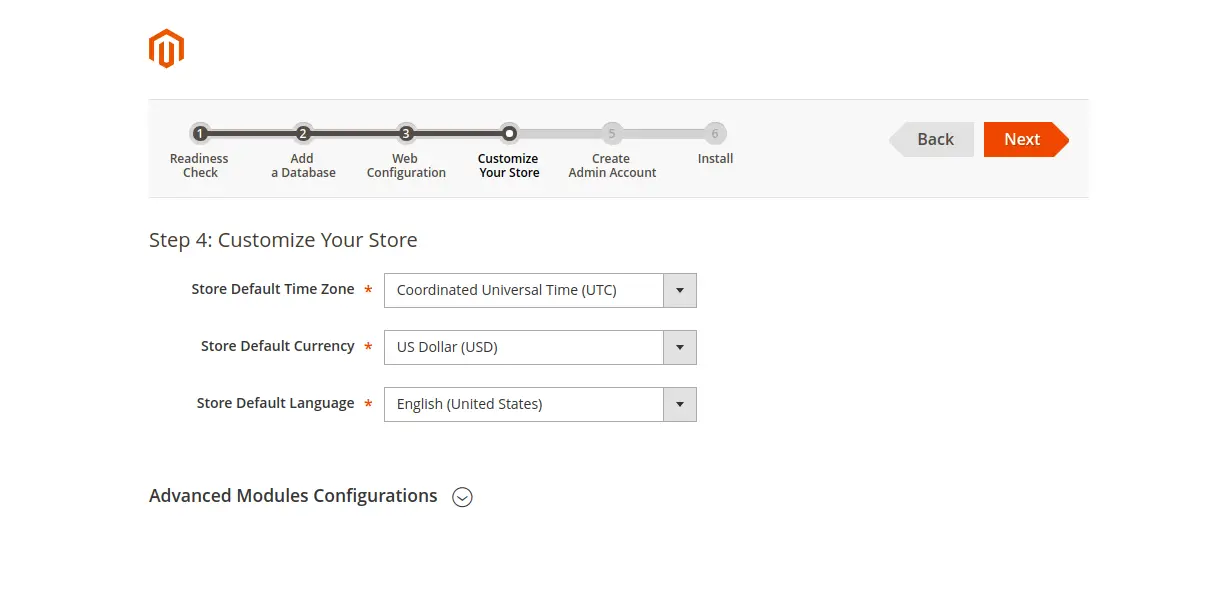
Select your desired time zone, currency, language and click on the Next button. You should see the following page:

Now, provide your Magento admin username, password and click on the Next button. You should see the following page:
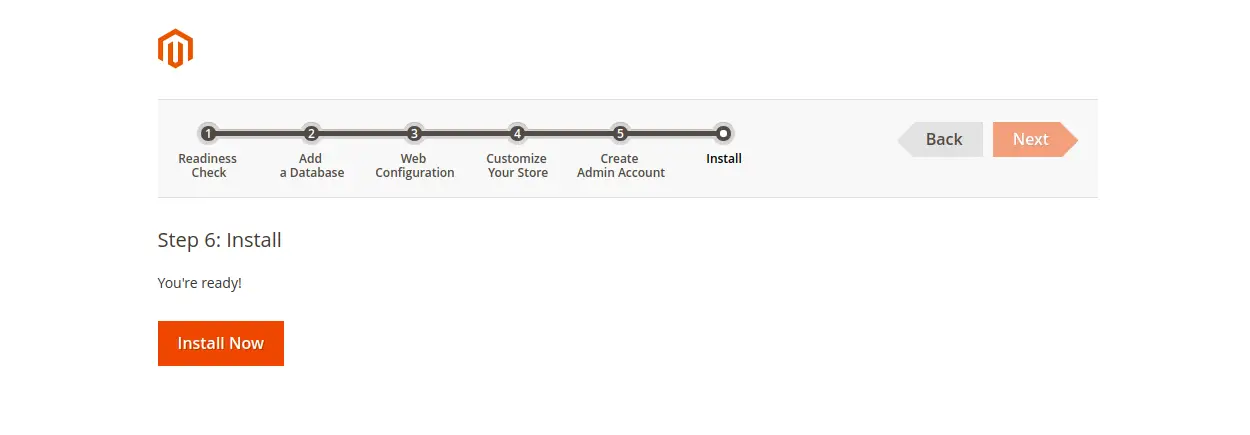
Now, click on the Install Now button to start the Magento installation. Once the installation has been completed successfully. You should see the following page:
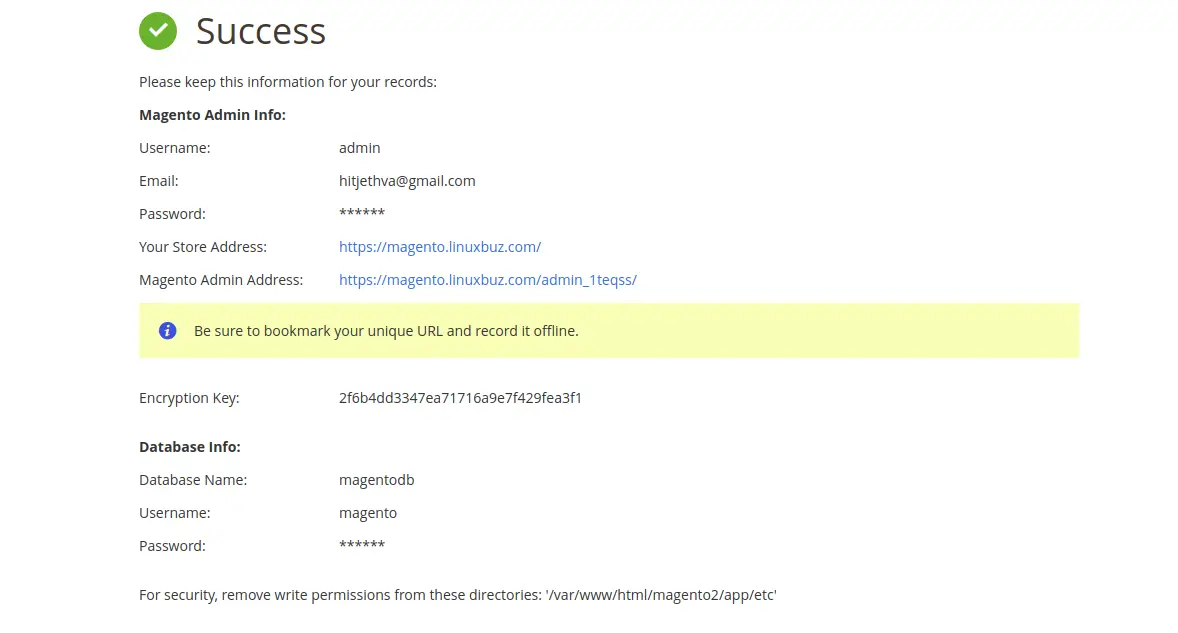
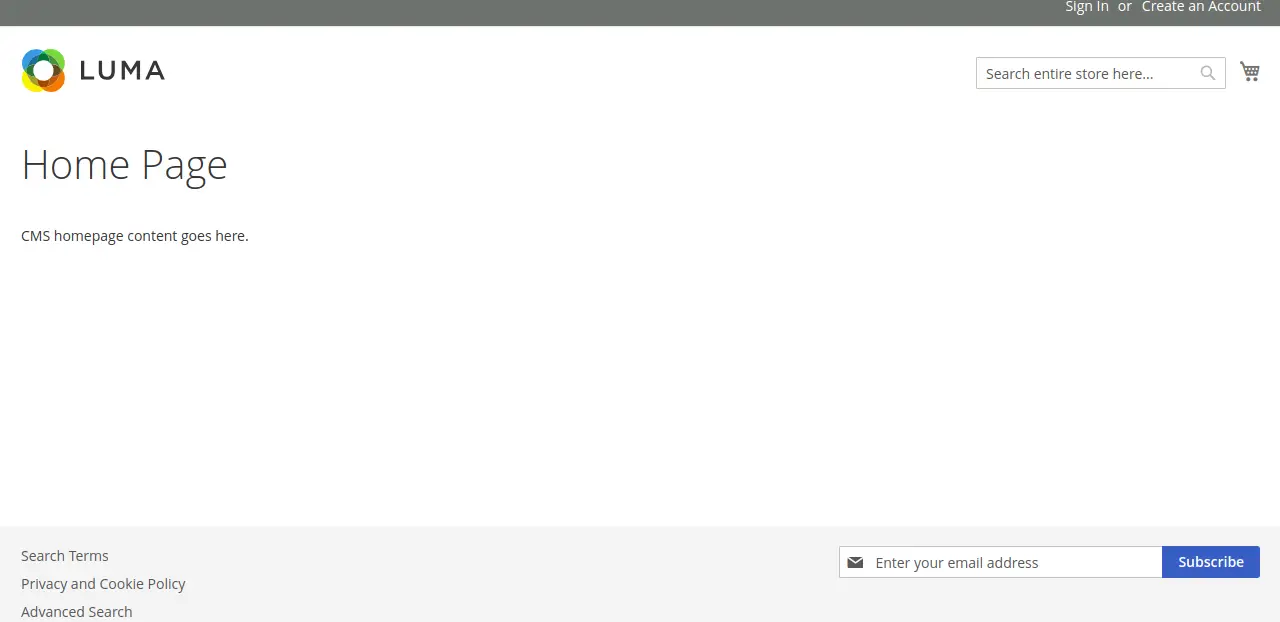
Now, click on the Your Store Address button. You should see your Magento store in the following page:
To access your Magento Admin interface, type the URL https://magento.linuxbuz.com/admin_1teqss on your web browser. You will be redirected to the Magento Login page:
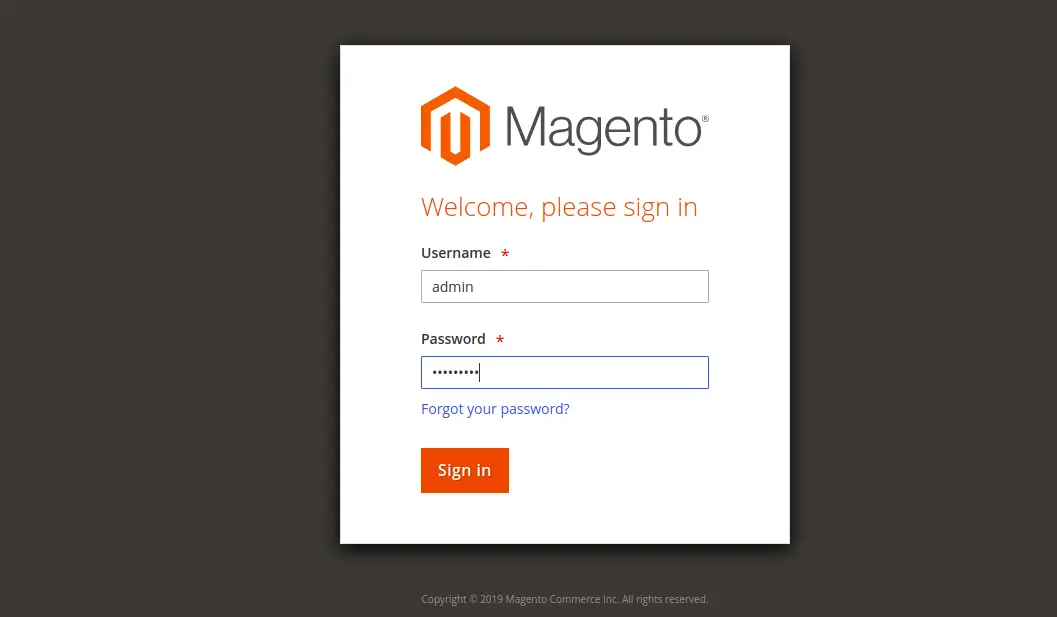
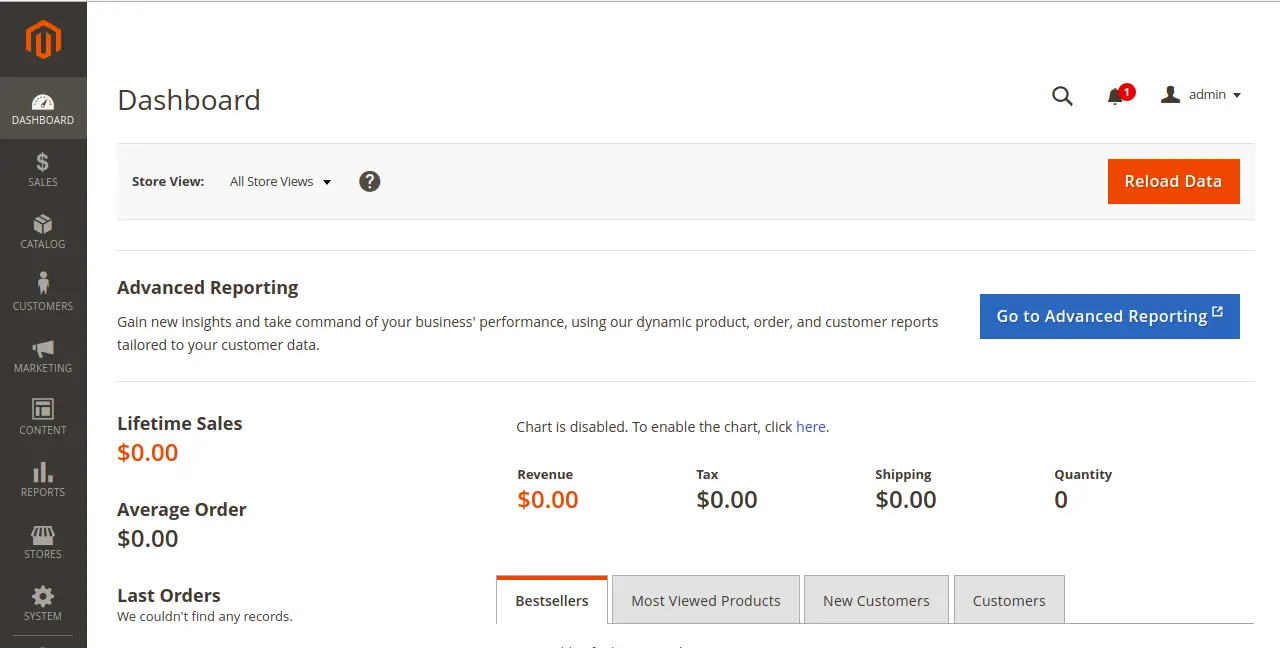
Provide your Magento admin username, password and click on the Sign in button. You should see your Magento admin interface in the following page:
That's it for now. Your Magento is now secured with Let's Encrypt free SSL.

