Having just finished my first of five modules at the Flatiron School here in Denver, I wanted to write a post about something that I found particularly challenging in the hope of helping future students. After much deliberation, I can confidently say that I struggled the most to wrap my head around setting up a many-to-many relationship using Activerecord.
So what exactly is Activerecord anyway? In technical terms, Activerecord is a Ruby Gem that takes care of all of your database stuff. It is an ORM that allows you to interact with your data without having to write pesky SQL queries, assuming you are using a SQL database. In my case we were required to use SQLite3. However, the true beauty and power of Activerecord are all of the methods that it gives you for free.
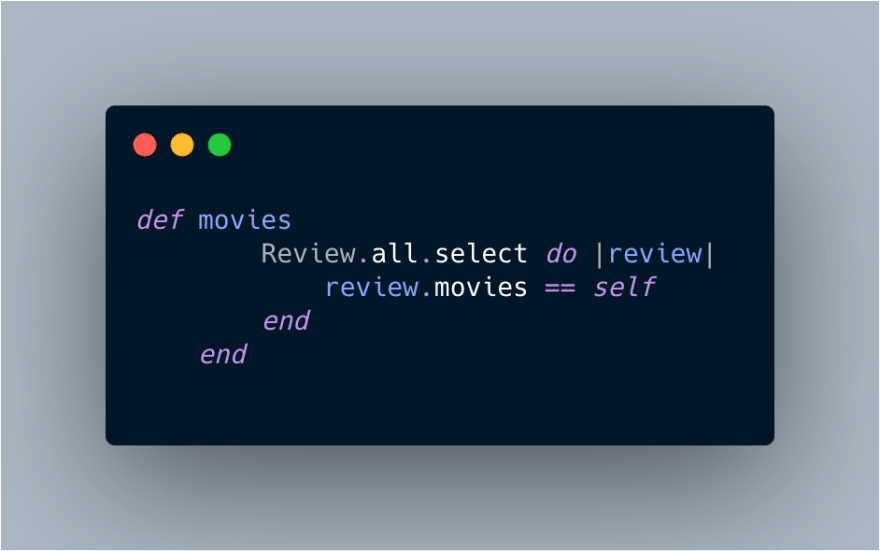
For example, say you are working on a basic CLI app that reviews Bill Murray movies, and that your database consists of three tables: a users table, a movies table, and a reviews table. Let's also say that you want a way to list all of the Bill Murray movies that a particular user has reviewed. Without the magic of Activerecord you would normally write out a method on your user class that looks like this.
With Activerecord, assuming you have set all of your relationships up correctly, this is all you need to type to achieve the exact same result.
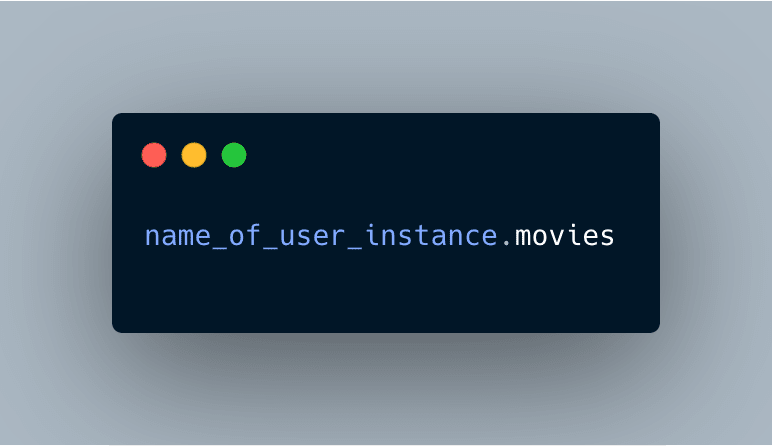
This, and all of the other built in methods that Activerecord gives you for free, is but one example of what makes it so powerful.
Now in order to gain access to this trove of methods you need to make sure that your many-to-many(M:N) relationships are set up properly. The first thing you need to do before you even think about opening up your terminal is to make sure that you have modeled your data correctly. I like to sketch out the table relationships the old-fashioned way with a pencil and piece of paper. If we were making a simple book app, our M:N diagram would look something like this.
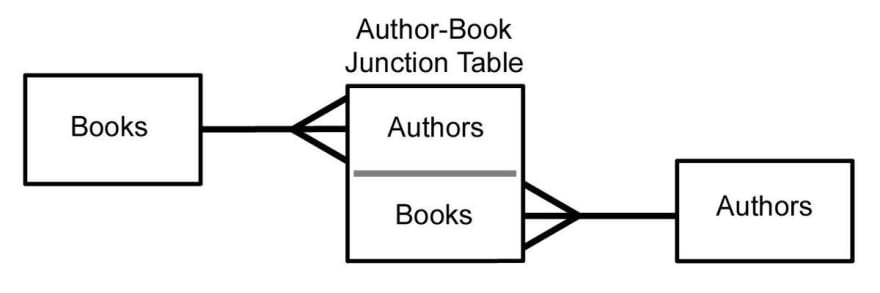
Books can have many authors, and authors can have many books.
The key take away being that the authors books table is the join table.
Once you have your relationships correctly diagrammed you can now begin to setup your file structure by following these steps:
- In the root of your project run
bundle init. This creates your gem file. - Add gems:
bundle add activerecord pry sinatra sinatra-activerecord rake sqlite3 require_all. - run
bundle install. - Create your directories:
mkdir config and lib - Create files:
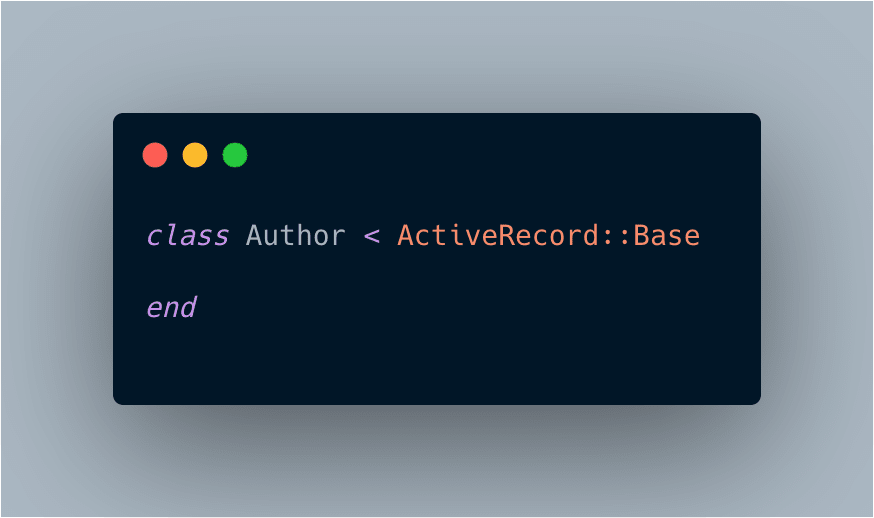
touch config/environment.rb config/database.yml - Create your model files and models (make sure to have your models inherit from ActiveRecord::Base).
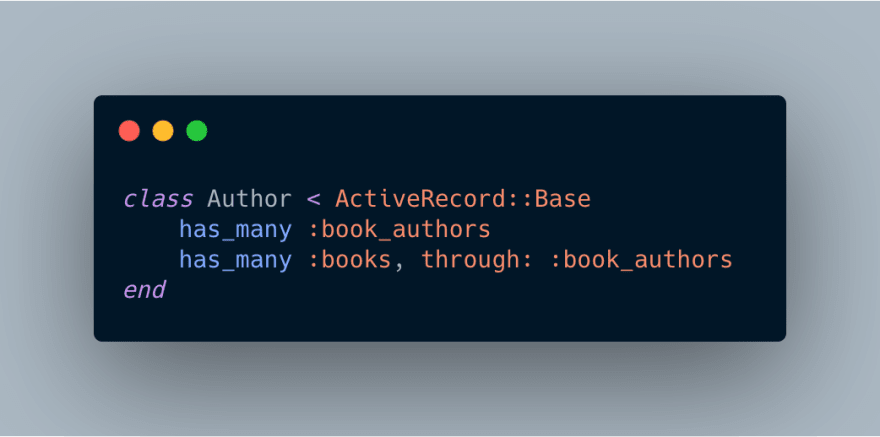
 Inside your models is where you will set up the relationships that
give you access to all of the Activerecord methods. In the case of our
book app example, those relationships would look like this.
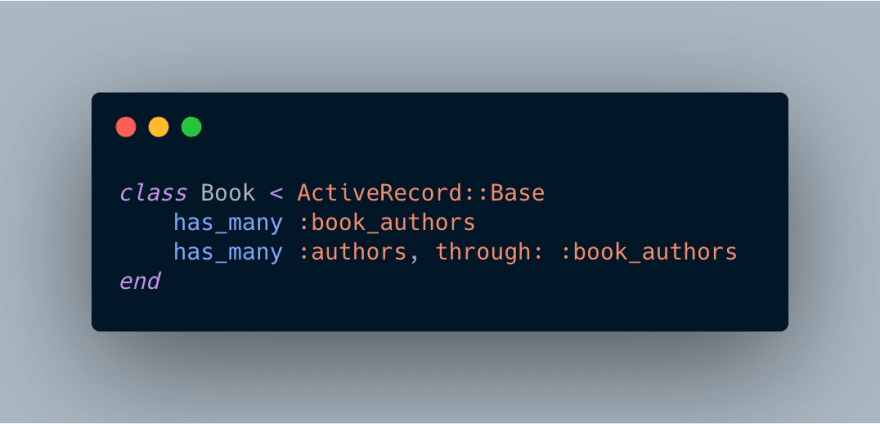
Inside your models is where you will set up the relationships that
give you access to all of the Activerecord methods. In the case of our
book app example, those relationships would look like this.

-
Inside config/environment.rb:
require 'sinatra/activerecord'
require 'sqlite3'
require 'require_all'
require 'pry'
require_all 'lib' -
In config/database.yml:
development:
adapter: sqlite3
database: db/books.sqlite3This step connects your database to Activerecord.
Touch Rakefile, and while inside your Rakefile make sure to
require_relative 'config/environment'
require 'sinatra/activerecord/rake'Run
rake -Tto make sure you have access to raketasks.Run
rake db:create_migration NAME=create_book_authors_table
(will create the db folder if it doesn’t already exist) and will add
the migration file to db/migration. Also, make sure that your table
names are plural, and that your model names are singular.Write migration file, then run
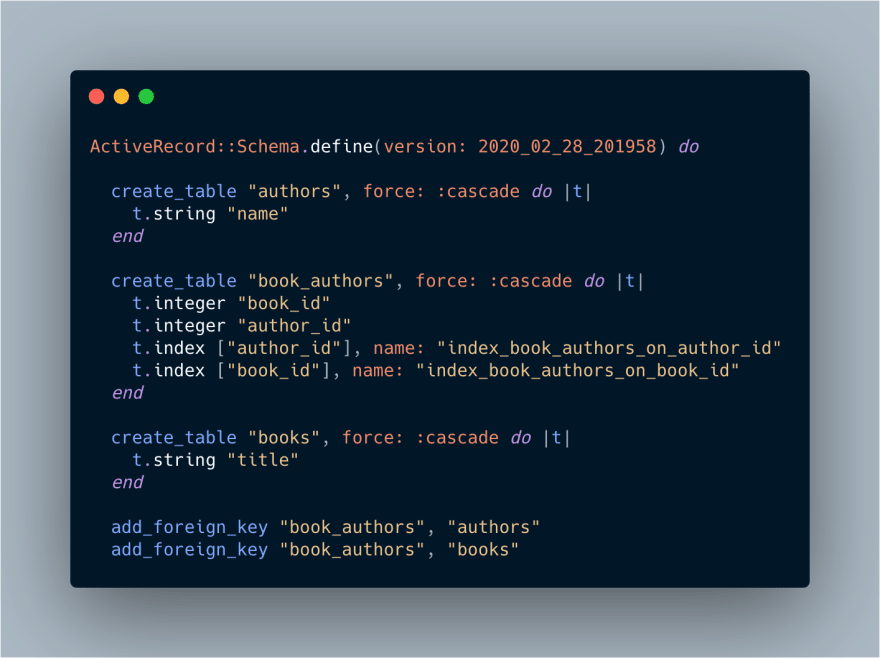
rake db:migrateYou can now see the schema in your file structure.
And that's basically it. You can now create seeds in your seeds file db/seeds.rb and run rake db:seed. Most importantly you now have access to Activerecord methods like:
.create
.all
.count
.find
.find_by
.where
and many more that you can find inside the Activerecord docs.
https://guides.rubyonrails.org/active_record_querying.html
I hope this article helps, and happy coding!


Top comments (0)