How to Install InvoicePlane with Nginx on FreeBSD 12
On this page
InvoicePlane is a free and open-source invoicing application. This tutorial will show you how to install InvoicePlane on a FreeBSD 12 system.
Requirements
- WebServer (Apache, NGINX). This tutorial will use Nginx.
- MySQL version 5.5 or greater or the equivalent version of MariaDB.
- PHP version 7.0, 7.1, or 7.2 with the following PHP extensions installed and activated:
- php-gd
- php-hash
- php-json
- php-mbstring
- php-mcrypt
- php-mysqli
- php-openssl
- php-recode
- php-xmlrpc
- php-zlib
Prerequisites
- A server running FreeBSD 12.
- A non-root user with sudo privileges.
Initial steps
Check your FreeBSD version:
uname -ro
# FreeBSD 12.1-RELEASE
Set up the timezone:
tzsetup
Update your operating system packages (software). This is an important first step because it ensures you have the latest updates and security fixes for your operating system's default software packages:
freebsd-update fetch install
pkg update && pkg upgrade -y
Install some essential packages that are necessary for basic administration of FreeBSD 12.0 operating system:
pkg install -y sudo vim unzip wget bash
Step 1 - Install PHP and required PHP extensions
InvoicePlane web application requires PHP version 7.0 or greater.
Install PHP, as well as the necessary PHP extensions:
sudo pkg install -y php72 php72-ctype php72-curl php72-dom php72-hash php72-iconv php72-gd php72-json php72-mbstring php72-openssl php72-session php72-simplexml php72-xml php72-zip php72-zlib php72-pdo php72-pdo_mysql php72-mysqli php72-filter php72-ftp php72-tokenizer php72-calendar php72-pecl-APCu php72-opcache
Check the PHP version:
php --version

# PHP 7.2.7 (cli) (built: Jul 25 2019 01:28:53) ( NTS )
# Copyright (c) 1997-2018 The PHP Group
# Zend Engine v3.3.7, Copyright (c) 1998-2018 Zend Technologies
# with Zend OPcache v7.3.7, Copyright (c) 1999-2018, by Zend Technologies
Enable and start PHP-FPM service:
sudo sysrc php_fpm_enable=yes
sudo service php-fpm start
Step 2 - Install MySQL
Install MySQL database server:
sudo pkg install -y mysql57-server
Check MySQL version:
mysql --version
# mysql  Ver 14.14 Distrib 5.7.26, for FreeBSD12.0 (amd64) using  EditLine wrapper
Enable and start MySQL service:
sudo sysrc mysql_enable="yes"
sudo service mysql-server start
Run mysql_secure installation script to improve MySQL security and set the password for MySQL root user:
sudo mysql_secure_installation
Answer each of the questions:
Would you like to setup VALIDATE PASSWORD plugin? N
New password: your_secure_password
Re-enter new password: your_secure_password
Remove anonymous users? [Y/n] Y
Disallow root login remotely? [Y/n] Y
Remove test database and access to it? [Y/n] Y
Reload privilege tables now? [Y/n] Y
Connect to MySQL shell as the root user:
sudo mysql -u root -p
# Enter password
Create an empty MySQL database and user for Matomo and remember the credentials:
CREATE DATABASE dbname;
CREATE USER 'username'@'localhost' IDENTIFIED BY 'password';
GRANT ALL ON dbname.* TO 'username' IDENTIFIED BY 'password';
FLUSH PRIVILEGES;
Exit from MySQL:
exit
Replace dbname, username and password with your own names.
Step 3 - Install acme.shbclient and obtain Let's Encrypt certificate (optional)
Securing your website with HTTPS is not necessary, but it is a good practice to secure your site traffic. In order to obtain TLS certificate from Let's Encrypt we will use Acme.sh client. Acme.sh is a pure UNIX shell software for obtaining TLS certificates from Let's Encrypt with zero dependencies. 
Download and install Acme.sh:
sudo pkg install -y acme.sh
Check Acme.sh version:
acme.sh --version
# v2.8.2
Obtain RSA and ECC/ECDSA certificates for your domain/hostname:
# RSA
sudo acme.sh --issue --standalone --home /etc/letsencrypt -d example.com --keylength 2048
# ECDSA
sudo acme.sh --issue --standalone --home /etc/letsencrypt -d example.com --keylength ec-256
After running the above commands, your certificates and keys will be in:
- For RSA:
/etc/letsencrypt/example.comdirectory. - For ECC/ECDSA:
/etc/letsencrypt/example.com_eccdirectory.
Step 3 - Install NGINX
Install the NGINX web server:
sudo pkg install -y nginx
Check the NGINX version:
nginx -v
# nginx version: nginx/1.14.2
Start and enable NGINX service:
sudo sysrc nginx_enable=yes
sudo service nginx start
Configure Nginx for InvoicePlane by running:
sudo vim /usr/local/etc/nginx/invoiceplane.conf
And populate the file with the following configuration:
server {
    listen 80;
    listen [::]:80;

    server_name example.com;

    root /usr/local/www/invoiceplane;

    index index.php index.html;

    location / {
        try_files $uri $uri/ /index.php?$query_string;
    }

    location ~* \.php$ {
      fastcgi_pass 127.0.0.1:9000;
      include fastcgi_params;
      fastcgi_index index.php5;
      fastcgi_param SCRIPT_FILENAME $document_root$fastcgi_script_name;
    }
}
Test the NGINX configuration:
sudo nginx -t
Reload NGINX:
sudo service nginx restart
Step 4 - Install InvoicePlane
Download the latest stable version of InvoicePlane and extract the archive:
sudo mkdir -p /usr/local/www
cd /usr/local/www
sudo curl -O -J -L https://invoiceplane.com/download/v1.5.9
sudo unzip v1.5.9.zip
sudo rm v1.5.9.zip
sudo mv ip invoiceplane
Navigate to /var/www/invoiceplane directory:
cd /usr/local/www/invoiceplane
Make a copy of the ipconfig.php.example file and rename the copy to ipconfig.php:
sudo cp ipconfig.php.example ipconfig.php
Open the ipconfig.php file and add your URL in it:
sudo vim ipconfig.php
# Something like this
IP_URL=http://example.com
Change ownership of the /usr/local/www/invoiceplane directory to www:
sudo chown -R www:www /usr/local/www/invoiceplane
Run sudo vim /etc/php.ini and set date.timezone:
date.timezone = Region/City
Restart the PHP-FPM service:
sudo service php-fpm restart
Run the InvoicePlane installer from your web browser and follow the instructions:
http://example.com/index.php/setup
Once the installation has finished, you may log into InvoicePlane using the email address and password you have chosen during the installation.
If you want to secure your installation, you may disable the setup. To do so, replace the DISABLE_SETUP=false line with DISABLE_SETUP=true in your ipconfig.php file.
Step 5 - Complete the InvoicePlane setup
InvoicePlane is now installed and configured, it's time to access its web installation wizard.
Open your web browser and type the URL http://example.com. You will be redirected to the following page:
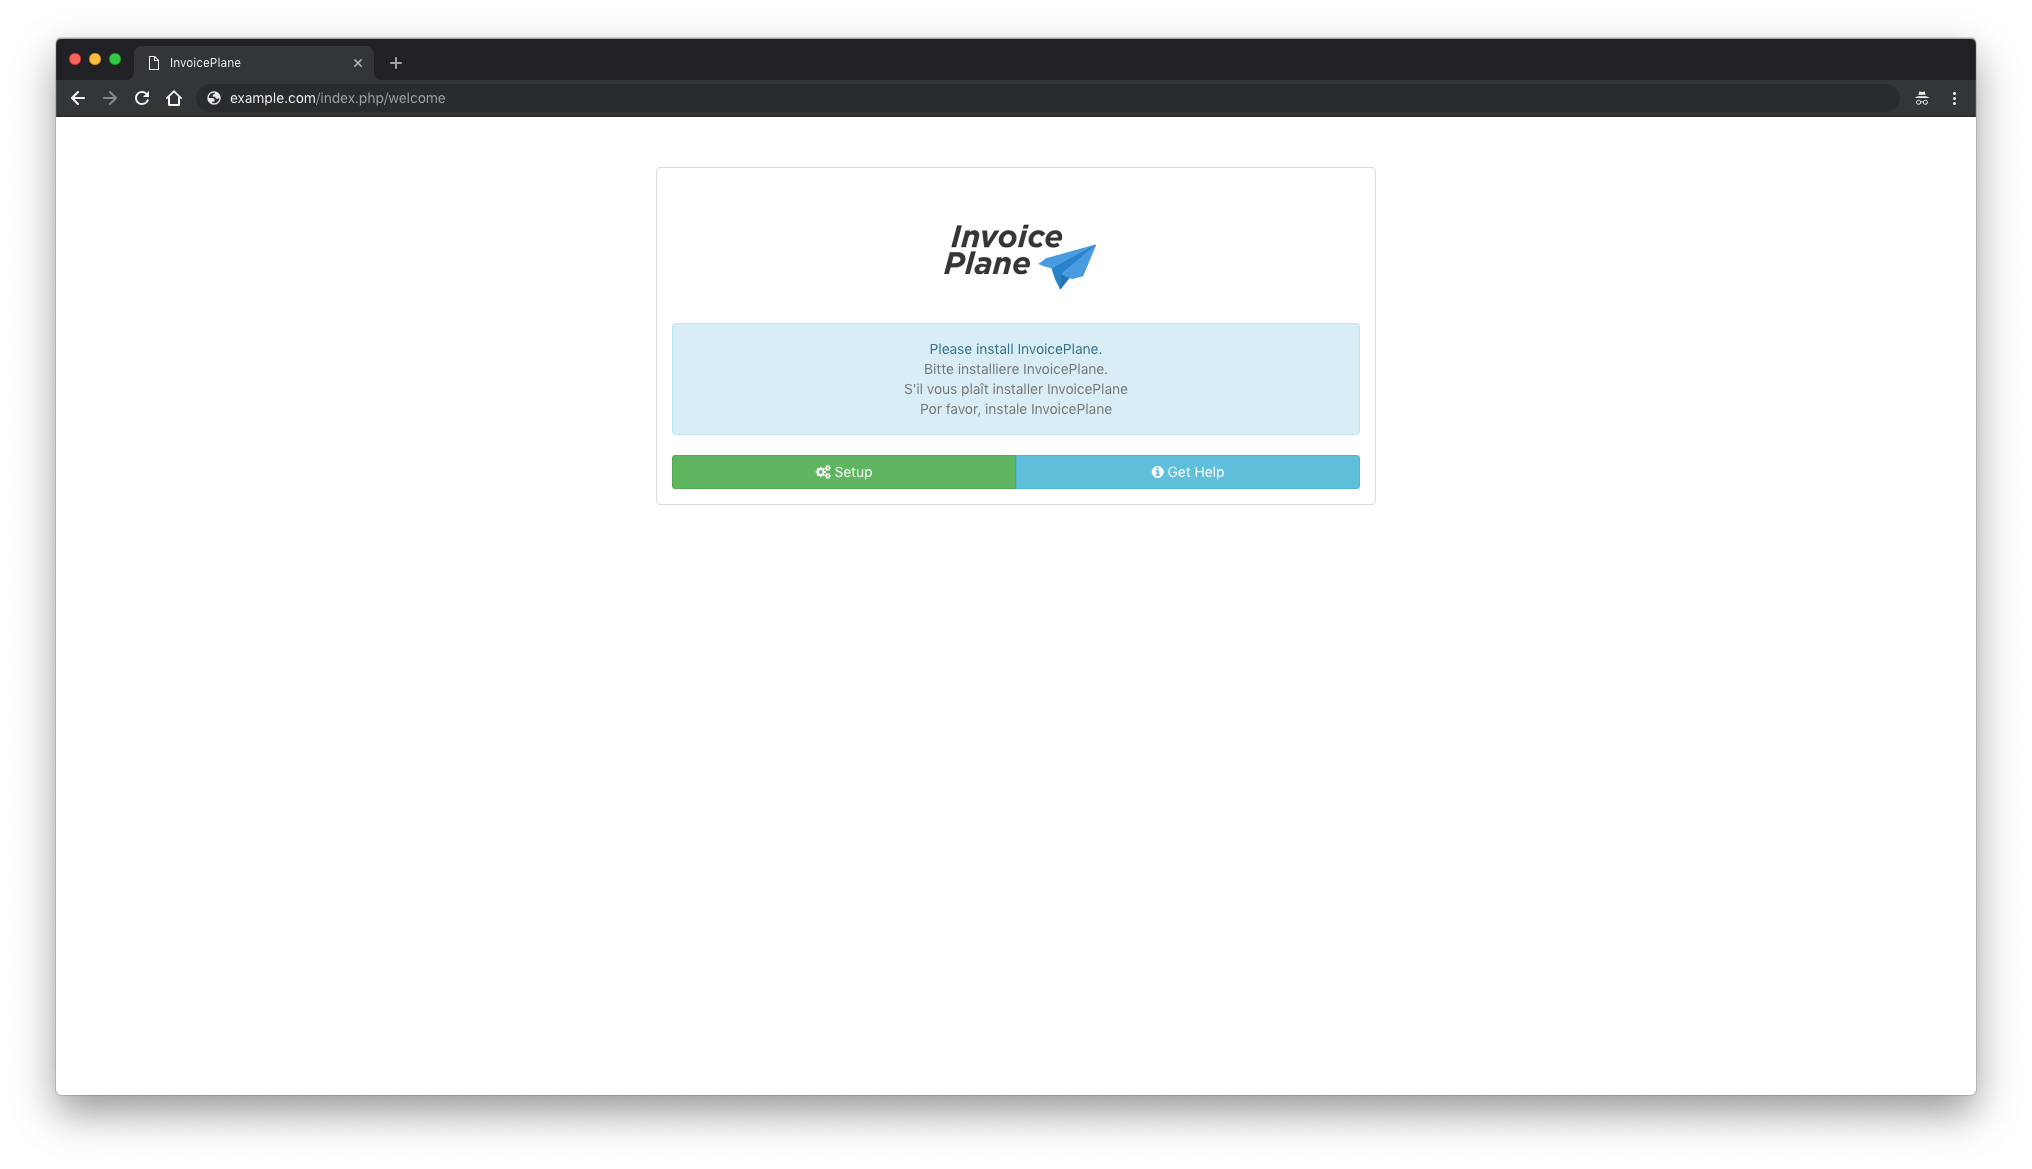
Now, click on the Setup button. You should see the following page:

Next, choose the language and click on the Continue button. You should see the following page:
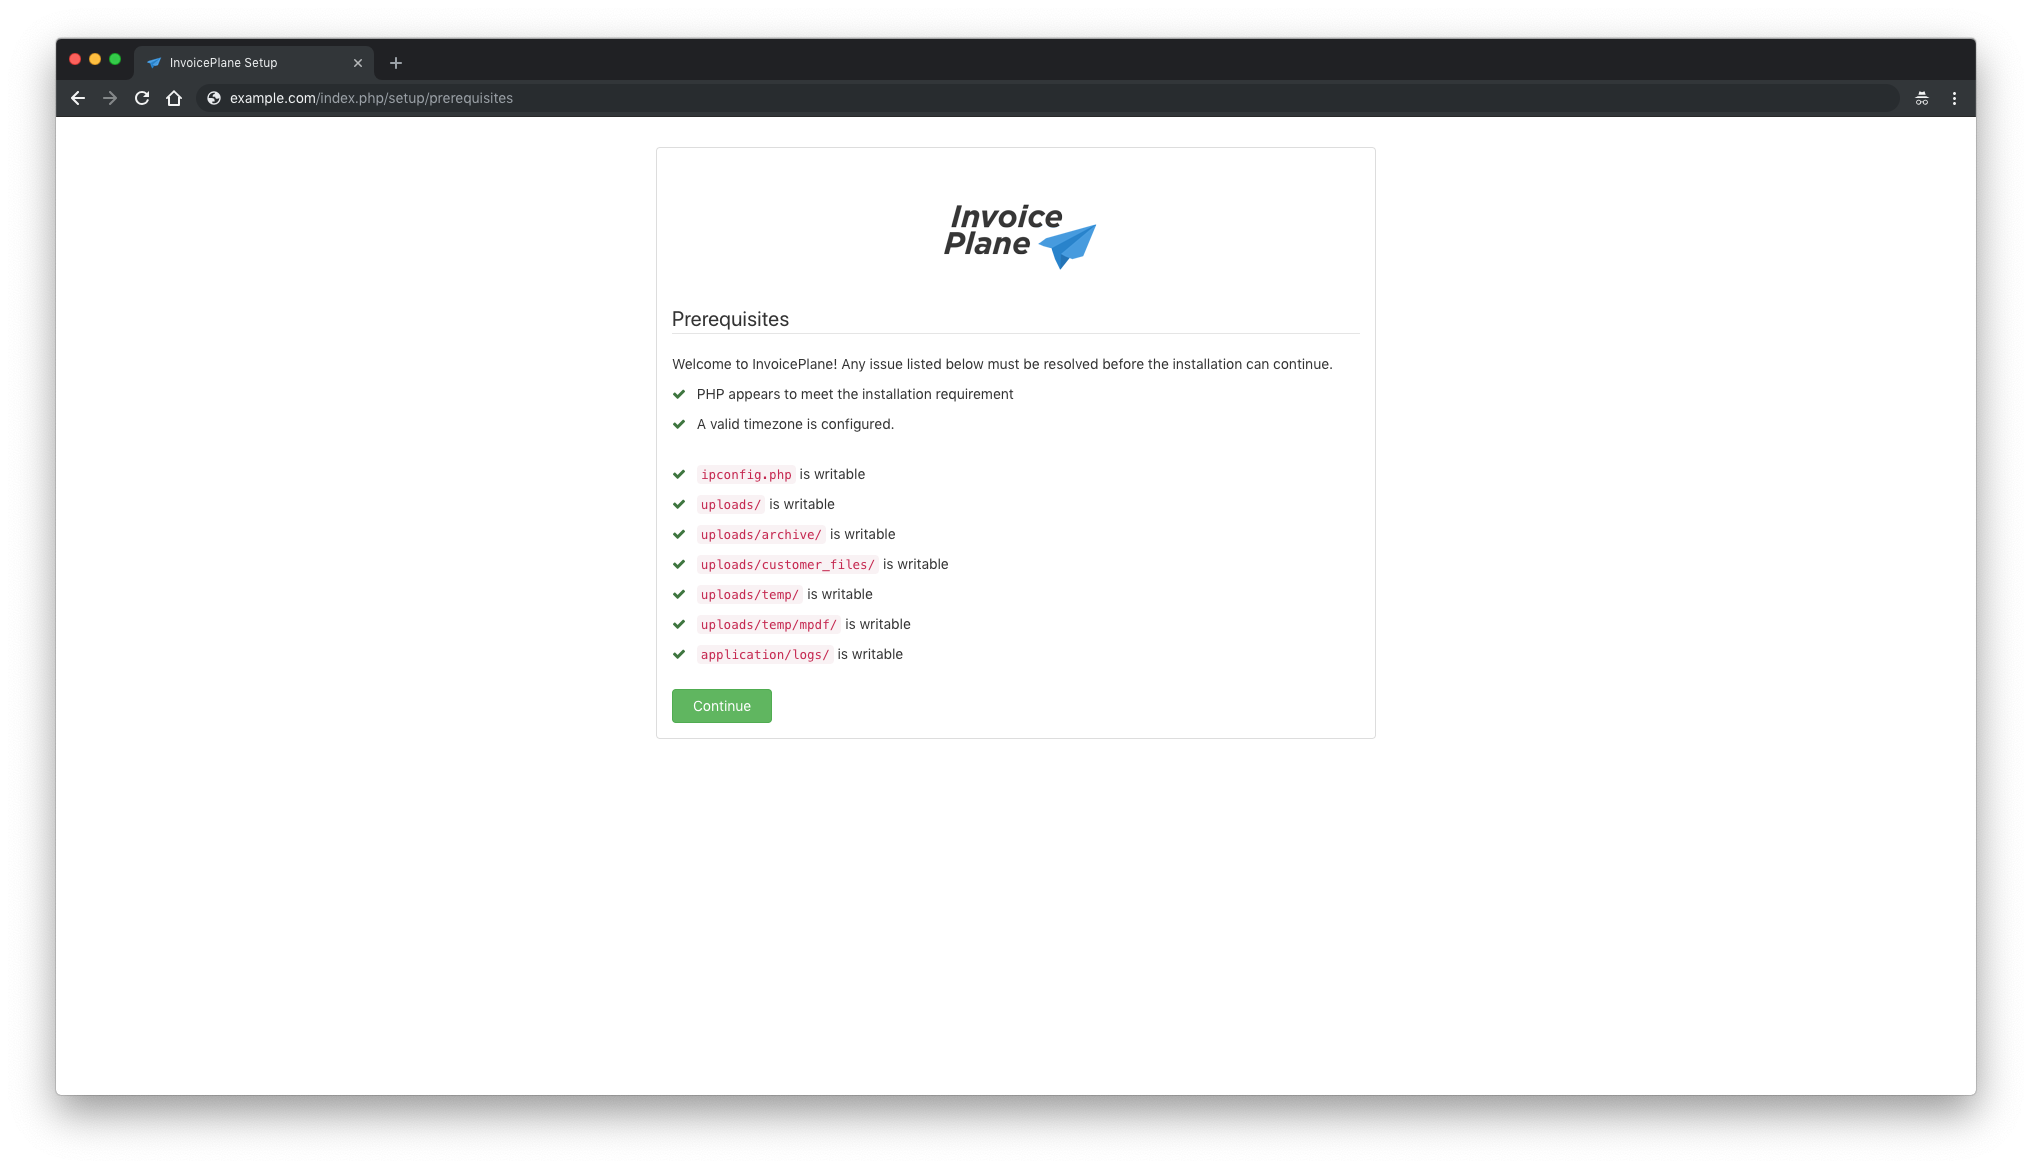
Next, click on the Continue button. You should see the following page:
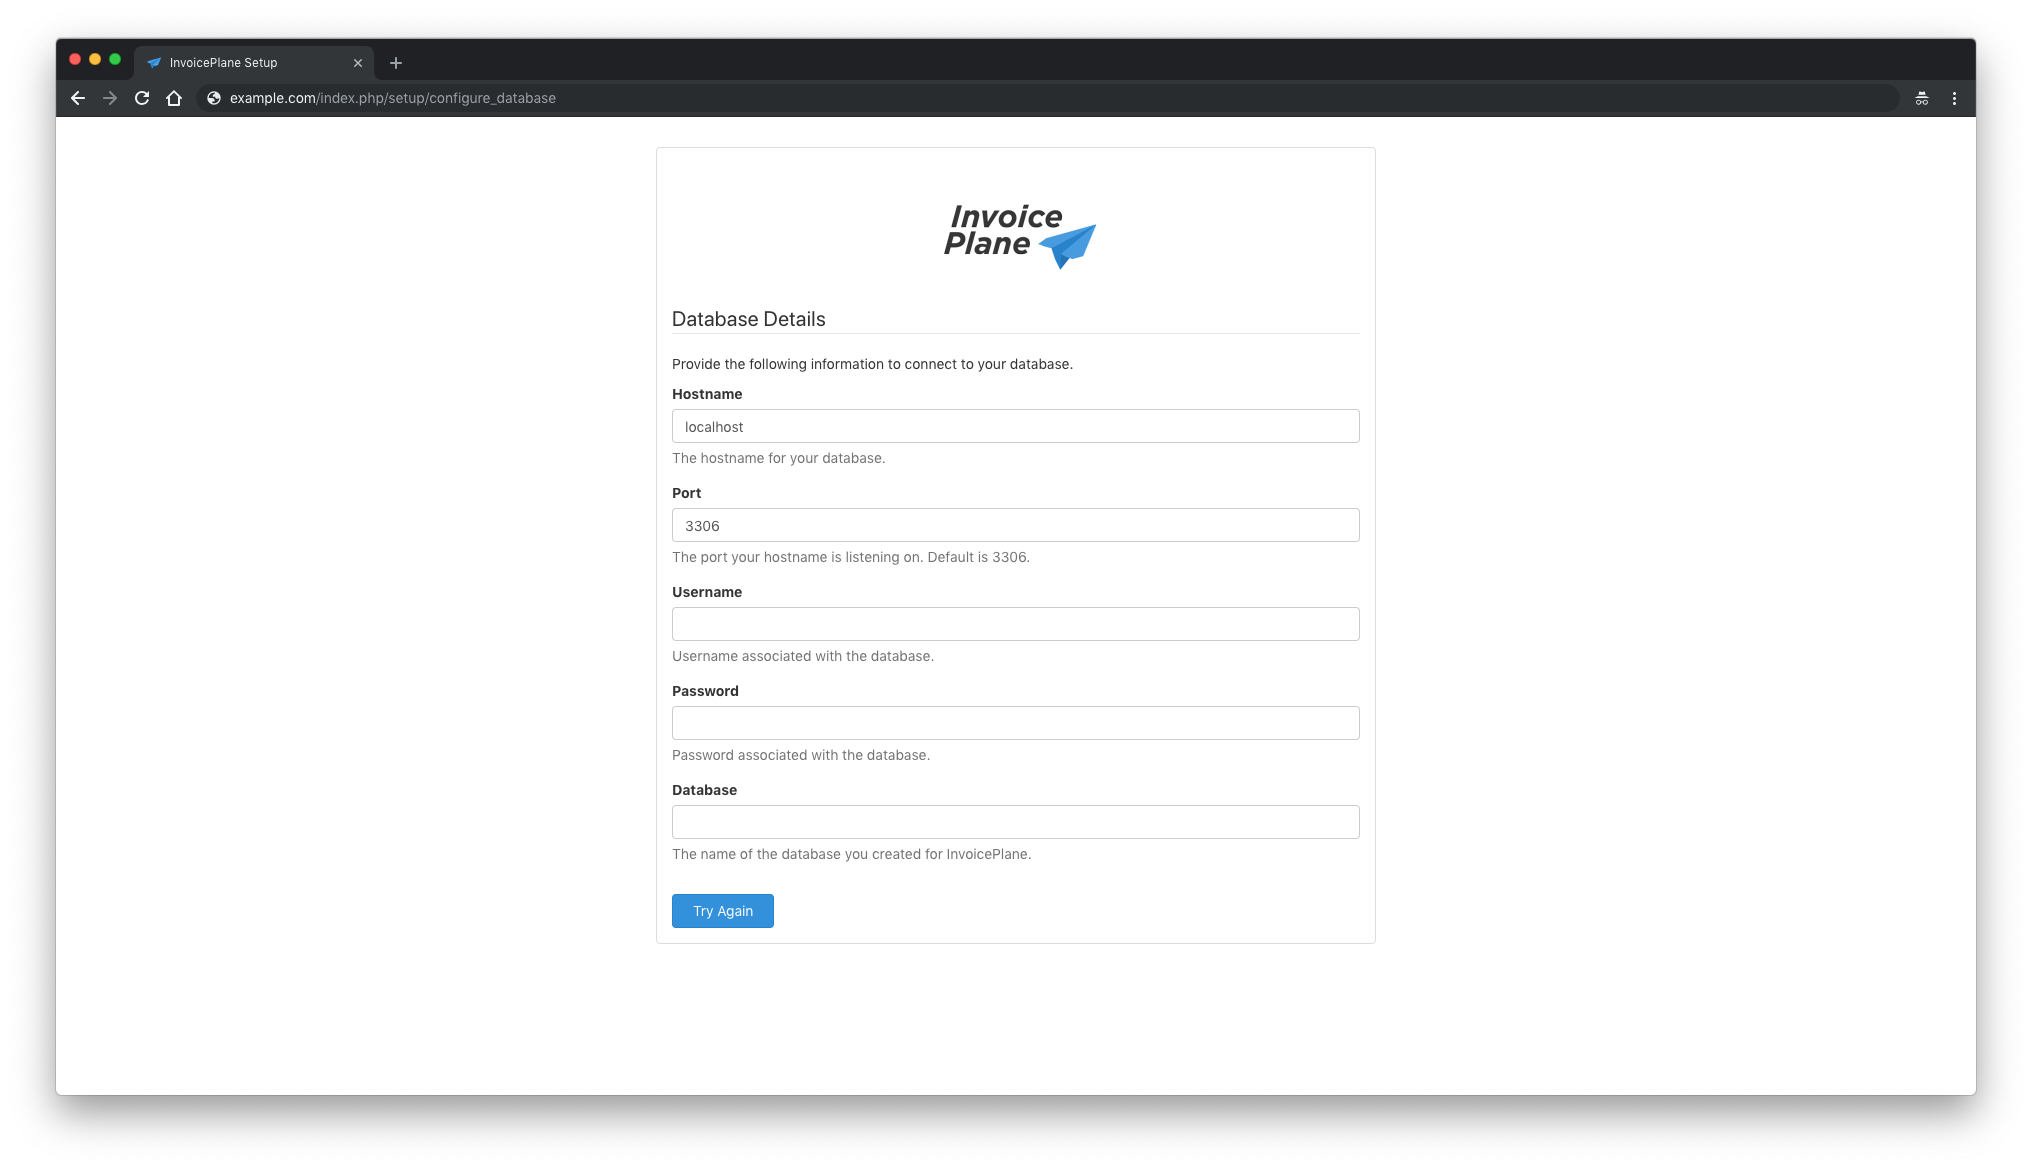
Here, provide your database details and click on the Try Again button. You should see the following page:
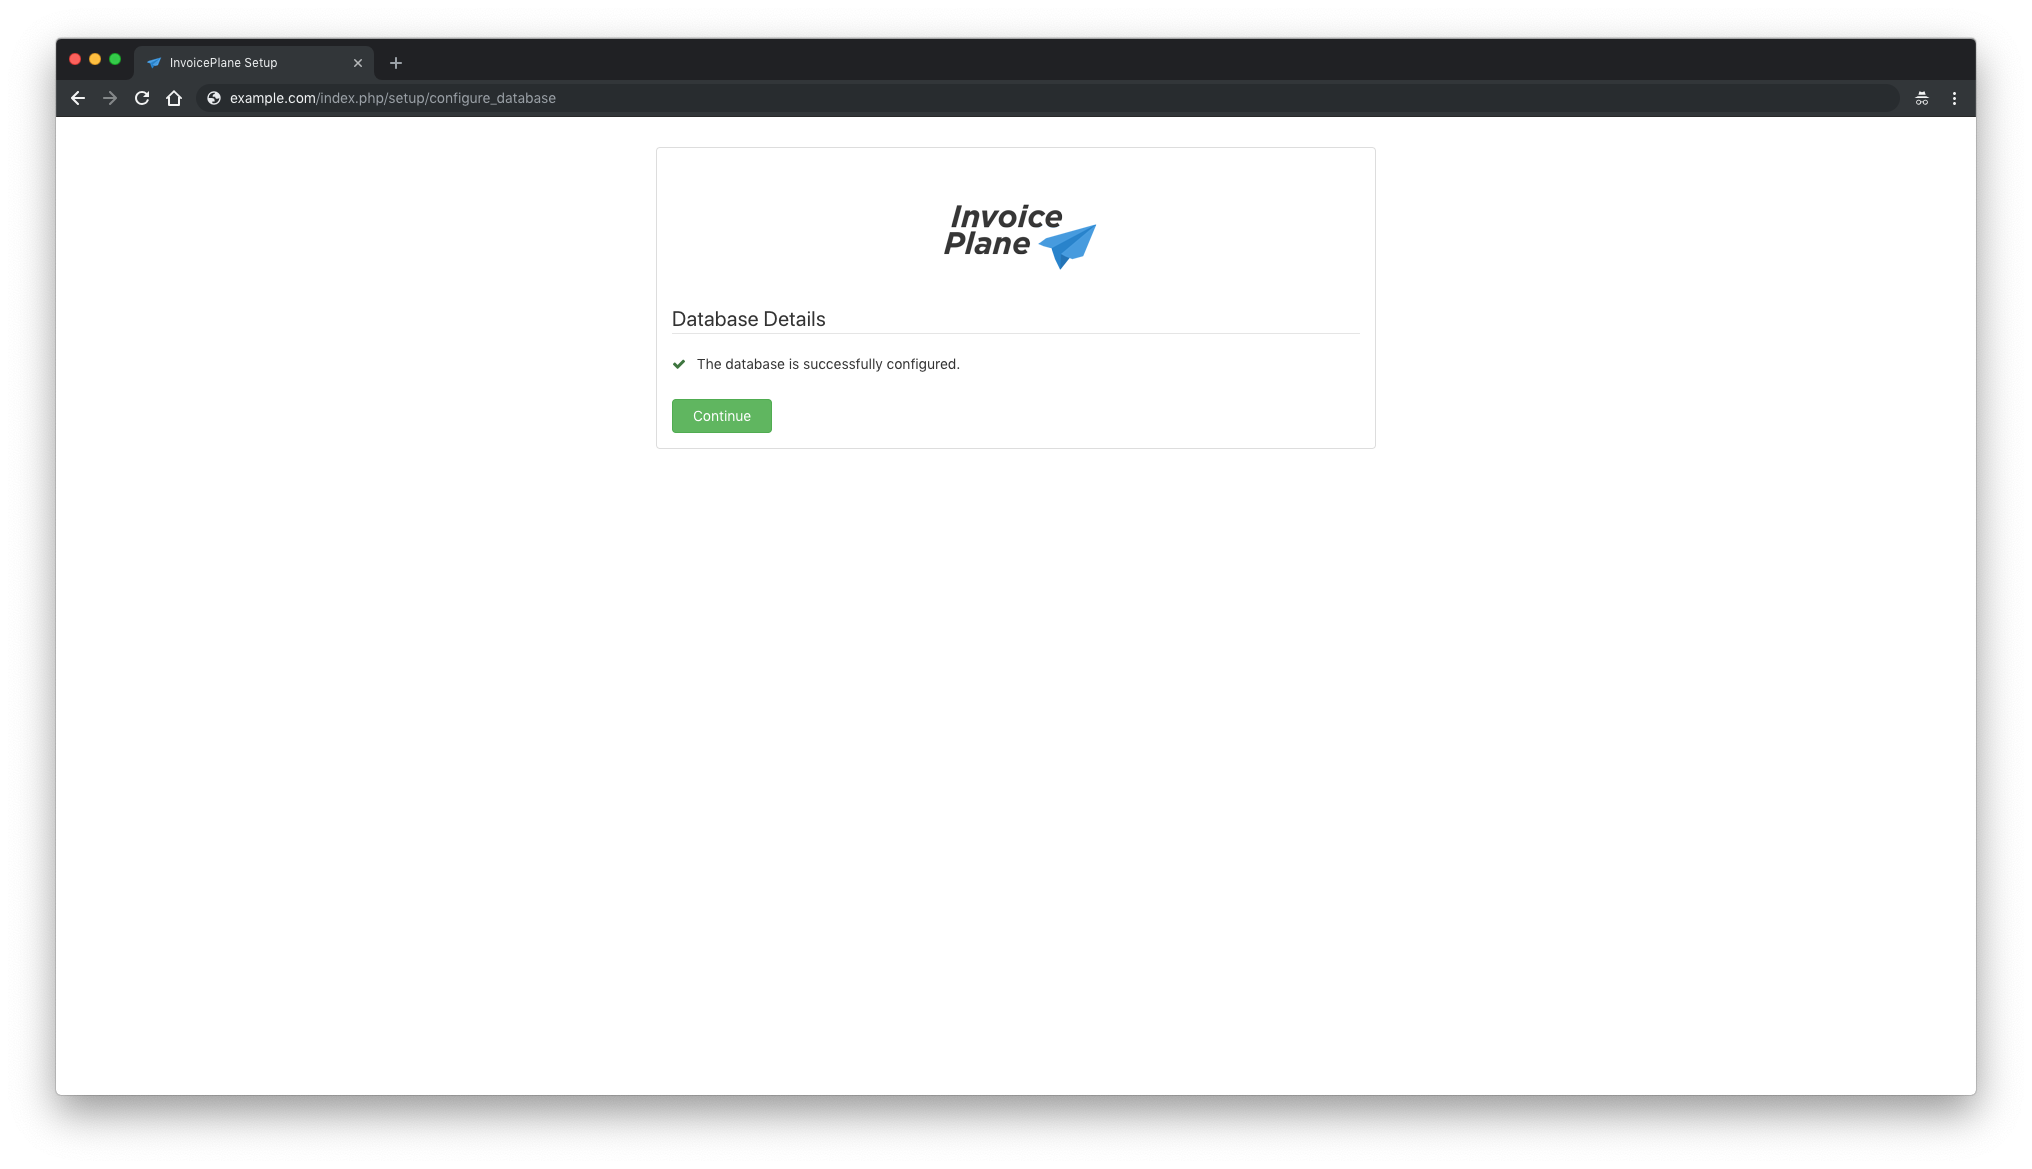
Now, click on the Continue button. You should see the following page:
Now, click on the Continue button. You should see the following page:

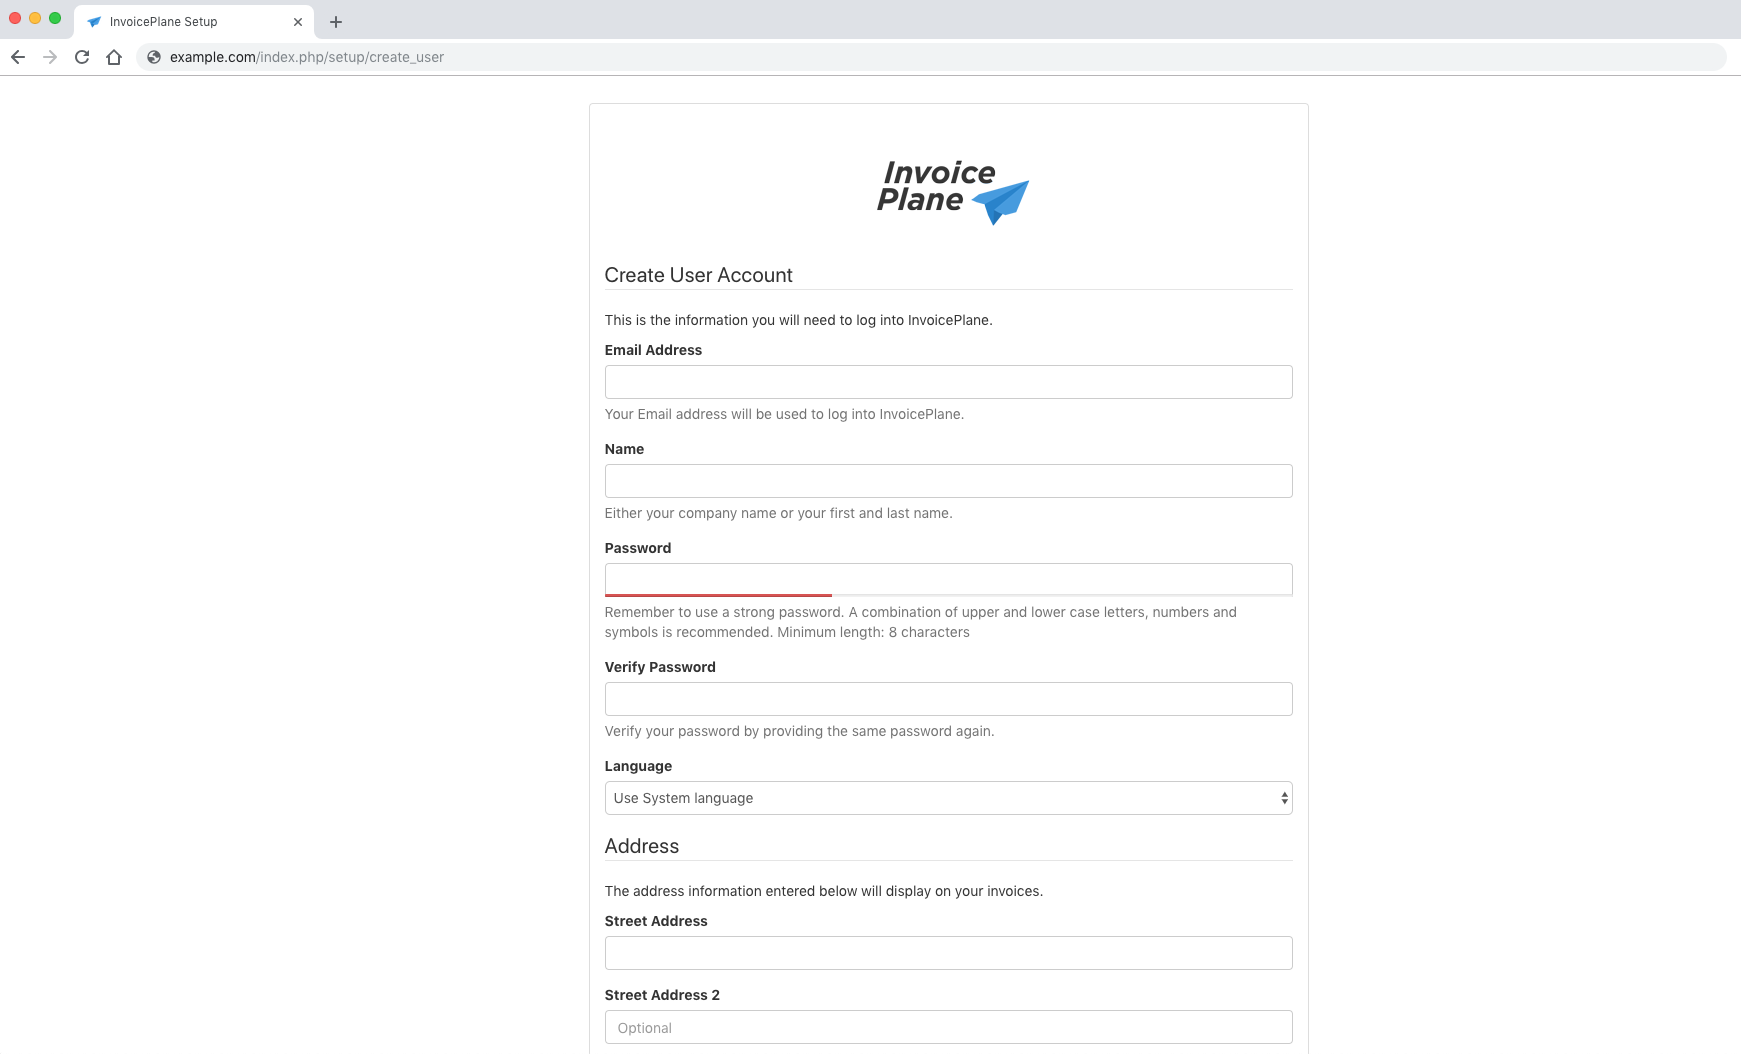
Now, provide all the required details, then click on the Continue button. Once the installation is completed, you should see the following page:
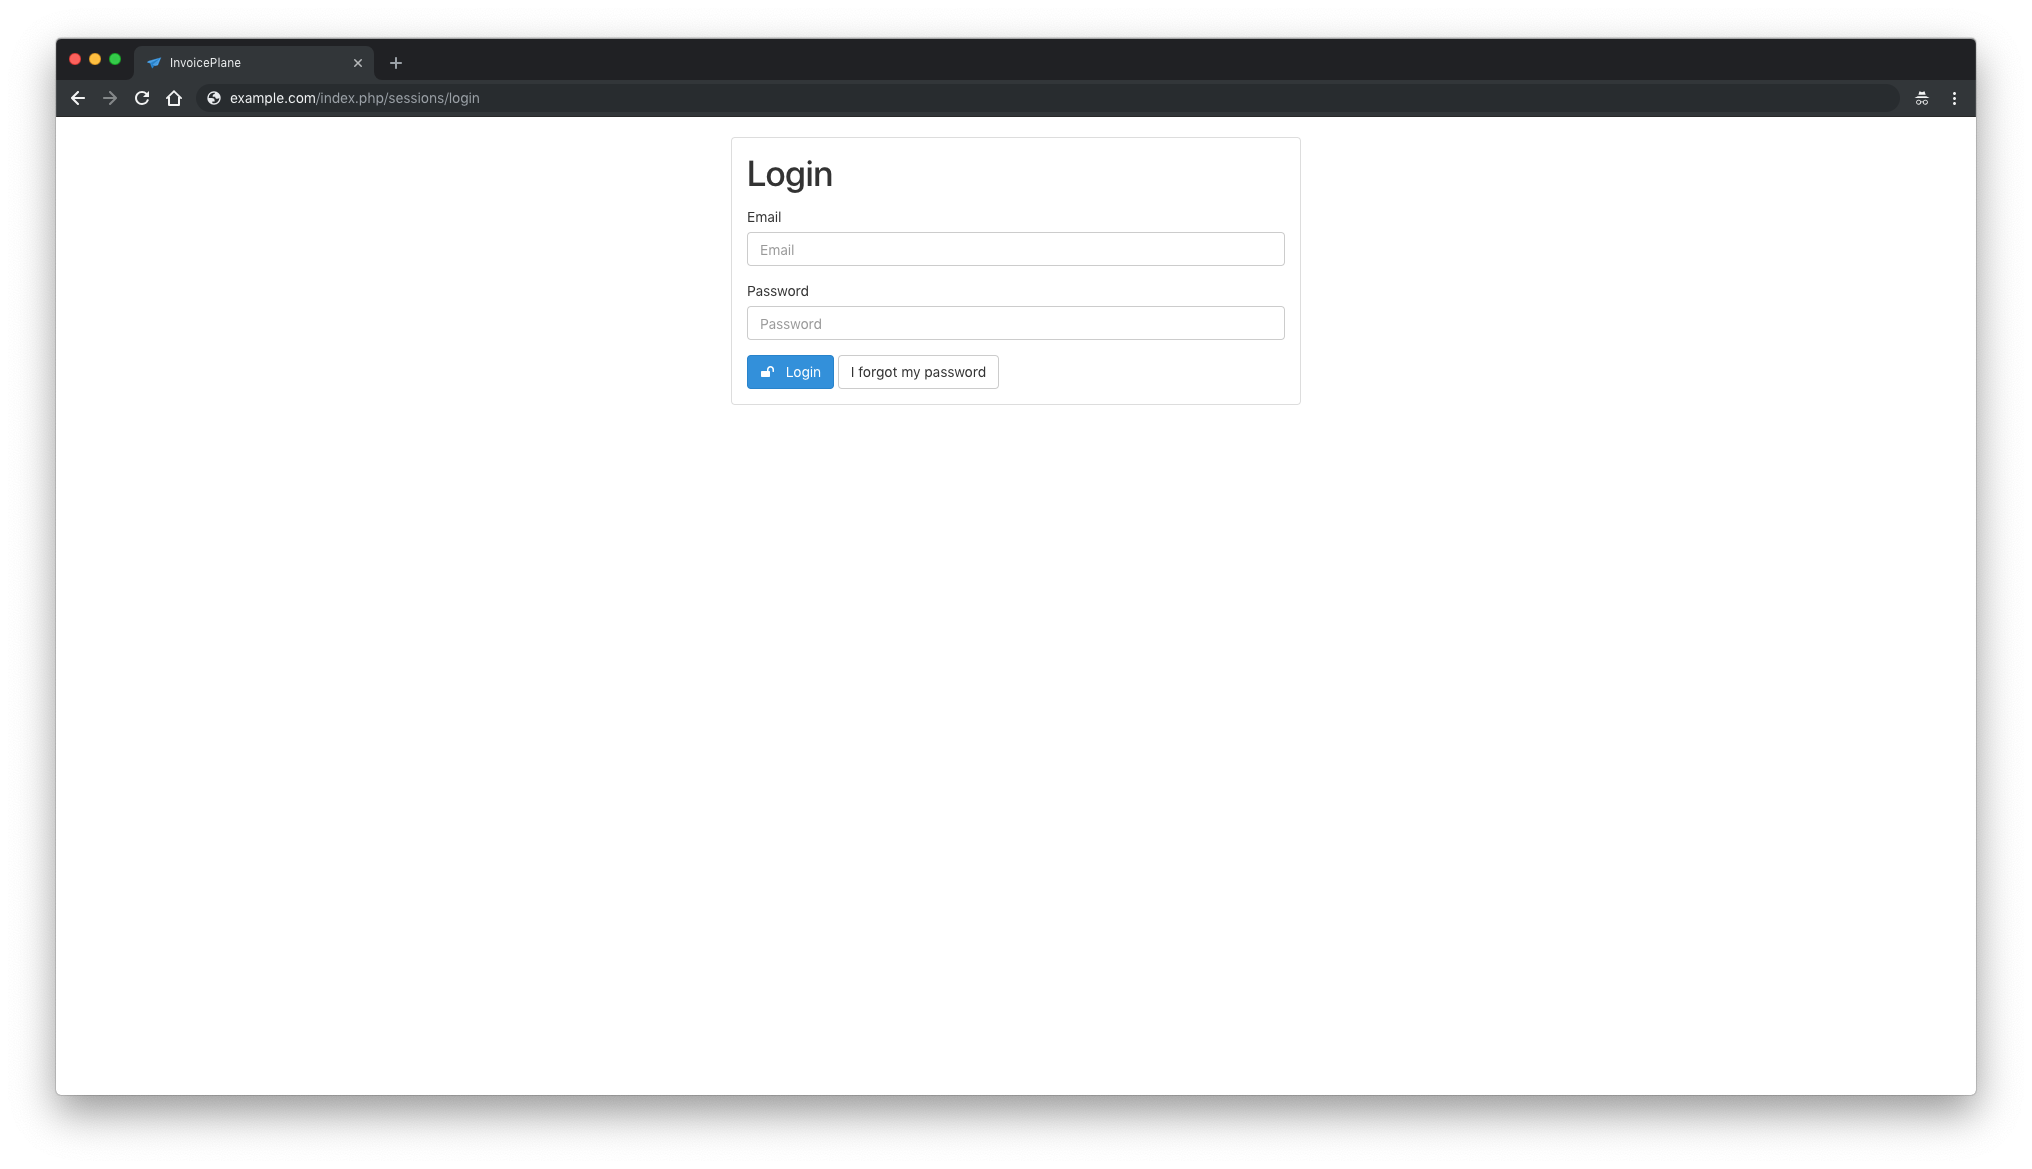
Now, click on the Login button to access InvoicePlane administration.

