In this article, we’ll learn how we can show loader or spinner on a specific element of an HTML form using Angular 8.
Prerequisites:
- Prior knowledge of TypeScript.
- Prior knowledge of JavaScript.
- Visual studio code.
- A development machine with Node 8.9+ & NPM 5.5.1+ installed.
Step 1: Installing Angular CLI 8
In the First step, we’ll have to install the latest version of Angular CLI using below command.
$ npm install -g @angular/cliStep 2: Creating your Angular 8 Project
In this second step, we will use Angular CLI to start our Angular Project.
Go to CMD or Terminal and use below command:
$ ng new custom-loaderThis CLI will ask you “whether you would like to add Angular routing”: Say Yes.
It will ask “which stylesheet format you would like to use”. Choose CSS.
Now your project is ready Angular CLI will generate required files and folders along with NPM packages and routing too.
After that, open your project in Visual studio code and go to your root folder and run the local development server using below command:
$ npm start
Now run localhost:4200/ in your browser.
Step 3: Add Custom JS and Image of loader
- Now add JS and image folder inside of assets folder of project.
- Add JavaScript file inside JS folder with name “custom.js”
- Add any of your loader image inside image folder with name “loader.gif”.
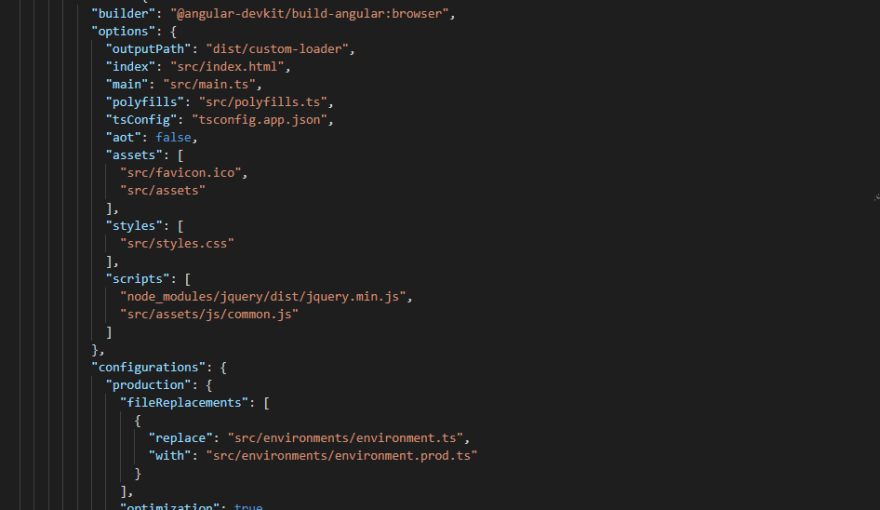
- Add jquery & custom.js in angular.json folder of your project.

After executing above steps,
Open your custom js file and copy this below code
function loadingServiceShow(zindex, id, flag) {
    try {
        var _id = $("[data-loader=" + id + "]");
        _id.CenterLoader(zindex, id, flag);
    } catch (error) {
        loadingServiceHide(id);
    }
}
$.fn.CenterLoader = function (zindex, id, flag) {
    var height = $(this).outerHeight() + "px";
    var width = $(this).outerWidth() + "px";
    var top = $(this).offset().top;
    var left = $(this).offset().left;
    var loadingContainer = "body";
    if (flag == true) {
        top = 0;
        left = 0;
        loadingContainer = this;
    }
    var centerTop = Math.max(0, (($(this).outerHeight() / 2) - 7)) + "px";
    var centerLeft = Math.max(0, (($(this).outerWidth() / 2) - 7)) + "px";

    var loadingContain;
    if (id === "" || id === null || id === undefined) {
        id = "loader-image";
    } else {
        var _loadIdAppend = id
        id = id + "_Loader";
    }
    loadingContain = "<div style='position:absolute;height:" + height + ";width:" + width + ";background:#ccc;z-index:" + zindex + ";top:" + top + "px;left:" + left + "px;opacity:0.7' id='" + id + "' class='loader-image'><div style='position:absolute;top:" + centerTop + ";left:" + centerLeft + ";color:white;height: 28px;width: 28px;background: transparent url(assets/image/loader.gif) no-repeat scroll 0 0;' class='loader-style'></div></div>";
    if (flag == true) {
        loadingContain = "<div style='position:fixed;height:100%;width:100%;background:#ccc;z-index:" + zindex + ";top:0;left:0;opacity:0.7;'id='" + id + "' class='loader-image'><div style='position:absolute;top:49%;left:49%;color:white;height: 28px;width: 28px;background: transparent url(assets/image/loader.gif) no-repeat scroll 0 0;'class='loader-style'></div></div>"
    }
    $("body").append(loadingContain);
}
function loadingServiceHide(id) {
    if (id === "" || id === null || id === undefined) {
        $(".loader-image").remove();
    } else {
        $("#" + id + "_Loader").remove();
    }
}
Step 4: How to use Custom.js to make Call Custom Dynamic Loader
Open app.component.html page and add any HTML component like
Must add data attribute data-loader="Unique Identity"
Next, Open relevant component.ts file and declare JavaScript function above @component
Step 5: How to Start Loader on a specific Element
For loading start, you have to add this line (For full-screen loader you just have to pass “true” in the last argument)
For Specific element -
loadingServiceShow(1, 'loginbtnadd', false);For Full screen -
loadingServiceShow(1, 'loginbtnadd', true);Now let me show you how to use that function in ts code file
Step 6: How to Stop loader from specific Element
For stop you have to add this below line of command:
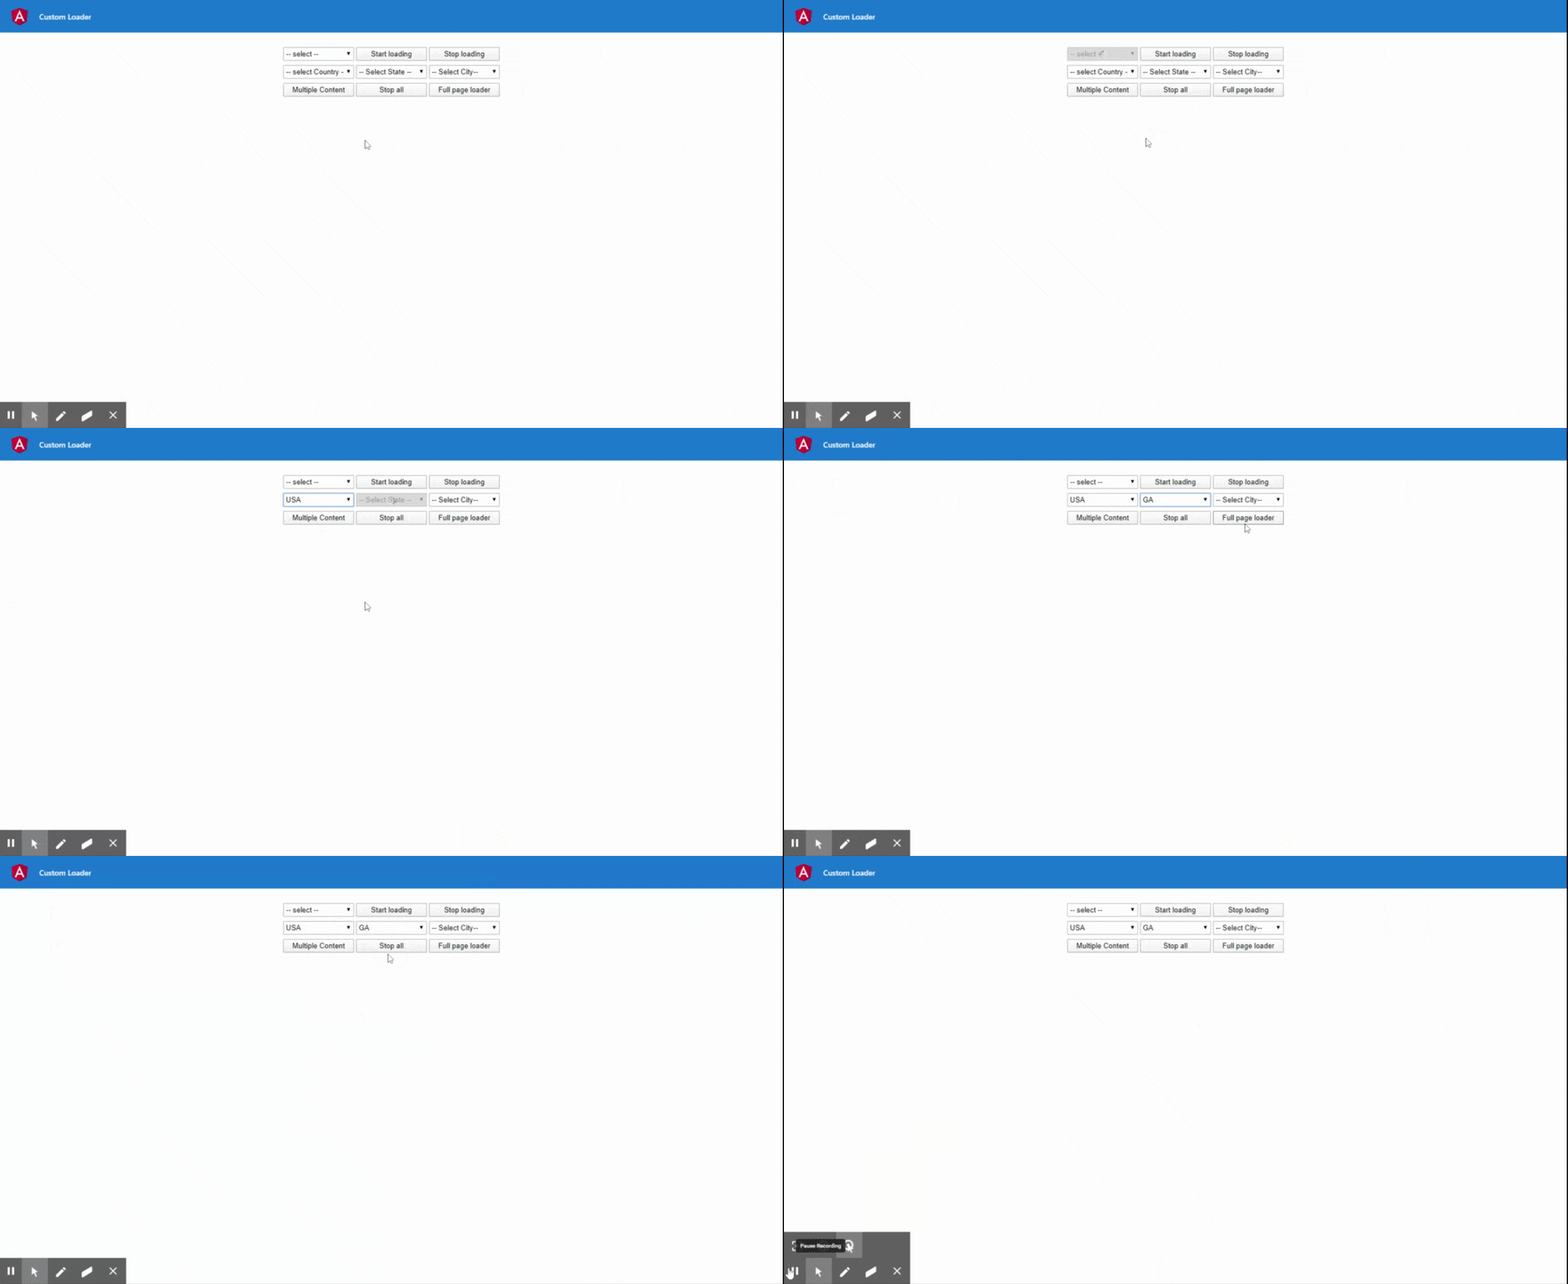
loadingServiceHide('loginbtnadd');Output as Below

Over to YOU!
Looking for a Sample Source Code? Here you go: GITHUB.
Today you have learn how to create custom dynamic loader on HTML Element using Angular 8. If you have queries about tutorial, please ask our Angular Expert via GitHub Profile.
Related Resources:
That's it for now. Stay Connected for more tutorials, until than Happy Coding...


Top comments (2)
jQuery in angular... so shiteble...
Yes, We can have option of both(JavaScript & TypeScript) but better to choose pure js logic instead of typescript.