
Published on 22 Jan 2020

This is Part 1 of our 'Payara Server- Back to Basics' series, where we will show you a step-by-step overview of how to install Payara Server 5 on Ubuntu.
Note - this blog is an update of the original: Installing Payara Server 4 on Ubuntu.
Installing Payara Server 5.194
1. Make sure the appropriate JDK is installed:
Payara Server 5.194 requires JDK 8 or JDK 11 to be installed beforehand as it uses some of the latest features; the current recommended version is the very latest JDK 8. To check what version you have, in a shell/command window simply type:
javac -versionor
java -version
If the java command is not recognised, then you will have to install the JDK which can be downloaded from here:
https://www.azul.com/downloads/zulu-community/
2. Downloading Payara Server
Payara Server can be downloaded from: http://www.payara.fish/downloads
Download to a directory of your choosing and then unzip.

Running Payara Server 5.194
In the case of Payara to run the server, change directory to install_directory/payara5/bin and enter the following command:
./asadmin start-domain
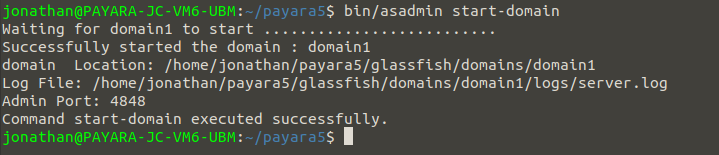
This will start domain1, which is the default domain included with Payara Server. If you were to create a new domain, that would need to be specified explicitly - like with the production domain included in Payara Server.
Once the server is up running, navigate to http://localhost:4848 to access the console. Your page should look something like this:
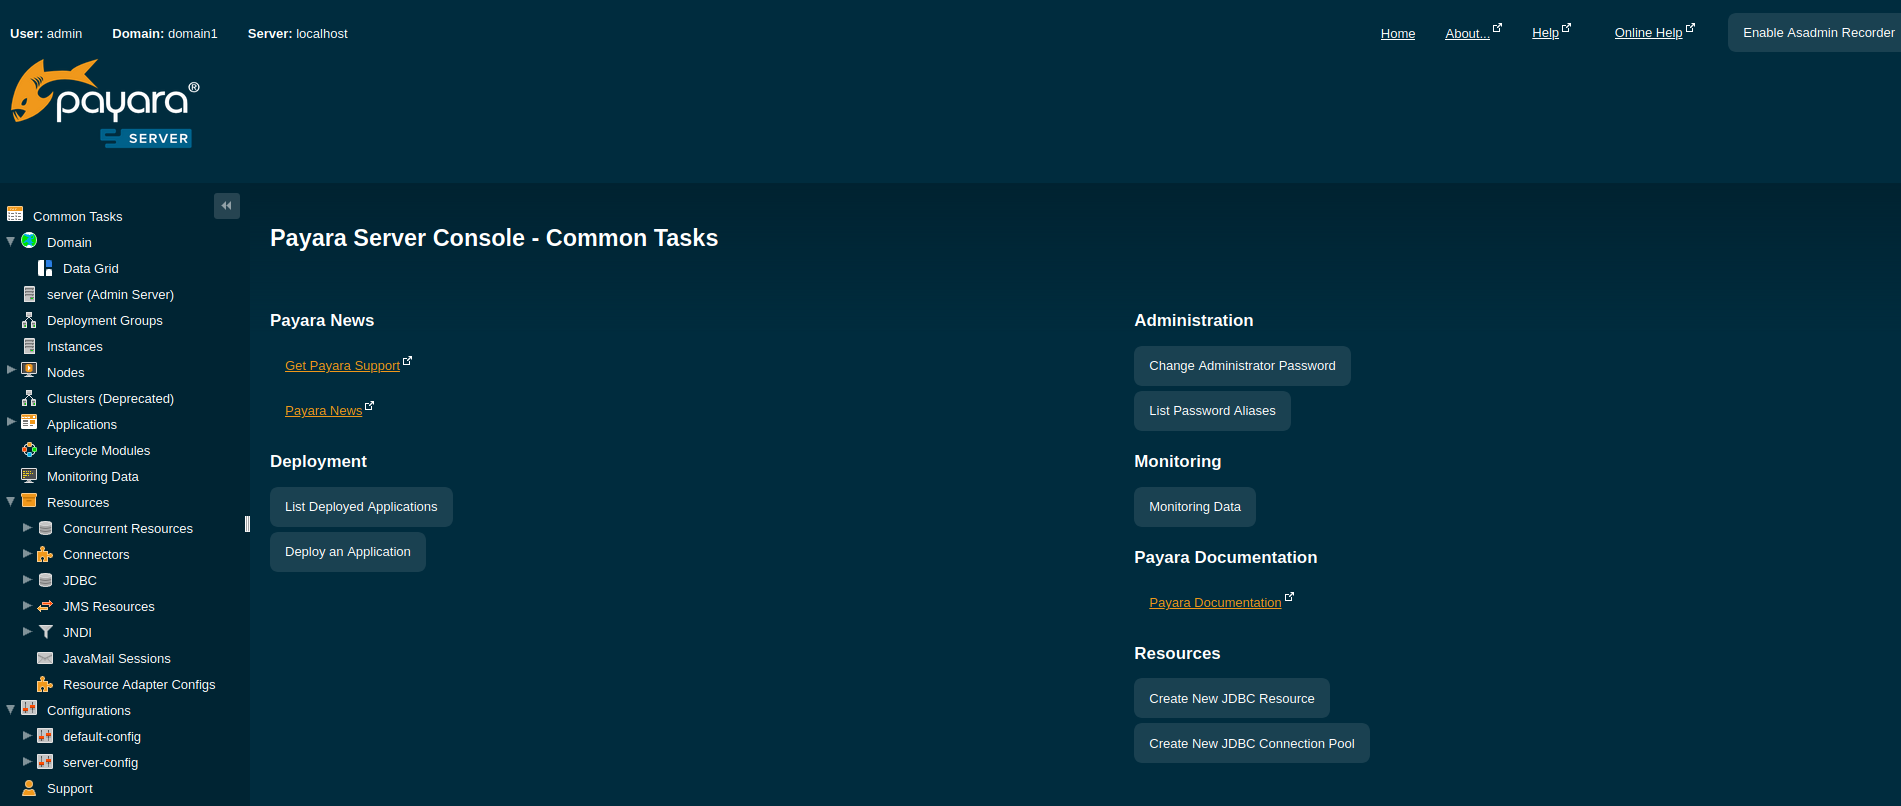
That's it! You should now have Payara Server installed on Ubuntu.
You can learn more about using the Payara Platform by reading more "Back to Basics" posts, ideal for beginners, or try our online Getting Started Guide, for a detailed step-by-step process to installing and using Payara Platform.
