


Hello everyone, I hope you all are doing well. As we have already discussed what is Appium, what are the advantages of Appium over other automation tools in our previous blog, in this blog we will discuss sessions in Appium, how important it is in testing your application. Sessions in Appium are mainly used for communicating with Appium server.
Let’s get started:
Session:
As in our previous blog, we have already discussed that Appium supports client/server architecture which means that a client requires some medium to communicate with the server, so the session works as a communication medium between the client and the Appium server.
Now the question arises,how a client can create a session?
As we all know automation in Appium is always performed in the context of the session. A client creates a session with the server and sends its commands to the server, and then the server based on the created session executes those commands on the desired emulator and returns the response to the client.
The client can create a session by sending the post/session request to the server.
This POST/session request contains all the required information related to the device on which we want to run our automation in the form of a JSON object known as “Desired Capabilities”.
After receiving this session request the server will start up the automation session and respond with a session ID which is used for sending further commands.
Desired Capabilities:
Desired capabilities are a set of keys and values (i.e., a map or hash) sent to the Appium server to tell the server what kind of automation session we’re interested in starting up.
For example:
If we want to create an android session for testing an android app, we will be required to provide these fields in the desired capabilities file.
{
"platformName": "Android",
"platformVersion": "9",
"deviceName": "Note 9",
"app": "/path/to/my.app"
}
platformName : Which defines on which platform we are performing testing.
platformVersion : Operating system version is defined in this field.
deviceName : Name of the device which we are using to run our tests on.
app : Defines the path to the installation file i.e. APK or .IPA file from where the driver can get and install the application to the device.
Creation of session with the help of Desired Capabilities:
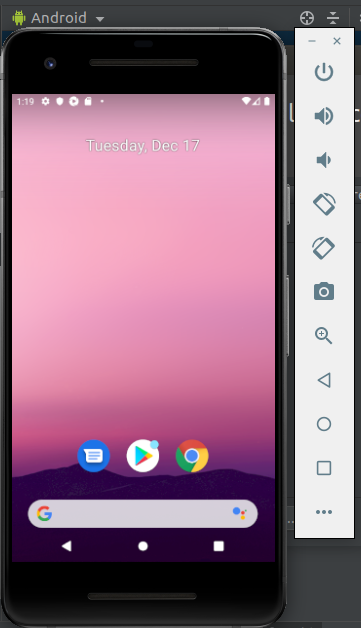
Step 1: Start the emulator.
- Open the android studio
- Click on the AVD manager under the tool option.
- Click on the launch emulator button to start the emulator.
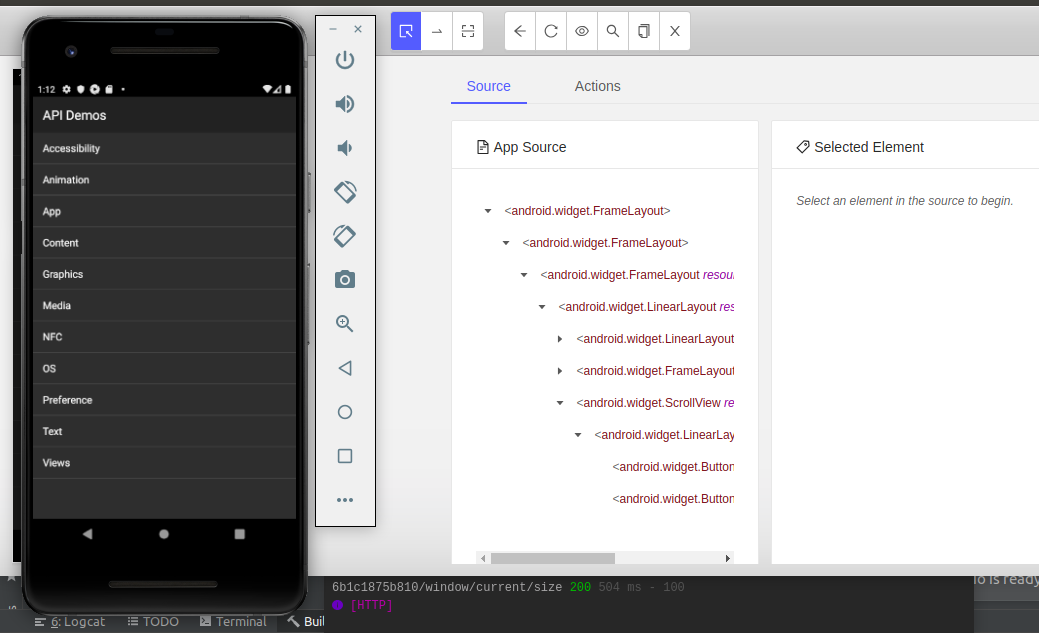
Step 2:Start Appium server on your local system.
- Double click on the appium appImage to start the GUI wrapper.

Step 3:Create a JSON object with required set of capabilities.

Step 4: click on start session.
After clicking on start session it will install the app on the emulator and will also help us to know the hierarchy of the app.
Thank you for reading!!!
in our next blog will play with some test cases.
References:
https://appium.io/docs/en/about-appium/intro/#appium-concepts
https://github.com/appium/appium-desktop/releases/tag/v1.15.1