How to Install AirSonic Media Server on CentOS 8
AirSonic is a free, open-source and web-based media streaming server that allows you to access your music from the central location. Airsonic is compatible with any audio/video file format and also able to stream over HyperText Transfer protocol. It is a self-hosted media streamer written in the Java language and able to handle very large music collections. It runs on most operating systems including Windows, Linux and Mac OS.
In this tutorial, we will show you how to install AirSonic media streaming server on CentOS 8.
Prerequisites
- A server running CentOS 8 with minimum 2 GB of RAM.
- A root password is configured on your server.
Getting Started
By default, SELinux is enabled in CentOS 8 server. So you will need to disable it first.
You can do this by editing /etc/selinux/config file:
nano /etc/selinux/config
Make the following changes:
SELINUX=disabled
Save and close the file. Then, restart your system to apply the changes.
Install Java
AirSonic is based on Java so you will need to install Java to your system. You can install Java by just running the following command:
dnf install java-1.8.0-openjdk-devel
Once the Java has been installed, you can verify the version of Java with the following command:
java -version
You should see the following output:
openjdk version "1.8.0_232"
OpenJDK Runtime Environment (build 1.8.0_232-b09)
OpenJDK 64-Bit Server VM (build 25.232-b09, mixed mode)
Install AirSonic
Before starting, you will need to create a user to run AirSonic.
First, create a user with the following command:
useradd airsonic
Next, create a directory for AirSonic with the following command:
mkdir /var/airsonic /var/media_files
Next, download the latest version of AirSonic from the Git repository with the following command:
wget https://github.com/airsonic/airsonic/releases/download/v10.4.1/airsonic.war --output-document=/var/airsonic/airsonic.war
Next, give proper permission to the airsonic directory with the following command:
chown -R airsonic /var/airsonic
 chown -R airsonic /var/media_files
Next, download the pre-configured systemd unit file for AirSonic with the following command:
wget https://raw.githubusercontent.com/airsonic/airsonic/master/contrib/airsonic.service -O /etc/systemd/system/airsonic.service
 wget https://raw.githubusercontent.com/airsonic/airsonic/master/contrib/airsonic-systemd-env -O /etc/sysconfig/airsonic
Next, reload the systemd daemon with the following command:
systemctl daemon-reload
Next, start the AirSonic service and enable it to start on boot with the following commands:
systemctl start airsonic
 systemctl enable airsonic
You can now verify the status of AirSonic with the following command:
systemctl status airsonic
You should get the following output:
? airsonic.service - Airsonic Media Server
   Loaded: loaded (/etc/systemd/system/airsonic.service; disabled; vendor preset: disabled)
   Active: active (running) since Mon 2019-10-28 12:29:51 EDT; 2min 6s ago
 Main PID: 29564 (java)
    Tasks: 18 (limit: 5060)
   Memory: 315.0M
   CGroup: /system.slice/airsonic.service
           ??29564 /usr/bin/java -Xmx700m -Dairsonic.home=/var/airsonic -Dserver.context-path=/airsonic -Dserver.port=8080 -jar /var/airsonic/>

Oct 28 12:31:49 centos8 java[29564]: 2019-10-28 12:31:49.876  INFO --- l.c.StandardChangeLogHistoryService      : Reading from DATABASECHANGEL>
Oct 28 12:31:49 centos8 java[29564]: 2019-10-28 12:31:49.877  INFO --- l.executor.jvm.JdbcExecutor              : SELECT * FROM DATABASECHANGE>
Oct 28 12:31:49 centos8 java[29564]: 2019-10-28 12:31:49.969  INFO --- liquibase.changelog.ChangeSet            : Marking ChangeSet: classpath>
Oct 28 12:31:49 centos8 java[29564]:           classpath:liquibase/db-changelog.xml : Custom Precondition Failed: DBMS Major Version Precondit>
Oct 28 12:31:49 centos8 java[29564]: 2019-10-28 12:31:49.972  INFO --- l.executor.jvm.JdbcExecutor              : SELECT MAX(ORDEREXECUTED) FR>
Oct 28 12:31:50 centos8 java[29564]: 2019-10-28 12:31:50.017  INFO --- l.executor.jvm.JdbcExecutor              : INSERT INTO DATABASECHANGELO>
Oct 28 12:31:50 centos8 java[29564]: 2019-10-28 12:31:50.020  INFO --- l.l.StandardLockService                  : Successfully released change>
Oct 28 12:31:51 centos8 java[29564]: 2019-10-28 12:31:51.489  INFO --- o.airsonic.player.dao.PlayerDao          : Deleted 1 player(s) that hav>
Oct 28 12:31:52 centos8 java[29564]: 2019-10-28 12:31:52.424  INFO --- o.a.p.s.MediaScannerService              : Automatic media library scan>
Oct 28 12:31:53 centos8 java[29564]: 2019-10-28 12:31:53.093  INFO --- o.a.p.service.PodcastService             : Automa
You can also check the AirSonic running process with the following command:
ps -ef | grep airsonic
You should see the following output:
airsonic 29459     1 87 12:07 ?        00:02:08 /usr/bin/java -Xmx700m -Dairsonic.home=/var/airsonic -Dserver.context-path=/airsonic -Dserver.port=8080 -jar /var/airsonic/airsonic.war
root     29496  6103  0 12:10 pts/0    00:00:00 grep --color=auto airsonic
Access AirSonic Web Interface
Before accessing the AirSonic web interface, you will need to open ports 80 and 8080 with firewalld. You can do it with the following commands:
firewall-cmd --zone=public --add-port=80/tcp --permanent
 firewall-cmd --zone=public --add-port=8080/tcp --permanent
 firewall-cmd --reload
Next, open your web browser and type the URL http://your-server-ip:8080/airsonic. You will be redirected to the following page:
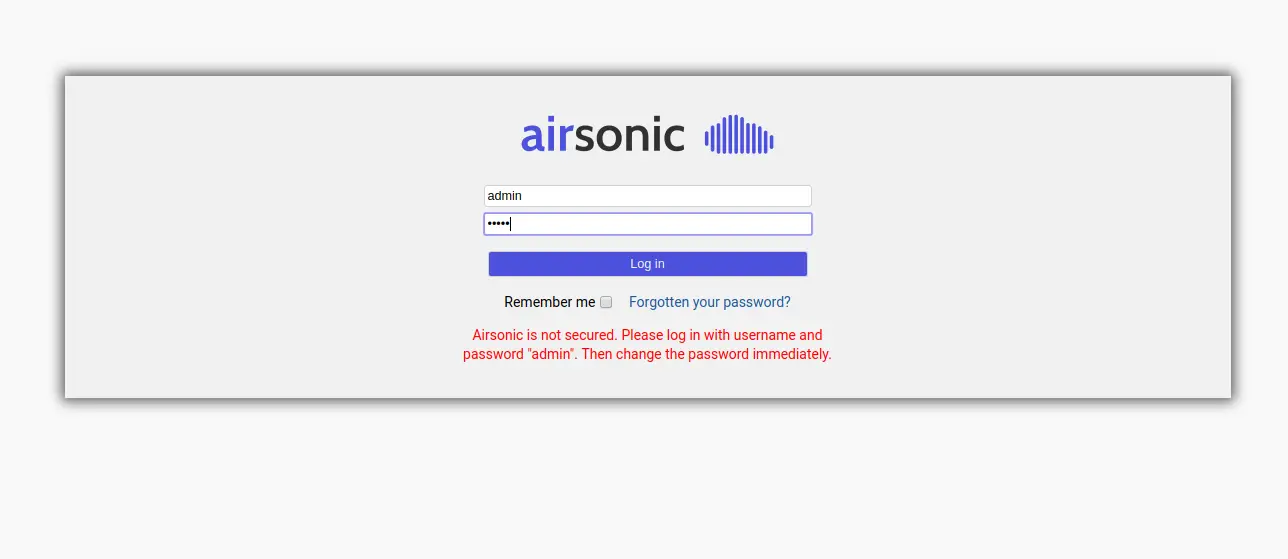
Provide the default username and password as admin/admin and click on the Log in button. You should see the following page:
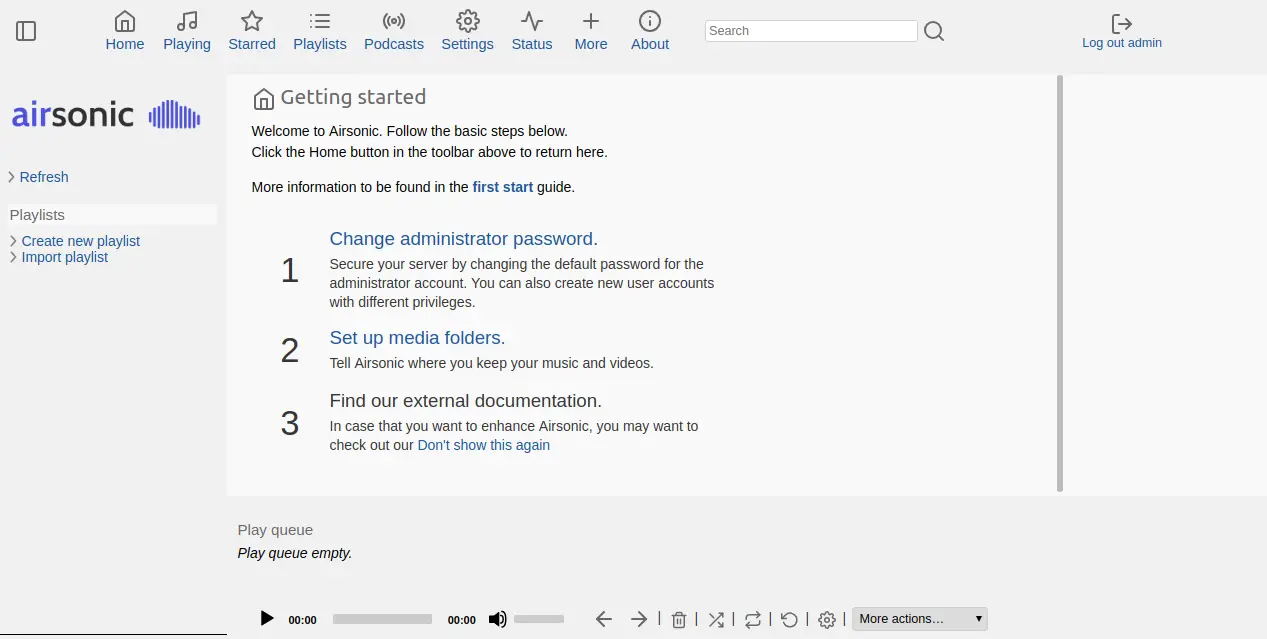
Next, you will need to change the default administrator password. To do so, click on the Change administrator password. You should see the following page:
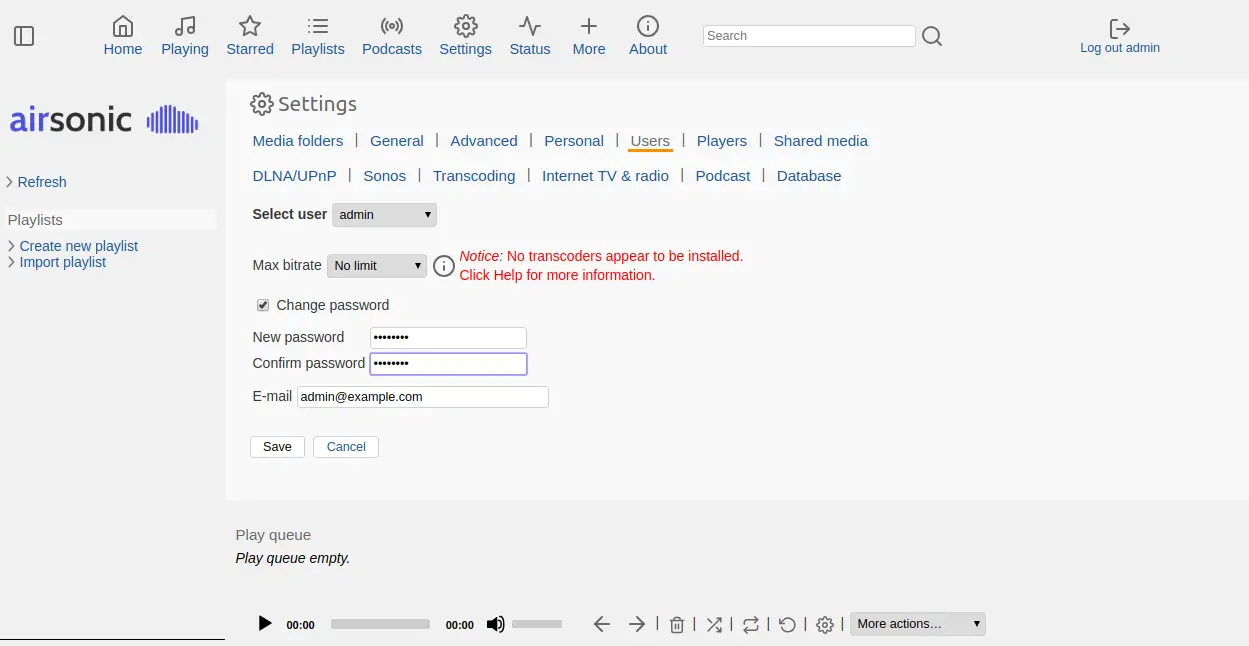
Choose admin user, mark the change password check box, type the new password and click on the Save button to change the default password.
Next, you will need to set up the media folder to store your music and videos. To do so, click on the settings > Media folders. You should see the following page:
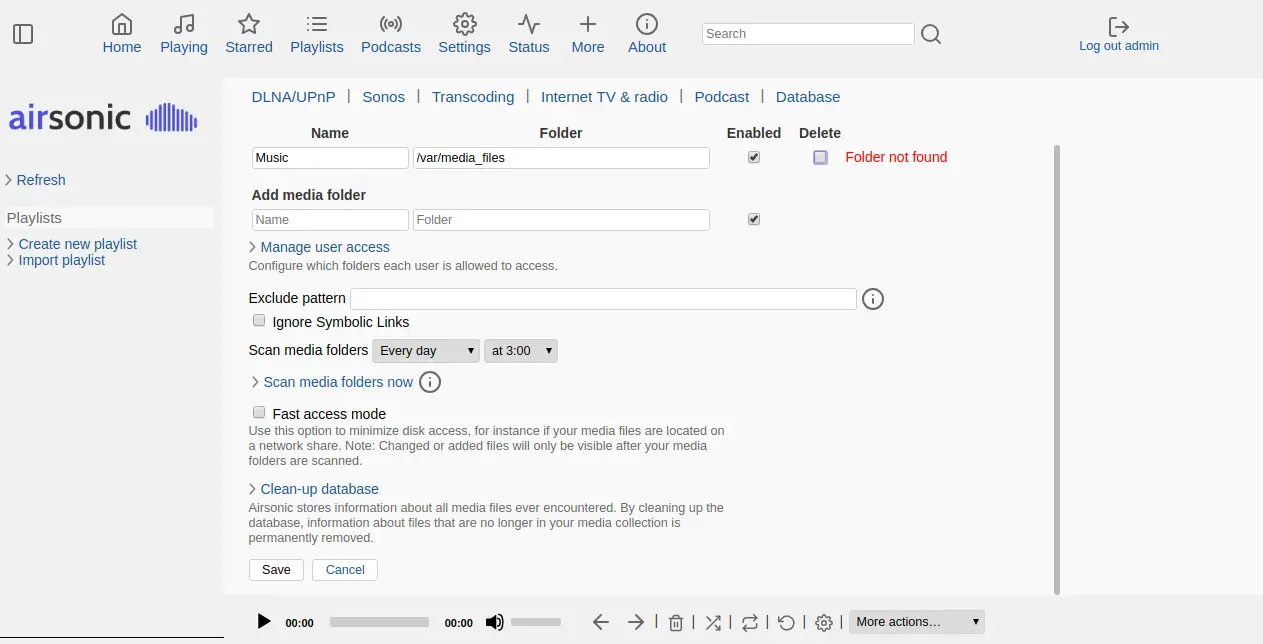
Now, type /var/media_files in the Folder box and click on the Save button.
Configure Nginx as a Reverse Proxy
Next, you will need to configure Nginx as a reverse proxy for the Airsonic on port 8080. To do so, first install the Nginx web server with the following command:
dnf install nginx
Once installed, create an Nginx virtual host configuration file:
nano /etc/nginx/conf.d/airsonic.conf
Add the following lines:
server {
   listen 80;
   server_name your-server-ip;
   access_log off;
   error_log off;
   location / {
      proxy_pass http://127.0.0.1:8080;
      proxy_redirect off;
      proxy_set_header Host $host;
      proxy_set_header X-Real-IP $remote_addr;
      proxy_set_header X-Forwarded-For $proxy_add_x_forwarded_for;
      proxy_max_temp_file_size 0;
      client_max_body_size 10m;
      client_body_buffer_size 128k;
      proxy_connect_timeout 90;
      proxy_send_timeout 90;
      proxy_read_timeout 90;
      proxy_buffer_size 4k;
      proxy_buffers 4 32k;
      proxy_busy_buffers_size 64k;
      proxy_temp_file_write_size 64k;
}
}
Save and close the file when you are finished. Then, test Nginx for any syntax error with the following command:
nginx -t
You should see the following output:
nginx: the configuration file /etc/nginx/nginx.conf syntax is ok
nginx: configuration file /etc/nginx/nginx.conf test is successful
Next, start the Nginx service and enable it to start after system reboot with the following command:
systemctl start nginx
 systemctl enable nginx
Now, you can access the AirSonic by visiting the URL http://your-server-ip/airsonic.
Conclusion
Congratulations! you have successfully installed an AirSonic media server with Nginx as a reverse proxy on CentOS 8. You can now host your own media server and share music with your friends and family. Feel free to ask me if you have any questions.

