How to Install ExpressionEngine CMS on CentOS 8
ExpressionEngine is a mature, flexible, secure, free open-source content management system (CMS) written in PHP. Its source code is hosted on Github. With ExpressionEngine, you can build full-featured websites, create a web app, or serve content to mobile applications. All without requiring complex programming skills. This guide will walk you through the ExpressionEngine installation process on a fresh CentOS 8 using PHP, MariaDB as a database, and Nginx as a web server.
Requirements
ExpressionEngine requires a web server running PHP and MySQL/MariaDB. The recommend software stack and versions are:
- PHP version 7.0 or greater, running with PHP-FPM and with the following PHP extensions (
gd,fileinfo,intl,mbstring). - MySQL version 5.6 or greater or Percona version 5.6 or greater. This tutorial will use MariaDB.
- A web server like Nginx or Apache. This tutorial will use Nginx.
Initial Steps
Check your CentOS version:
cat /etc/centos-release
# CentOS Linux release 8.0.1905 (Core)
Set up the timezone:
timedatectl list-timezones
sudo timedatectl set-timezone 'Region/City'
Update your operating system packages (software). This is an important first step because it ensures you have the latest updates and security fixes for your operating system's default software packages:
sudo yum update -y
Install some essential packages that are necessary for basic administration of the CentOS operating system:
sudo yum install -y curl wget vim git unzip socat bash-completion epel-release
Step 1 - Install PHP
Install PHP, as well as the necessary PHP extensions:
sudo yum install -y php-cli php-fpm php-common php-mbstring php-gd php-intl php-mysql php-json php-zip
Check the PHP version:
php --version
# PHP 7.2.19 (cli) (built: Jun  2 2019 09:49:05) ( NTS )
# Copyright (c) 1997-2018 The PHP Group
# Zend Engine v3.2.0, Copyright (c) 1998-2018 Zend Technologies
To show PHP compiled in modules, you can run:
php -m

ctype
curl
exif
fileinfo
. . .
. . .
Start and enable PHP-FPM service:
sudo systemctl start php-fpm.service
sudo systemctl enable php-fpm.service
Step 2 - Install MariaDB
Install the MariaDB database server:
sudo yum install -y mariadb-server
Check the MariaDB version:
mysql --version
# mysql Ver 15.1 Distrib 10.3.11-MariaDB, for Linux (x86_64) using readline 5.1
Start and enable MariaDB service:
sudo systemctl start mariadb.service
sudo systemctl enable mariadb.service
Run the mysql_secure_installation script to improve the security of your MariaDB installation:
sudo mysql_secure_installation
Log into MariaDB as the root user:
sudo mysql -u root -p
# Enter password:
Create a new MariaDB database and database user, and remember the credentials:
CREATE DATABASE dbname;
GRANT ALL ON dbname.* TO 'username' IDENTIFIED BY 'password';
FLUSH PRIVILEGES;
quit
NOTE: Replace dbname and username with appropriate names for your setup. Replace password with a strong password.
Step 3 - Install Acme.sh client and obtain Let's Encrypt certificate (optional)
Securing your website with HTTPS is not necessary, but it is a good practice to secure your site traffic. To obtain an SSL certificate from Let's Encrypt we will use Acme.sh client. Acme.sh is a pure Unix shell software for obtaining TLS certificates from Let's Encrypt with zero dependencies.
Download and install acme.sh:
sudo su - root
git clone https://github.com/Neilpang/acme.sh.git
cd acme.sh
./acme.sh --install --accountemail [email protected]
source ~/.bashrc
cd ~
Check acme.sh version:
acme.sh --version
# v2.8.3
Obtain RSA and ECC/ECDSA certificates for your domain/hostname:
# RSA 2048
acme.sh --issue --standalone -d example.com --keylength 2048
# ECDSA
acme.sh --issue --standalone -d example.com --keylength ec-256
If you want fake certificates for testing you can add --staging flag to the above commands.
After running the above commands, your certificates and keys will be in:
- For RSA:
/home/username/example.com directory. - For ECC/ECDSA:
/home/username/example.com_ecc directory.
To list your issued certs you can run:
acme.sh --list
Create a directory to store your certs. We will use a directory /etc/letsencrypt.
mkdir -p /etc/letsecnrypt/example.com
sudo mkdir -p /etc/letsencrypt/example.com_ecc
Install/copy certificates to /etc/letsencrypt directory:
# RSA
acme.sh --install-cert -d example.com --cert-file /etc/letsencrypt/example.com/cert.pem --key-file /etc/letsencrypt/example.com/private.key --fullchain-file /etc/letsencrypt/example.com/fullchain.pem --reloadcmd "sudo systemctl reload nginx.service"
# ECC/ECDSA
acme.sh --install-cert -d example.com --ecc --cert-file /etc/letsencrypt/example.com_ecc/cert.pem --key-file /etc/letsencrypt/example.com_ecc/private.key --fullchain-file /etc/letsencrypt/example.com_ecc/fullchain.pem --reloadcmd "sudo systemctl reload nginx.service"
All the certificates will be automatically renewed every 60 days.
After obtaining certs exit from root user and return back to normal sudo user:
exit
Step 4 - Install Nginx
Install Nginx webserver:
sudo yum install -y nginx
Check the Nginx version:
nginx -v
# nginx version: nginx/1.12.2
Start and enable Nginx:
sudo systemctl start nginx.service
sudo systemctl enable nginx.service
Configure Nginx for ExpressionEngine. Run sudo vi /etc/nginx/conf.d/expressionengine.conf and populate the file with the following configuration.
server {

  listen 443 ssl;
  listen 80;

  server_name example.com;
  root /var/www/expressionengine;

  # RSA
  ssl_certificate /etc/letsencrypt/example.com/fullchain.cer;
  ssl_certificate_key /etc/letsencrypt/example.com/example.com.key;
  # ECDSA
  ssl_certificate /etc/letsencrypt/example.com_ecc/fullchain.cer;
  ssl_certificate_key /etc/letsencrypt/example.com_ecc/example.com.key;

  index index.php;

  location / {
    index index.php;
    try_files $uri $uri/ @ee;
  }

  location @ee {
    rewrite ^(.*) /index.php?$1 last;
  }

  location ~* \.php$ {
    fastcgi_pass 127.0.0.1:9000;
    include fastcgi_params;
    fastcgi_index index.php;
    fastcgi_param SCRIPT_FILENAME $document_root$fastcgi_script_name;
  }

}
Check NGINX configuration for syntax errors:
sudo nginx -t
Reload NGINX service:
sudo systemctl reload nginx.service
Step 5 - Install ExpressionEngine
Create a document root directory where ExpressionEngine should reside in:
sudo mkdir -p /var/www/expressionengine
Navigate to the document root folder:
cd /var/www/expressionengine
Download the latest release of ExpressionEngine and unzip the files to a folder on your server:
sudo wget -O ee.zip --referer https://expressionengine.com/ 'https://expressionengine.com/?ACT=243'
sudo unzip ee.zip
sudo rm ee.zip
Change ownership of the /var/www/expressionengine directory to nginx:
sudo chown -R nginx:nginx /var/www/expressionengine
Run sudo vim /etc/php-fpm.d/www.conf and set the user and group to nginx. Initially, they will be set to apache:
sudo vi /etc/php-fpm.d/www.conf
# user = nginx
# group = nginx
Restart the PHP-FPM service:
sudo systemctl restart php-fpm.service
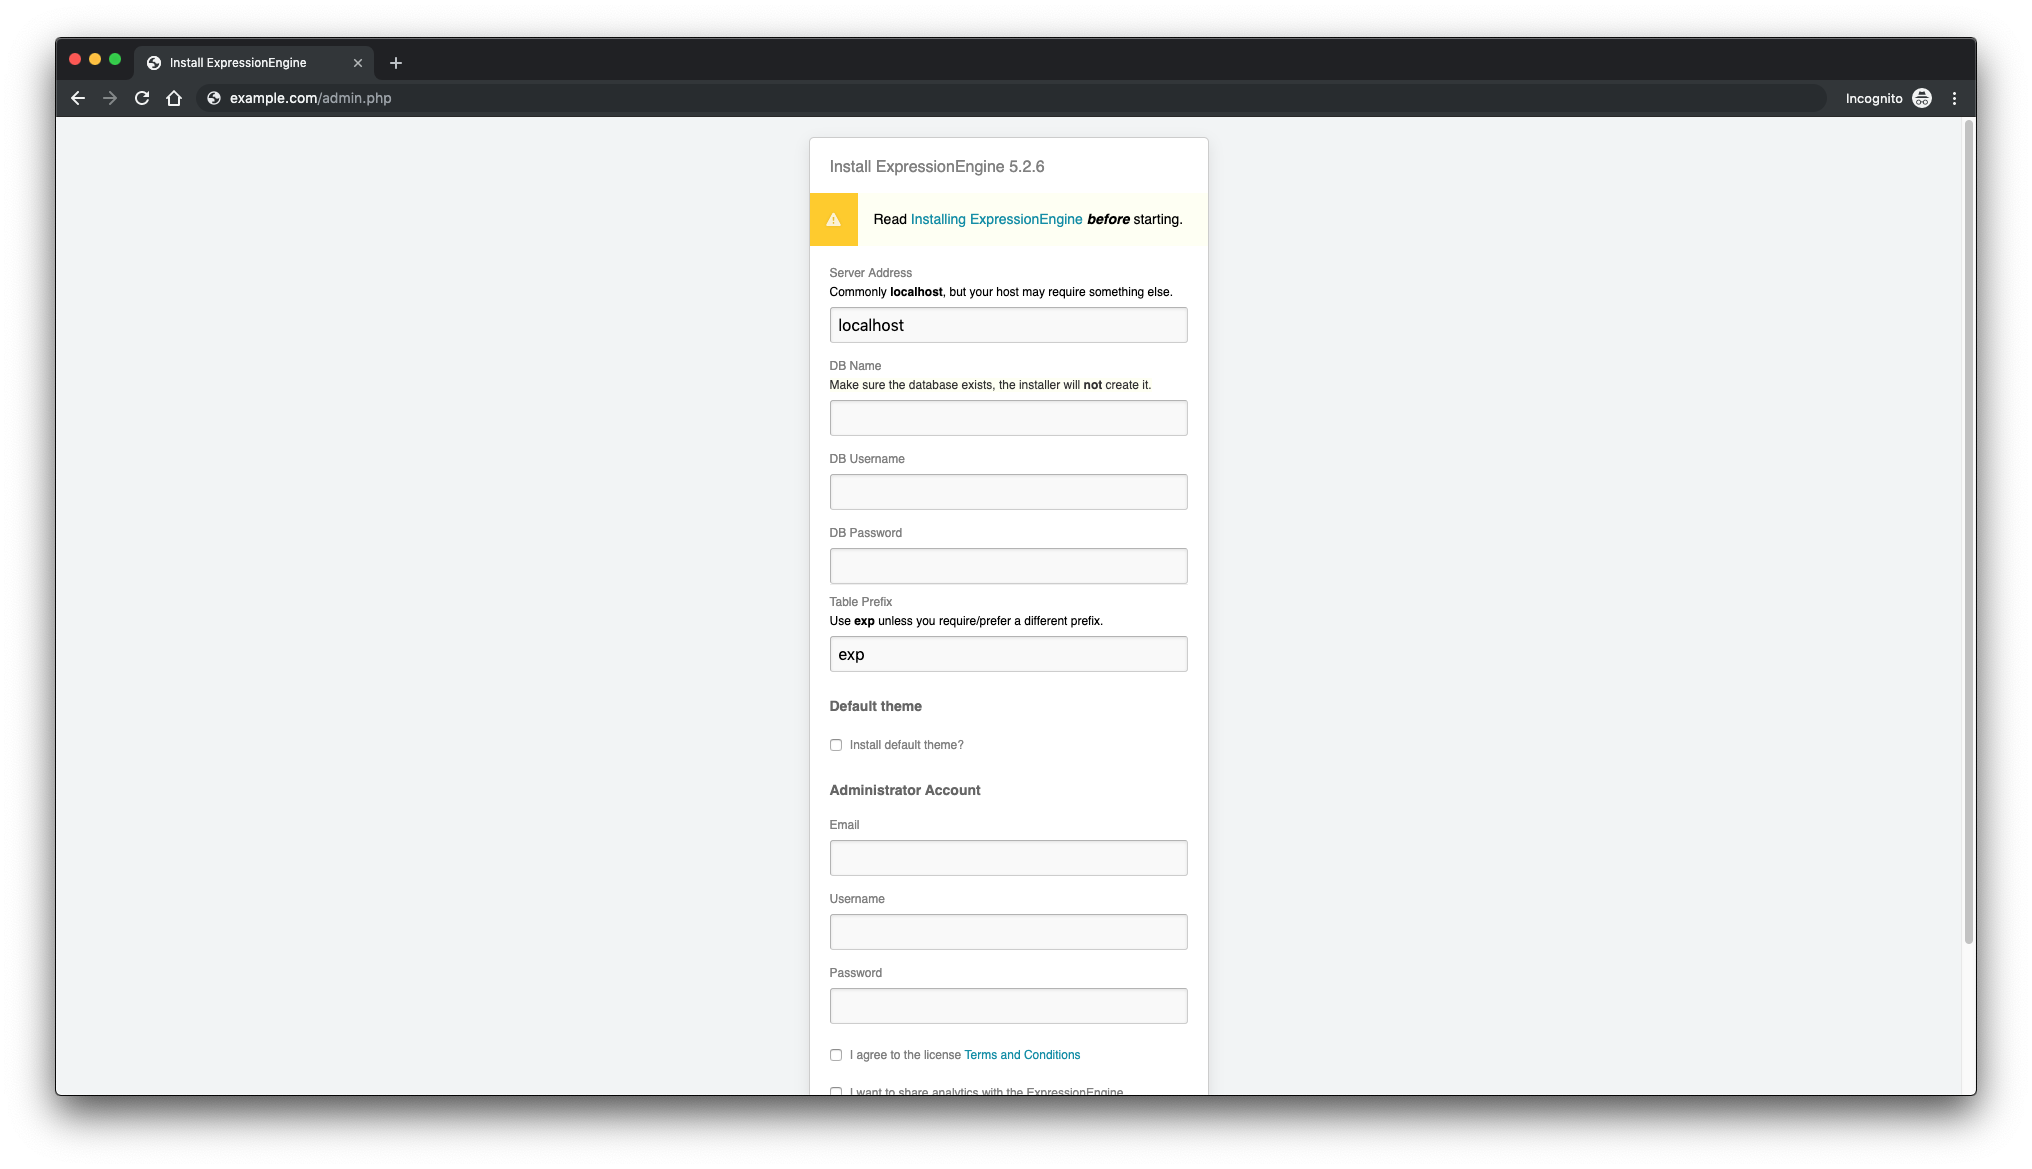
Point your browser to the URL of the admin.php file you uploaded. For example: http://example.com/admin.php. Follow the on-screen instructions to install ExpressionEngine. Once the Installation Wizard is finished, you should rename or remove the system/ee/installer/ directory from your server.
Step 6 - Complete the ExpressionEngine setup
Complete the ExpressionEngine installation by entering the database and administrator account details:
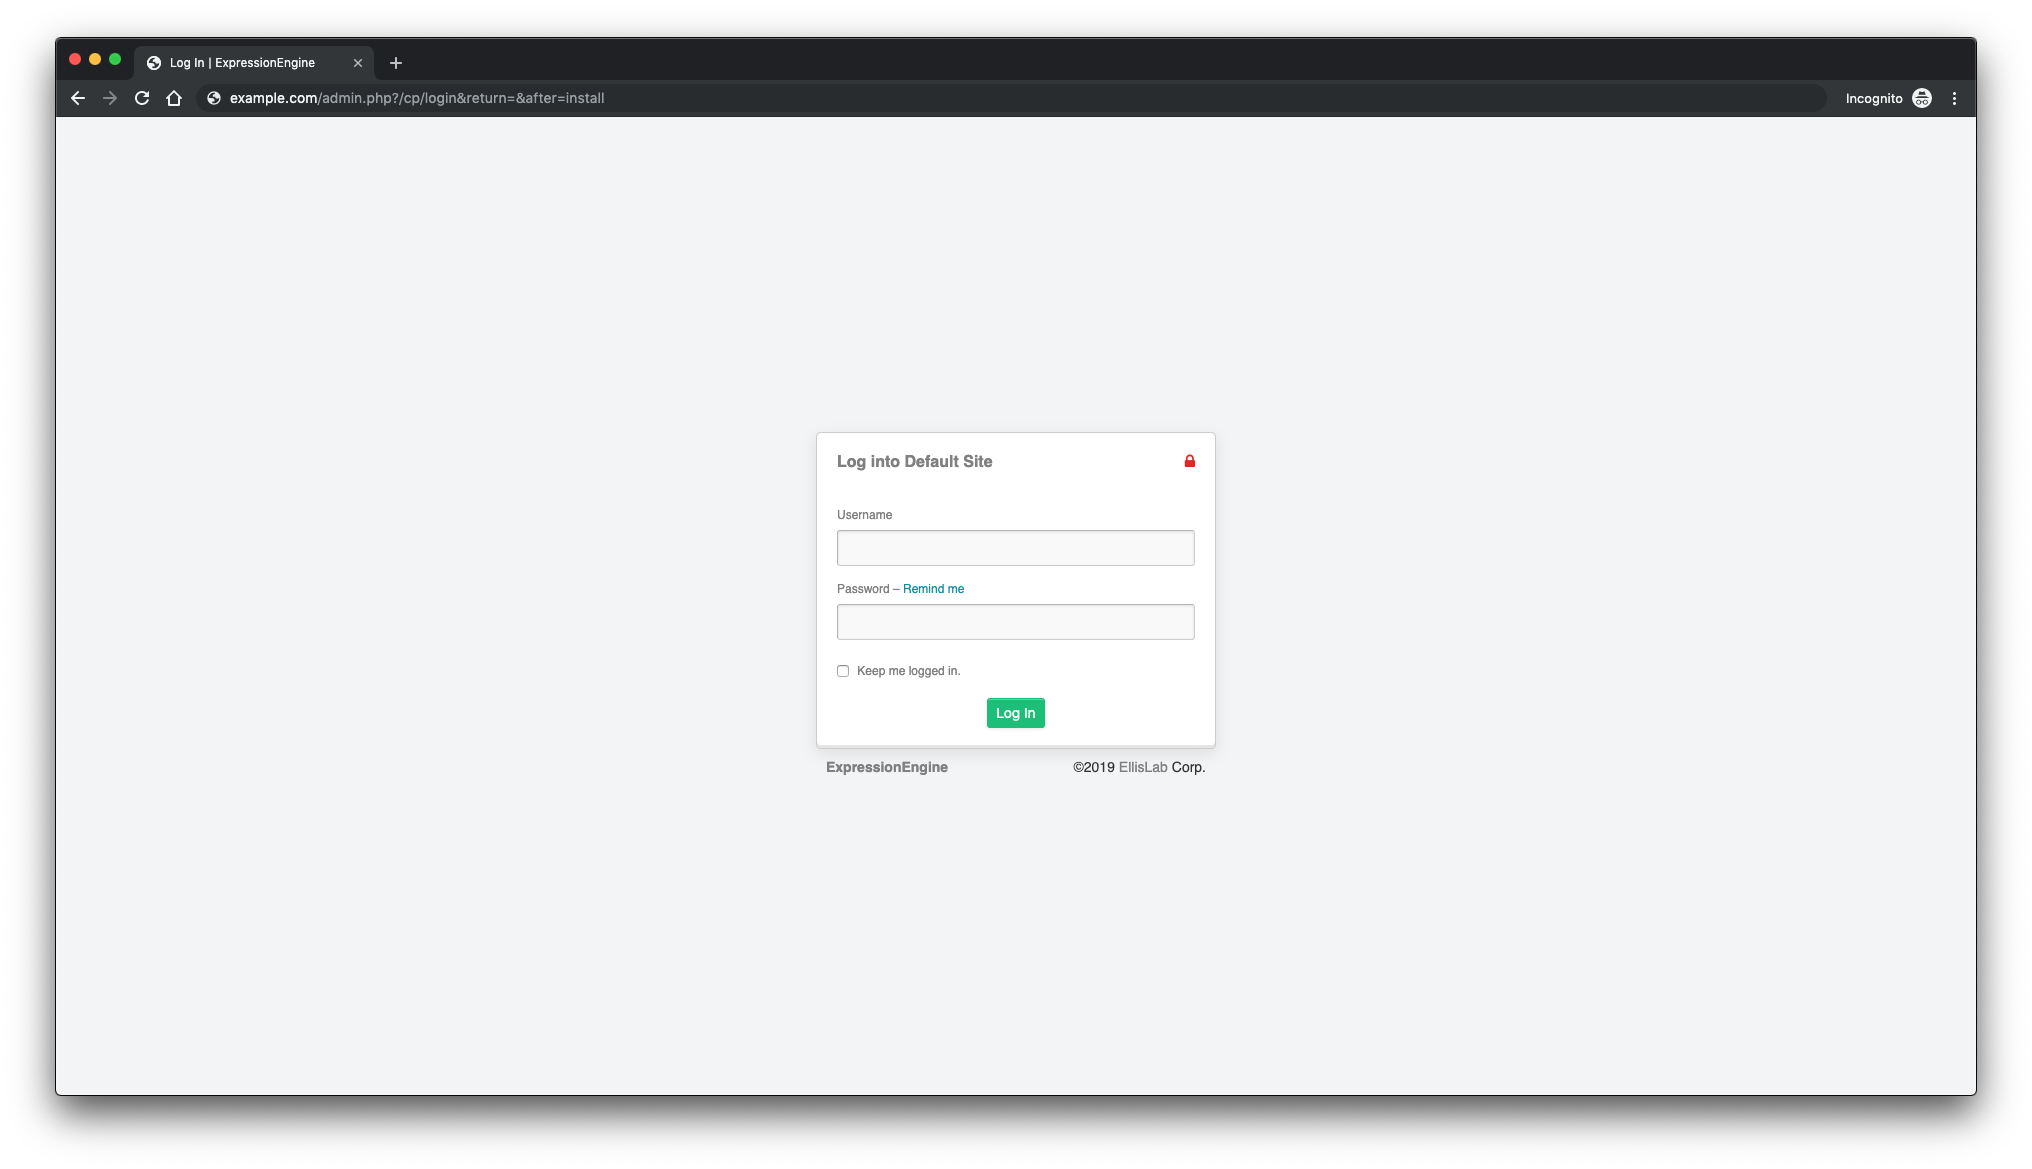
After, you will see default login page:
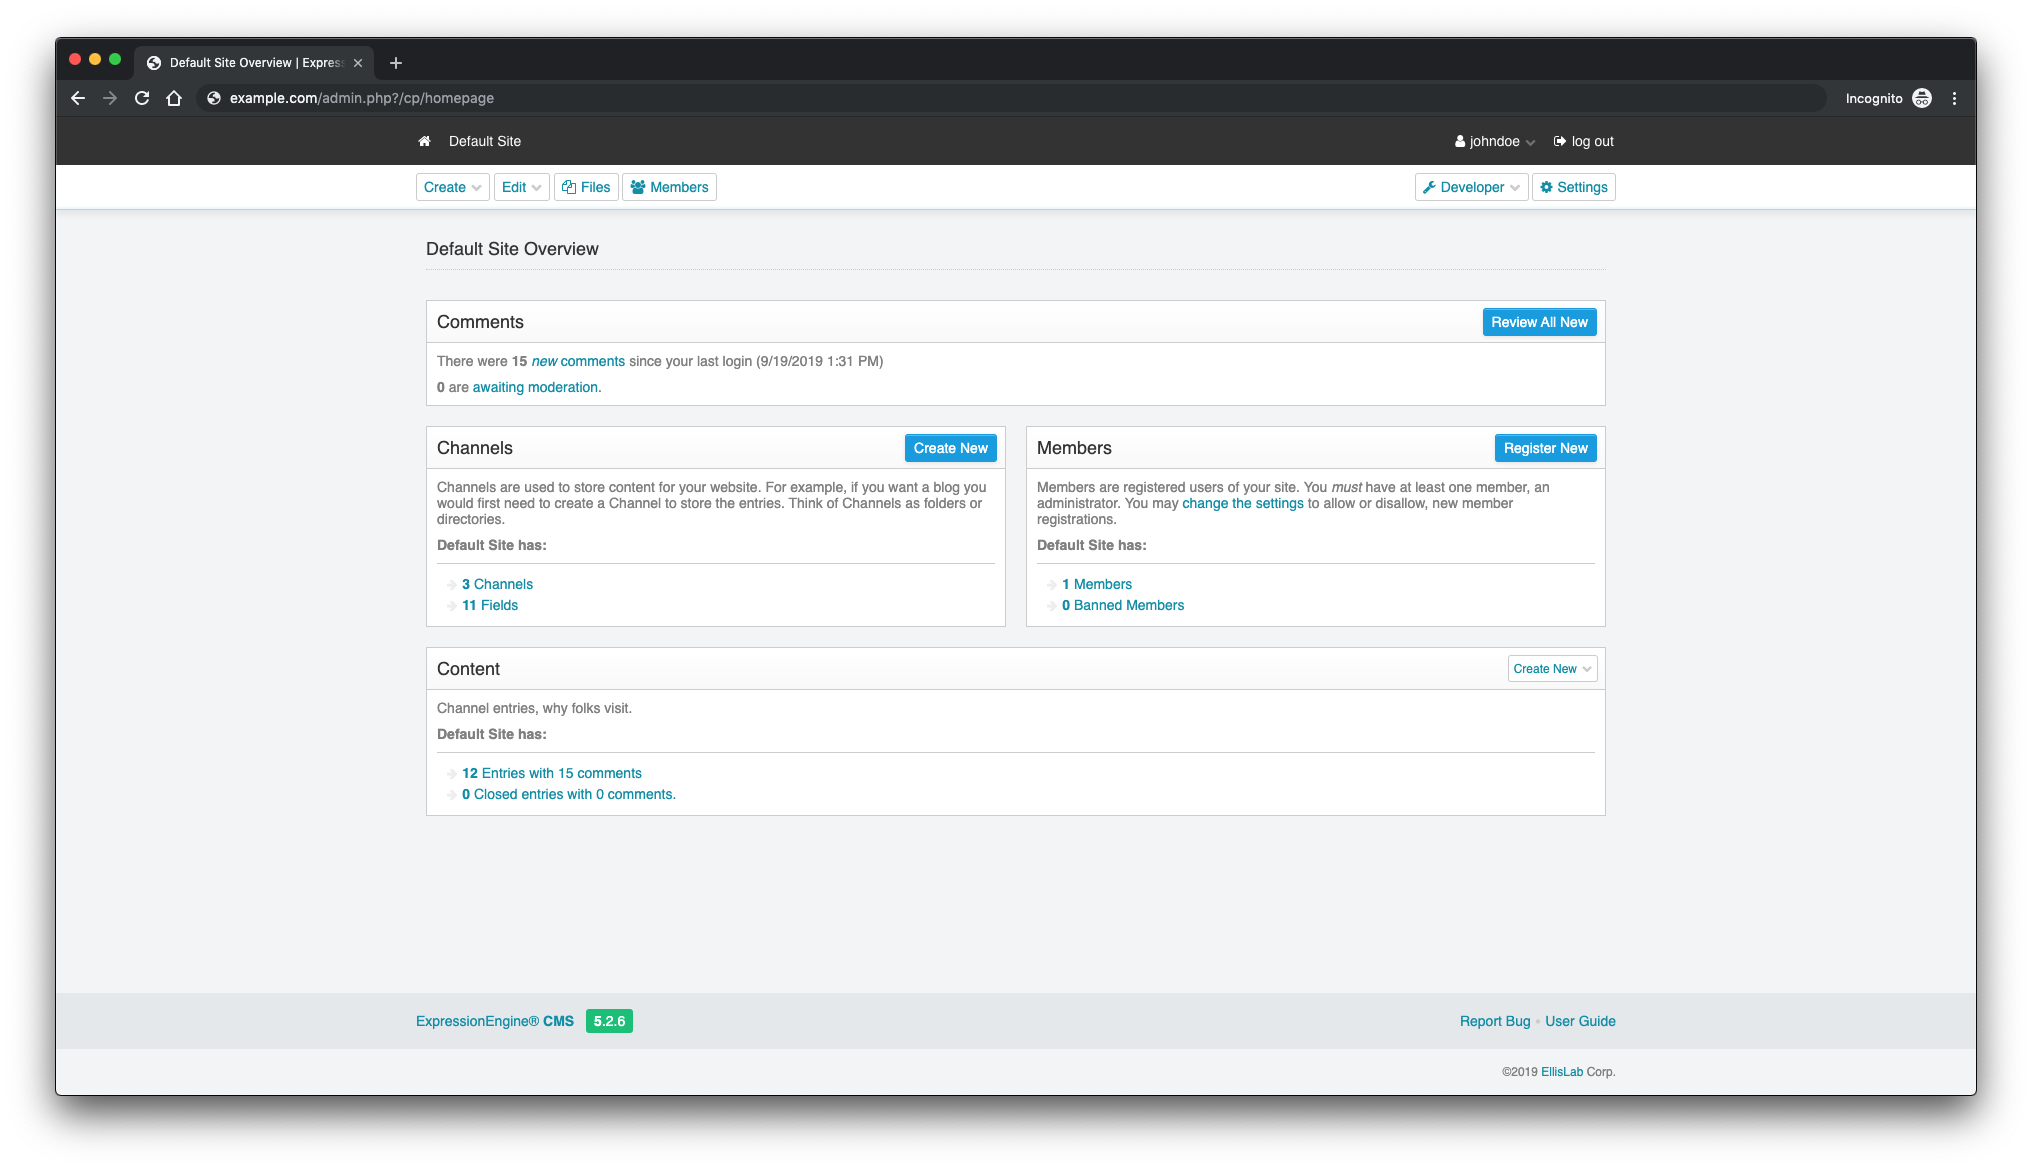
This is the ExpressionEngine administration dashboard:
And here is the frontend page:
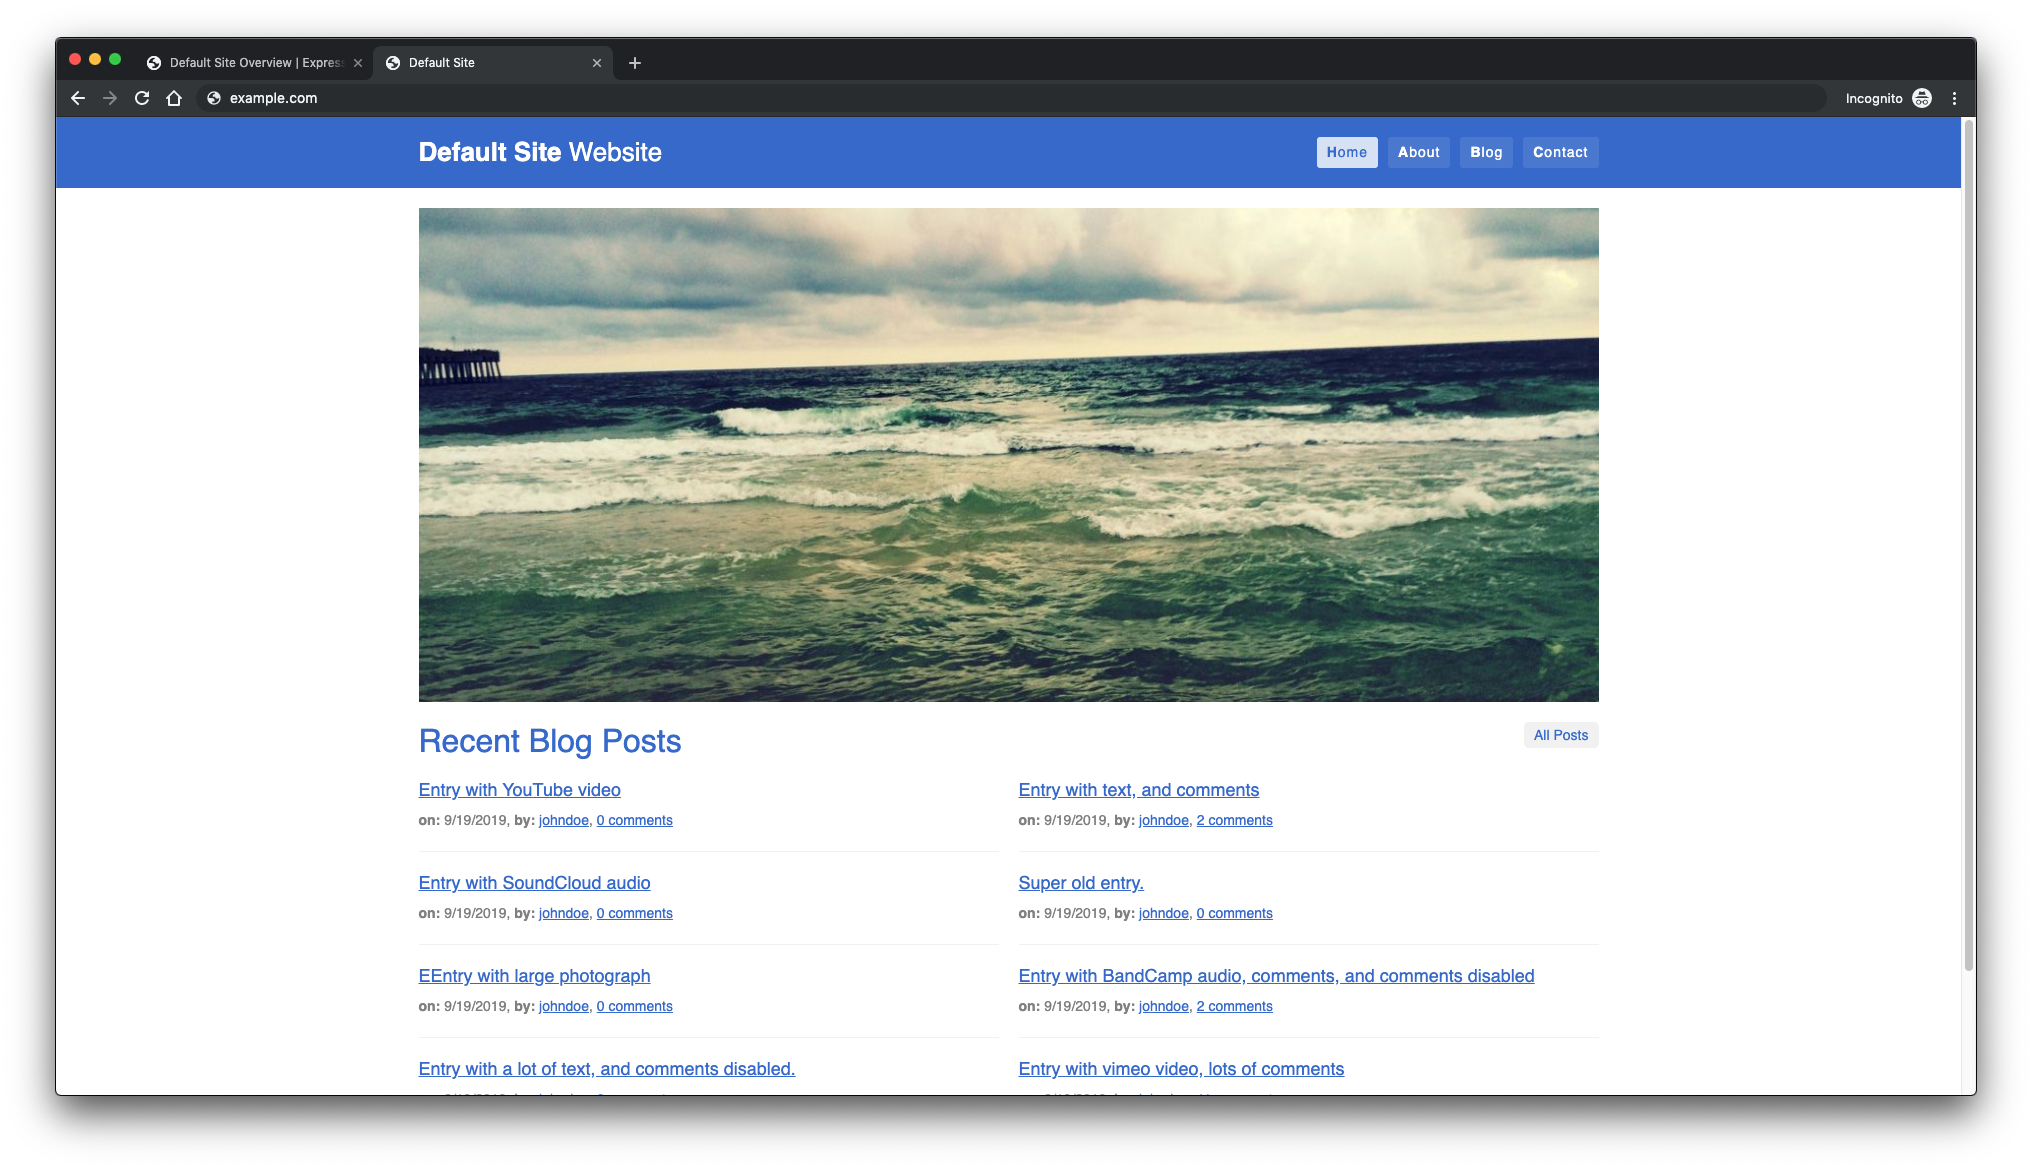
That's it! ExpressionEngine installation is completed.

