
You can find all .Net core posts here.
I have written a post on Code first approach with .Net Core which you can find here.
In above post, I have not covered adding an additional new field in the model and migrate it to the database using Code first approach.
Let us see that scenario in this post.
For this, we will use the code which we implemented during the Code first approach demo, you can find the code here.
Add new field
Let us first add a new field to the Employee model. We will add EmployeeLocation as shown below:
Note – Please note that EmployeeLocation is nothing but the CountryCode, I have not added any additional table for the current post
public class Employee
{
public int EmployeeId { get; set; }
public string EmployeeName { get; set; }
public int EmployeeAge { get; set; }
public int EmployeeLocation { get; set; } //// New field

public int DepartmentId { get; set; }
public Department Department { get; set; }
}
Once this is done, let us add this new field to the Index.cshtml view so that we can see new column in the browser:
For this, add below for header:
<th>
@Html.DisplayNameFor(model => model.EmployeeLocation)
</th>
and add below for the table values:
<td>
@Html.DisplayFor(modelItem => item.EmployeeLocation)
</td>
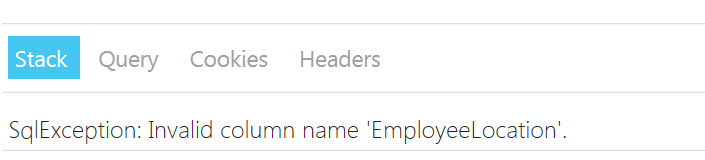
We have added the fields in the model, but we have not informed our database for this change yet.
For this reason, if you run the application, you will see below exception:
Run 2 commands, that’s it
For this, we just need to run 2 commands in the Package Management Console(PMC)
The first command is:
Add-Migration EmployeeLocation

Side Note – If you want to reverse the migration then write below command:
Remove-Migration
Once you run add-migration command, new migration class will be created and opened, in that, you can see new column has been added to the Employee table. This class contains the details of the newly added column.
The whole class is created automatically and it looks like below:
using Microsoft.EntityFrameworkCore.Migrations;

namespace NeelCodeFirstDemo.Migrations
{
public partial class EmployeeLocation : Migration
{
protected override void Up(MigrationBuilder migrationBuilder)
{
migrationBuilder.AddColumn<int>(
name: "EmployeeLocation",
table: "Employees",
nullable: false,
defaultValue: 0);
}

protected override void Down(MigrationBuilder migrationBuilder)
{
migrationBuilder.DropColumn(
name: "EmployeeLocation",
table: "Employees");
}
}
}
Once add migration is done, next step is to update the database with the new changes. For that write below command:
Update-Database
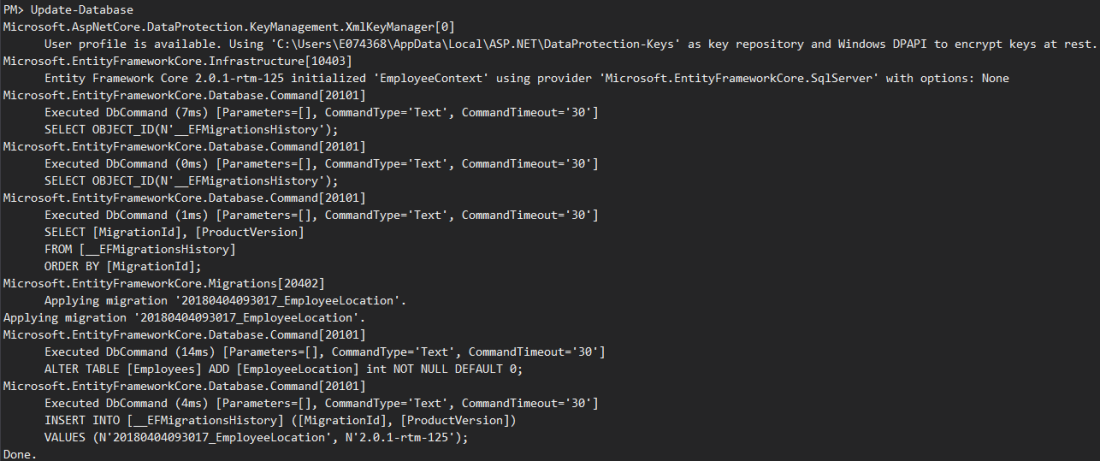
Here if you observe the logs, you can see all the queries getting fired when we run above command. The new column EmployeeLocation is added with the default value 0.
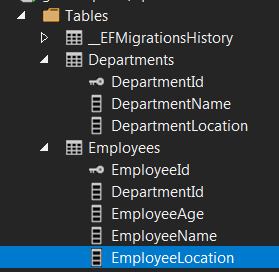
You can cross check this in the database, a new column would be added after running above command:
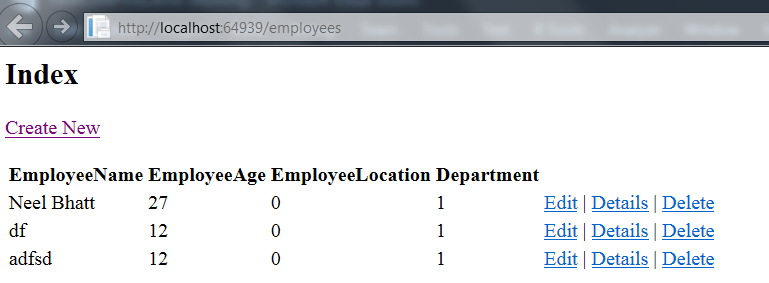
Run the application
Once the migration is over, run the application. You can see the EmployeeLocation 0 for all the columns. EmployeeLocation is nothing but the CountryCode:
Let us modify Create.cshtml to add new Employee with EmployeeLocation.
Add below in Create view:
<div class="form-group">
<label asp-for="EmployeeLocation" class="control-label"></label>
<input asp-for="EmployeeLocation" class="form-control" />
<span asp-validation-for="EmployeeLocation" class="text-danger"></span>
</div>
As we are adding a new field, we need to add this new field to the Bind list of Creates method of the EmployeeController as below:
public async Task<IActionResult> Creates([Bind("EmployeeId,EmployeeName,EmployeeAge,EmployeeLocation,DepartmentId")] Employee employee)
{

//// Rest of the code
Once this is done, let us add new Employee with EmployeeLocation as 12:

If the new record is added successfully, it means everything is working as expected.
Hope it helps.

2 thoughts on “Steps to add new field with Code first approach in .Net Core”