How to Install WordPress with Nginx and Let's Encrypt SSL on CentOS 8
WordPress is a free, open-source and most widely used content management system in the world. It is a very powerful blogging platform that can be used to host Blog, Portfolio Website and eCommerce platform. WordPress uses Apache/Nginx as web server, MariaDB/MySQL as a database and PHP processing. WordPress provides a huge number of themes and plugins that can be used to customize its functionality.
In this tutorial, we will explain how to install WordPress with Nginx on CentOS 8 server and then we secure the server by using a free Let's Encrypt SSL certificate.
Prerequisites
- A server running CentOS 8.
- A root password is configured on your server.
- A valid domain name is pointed to your server IP address.
Getting Started
By default, SELinux is enabled in CentOS 8 server. So you will need to disable it first.
You can do this by editing /etc/selinux/config file:
nano /etc/selinux/config
Make the following changes:
SELINUX=disabled
Save and close the file. Then, restart your server to apply the changes.
Install LEMP Server
Before starting, you will need to install Nginx, MariaDB, PHP and other required packages on your server. You can install all of them by running the following command:
yum install nginx php php-cli php-curl php-zip php-mbstring php-mysqlnd php-fpm curl unzip mariadb-server -y
Once all the packages are installed, start Nginx, PHP-FPM, MariaDB service and enable them to start after system reboot:
systemctl start nginx
 systemctl enable nginx
 systemctl start mariadb
 systemctl enable mariadb
 systemctl start php-fpm
 systemctl enable php-fpm
You can also check the status of PHP-FPM service with the following command:
systemctl status php-fpm
You should get the following output:
? php-fpm.service - The PHP FastCGI Process Manager
   Loaded: loaded (/usr/lib/systemd/system/php-fpm.service; disabled; vendor preset: disabled)
   Active: active (running) since Thu 2019-10-17 05:39:11 EDT; 4min 40s ago
 Main PID: 1475 (php-fpm)
   Status: "Processes active: 0, idle: 5, Requests: 0, slow: 0, Traffic: 0req/sec"
    Tasks: 6 (limit: 5060)
   Memory: 28.5M
   CGroup: /system.slice/php-fpm.service
           ??1475 php-fpm: master process (/etc/php-fpm.conf)
           ??1478 php-fpm: pool www
           ??1479 php-fpm: pool www
           ??1480 php-fpm: pool www
           ??1481 php-fpm: pool www
           ??1482 php-fpm: pool www

Oct 17 05:39:10 centos8 systemd[1]: Starting The PHP FastCGI Process Manager...
Oct 17 05:39:11 centos8 systemd[1]: Started The PHP FastCGI Process Manager.
Once you have done, you can proceed to the next step.
Configure WordPress Database
By default, the MariaDB server is not secured. So you will need to secure it first. You can secure it with the following command:
mysql_secure_installation
Answer all the questions as shown below:
Enter current password for root (enter for none):
Set root password? [Y/n] n
Remove anonymous users? [Y/n] Y
Disallow root login remotely? [Y/n] Y
Remove test database and access to it? [Y/n] Y
Reload privilege tables now? [Y/n] Y
Once secured, you should get the following output:
Cleaning up...

All done!  If you've completed all of the above steps, your MariaDB
installation should now be secure.

Thanks for using MariaDB!
Next, log in to MariaDB shell with the following command:
mysql -u root -p
Provide your root password when prompt then create a database and user for WordPress with the following commands:
MariaDB [(none)]> CREATE DATABASE wpdb;
 MariaDB [(none)]> GRANT ALL PRIVILEGES on wpdb.* to 'wpuser'@'localhost' identified by 'password';
Next, flush the privileges and exit from the MariaDB shell with the following command:
MariaDB [(none)]> FLUSH PRIVILEGES;
 MariaDB [(none)]> EXIT;
Once your database is configured, you can proceed to the next step.
Download WordPress
You can download the latest version of WordPress with the following command:
cd /var/www/html
 wget https://wordpress.org/latest.tar.gz
Once downloaded, extract the downloaded file with the following command:
tar -xvzf latest.tar.gz
Next, change the ownership of wordpress directory to the nginx:
chown -R nginx: /var/www/html/wordpress/
Next, change the directory to the wordpress and rename the wordpress default configuration file:
cd /var/www/html/wordpress
 cp wp-config-sample.php wp-config.php
Next, edit the file wp-config.php in your favourite text editor:
nano wp-config.php
Define your database information as shown below:
/** The name of the database for WordPress */
define( 'DB_NAME', 'wpdb' );

/** MySQL database username */
define( 'DB_USER', 'wpuser' );

/** MySQL database password */
define( 'DB_PASSWORD', 'password' );

/** MySQL hostname */
define( 'DB_HOST', 'localhost' );
Save and close the file, when you are finished.
Configure Nginx for WordPress
Next, you will need to create an Nginx virtual host configuration file to serve WordPress. you can create it with the following command:
nano /etc/nginx/conf.d/wordpress.conf
Add the following lines:
server {
    listen 80;
    server_name example.com;
    root /var/www/html/wordpress;
    index index.php;

    access_log /var/log/nginx/example.com.access.log;
    error_log /var/log/nginx/example.com.error.log;

    location = /favicon.ico {
        log_not_found off;
        access_log off;
    }

    location = /robots.txt {
        allow all;
        log_not_found off;
        access_log off;
    }

    location / {
        try_files $uri $uri/ /index.php?$args;
    }

    location ~ \.php$ {
        try_files $uri =404;
        fastcgi_pass unix:/run/php-fpm/www.sock;
        fastcgi_index   index.php;
        fastcgi_param SCRIPT_FILENAME $document_root$fastcgi_script_name;
        include fastcgi_params;
    }
    location ~* \.(js|css|png|jpg|jpeg|gif|ico|svg)$ {
        expires max;
        log_not_found off;
    }

}
Save and close the file. Then, check the nginx for any syntax error with the following command:
nginx -t
You should get the following output:
nginx: the configuration file /etc/nginx/nginx.conf syntax is ok
nginx: configuration file /etc/nginx/nginx.conf test is successful
Finally, restart Nginx service to apply the configuration changes:
systemctl restart nginx
Access WordPress Dashboard
WordPress is installed and configured, now it's time to access web interface.
Open your web browser and type the URL http://example.com. You will be redirected to the following page:
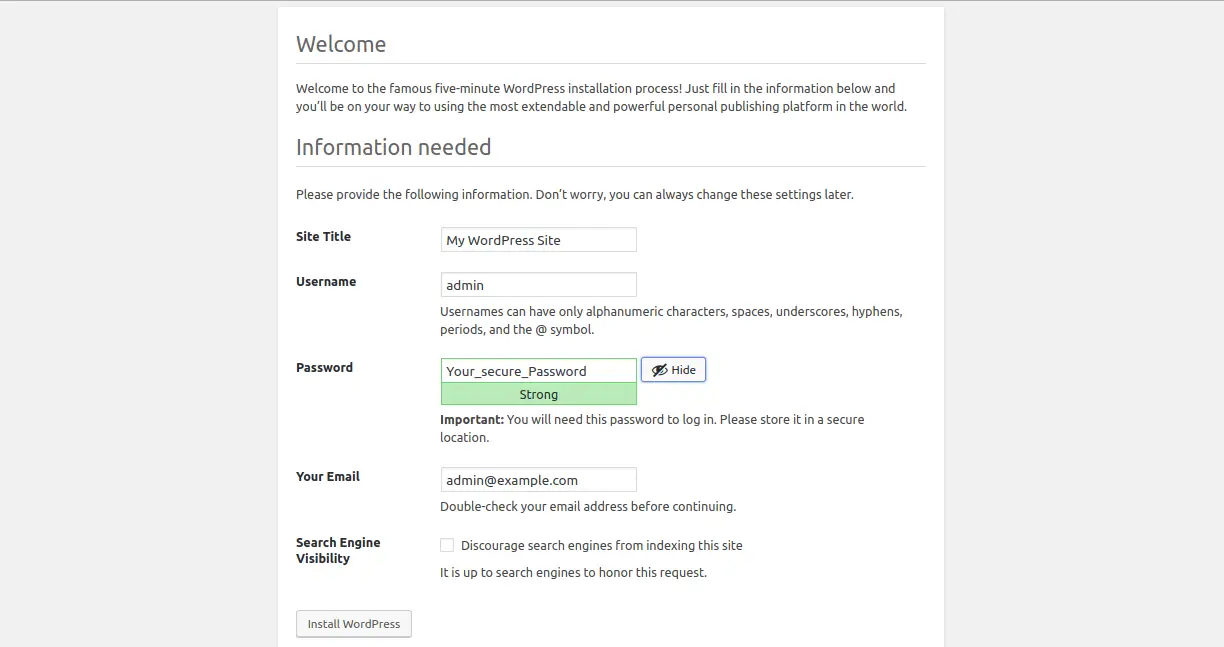
Provide all the required information like site name, admin username, password, admin email and click on the Install WordPress button. Once the installation has been finished. You should see the following page:
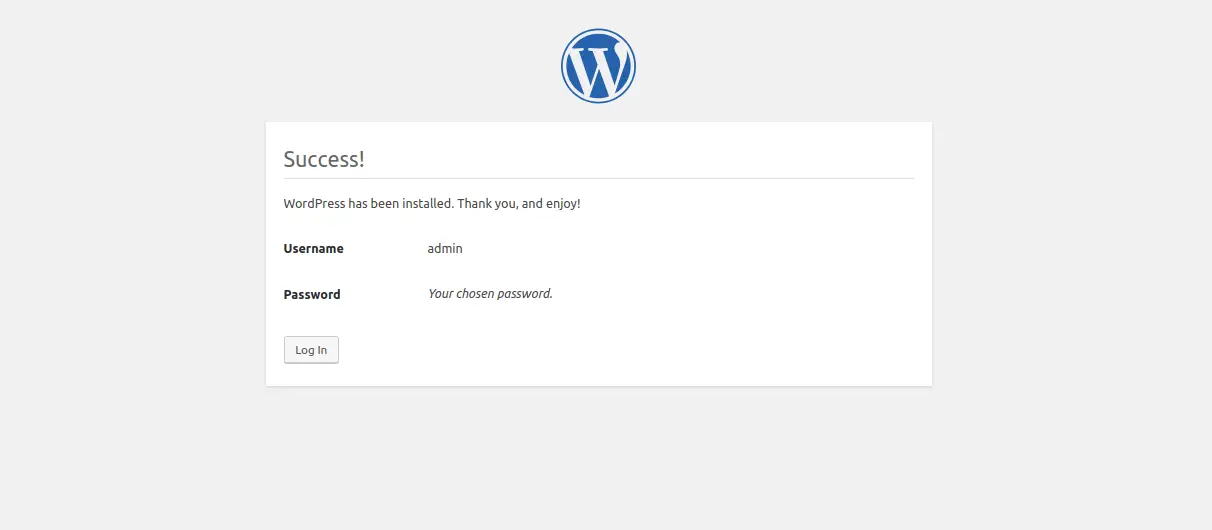
Click on the login button. You will be redirected to the WordPress login page:
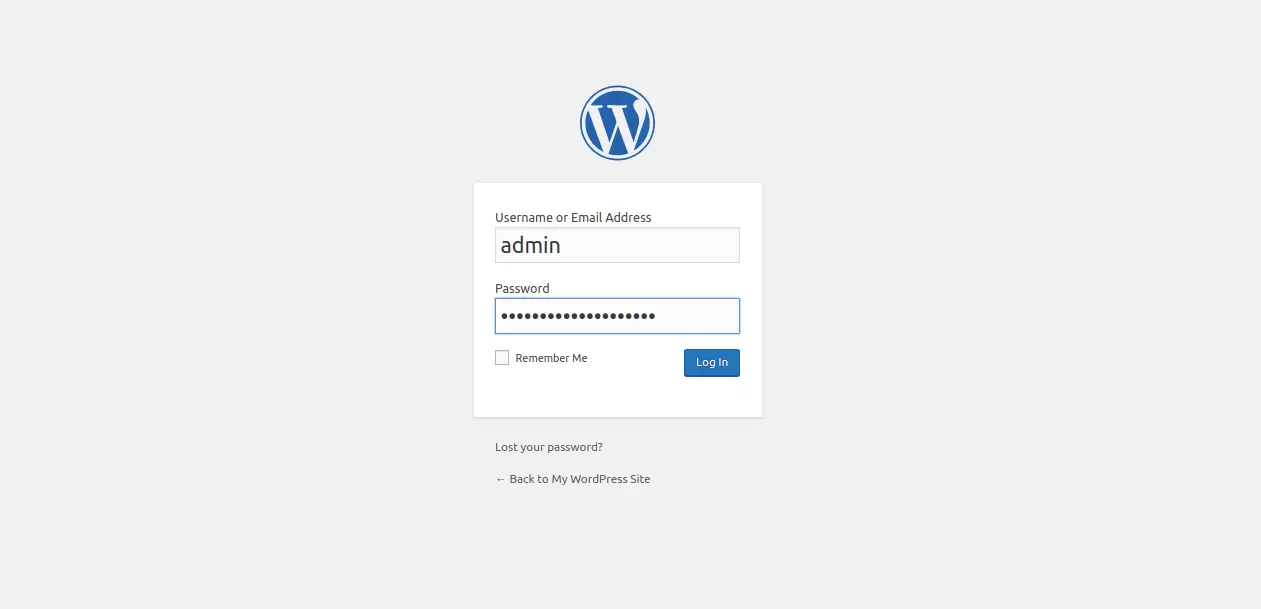
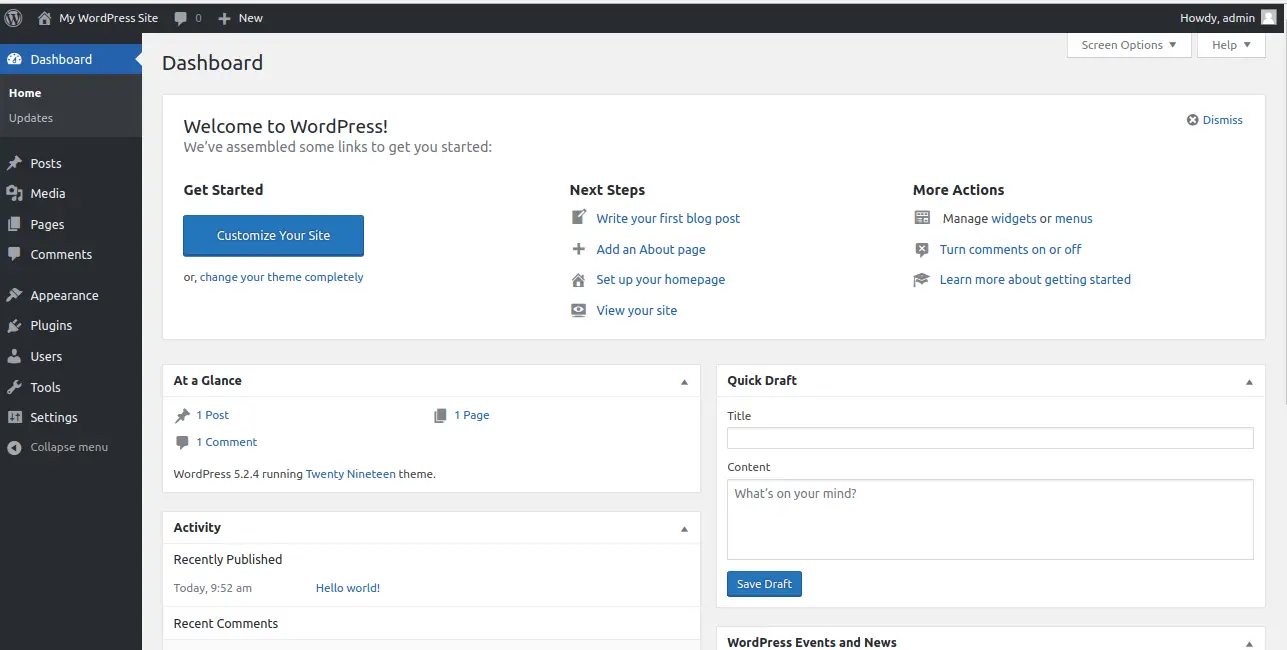
Provide your admin username, password and click on the Log In button. You should see the WordPress dashboard in the following page:
Secure WordPress with Let's Encrypt
In order to secure your WordPress site with Let's Encrypt free SSL, you will need to install Certbot Let's Encrypt client in your system. By default, Certbot is not available in the CentOS 8 default repository. So you will need to download it from the Certbot official website.
You can download and install Certbot with the following commands:
wget https://dl.eff.org/certbot-auto
 mv certbot-auto /usr/local/bin/certbot-auto
 chown root /usr/local/bin/certbot-auto
 chmod 0755 /usr/local/bin/certbot-auto
Now, run the following command to obtain and install an SSL certificate for your WordPress website.
certbot-auto --apache -d example.com
You will be asked to provide an email address and agree to the terms of service. You will also need to choose whether or not to redirect HTTP traffic to HTTPS. Please select the appropriate option and hit the Enter. Once the installation is successfully finished, you should get the following output:
IMPORTANT NOTES:
 - Congratulations! Your certificate and chain have been saved at:
   /etc/letsencrypt/live/example.com/fullchain.pem
   Your key file has been saved at:
   /etc/letsencrypt/live/example.com/privkey.pem
   Your cert will expire on 2019-08-14. To obtain a new or tweaked
   version of this certificate in the future, simply run certbot again
   with the "certonly" option. To non-interactively renew *all* of
   your certificates, run "certbot renew"
 - If you like Certbot, please consider supporting our work by:

   Donating to ISRG / Let's Encrypt:   https://letsencrypt.org/donate
   Donating to EFF:                    https://eff.org/donate-le
Set Up Let's Encrypt Automatic Renewal
Let's Encrypt certificate is valid for 90 days. So it is recommended to renew the certificate before it expired. You can set up the Cron job to renew the certificate automatically.
To do so, create the crontab with the following command:
crontab -e
Add the following line:
0 0,12 * * * root python -c 'import random; import time; time.sleep(random.random() * 3600)' && /usr/local/bin/certbot-auto renew
Save and close the file, when you are finished.
Conclusion
In the above tutorial, we learned how to install and configure WordPress with Nginx on CentOS server. We have also learned how to secure WordPress site with Let's Encrypt free SSL. I hope you can now easily host your own WordPress website easily.

