How to create an Ubuntu EC2 Instance on AWS
EC2 (Elastic Compute Cloud ) is part of the “Compute” service in AWS (Amazon Web Services). EC2 is nothing but a VM (Virtual Machine) in AWS. It is a web service of AWS using which a user can create a VM (EC2 Instance) whenever needed as per the requirement.
The user can rent a VM and pay as per the usage. To understand more about AWS billing, click here
In this article, we will see how to create a new Ubuntu EC2 Instance on AWS.
Pre-requisites
- AWS Account (Create if you don’t have one)
What we will do
- Login to AWS
- Create an EC2 Instance from "Ubuntu Server 18.04 LTS" AMI available.
- Connect to the Instance
Login to AWS
- Click here to go to AWS Login Page
When you hit the above link, you will see a web page as follows where you are required to log in using your login details.

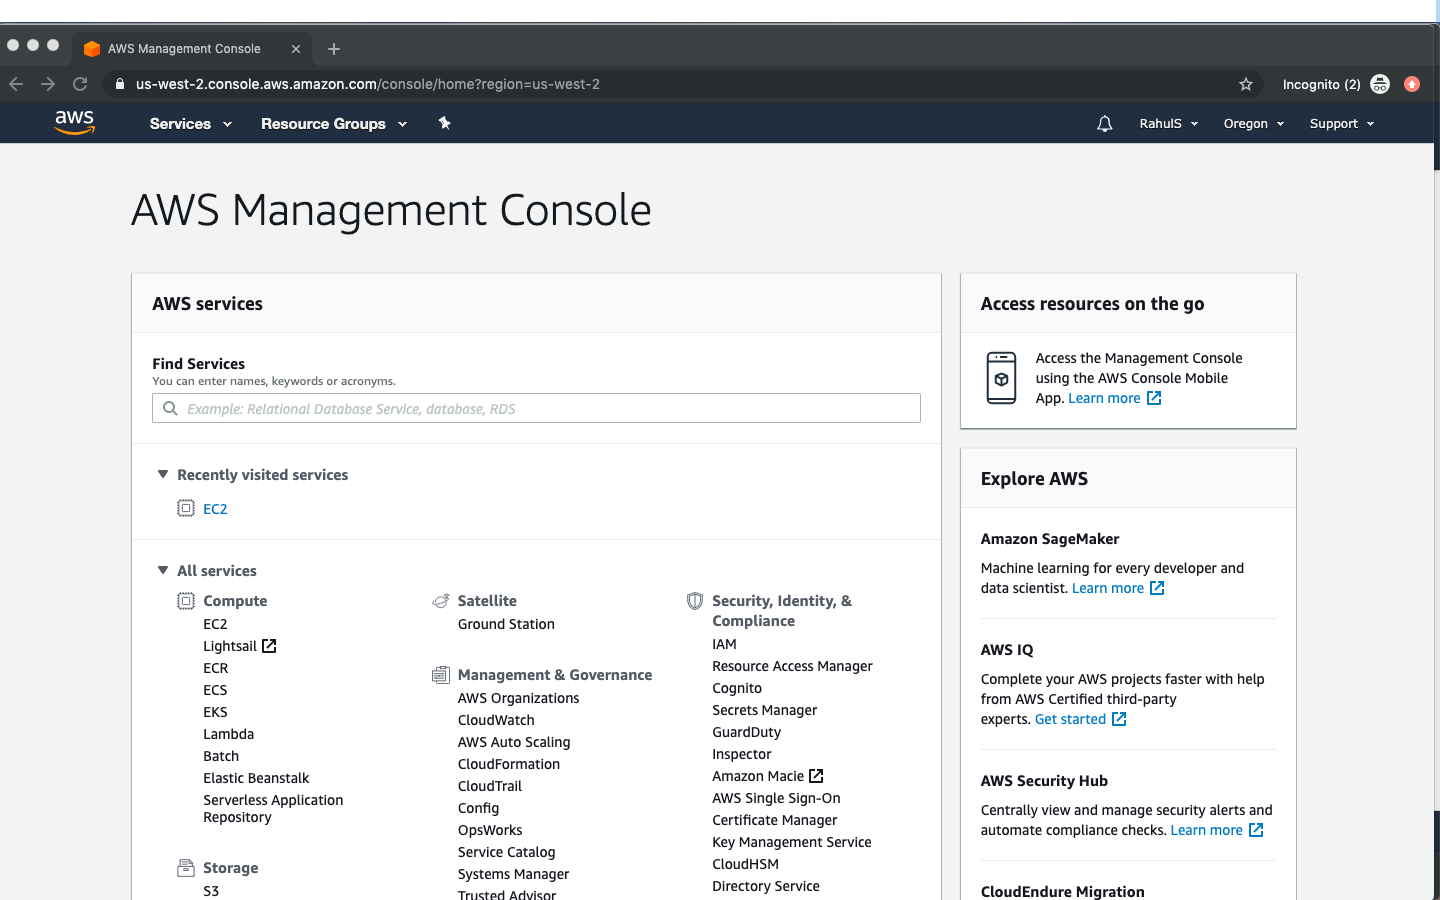
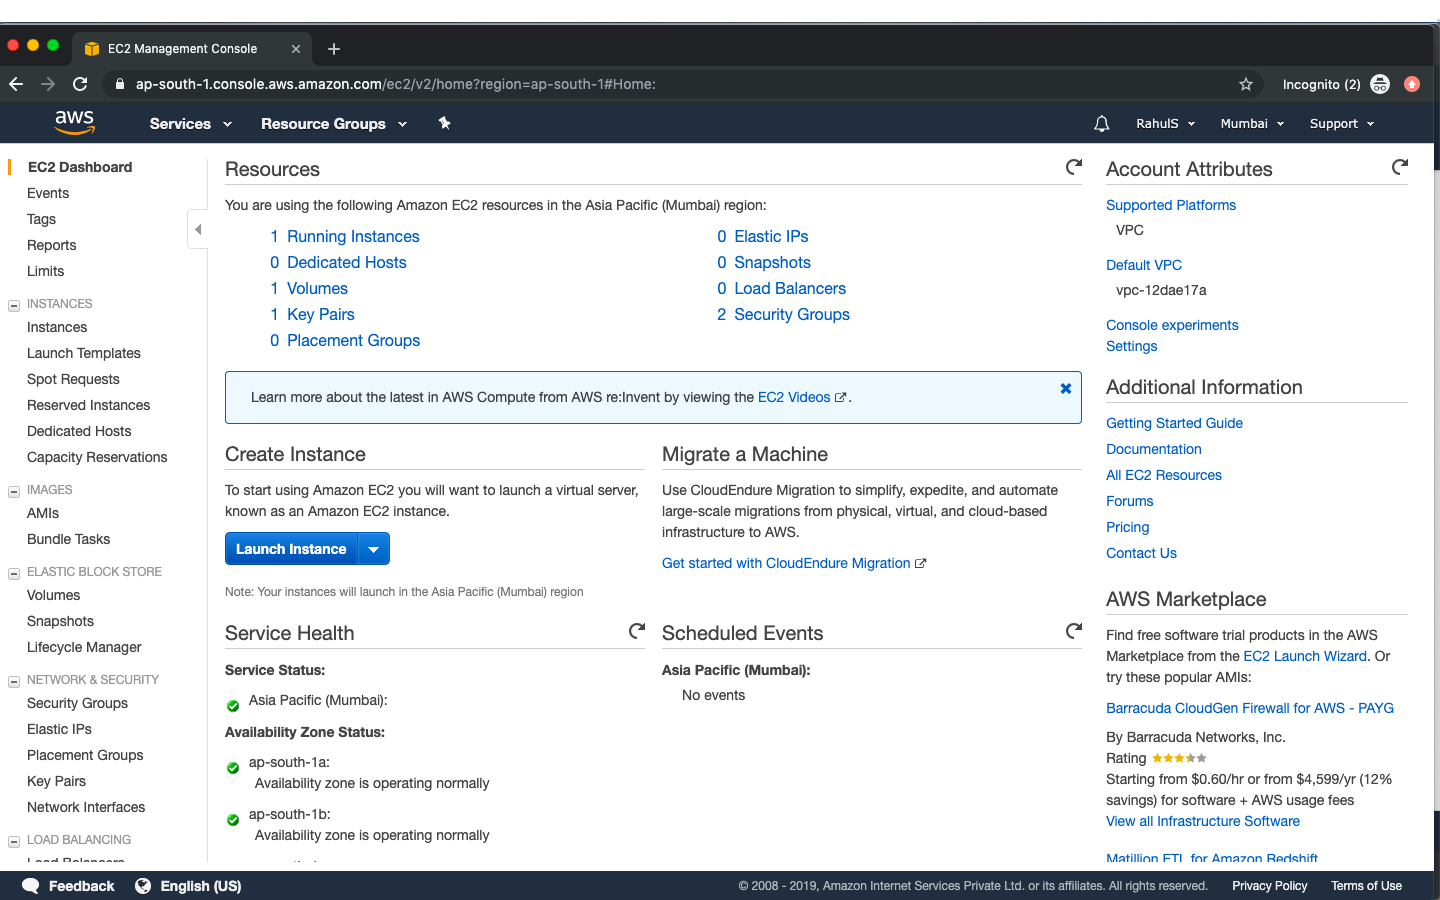
Once you login into AWS successfuly, you will see the main console with all the services listed as follows.
Create an EC2 Instance from "Ubuntu Server 18.04 LTS" AMI available
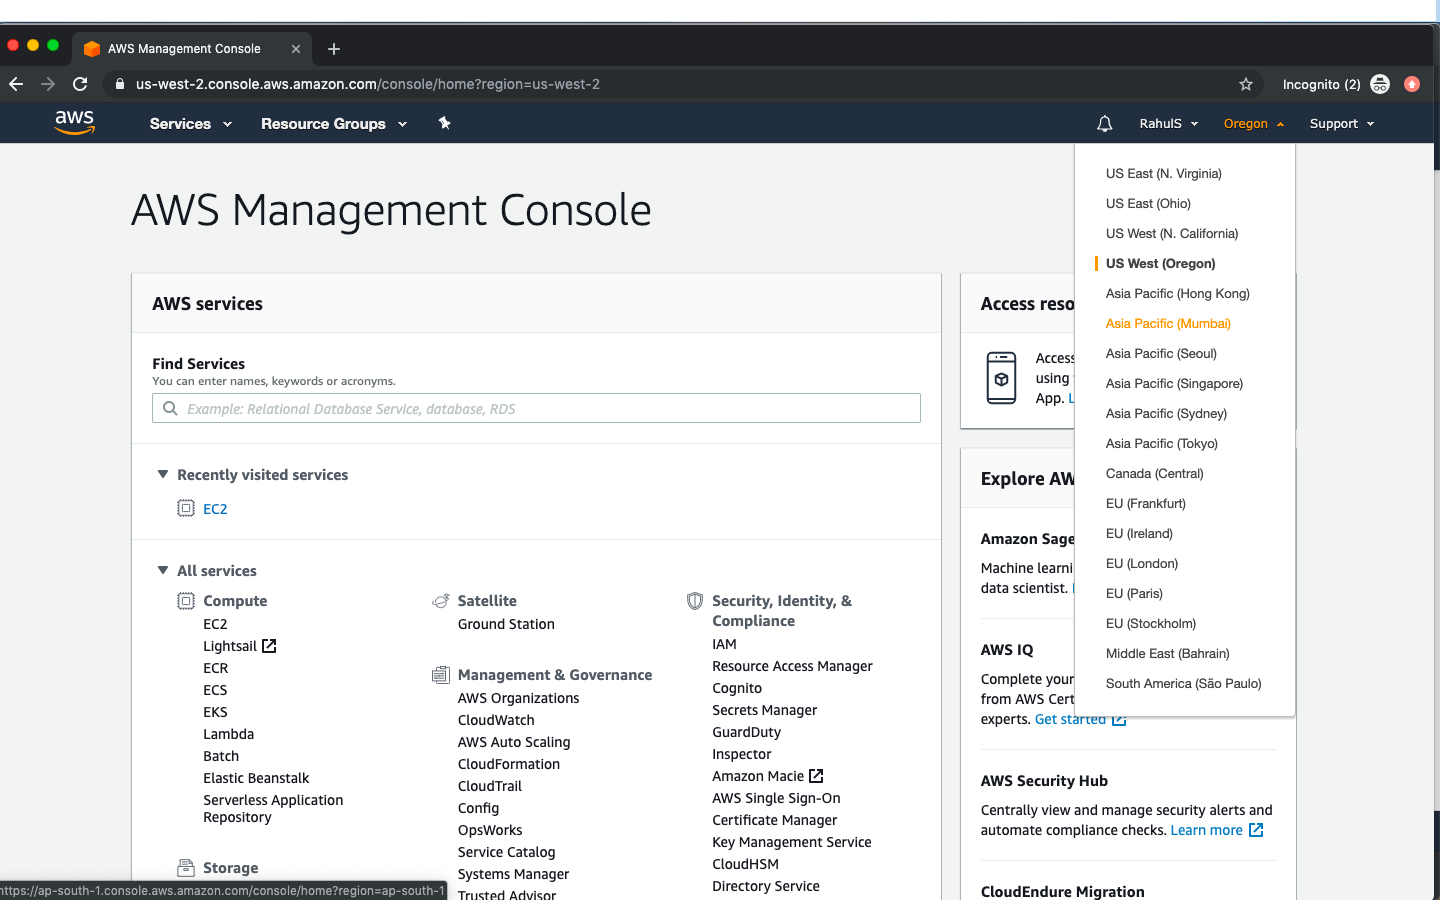
Before proceeding with the creation of an EC2 Instance, select the desired and closest region.
Click on the arrow near the default region (Here it is Oregon) and you will see a list of regions available and select the desired region. Here, I have selected “Asia Pacific (Mumbai)”. You can select as per your choice or requirement.
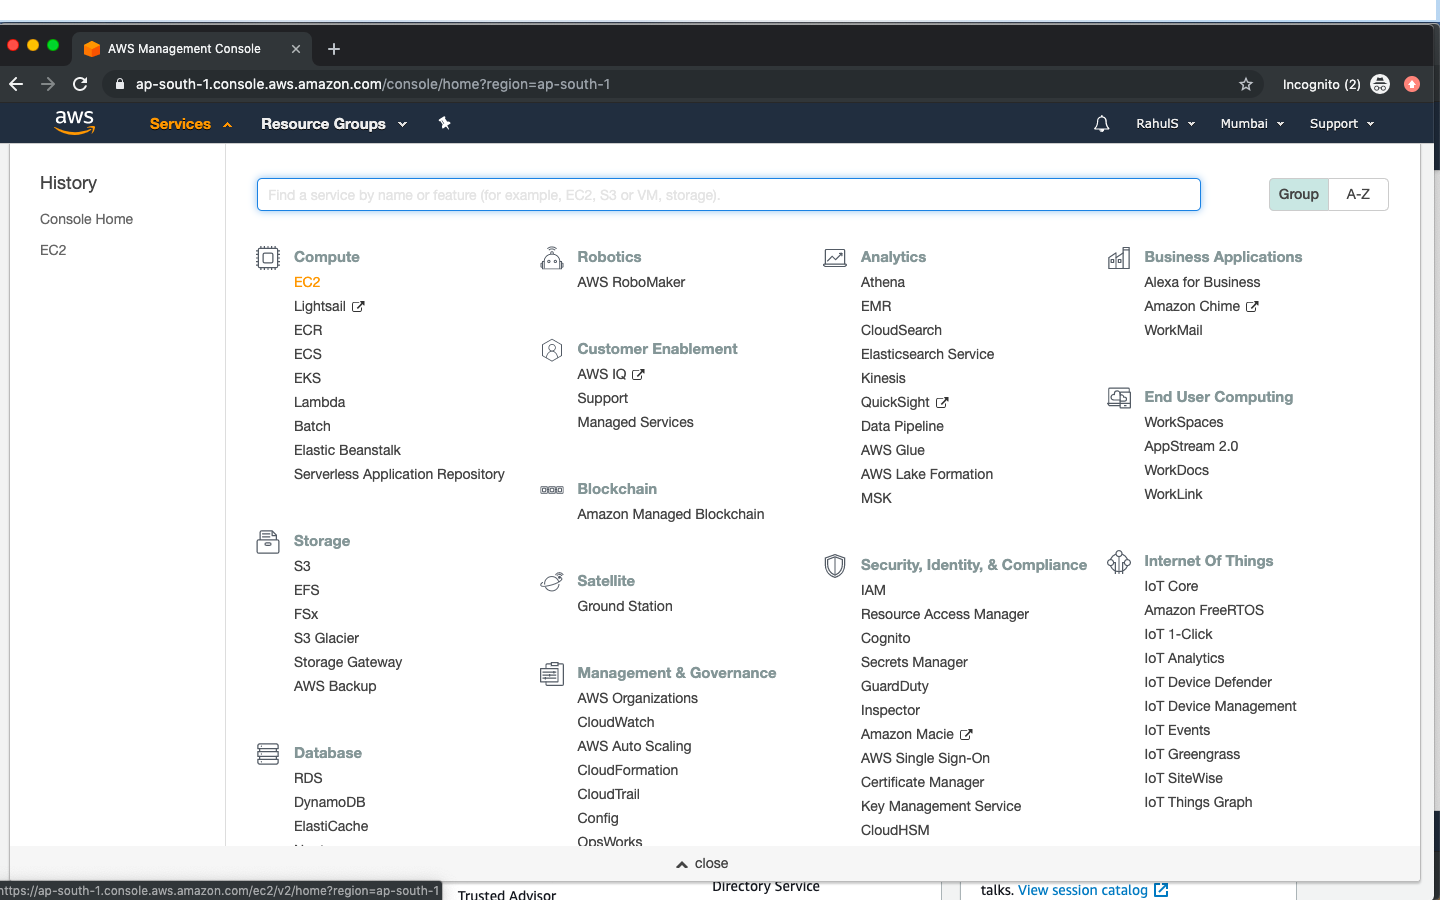
Click on “Services” at the upper left corner and you will see the following screen with all the services available on AWS. Click on "EC2" available under “Compute”
I already have 1 instance up and running in my account, you may or may not have any instance in your account depending on your account history.
To create an instance, click on "Launch Instance"
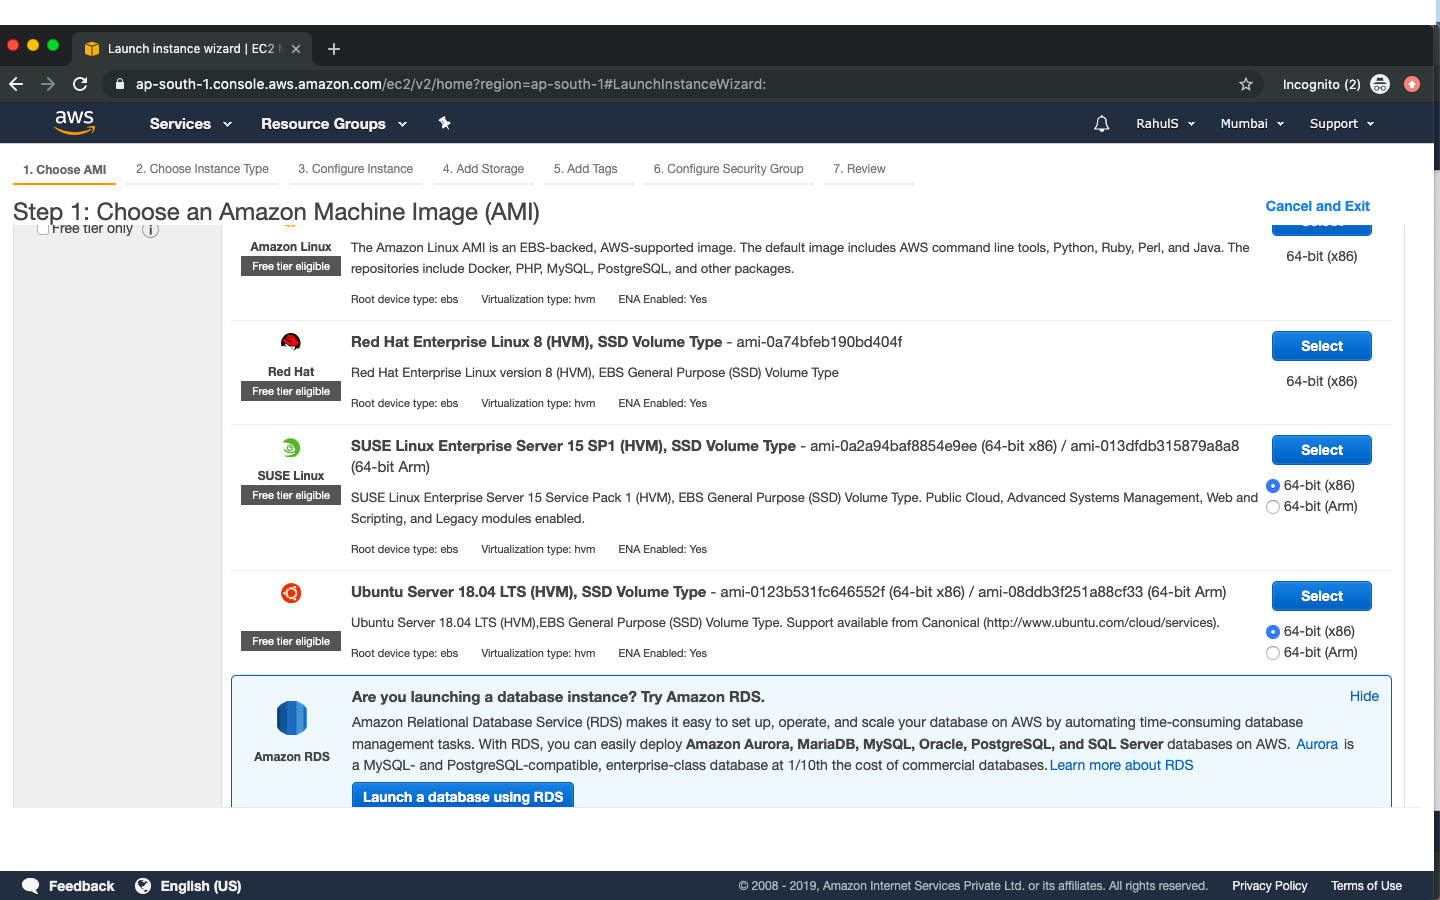
You can select an AMI of your choice. Here, we will proceed with "Ubuntu Server 18.04". If you are using a Free Tier Account, make sure to select the AMI which is eligible for Free Tier Usage else you will be charged for it. "Ubuntu Server 18.04" is eligible for Free Tier so you can proceed with this.
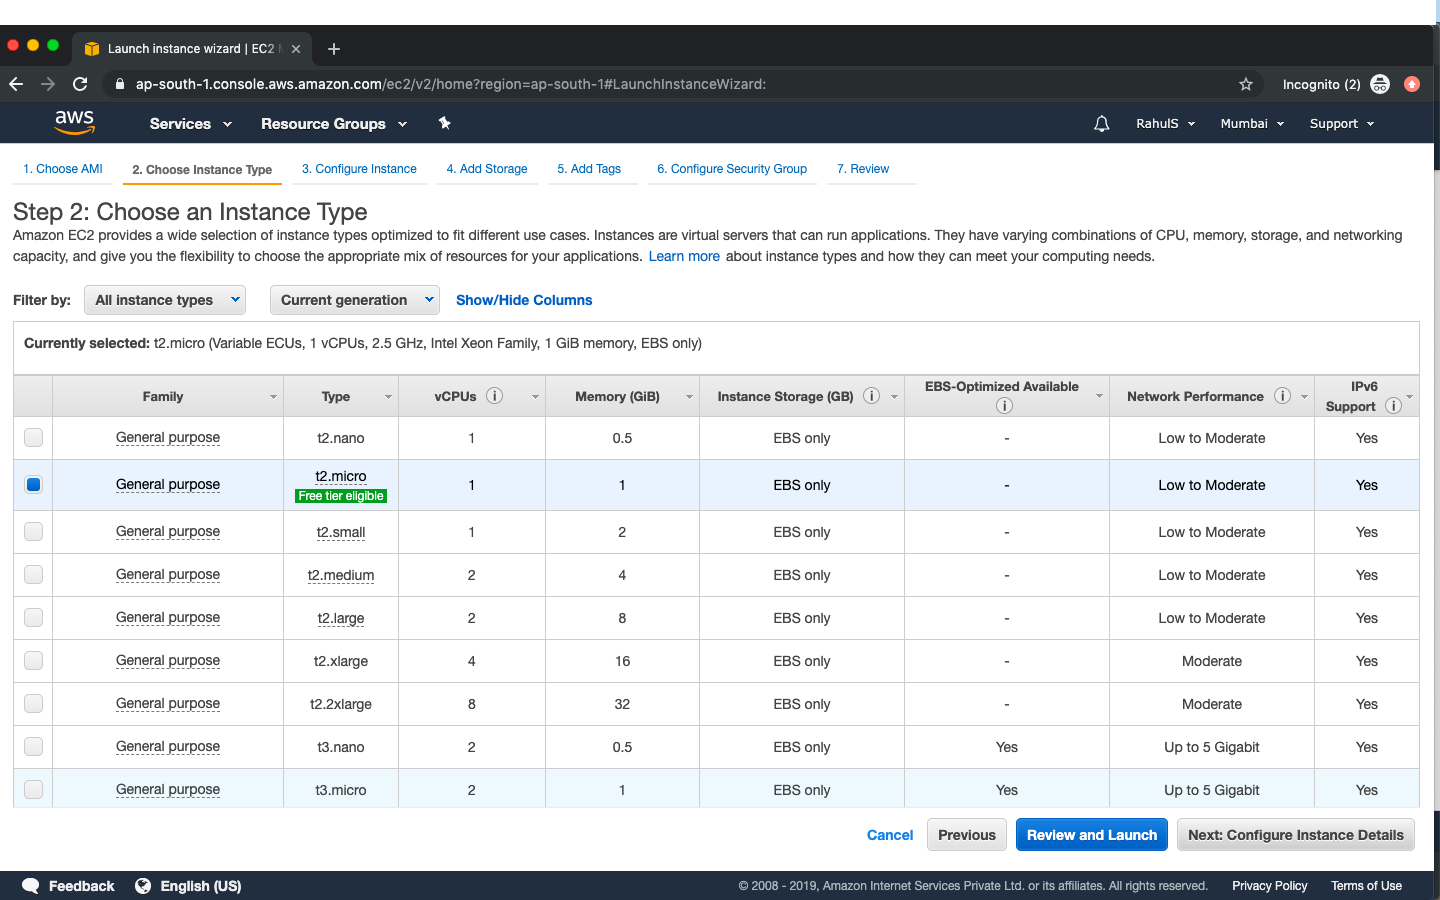
Once you have selected an AMI, it's time to select the Instance Type. Here, we shall proceed with "t2.micro" as it is eligible for Free Tier Account.
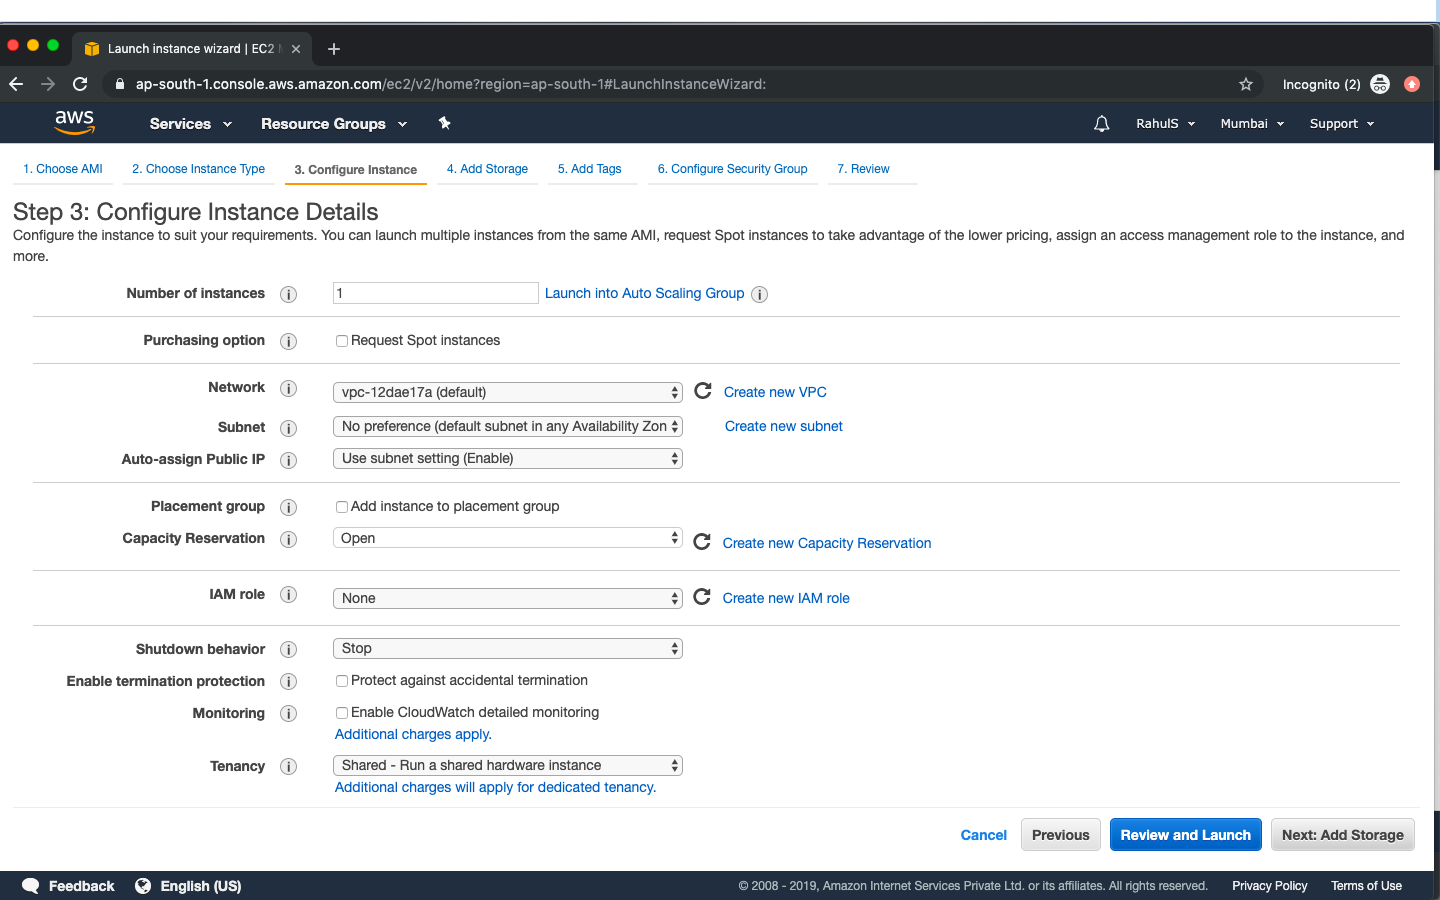
On this screen, you can specify the details or you can just click on "Next: Add Storage" to proceed with the default settings. Here, we shall proceed with the default settings.
You can specify the size for the root partition. We have specified Root Partition Size as 30 GBs. Click on “Next: Add Tags” to proceed

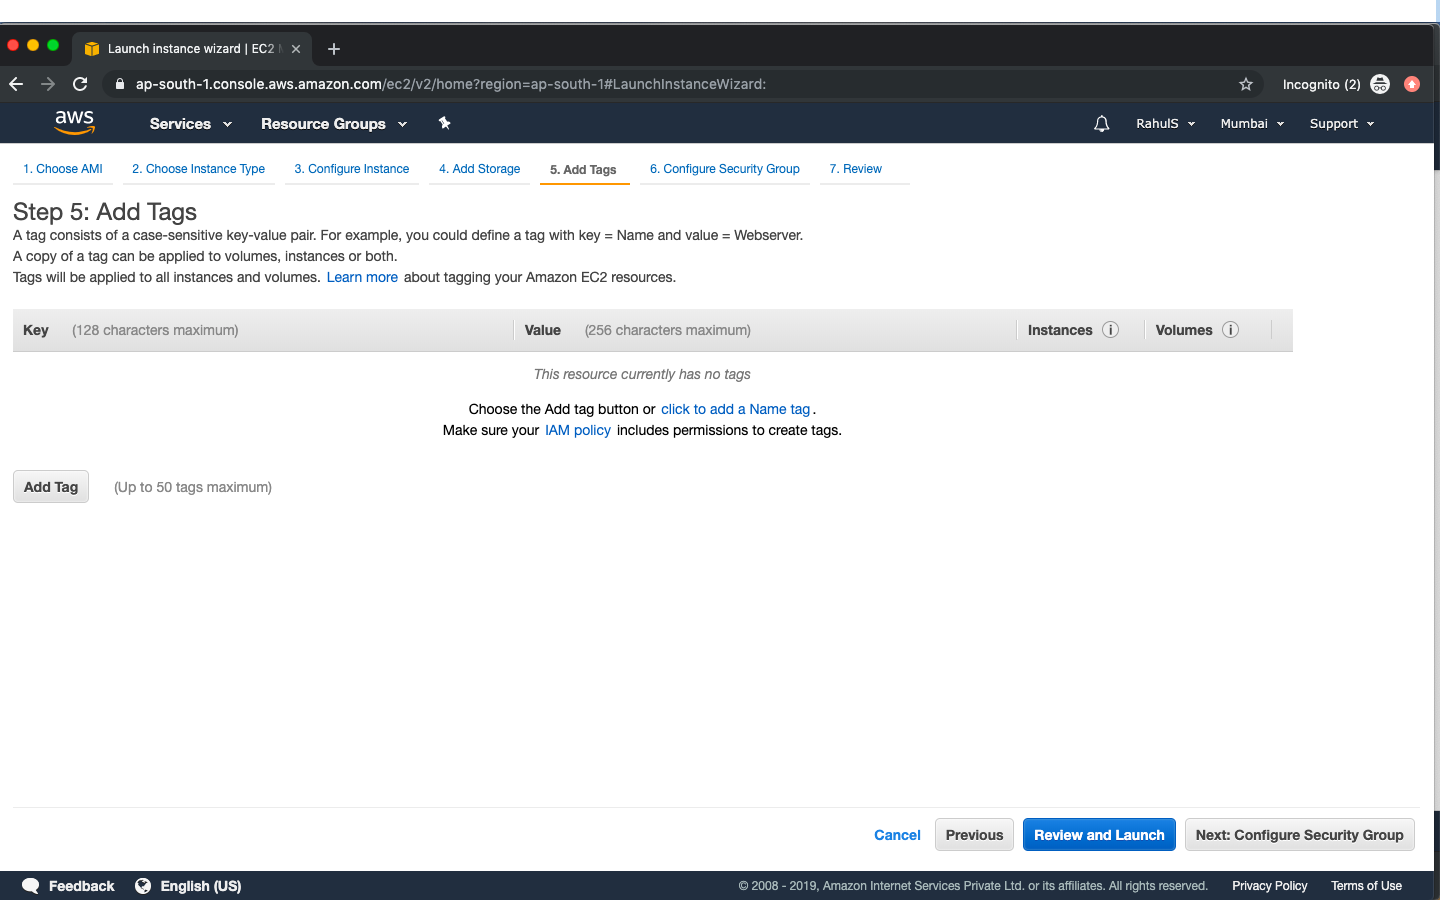
You can specify Tags (Key:Value) or can skip this step and click on “Next: Configure Security Group”
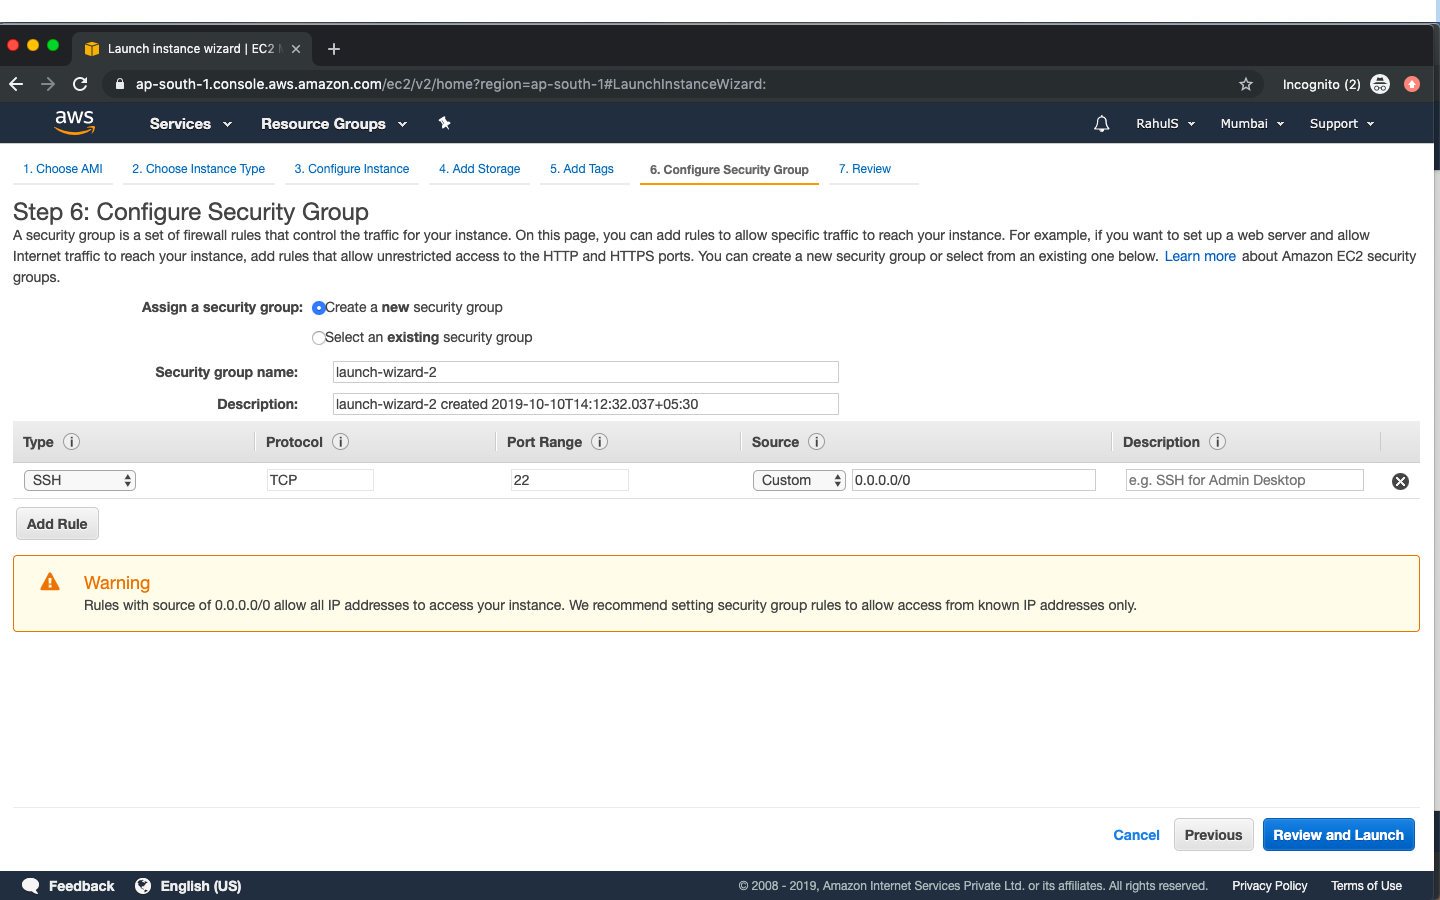
If you have an existing Security Group you can select that or can create a new. We shall create a new Security Group by just selecting “Create a new Security Group” radio button. Click on "Review and Launch"
Now, review your configuration and click on “Launch”

Before the instance creation starts, we need to select a Key-Pair which is then required to take ssh access to the server. To create a new Key-Pair, select “Create a new Key-Pair” from the drop-down menu, give a name to the Key-Pair and download it. Keep this Key-Pair at a safe place.

Wait for some time until the instance gets created. Click on “View Instances” to check the Instance State and other details.

Once the Instance State changes from “pending” to ‘running’ you can connect to the instance.

Connect to the Instance
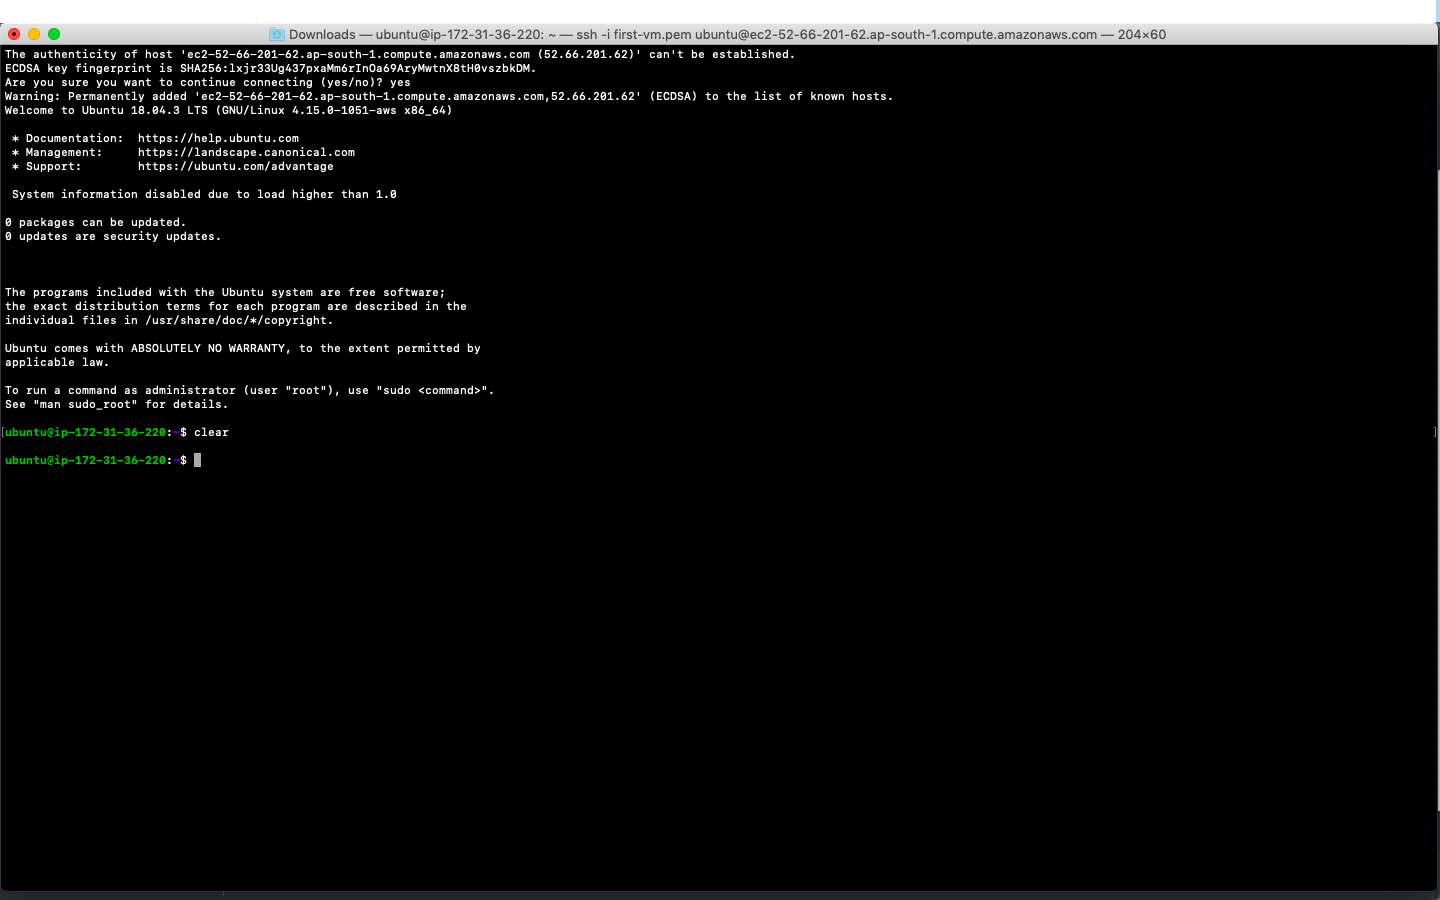
Once the Instance is available, select the Instance and Click on “Connect”. Copy the Example ssh Command to connect to the instance.
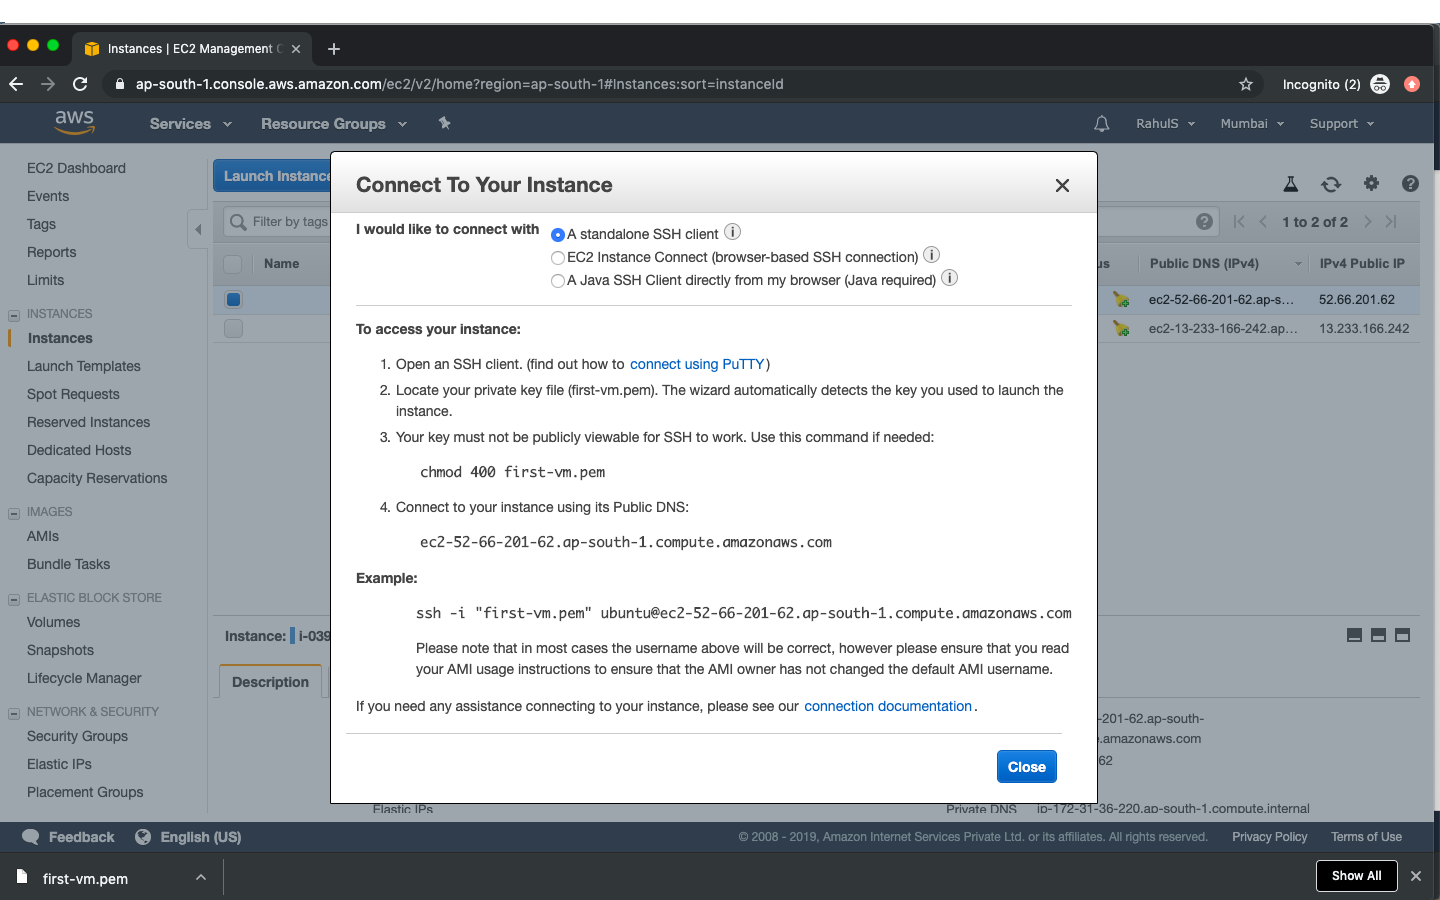
Go to the terminal
ssh -i "first-vm.pem" [email protected]
If you get a Key-Pair permission error, change the permissions of the Key to 400 using the following command and retry the above command.
chmod 400 ~/Downloads/first-vm.pem