A splash screens it’s what we call to those screens that show up at the beginning of an app and last only while the application loads.
This is a common design pattern in general mobile development, allowing the user to receive feedback immediately after touching an app’s icon, showing them something right from the beginning instead of staring at a black screen until the application finishes loading.
Best of all, adding a splash screen is simple, so you’ll get a better user experience without much effort. Let’s begin!
Creating a splash-screen
Before we begin, we need to understand is that there is no cross-platform way of adding a splash screen. This is because of the Xamarin.Forms library loads after MainActivity/AppDelegate finishes loading and by that time it’s too late, we need something to display before and during those classes load, after all, that’s what splash screens are all about.
With that in mind, what’s left is to create the splash-screen file and configuration on each platform. In our case, the splash-screen will consist of a logo and a background color.
Android
The first thing we need is the logo image. Android defines how to add images and ensure it looks good on every platform, you can read about it here
After that, we are to create the splash screen file, which loads the image and sets the background we need. For that, we are going to define an XML drawable, here’s the code:
<?xml version="1.0" encoding="utf-8"?>
<layer-list xmlns:android="http://schemas.android.com/apk/res/android"/>
    <item android:drawable="@color/splash\_background" />
    <item android:gravity="center"/>
        <bitmap android:src="@drawable/splash" />
    </item>
</layer-list>
Here, we defined a layer-list which essentially allows us to have a background color and an image background at the same time, having the first <item> define the background color and the second one the image logo centered on the screen.
With that in place, then we define a new style to set this drawable as the background and ensure it takes up all the screen available on the device by removing any action/status bar, here’s the code:
<style name="Splash" parent="Theme.AppCompat.Light.NoActionBar"/>
    <item name="android:windowBackground"/>@drawable/splash/_screen/</item/>
    <item name="android:windowNoTitle"/>true</item>
    <item name="android:windowFullscreen"/>true</item>
</style>
Finally, we create a new activity called SplashActivity where we configure it as the MainLauncher (be sure to remove it from the MainActivity.cs) and make it use the new style we defined.
Then, we start the MainActivity from the OnCreate() method, that way, it loads the screen that starts up the rest of the app once it’s ready.
[Activity(Label = "SplashActivity", Theme = "@style/Splash", MainLauncher = true)]
public class SplashActivity : Activity
{
    protected override void OnCreate(Bundle savedInstanceState)
    {
        base.OnCreate(savedInstanceState);
        StartActivity(typeof(MainActivity));
        Finish();
    }
}
Some additional notes :
- The call to Finish is to ensure the activity doesn’t stay up on memory while the app is running since we won’t need it ever again.
- We created a new activity instead of using the MainActivity because the drawable we defined becomes the background of the activity and therefore we would end up overriding the background property on each Xamarin.forms page.
- We use an XML drawable and not a standard layout because this approach is much faster.
iOS
As with Android, on iOS we need to include the logo image according to the apple standards to ensure it looks good in all their supported resolutions, you can find the guide here.
With all the images at hand, it’s time to add it to our project and to do so we are going add them to a special folder called Assets.xcassets. We can find it on the iOS project section inside the solution explorer window.
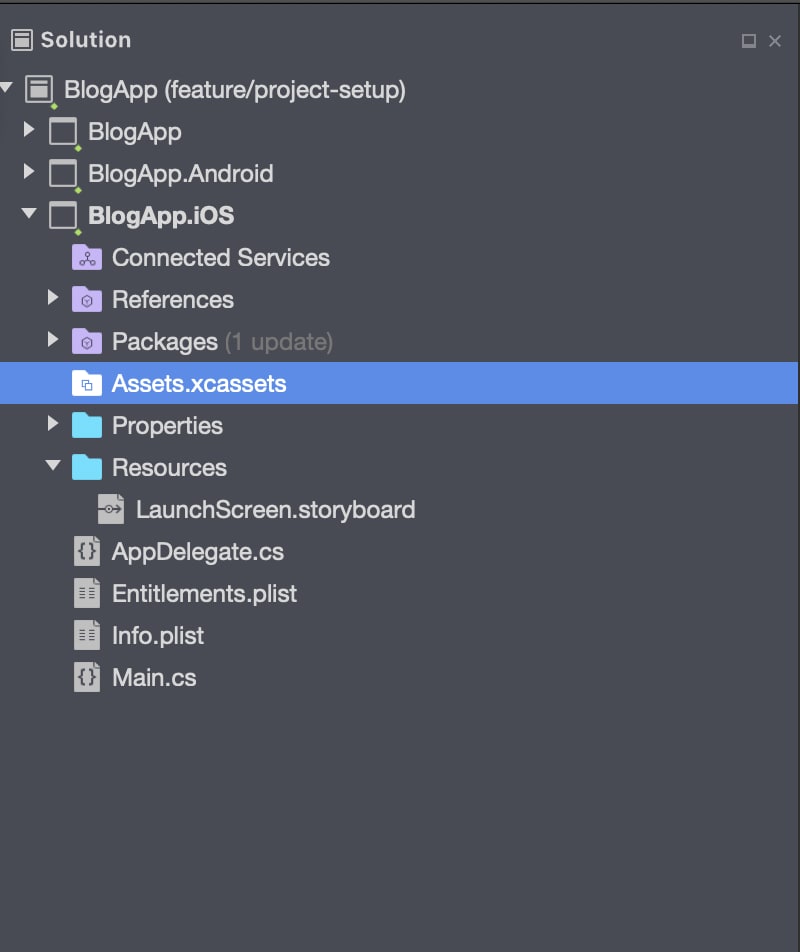
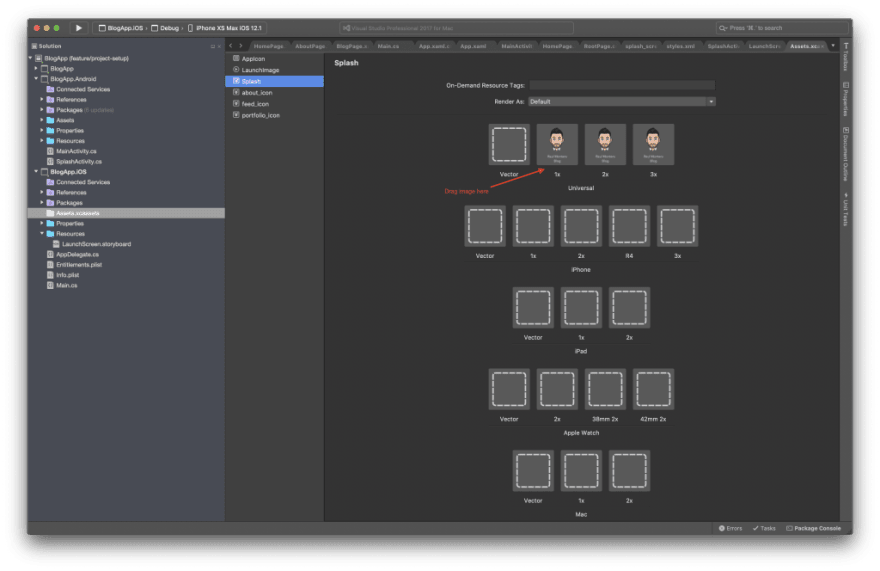
Double click it and a new tab window will appear. Here, we will find a sidebar with name identifiers for the images (on the left side) and placeholders to put our images at the right side.
What will do next, is right-click on the sidebar and select new image set and give it a name (I used splash for mine). After that, what’s left is to add the images. Drag & drop the image files into the first row of placeholder boxes according to the resolutions defined by Apple.
Finally, what’s left is to update the LaunchScreen.storyboard to include our new image, define its constraints to ensure its always centered and set up the background color, all from the Visual Studio iOS designer, no code required.

If you don’t have a lot of experience working with the iOS designer, check out this guide from Microsoft which explains it step by step.


Top comments (0)