How to Install FreeBSD 12.0 with ZFS Filesystem
FreeBSD is a free and open-source operating system derived from the Berkeley Software Distribution (BSD). It is a Unix-like operating system based on Research Unix. The first version of FreeBSD was released in 1993 and has now released the latest FreeBSD 12.0 release.
The Z file system (ZFS) is the next-generation file system originally developed by Sun Microsystem. ZFS is highly scalable with comprehensive data corruption protection, efficient data compression, native support with NFSv4 ACLs and RAID-Z, data integrity checking, and automatic repair. The ZFS was ported to the FreeBSD system in 2008.
In this tutorial, we will show you how to install the latest version of FreeBSD 12.0 on ZFS. We will use the BSDinstall, which automatically uses the entire disk for the FreeBSD system.
1. Requirements
For this guide, we will install the FreeBSD 12.0 on the virtual machine with the 2GB of RAM memory, 2 CPUs, and 25GB of Disk. If you're on production, you must use more than that. And make sure you have a FreeBSD 12.0 image and the bootable media.
Download the FreeBSD 12.0 images from this URL.
https://download.freebsd.org/ftp/releases/
2. Setup Base Installation
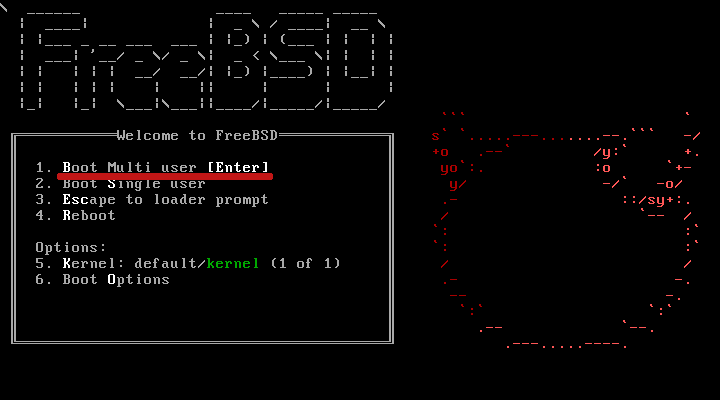
Insert your media bootable to your computer or server and boot the system with it. Once it's successful, just press 'Enter' to continue the installation.
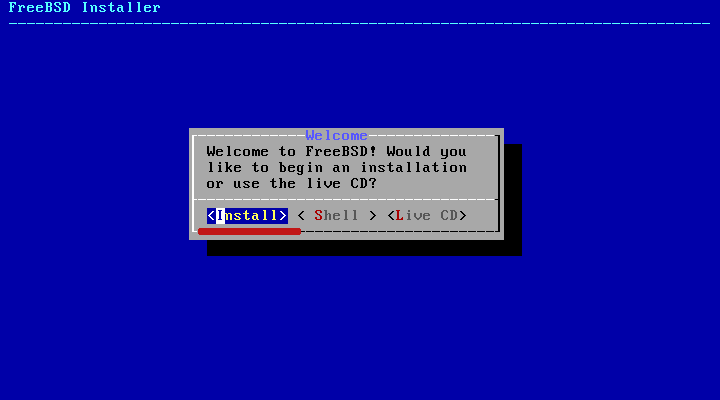
Now select 'Install'.
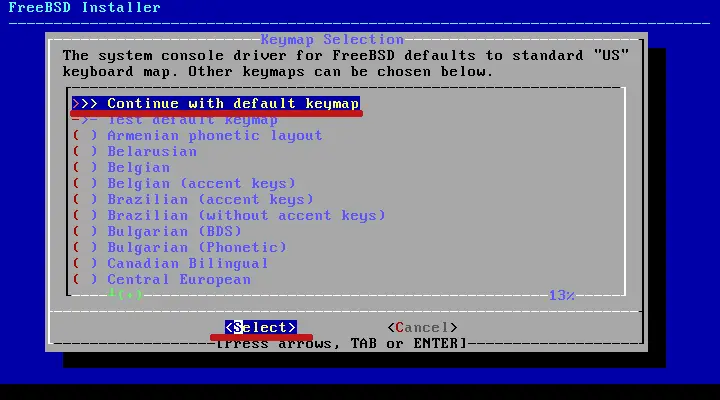
Choose the keyboard map with your own. If you're using the default 'US' keyboard map, you can choose 'Continue with default keymap' option and 'Select'.
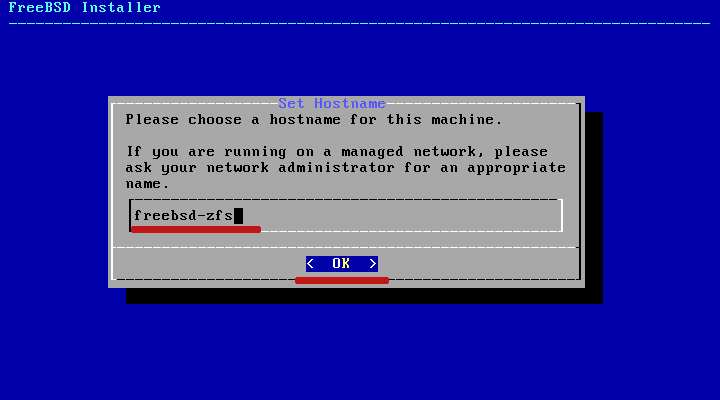
Setup your FreeBSD system hostname and select 'OK'.
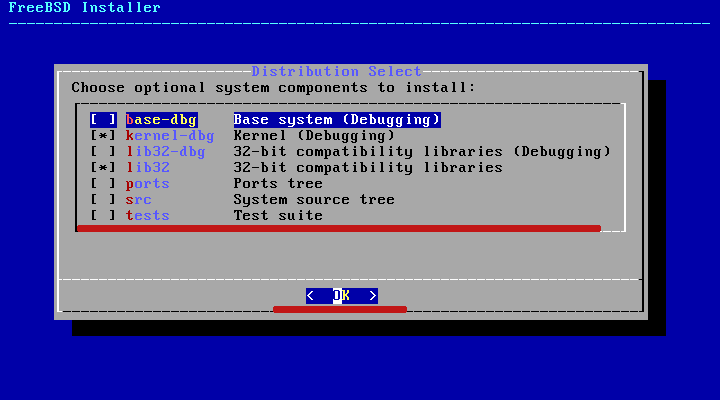
Now select the base system components that you need. if you want to add an additional component, you can select the component by pressing the 'space' button on your keyboard and select 'OK'.
3. ZFS Configuration
Now the disk partitioning for our FreeBSD installation. Choose the 'Auto (ZFS)' partitioning method and select 'OK'.
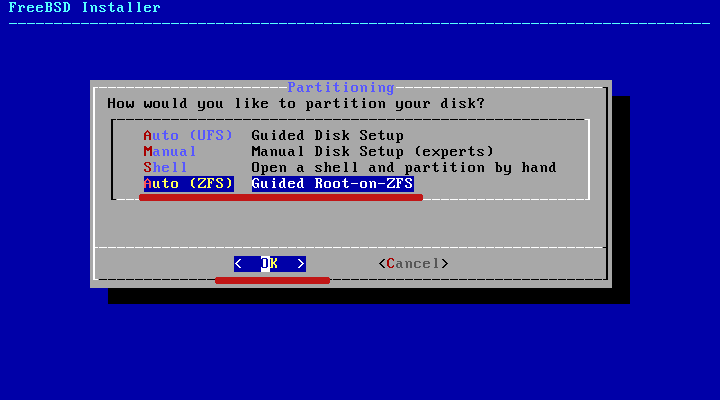
Note:
If you want to create setup the ZFS setup manually, you can use the 'Shell' or 'Manual' options.
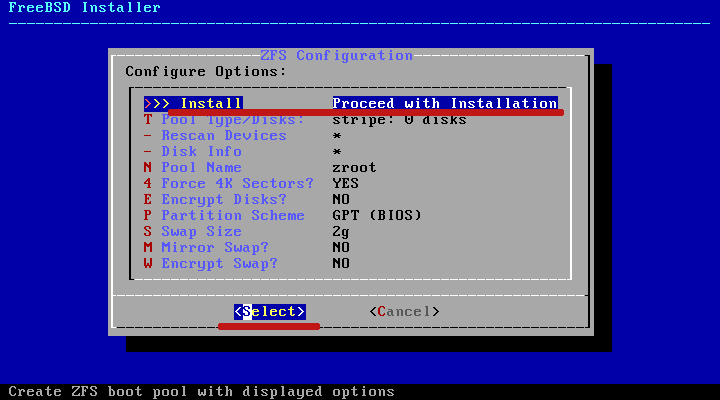
Now you will need to configure the ZFS for our installation. By default, the bsdinstall will create new ZFS partition with GPT as partition scheme, zpoll name as 'zroot', and the swap '2gb'.
Leave it as default and select.
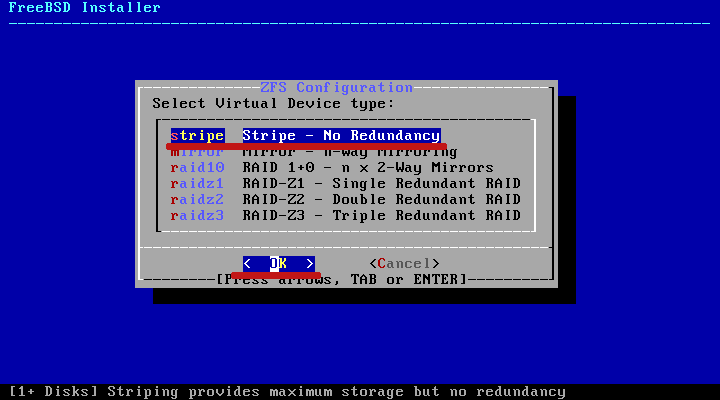
The main advantages of using ZFS is when you're using RAID. So, if you're in the production environment, you can choose raidX options.
And for now, select as default 'stripe' with no redundancy and select 'OK'.
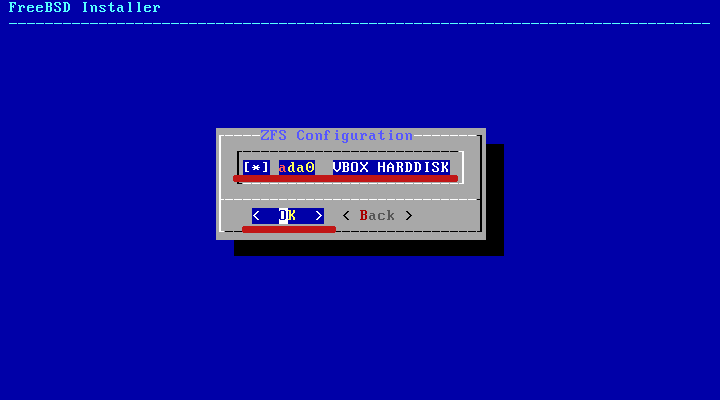
Select your disk and 'OK'.
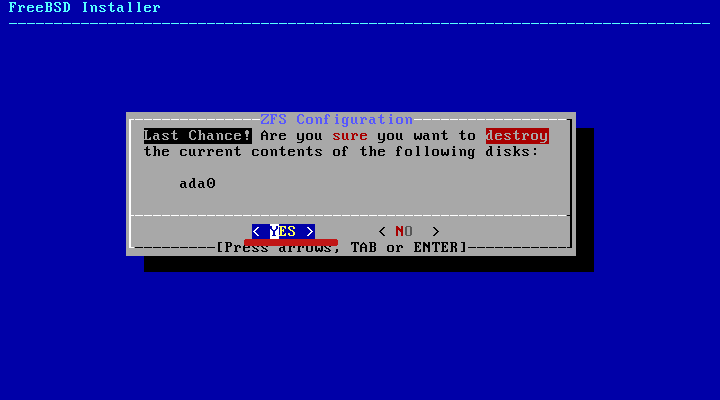
Select 'YES' to format and destroy the disk.
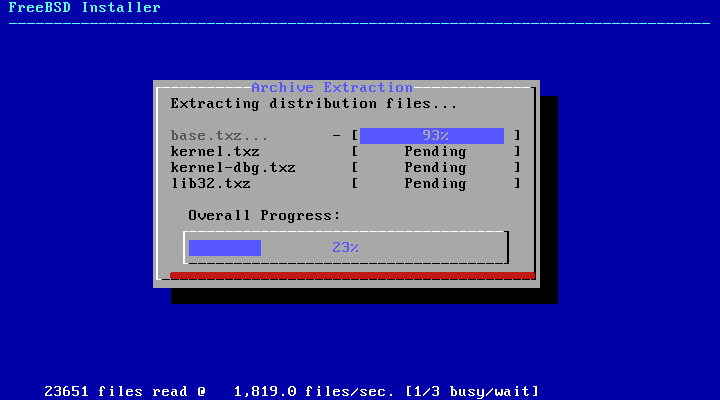
4. Base Installation and Setup Root Password
Now the base components installation will begin.
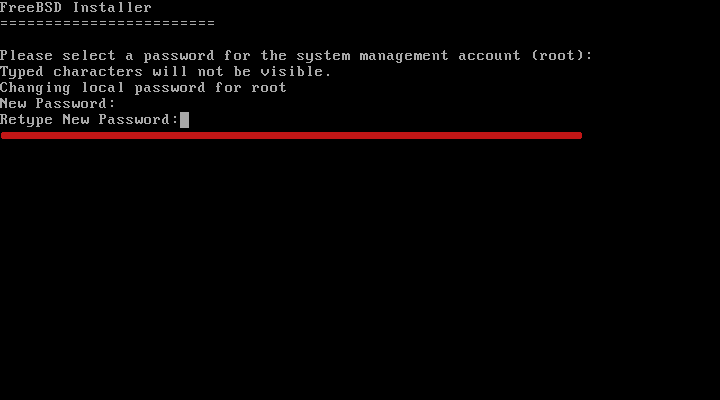
Once the base installation is complete, you will be asked to change the root password. Type your strong password.
5. Setup Networking
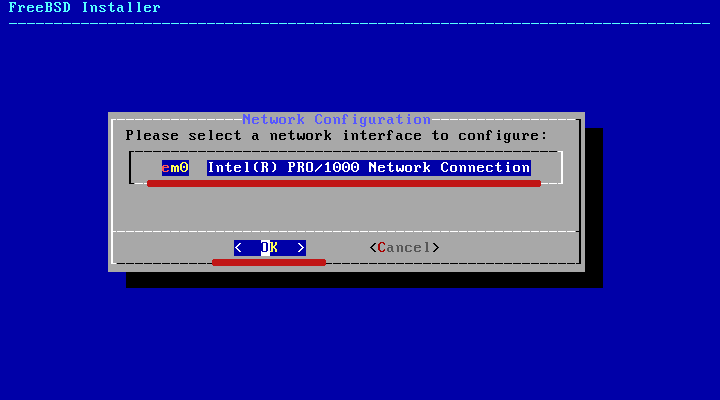
Now for the network configuration, choose your network interface and select 'OK'.
Select 'YES' to configure the IPv4 address of your network interface.
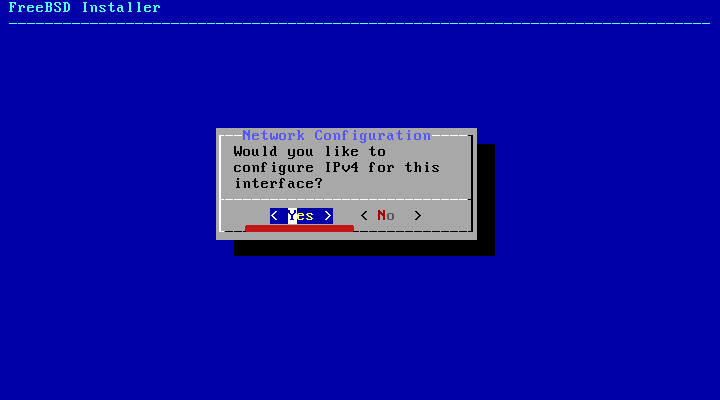
If you're using the DHCP, you can just select 'YES'. And your FreeBSD server will get the IP address from the gateway.

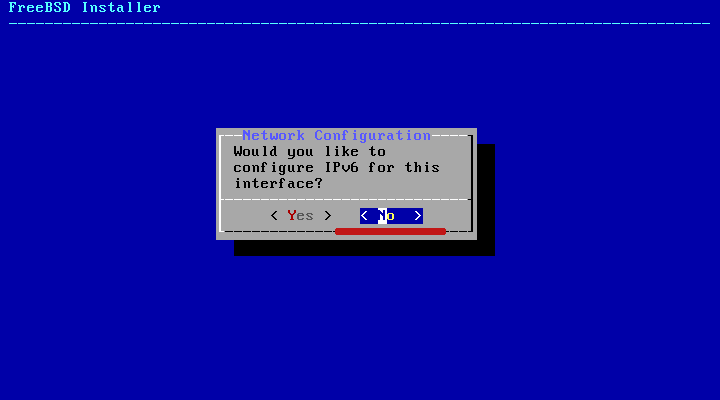
For the IPv6, you can select 'NO'.
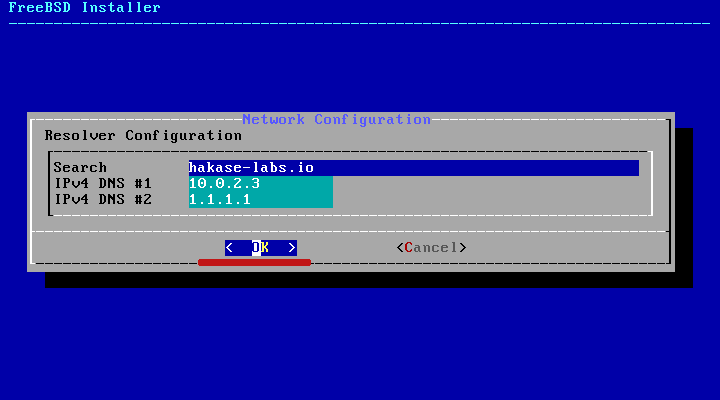
Now for the resolver configuration, type details with your own and select 'OK'.
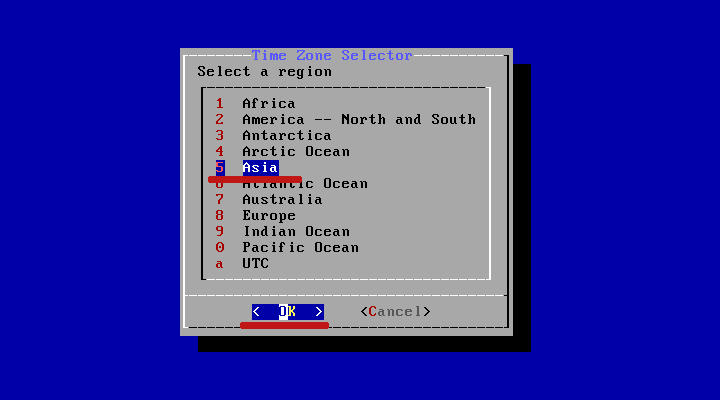
6. Setup Timezone and Services
Now the timezone configuration. Choose your own region and select 'OK'.
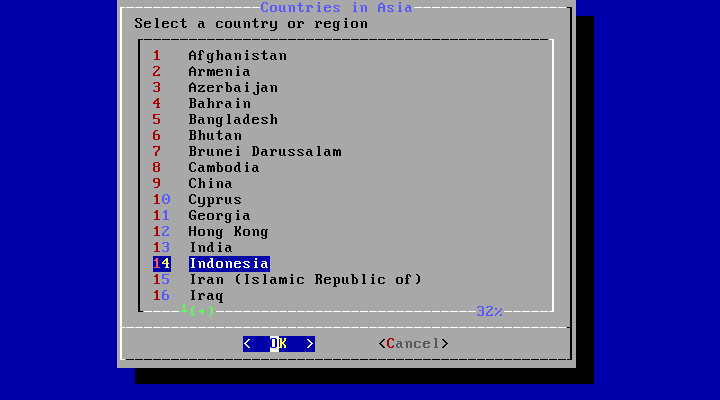
After that, you need to choose your details country and the timezone.
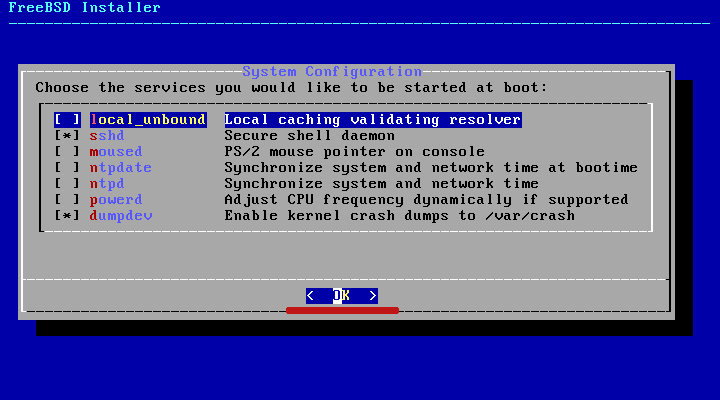
Now choose the service that you want to activate as you need and select 'OK'.
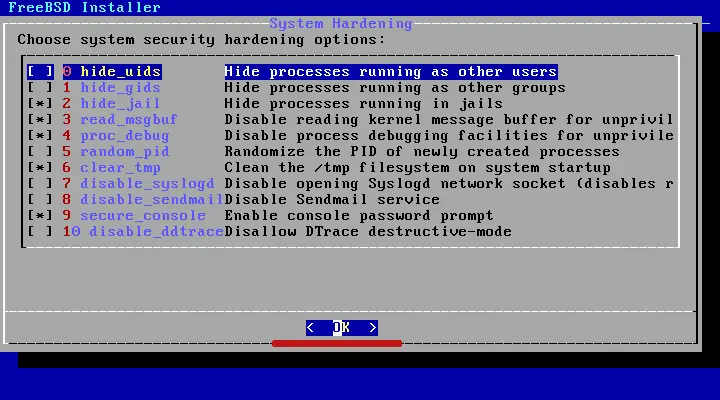
7. Additional Security Hardening
For the system security hardening, choose the option as you need and select 'OK'.
8. Setup New User
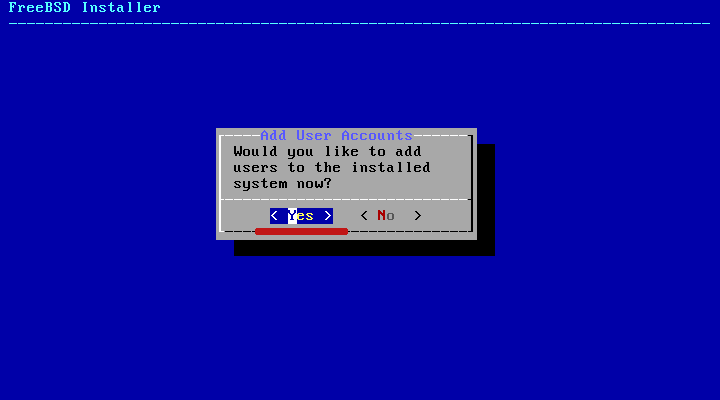
Now you will be asked for adding a new user, select 'YES'.
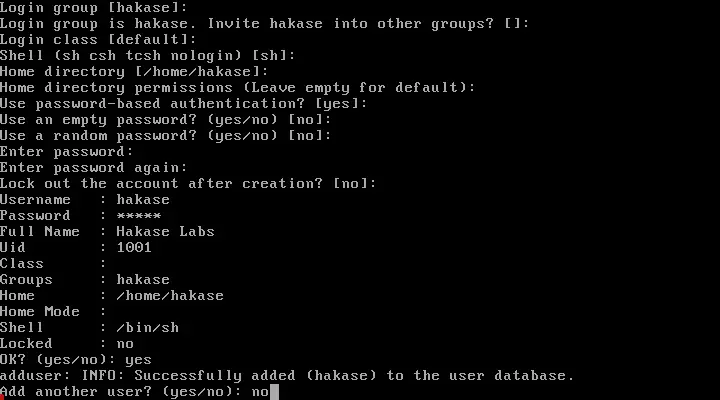
Type in the details for your new user.
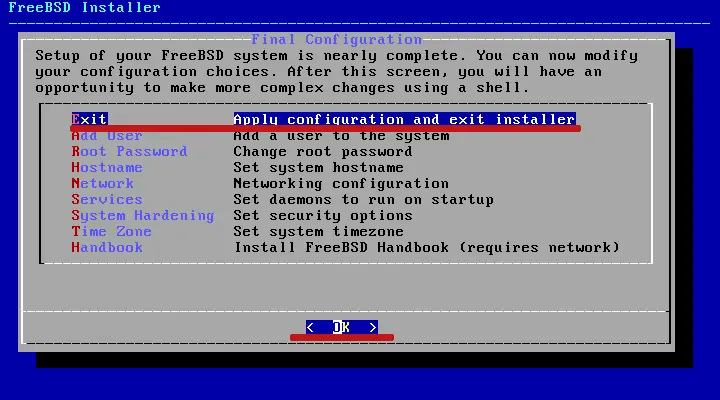
Now the configuration is complete. Choose 'exit' and select 'OK'.
9. Finishing
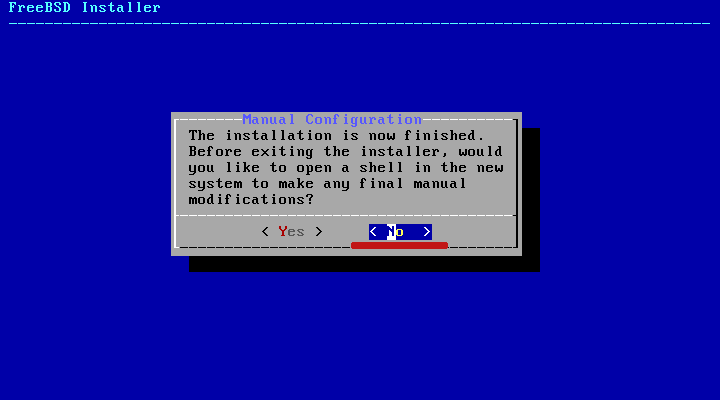
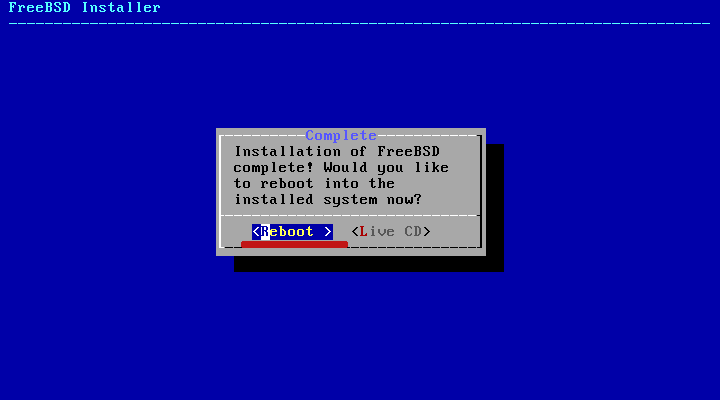
And the FreeBSD installation on ZFS has been completed. Select 'No' for the manual configuration.
Then reboot the server.
Once it's complete, log in with your root user and password. Then check the installed version of FreeBSD and check the ZFS file system.
uname -msr
 df -h
And you will get the result as below.
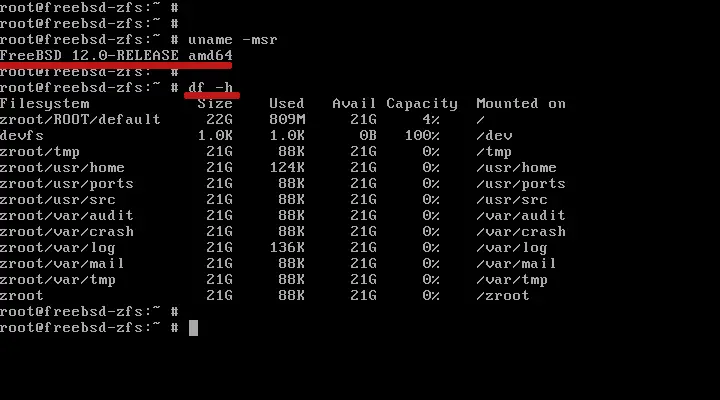
As a result, the FreeBSD 12.0 has been installed on the ZFS file system.

