Install Automad CMS with Nginx and Let's Encrypt SSL on CentOS 7
Automad is a file-based content management system (CMS) and a template engine written in PHP. All content is stored in human-readable text files instead of a database. An Automad site is therefore fully portable, easy to install, and can be version controlled by using Git or Mercurial. It nevertheless offers database features like searching and tagging. The built-in template engine allows even inexperienced developers and designers to create beautiful themes and templates. In this tutorial, we will go through the Automad CMS installation and setup on CentOS 7 system by using NGINX as a web server.
Requirements
Requirements for installing and running Automad CMS are as follows:
- PHP version 5.4 or higher.
- Web server software like Nginx or Apache.
Prerequisites
- A CentOS 7 operating system.
- A non-root user with
sudoprivileges.
Initial steps
Check your CentOS version:
cat /etc/centos-release
# CentOS Linux release 7.6.1810 (Core)
Set up the timezone:
timedatectl list-timezones
sudo timedatectl set-timezone 'Region/City'
Update your operating system packages (software). This is an important first step because it ensures you have the latest updates and security fixes for your operating system's default software packages:
sudo yum update -y
Install some essential packages that are necessary for basic administration of the CentOS operating system:
sudo yum install -y curl wget vim git unzip socat bash-completion epel-release
Step 1 - Install PHP and necessary PHP extensions
Setup the Webtatic YUM repo:
sudo rpm -Uvh https://mirror.webtatic.com/yum/el7/webtatic-release.rpm
Install PHP, as well as the required PHP extensions:
sudo yum install -y php72w php72w-cli php72w-fpm php72w-common php72w-mbstring php72w-xmlrpc php72w-soap php72w-gd php72w-xml php72w-curl php72w-zip
To show PHP compiled in modules, you can run:
php -m

ctype
curl
exif
fileinfo
. . .
. . .
Check the PHP version:
php --version
# PHP 7.2.19 (cli) (built: Jan 12 2019 12:47:33) ( NTS )
# Copyright (c) 1997-2018 The PHP Group
# Zend Engine v3.0.0, Copyright (c) 1998-2017 Zend Technologies
# with Zend OPcache v7.2.14, Copyright (c) 1999-2018, by Zend Technologies
Start and enable PHP-FPM service:
sudo systemctl start php-fpm.service
sudo systemctl enable php-fpm.service
Step 2 - Install acme.sh client and obtain Let's Encrypt certificate ( optional )
Securing your forum with HTTPS is not necessary, but it is a good practice to secure your site traffic. To obtain a TLS certificate from Let's Encrypt we will use acme.sh client. Acme.sh is a simple UNIX shell software for obtaining TLS certificates from Let's Encrypt with zero dependencies.
Download and install acme.sh:
sudo su - root
git clone https://github.com/Neilpang/acme.sh.git
cd acme.sh
./acme.sh --install --accountemail [email protected]
source ~/.bashrc
cd ~
Check acme.sh version:
acme.sh --version
# v2.8.2
Obtain RSA and ECC/ECDSA certificates for your domain/hostname:
# RSA 2048
acme.sh --issue --standalone -d example.com --keylength 2048
# ECDSA
acme.sh --issue --standalone -d example.com --keylength ec-256
If you want fake certificates for testing, you can add --staging flag to the above commands.
After running the above commands, your certificates and keys will be in:
- For RSA:
/home/username/example.comdirectory. - For ECC/ECDSA:
/home/username/example.com_eccdirectory.
To list your issued certs you can run:
acme.sh --list
Create a directory to store your certs. We will use the /etc/letsencrypt directory.
mkdir -p /etc/letsecnrypt/example.comsudo mkdir -p /etc/letsencrypt/example.com_ecc
Install/copy certificates to /etc/letsencrypt directory.
# RSA
acme.sh --install-cert -d example.com --cert-file /etc/letsencrypt/example.com/cert.pem --key-file /etc/letsencrypt/example.com/private.key --fullchain-file /etc/letsencrypt/example.com/fullchain.pem --reloadcmd "sudo systemctl reload nginx.service"
# ECC/ECDSA
acme.sh --install-cert -d example.com --ecc --cert-file /etc/letsencrypt/example.com_ecc/cert.pem --key-file /etc/letsencrypt/example.com_ecc/private.key --fullchain-file /etc/letsencrypt/example.com_ecc/fullchain.pem --reloadcmd "sudo systemctl reload nginx.service"
All the certificates will be automatically renewed every 60 days.
After obtaining certs exit from root user and return to regular sudo user:
exit
Step 3 - Install and configure NGINX
Download and install NGINX from the CentOS repository:
sudo yum install -y nginx
Check the NGINX version:
sudo nginx -v
# nginx version: nginx/1.12.2
Start and enable Nginx service:
sudo systemctl start nginx.service
sudo systemctl enable nginx.service
Run sudo vim /etc/nginx/conf.d/automad.conf and populate the file with the following configuration:
server {

  listen [::]:443 ssl http2;
  listen 443 ssl http2;
  listen [::]:80;
  listen 80;

  # RSA
  ssl_certificate /etc/letsencrypt/example.com/fullchain.pem;
  ssl_certificate_key /etc/letsencrypt/example.com/private.key;
  # ECC
  ssl_certificate /etc/letsencrypt/example.com_ecc/fullchain.pem;
  ssl_certificate_key /etc/letsencrypt/example.com_ecc/private.key;

  server_name example.com;

  root /var/www/automad;

  index index.php index.html;

  client_max_body_size 100M;

  location / {
    try_files $uri $uri/ /index.php$is_args$args;
  }


  location ~ \.php$ {
    fastcgi_index index.php;
    fastcgi_pass 127.0.0.1:9000;
    fastcgi_param SCRIPT_FILENAME $document_root$fastcgi_script_name;
    include fastcgi_params;
  }

}
Check NGINX configuration for syntax errors:
sudo nginx -t
Reload Nginx:
sudo systemctl reload nginx.service
Step 4 - Install Automad CMS
Create a document root directory for Automad:
sudo mkdir -p /var/www/automad
Navigate to the document root:
cd /var/www/automad
Using curl download the latest release of Automad CMS. Don't forget to bump up the version numbers if there is a newer release:
sudo curl -O -J -L https://automad.org/download
Uncompress the zip archive:
sudo unzip automad-master.zip
Move all Automad files to the document root and remove downloaded zip archive:
sudo mv automad-master/* . && sudo mv automad-master/.* .
sudo rm automad-master.zip
sudo rmdir automad-master
Provide the appropriate ownership:
sudo chown -R nginx:nginx /var/www/automad
Run sudo vim /etc/php-fpm.d/www.conf and set the user and group to nginx. Initially, they will be set to apache. Run:
sudo vim /etc/php-fpm.d/www.conf
And set user and group to nginx, like below:
user = nginx
group = nginx
And finally, restart PHP-FPM service for these changes to take effect:
sudo systemctl restart php-fpm.service
Step 5 - Finish the Automad installation
As the last step, create a user account to use the browser-based user interface called the Dashboard. Therefore navigate to https://example.com/dashboard and follow the instructions.
Before you can use Automad dashboard, you will need to create an account:

Create a user account using the form and download the generated file to your computer. After you will need to move the downloaded file to the "/config" directory within Automad installation directory.
After that you can log in to Automad dashboard:

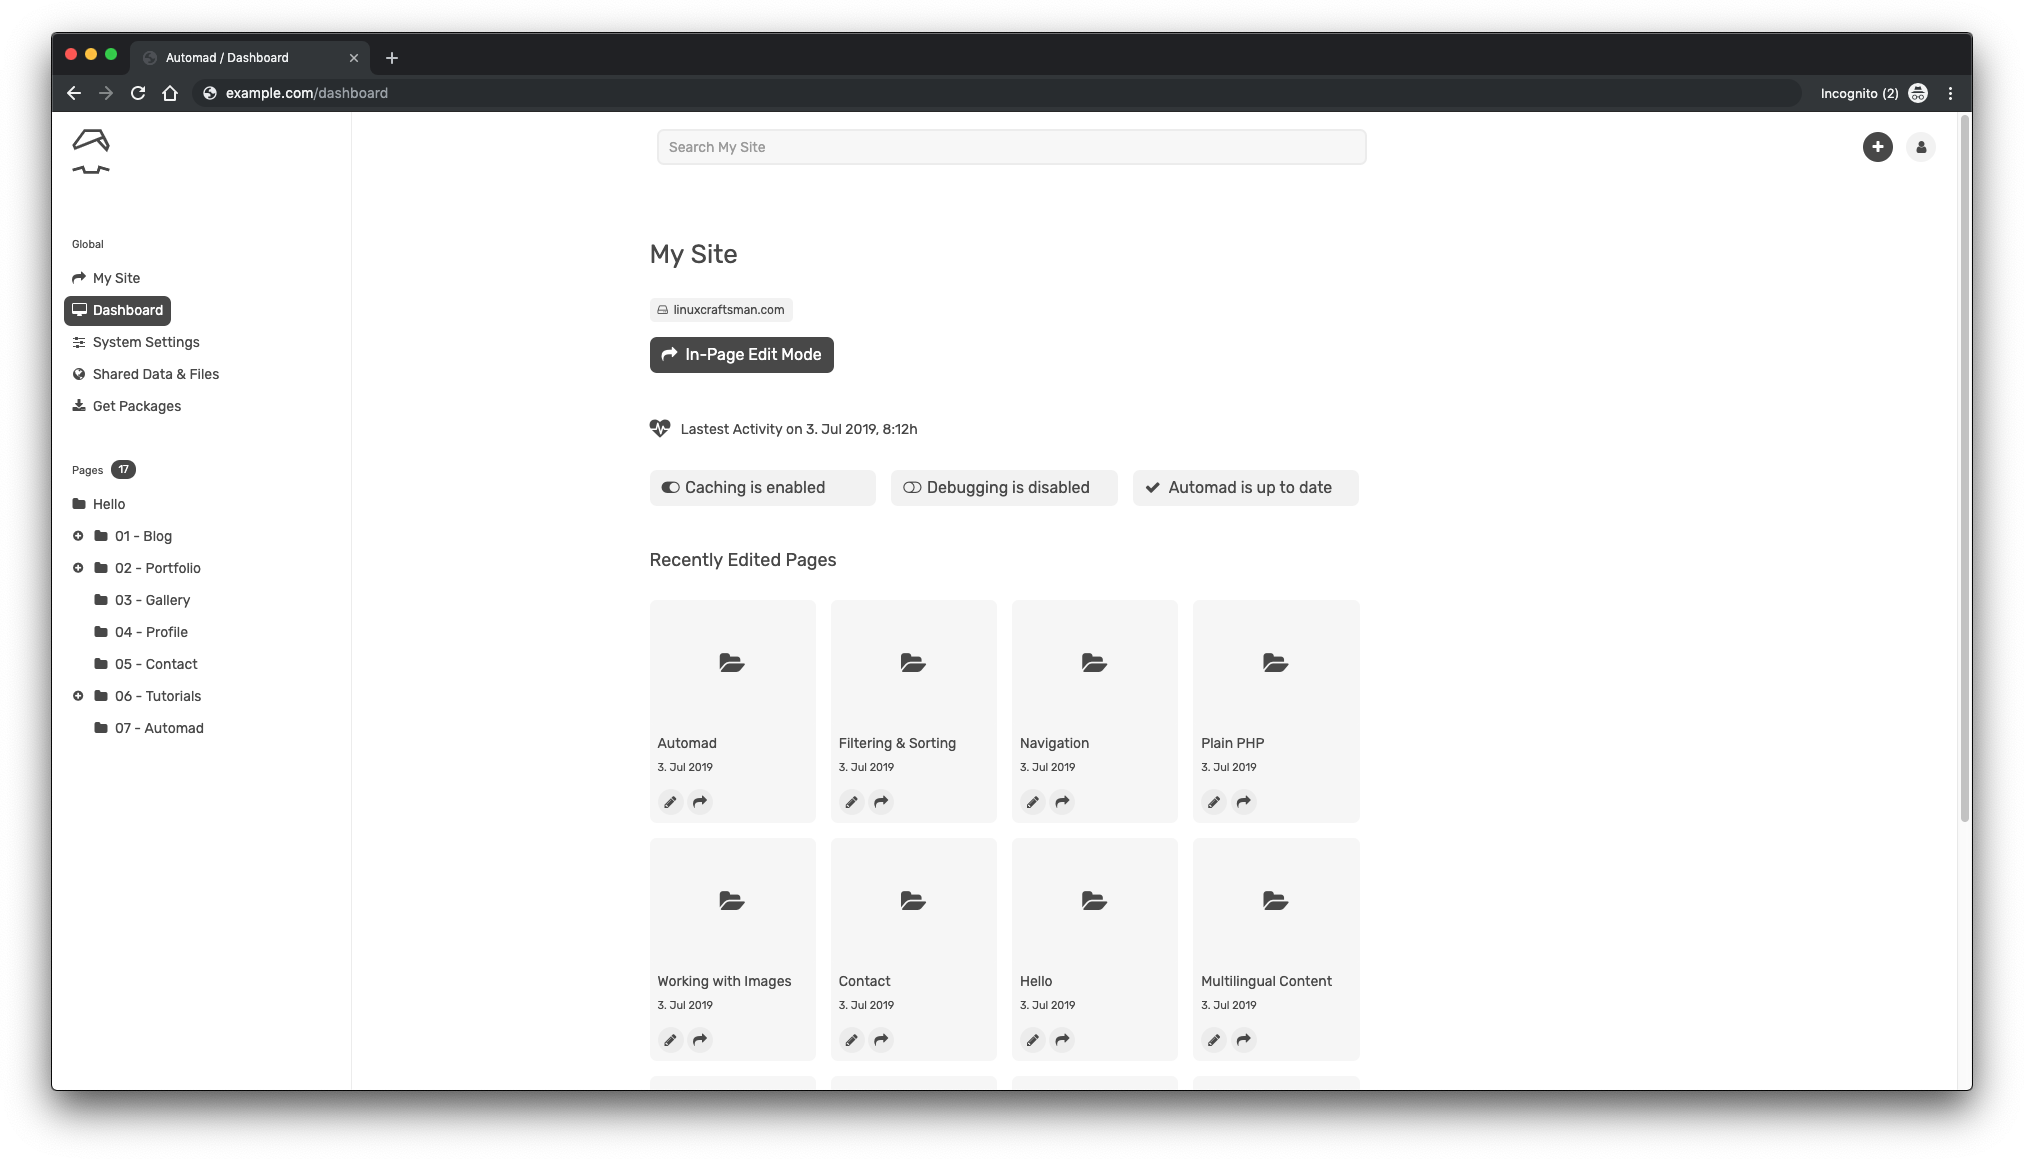
In the end, Automad admin interface will be displayed:
That's it. Automad installation is finished.

