How to install ERPNext on Ubuntu 18.04 LTS
This tutorial exists for these OS versions
- Ubuntu 22.04 (Jammy Jellyfish)
- Ubuntu 20.04 (Focal Fossa)
- Ubuntu 18.04 (Bionic Beaver)
On this page
ERPNext is a free, open-source, modern and easy-to-use business management software used by thousands of companies across the world. It is a very simple ERP platform that supports retail, trading, services, manufacturing, human resources, nonprofit and other sectors. It is powerful and fully-featured ERP system written in Python on top of the Frappe framework. It uses Node.js for the front end and MariaDB to store its data. ERPNext provides a web-based interface to perform day to day tasks. ERPNext provides an embedded reporting system with office suite integration.
In this tutorial, we will learn how to install and configure ERPNext on Ubuntu 18.04 LTS server.
Requirements
- A server running Ubuntu 18.04.
- A non-root user with sudo privileges set up to your server.
Getting Started
First, you will need to update your system with the latest version. You can do it by running the following command:
sudo apt-get update -y
sudo apt-get upgrade -y
Once your system is updated, you will need to create a user for ERPNext.
You can do it with the following command:
sudo useradd -m -s /bin/bash erpnext
sudo passwd erpnext
Next, give sudo privileges to ERPNext user with the following command:
sudo usermod -aG sudo erpnext
Next, log in to ERPNext user and setup environment variable with the following command:
su - erpnext
nano .bashrc
Add the following line:
PATH=$PATH:~/.local/bin/
Save and close the file, when you are finished. Then, restart your system to apply all the changes.
Install Required Packages
First, log in your system with the erpnext user and install some dependencies required by ERPNext to your system.
sudo apt-get install libffi-dev python-pip python-dev libssl-dev wkhtmltopdf -y
Next, install Nginx and MariaDB server with the following command:
sudo apt-get install nginx mariadb-server -y
Once the installation has been completed, you will need to make some changes in 50-server.cnf file. You can do it with the following command:
sudo nano /etc/mysql/mariadb.conf.d/50-server.cnf
Make the following changes:
[mysqld]
innodb-file-format=barracuda
innodb-file-per-table=1
innodb-large-prefix=1
character-set-client-handshake = FALSE
character-set-server = utf8mb4
collation-server = utf8mb4_unicode_ci

[mysql]
default-character-set = utf8mb4
Save and close the file. Then, restart MariaDB service to apply all the changes:
sudo systemctl restart mariadb
You can now check the status of MariaDB server with the following command:
sudo systemctl status mariadb
You should see the following output:
? mariadb.service - MariaDB 10.1.38 database server
   Loaded: loaded (/lib/systemd/system/mariadb.service; enabled; vendor preset: enabled)
   Active: active (running) since Sat 2019-02-16 06:26:48 UTC; 2h 38min ago
     Docs: man:mysqld(8)
           https://mariadb.com/kb/en/library/systemd/
  Process: 4640 ExecStartPost=/bin/sh -c systemctl unset-environment _WSREP_START_POSITION (code=exited, status=0/SUCCESS)
  Process: 4636 ExecStartPost=/etc/mysql/debian-start (code=exited, status=0/SUCCESS)
  Process: 4505 ExecStartPre=/bin/sh -c [ ! -e /usr/bin/galera_recovery ] && VAR= ||   VAR=`/usr/bin/galera_recovery`; [ $? -eq 0 ]   && systemctl set-
  Process: 4503 ExecStartPre=/bin/sh -c systemctl unset-environment _WSREP_START_POSITION (code=exited, status=0/SUCCESS)
  Process: 4482 ExecStartPre=/usr/bin/install -m 755 -o mysql -g root -d /var/run/mysqld (code=exited, status=0/SUCCESS)
 Main PID: 4607 (mysqld)
   Status: "Taking your SQL requests now..."
    Tasks: 31 (limit: 1111)
   CGroup: /system.slice/mariadb.service
           ??4607 /usr/sbin/mysqld

Aug 16 06:26:47 ubuntu1804 systemd[1]: Starting MariaDB 10.1.38 database server...
Aug 16 06:26:48 ubuntu1804 mysqld[4607]: 2019-02-16  6:26:48 140715015396480 [Note] /usr/sbin/mysqld (mysqld 10.1.38-MariaDB-0ubuntu0.18.04.1) starting
Aug 16 06:26:48 ubuntu1804 systemd[1]: Started MariaDB 10.1.38 database server.
Aug 16 06:26:48 ubuntu1804 /etc/mysql/debian-start[4642]: Upgrading MySQL tables if necessary.
Aug 16 06:26:48 ubuntu1804 /etc/mysql/debian-start[4659]: /usr/bin/mysql_upgrade: the '--basedir' option is always ignored
Aug 16 06:26:48 ubuntu1804 /etc/mysql/debian-start[4659]: Looking for 'mysql' as: /usr/bin/mysql
Aug 16 06:26:48 ubuntu1804 /etc/mysql/debian-start[4659]: Looking for 'mysqlcheck' as: /usr/bin/mysqlcheck
Aug 16 06:26:48 ubuntu1804 /etc/mysql/debian-start[4659]: This installation of MySQL is already upgraded to 10.1.38-MariaDB, use --force if you still n
Aug 16 06:26:48 ubuntu1804 /etc/mysql/debian-start[4677]: Checking for insecure root accounts.
Aug 16 06:26:48 ubuntu1804 /etc/mysql/debian-start[4681]: Triggering myisam-recover for all MyISAM tables and aria-recover for all Aria tables
Install Redis and Node.js
Next, you will need to install Redis and Node.js to your system. You can install them by running the following command:
sudo curl --silent --location https://deb.nodesource.com/setup_8.x | sudo bash -
sudo apt-get install gcc g++ make -y
sudo apt-get install nodejs redis-server -y
sudo npm install -g yarn
Configure MariaDB
By default, MariaDB installation is not secured, so you will need to secure it first. You can secure it with the following command:
sudo mysql_secure_installation
Answer all the questions as shown below:
    Enter current password for root (enter for none):
    Set root password? [Y/n]: N
    Remove anonymous users? [Y/n]: Y
    Disallow root login remotely? [Y/n]: Y
    Remove test database and access to it? [Y/n]:  Y
    Reload privilege tables now? [Y/n]:  Y
Once MariaDB is secured, log in to MariaDB shell with the following command:
sudo mysql -u root -p
Enter your root password when prompt. Then, create a database and user for ERPNext with the following command:
MariaDB [(none)]> create database erpnextdb;
MariaDB [(none)]> create user erpnextuser@localhost identified by 'password';
Next, grant all the privileges to the ERPNext with the following command:
MariaDB [(none)]> GRANT ALL ON erpnextdb.* TO 'erpnextuser'@'localhost' IDENTIFIED BY 'password' WITH GRANT OPTION;
MariaDB [(none)]> GRANT all privileges on *.* to 'root'@'localhost' IDENTIFIED BY 'admin@123' WITH GRANT OPTION;
Next, flush the privileges and exit from the MariaDB shell with the following command:
MariaDB [(none)]> FLUSH PRIVILEGES;
MariaDB [(none)]> EXIT;
Install ERPNext
First, create a directory for ERPNext and give proper permissions with the following command:
sudo mkdir -p /opt/erpnext
sudo chown -R erpnext /opt/erpnext/
Next, change the directory to erpnext and install erpnext with the following command:
cd /opt/erpnext
git clone https://github.com/frappe/bench bench-repo
Output:
Cloning into 'bench-repo'...
remote: Enumerating objects: 19, done.
remote: Counting objects: 100% (19/19), done.
remote: Compressing objects: 100% (14/14), done.
remote: Total 6144 (delta 10), reused 13 (delta 5), pack-reused 6125
Receiving objects: 100% (6144/6144), 29.70 MiB | 231.00 KiB/s, done.
Resolving deltas: 100% (3924/3924), done.
Next, install bench using pip command:
sudo pip install -e bench-repo
Next, initialize the bench directory with frappe framework:
bench init erpnext
Output:
Building frappe assets...

? Built js/print_format_v3.min.js
? Built js/dialog.min.js
? Built js/web_form.min.js
? Built js/social.min.js
? Built js/modules.min.js
? Built js/form.min.js
? Built js/list.min.js
? Built js/frappe-vue.min.js
? Built js/chat.js
? Built js/desk.min.js
? Built js/control.min.js
? Built css/frappe-rtl.css
? Built css/module.min.css
? Built css/report.min.css
? Built css/form.min.css
? Built css/list.min.css
? Built frappe/css/email.css
? Built css/web_form.css
? Built css/frappe-web.css
? Built css/desk.min.css
? Built js/frappe-web.min.js
? Built js/report.min.js
?  Done in 31.313s
Done in 34.43s.
INFO:bench.utils:setting up backups
no crontab for erpnext
INFO:bench.utils:setting up auto update
no crontab for erpnext
Bench erpnext initialized
Next, change the directory to erpnext and create a new site for node1.example.com domain with the following command:
bench new-site node1.example.com
You will be asked to provide your MySQL root password as shown below:
MySQL root password:
Provide your root password and press Enter. You should see the following output:
Installing frappe...
Updating DocTypes for frappe        : [========================================]
Updating country info               : [========================================]
Set Administrator password:
Re-enter Administrator password:
*** Scheduler is disabled ***
Next, provide proper permissions to the erpnext with the following command:
sudo chown -R erpnext:erpnext /opt/erpnext/erpnext
Finally, start the server with the following command:
bench start
You should see the following output:
06:34:02 web.1            |  * Running on http://0.0.0.0:8000/ (Press CTRL+C to quit)
06:34:02 web.1            |  * Restarting with inotify reloader
06:34:03 watch.1          | yarn run v1.13.0
06:34:03 watch.1          | $ node rollup/watch.js
06:34:03 web.1            |  * Debugger is active!
06:34:04 web.1            |  * Debugger PIN: 159-307-235
06:34:13 watch.1          |
06:34:13 watch.1          | Rollup Watcher Started
06:34:13 watch.1          |
06:34:13 watch.1          | Watching...
06:34:15 watch.1          | Rebuilding frappe-web.css
Access ERPNext
ERPNext is now installed and listening on port 8000. Open your web browser and type the URL http://node1.example.come:8000. You will be redirected to the following page:
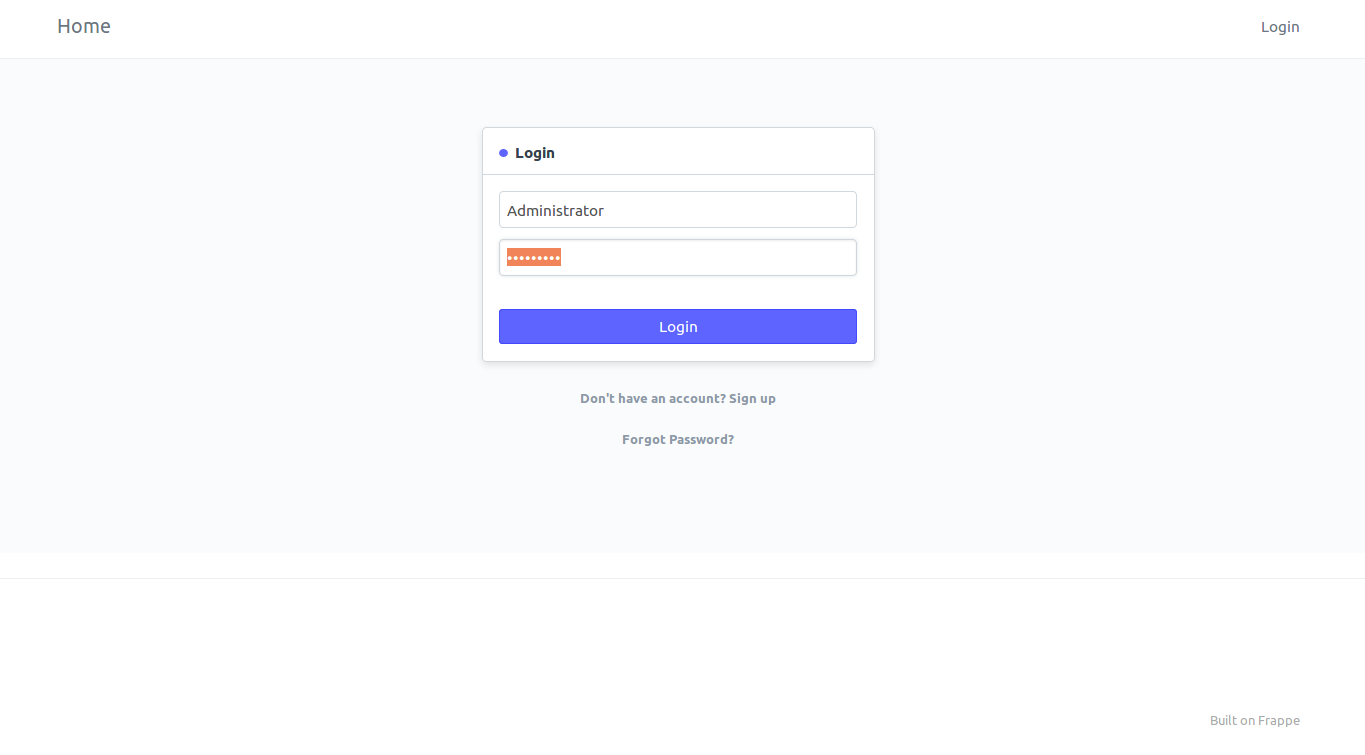
Now, provide username as Administrator and the password you provided during setup. Then, click on the Sign in button. You should see the following page:
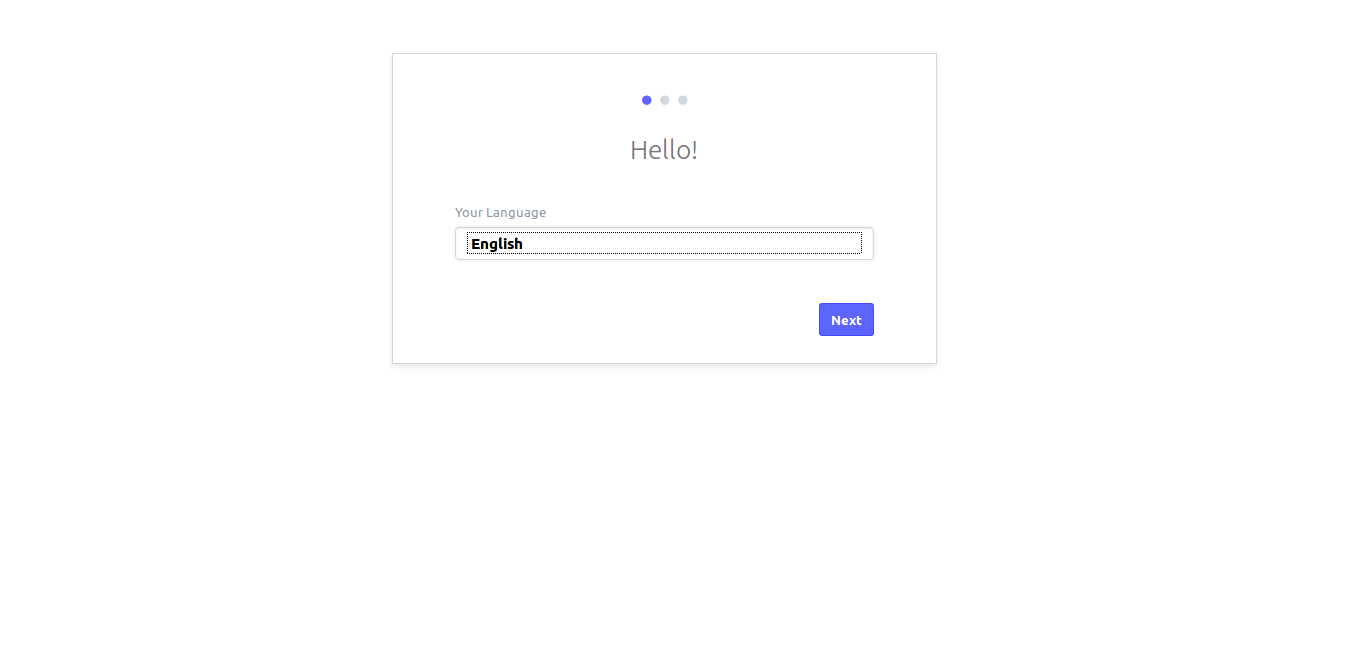
Next, choose your language and click on the Next button. You should see the following page:
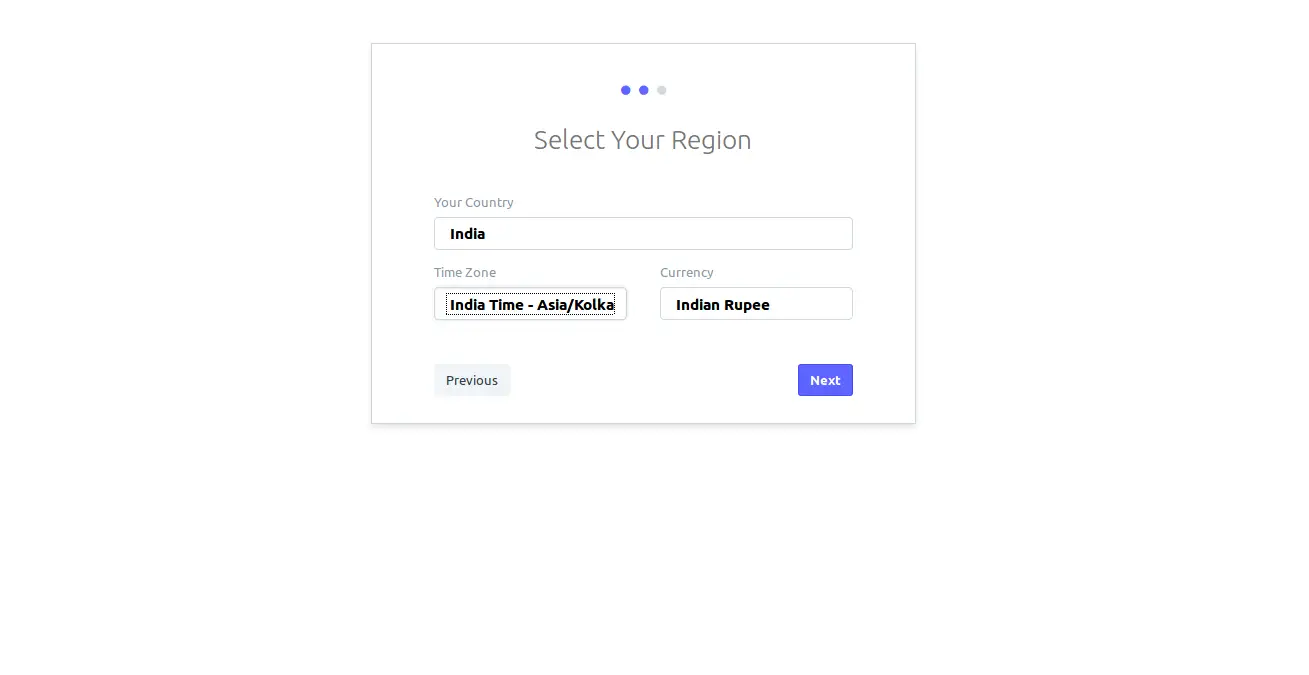
Next, choose your country and click on the Next button. You should see the following page:
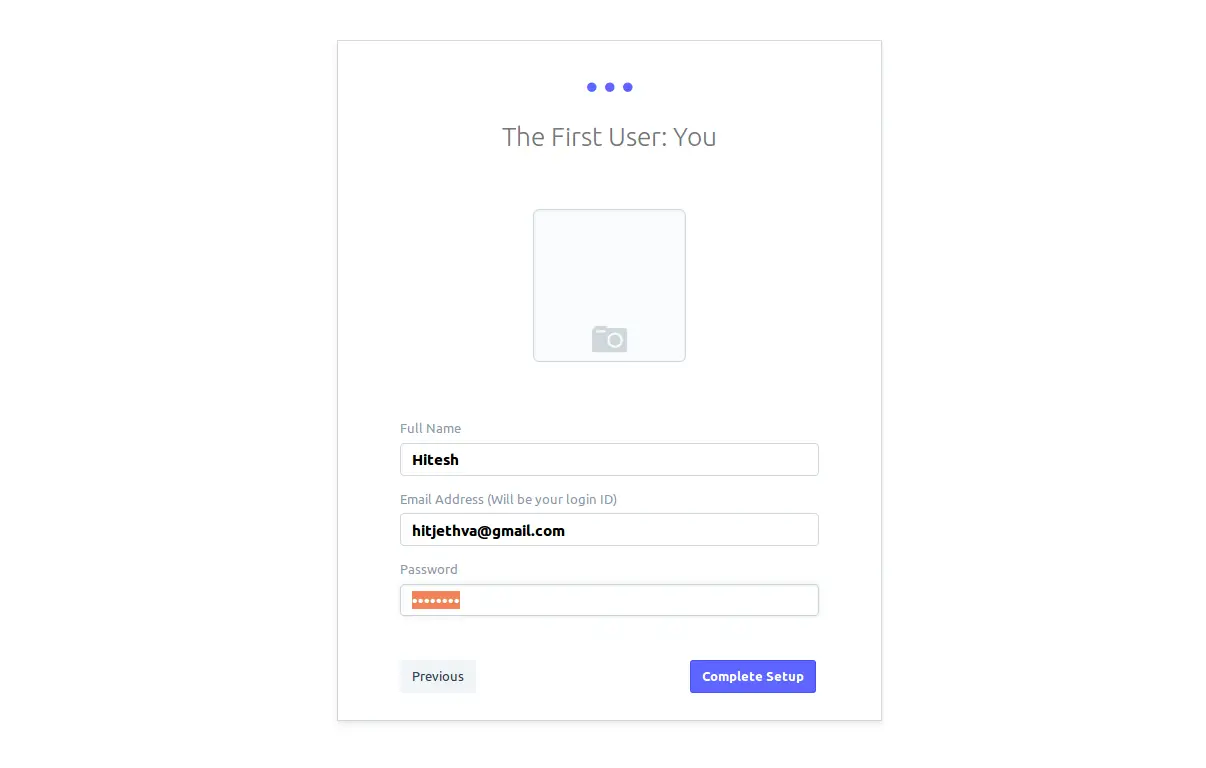
Next, provide your full name and email address. Then, click on the Complete Setup button. You should see the following page:
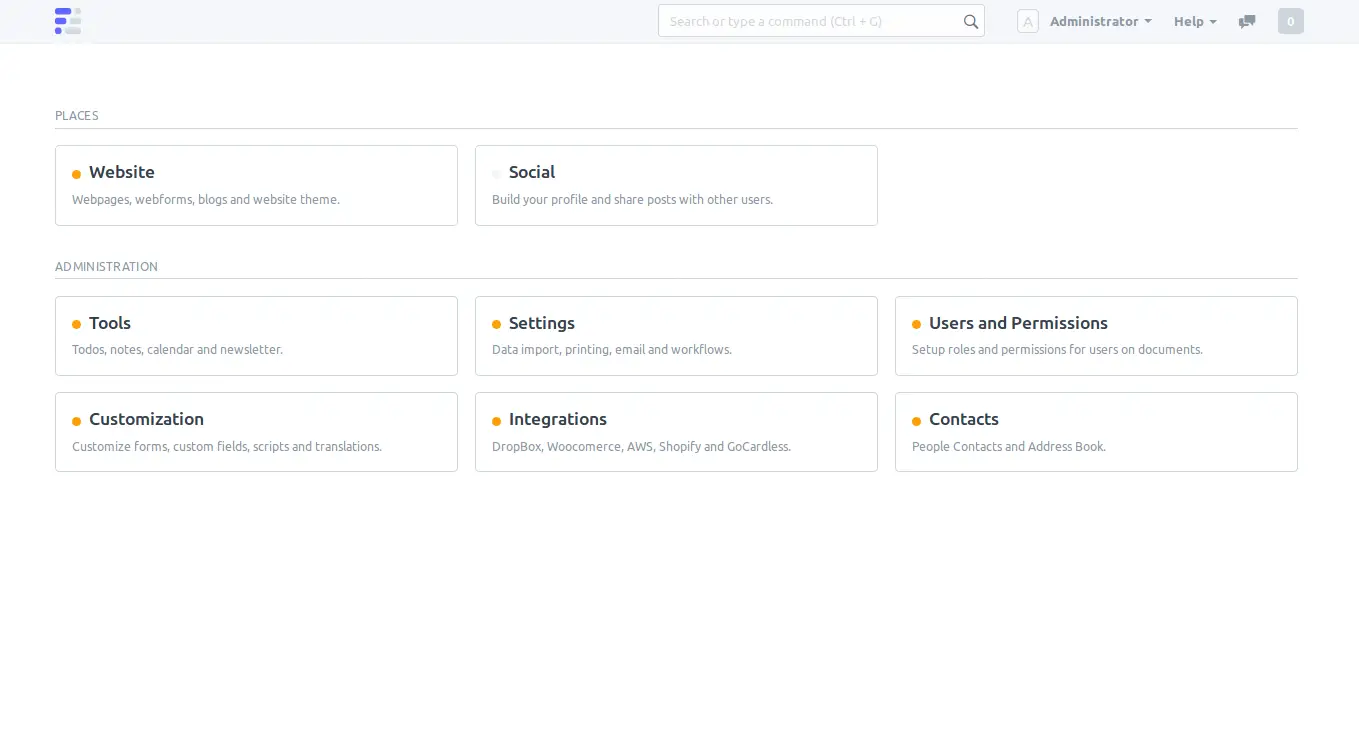
Congratulations! you have successfully installed and configured ERPNext in Ubuntu 18.04 server. You can now easily setup ERPNext in a production environment.

