How to install NetBox Network Documentation and Management Tool on Ubuntu 18.04 LTS
This tutorial exists for these OS versions
- Ubuntu 20.04 (Focal Fossa)
- Ubuntu 18.04 (Bionic Beaver)
On this page
NetBox is a free and opensource web application software that can be used to manage and document computer networks. It is specially designed to manage IP address and data center infrastructure through a web browser. NetBox is written in the Django Python framework and uses PostgreSQL for the database. With NetBox, you can easily manage and document Virtual machines and clusters, Data circuits, Network, console, and power connections from the central location.
In this tutorial, we will explain how to install NetBox on Ubuntu 18.04 server.
Requirements
- A server running Ubuntu 18.04.
- A root password is set up on your server.
Getting Started
First, update your system's package to the latest version with the following command:
apt-get update -y
apt-get upgrade -y
Once all the packages are updated, restart your system to apply all the configuration changes.
Next, you will need to install required dependencies to run NetBox. You can install all of them with the following command:
apt-get install wget ca-certificates nginx supervisor git gcc python3 python3-dev python3-pip python3-setuptools build-essential libxml2-dev libxslt1-dev libffi-dev graphviz libpq-dev libssl-dev zlib1g-dev unzip -y
Once all the dependencies are installed, you can proceed to the next step.
Install and Configure PostgreSQL
Next, you will need to install PostgreSQL on your server. By default, the latest version of PostgreSQL is not available in the Ubuntu 18.04 default repository. So, you will need to add PostgreSQL repository to your system.
First, download and add GPG key with the following command:
wget --quiet -O - https://www.postgresql.org/media/keys/ACCC4CF8.asc | apt-key add -
Next, add the repository with the following command:
nano /etc/apt/sources.list.d/postgres.list
Add the following line:
deb http://apt.postgresql.org/pub/repos/apt/ xanial-pgdg main
Save and close the file. Then, update the repository and install PostgreSQL with the following command:
apt-get update -y
apt-get install postgresql postgresql-contrib -y
Once installed, check the status of PostgreSQL with the following command:
systemctl status postgresql
You should see the following output:
? postgresql.service - PostgreSQL RDBMS
   Loaded: loaded (/lib/systemd/system/postgresql.service; enabled; vendor preset: enabled)
   Active: active (exited) since Wed 2019-08-07 07:00:51 UTC; 23s ago
 Main PID: 13552 (code=exited, status=0/SUCCESS)
    Tasks: 0 (limit: 1098)
   CGroup: /system.slice/postgresql.service

Aug 07 07:00:50 hitesh systemd[1]: Starting PostgreSQL RDBMS...
Aug 07 07:00:51 hitesh systemd[1]: Started PostgreSQL RDBMS.
Next, you will need to create a database and user for NetBox. First, log in to PostgreSQL shell with the following command:
su - postgres
postgres@hitesh:~$ psql
Output:
psql (11.4 (Ubuntu 11.4-1.pgdg18.04+1))
Type "help" for help.
Next, create a database and user for NetBox with the following command:
postgres=# CREATE DATABASE netbox;
postgres=# CREATE USER netbox WITH PASSWORD 'password';
Next, grant all the privileges to the NetBox with the following command:
postgres=# GRANT ALL PRIVILEGES ON DATABASE netbox TO netbox;
Finally, exit from the PostgreSQL shell with the following command:
postgres=#exit
Once you are done, you can proceed to the next step.
Install and Configure NetBox
You can download the latest version of NetBox to /opt directory with the following command:
cd /opt
git clone -b master https://github.com/digitalocean/netbox.git
Next, change the directory to netbox and generate Django SECRET Key:
cd /opt/netbox/netbox/netbox/
./generate_secret_key.py
You should see the generated key in the following output:
+XHR3o&7K6isFk^DLc2%rIqCanlE@zTB(jwN#tfGbV=O1hgMU$
Next, rename the default configuration file with the following command:
mv configuration.example.py configuration.py
Next, open the configuration file and define your database details and secret key:
nano configuration.py
Make the following changes:
#Replace your-server-ip with your server IP address:
# Example: ALLOWED_HOSTS = ['netbox.example.com', 'netbox.internal.local']
ALLOWED_HOSTS = ['your-server-ip']

# PostgreSQL database configuration.
DATABASE = {
    'NAME': 'netbox',         # Database name
    'USER': 'netbox',               # PostgreSQL username
    'PASSWORD': 'password',           # PostgreSQL password
    'HOST': 'localhost',      # Database server
    'PORT': '',               # Database port (leave blank for default)
}
SECRET_KEY = '+XHR3o&7K6isFk^DLc2%rIqCanlE@zTB(jwN#tfGbV=O1hgMU$'
Save and close the file when you are finished.
Next, install all the dependencies required by NetBox with the following command:
pip3 install -r /opt/netbox/requirements.txt
Once installed, migrate the database with the following command:
cd /opt/netbox/netbox/
python3 manage.py migrate
Once migrated successfully, you should see the following output:
  Applying secrets.0004_tags... OK
  Applying secrets.0005_change_logging... OK
  Applying secrets.0006_custom_tag_models... OK
  Applying ipam.0021_vrf_ordering... OK
  Applying ipam.0022_tags... OK
  Applying ipam.0023_change_logging... OK
  Applying ipam.0024_vrf_allow_null_rd... OK
  Applying ipam.0025_custom_tag_models... OK
  Applying dcim.0067_device_type_remove_qualifiers... OK
  Applying dcim.0068_rack_new_fields... OK
  Applying dcim.0069_deprecate_nullablecharfield... OK
  Applying dcim.0070_custom_tag_models... OK
  Applying extras.0020_tag_data... OK
  Applying extras.0021_add_color_comments_changelog_to_tag... OK
  Applying dcim.0071_device_components_add_description... OK
  Applying dcim.0072_powerfeeds... OK
  Applying dcim.0073_interface_form_factor_to_type... OK
  Applying extras.0022_custom_links... OK
  Applying extras.0023_fix_tag_sequences... OK
  Applying ipam.0026_prefix_ordering_vrf_nulls_first... OK
  Applying ipam.0027_ipaddress_add_dns_name... OK
  Applying sessions.0001_initial... OK
  Applying taggit.0003_taggeditem_add_unique_index... OK
  Applying users.0001_api_tokens_squashed_0002_unicode_literals... OK
  Applying users.0003_token_permissions... OK
Next, you will need to create an administrator account for NetBox. You can do it with the following command:
python3 manage.py createsuperuser
Provide your admin username and password and hit Enter, you should see the following output:
Username (leave blank to use 'root'): netboxadmin
Email address: [email protected]
Password:
Password (again):
Superuser created successfully.
Next move static files and load initial data with the following command:
python3 manage.py collectstatic
python3 manage.py loaddata initial_data
Install and Configure Gunicorn for NetBox
Next, you will need to install Gunicorn for NetBox. You can install it with pip command as shown below:
pip3 install gunicorn
Next, create a Gunicorn configuration file for NetBox with the following command:
nano /opt/netbox/gunicorn_config.py
Add the following lines:
command = '/usr/local/bin/gunicorn'
pythonpath = '/opt/netbox/netbox'
bind = 'your-server-ip:8001'
workers = 3
user = 'www-data'
Save and close the file when you are finished.
Configure Supervisor for Netbox
Next, you will need to configure Supervisor to manage NetBox service. You can do it with the following command:
nano /etc/supervisor/conf.d/netbox.conf
Add the following lines:
[program:netbox]
command = gunicorn -c /opt/netbox/gunicorn_config.py netbox.wsgi
directory = /opt/netbox/netbox/
user = www-data
Save and close the file then restart supervisor service and enable it to start after system reboot with the following command:
systemctl restart supervisor
systemctl enable supervisor
You can also verify the Supervisor service with the following command:
systemctl status supervisor
Output:
? supervisor.service - Supervisor process control system for UNIX
   Loaded: loaded (/lib/systemd/system/supervisor.service; enabled; vendor preset: enabled)
   Active: active (running) since Wed 2019-08-07 07:13:26 UTC; 8s ago
     Docs: http://supervisord.org
  Process: 15013 ExecStop=/usr/bin/supervisorctl $OPTIONS shutdown (code=exited, status=0/SUCCESS)
 Main PID: 15015 (supervisord)
    Tasks: 5 (limit: 1098)
   CGroup: /system.slice/supervisor.service
           ??15015 /usr/bin/python /usr/bin/supervisord -n -c /etc/supervisor/supervisord.conf
           ??15037 /usr/bin/python3 /usr/local/bin/gunicorn -c /opt/netbox/gunicorn_config.py netbox.wsgi
           ??15042 /usr/bin/python3 /usr/local/bin/gunicorn -c /opt/netbox/gunicorn_config.py netbox.wsgi
           ??15043 /usr/bin/python3 /usr/local/bin/gunicorn -c /opt/netbox/gunicorn_config.py netbox.wsgi
           ??15044 /usr/bin/python3 /usr/local/bin/gunicorn -c /opt/netbox/gunicorn_config.py netbox.wsgi

Aug 07 07:13:26 hitesh systemd[1]: Started Supervisor process control system for UNIX.
Aug 07 07:13:27 hitesh supervisord[15015]: 2019-08-07 07:13:27,087 CRIT Supervisor running as root (no user in config file)
Aug 07 07:13:27 hitesh supervisord[15015]: 2019-08-07 07:13:27,089 INFO Included extra file "/etc/supervisor/conf.d/netbox.conf" during parsing
Aug 07 07:13:27 hitesh supervisord[15015]: 2019-08-07 07:13:27,117 INFO RPC interface 'supervisor' initialized
Aug 07 07:13:27 hitesh supervisord[15015]: 2019-08-07 07:13:27,117 CRIT Server 'unix_http_server' running without any HTTP authentication check
Aug 07 07:13:27 hitesh supervisord[15015]: 2019-08-07 07:13:27,118 INFO supervisord started with pid 15015
Aug 07 07:13:28 hitesh supervisord[15015]: 2019-08-07 07:13:28,123 INFO spawned: 'netbox' with pid 15037
Aug 07 07:13:29 hitesh supervisord[15015]: 2019-08-07 07:13:29,610 INFO success: netbox entered RUNNING state, process has st
Configure Nginx for NetBox
Next, you will need to configure Nginx to access NetBox using port 80. To do so, create a virtual host configuration file with the following command:
nano /etc/nginx/sites-available/netbox
Add the following lines:
server {
    listen 80;
    server_name your-domain-name;
    client_max_body_size 25m;

    location /static/ {
        alias /opt/netbox/netbox/static/;
    }

    location / {
        proxy_pass http://your-server-ip:8001;
    }
}
Save and close the file. Then, enable virtual host with the following command:
ln -s /etc/nginx/sites-available/netbox.conf /etc/nginx/sites-enabled/
Finally, restart Nginx service to apply all the configuration changes with the following command:
systemctl restart nginx
Access NetBox Web Interface
NetBox is now installed and configured, it's time to access NetBox web interface.
Open your web browser and type the URL http://your-domain.com. You will be redirected to the following page:
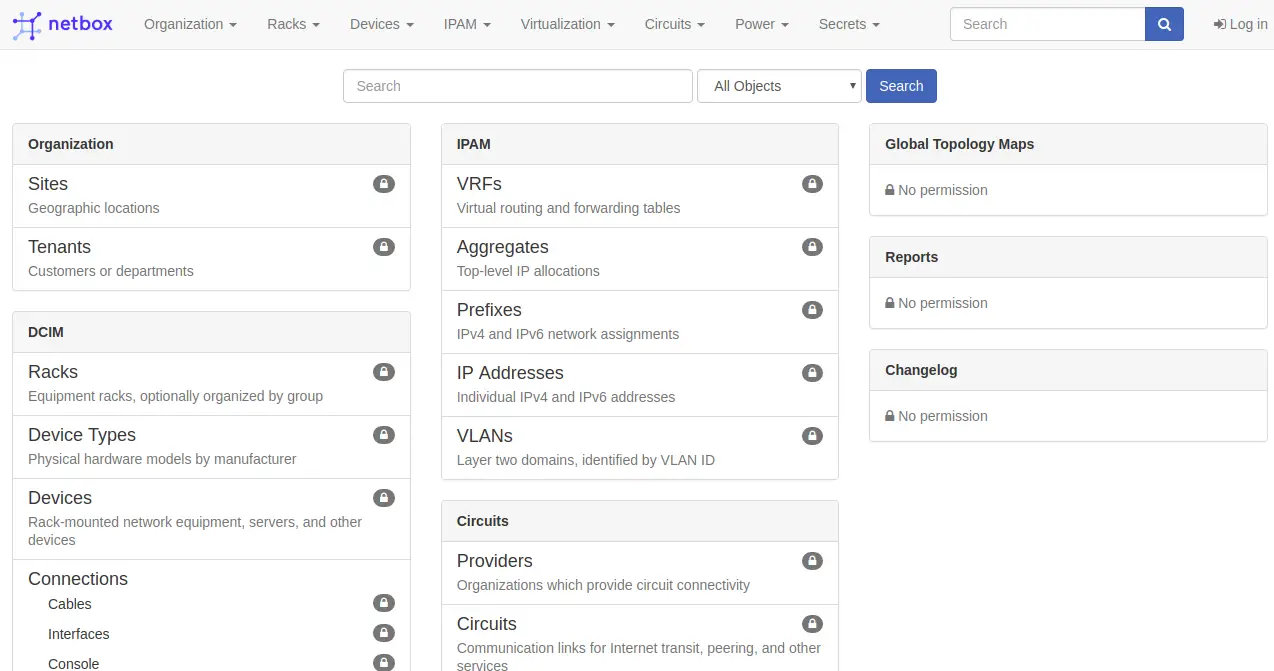
Now, click on the Log in button on the top right corner. You should see the following page:
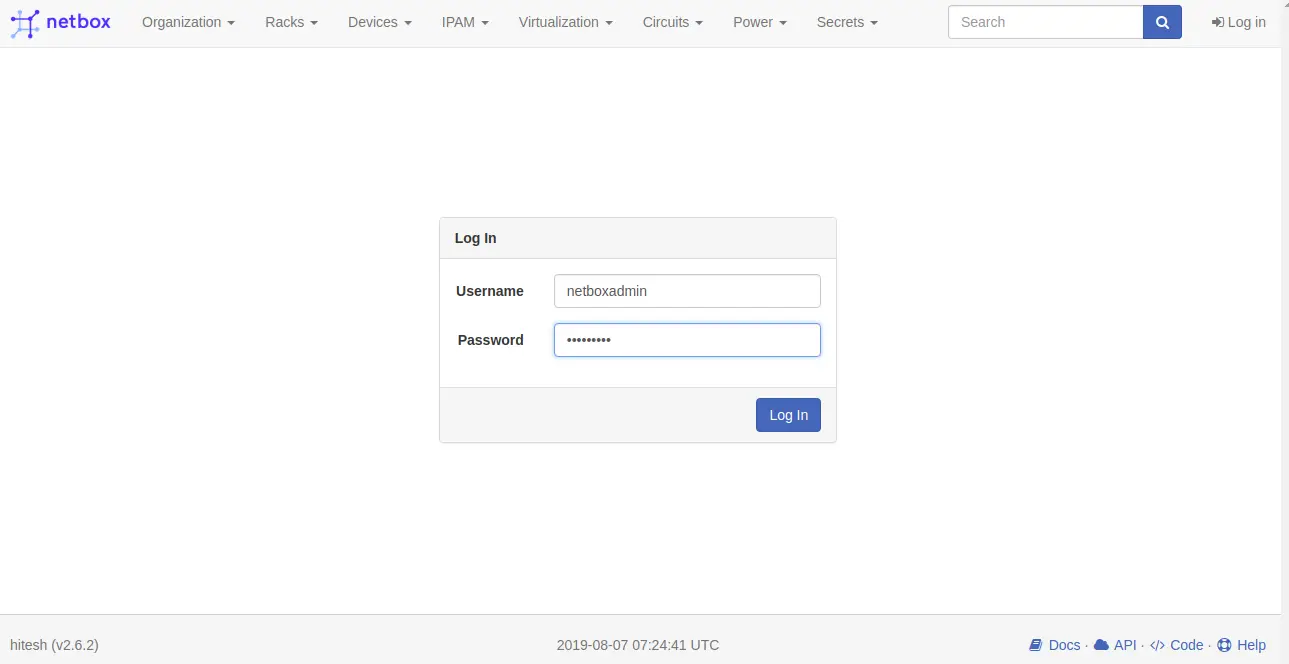
Now, provide your admin username and password, then click on the Log In button. You should see the NetBox default dashboard in the following page:
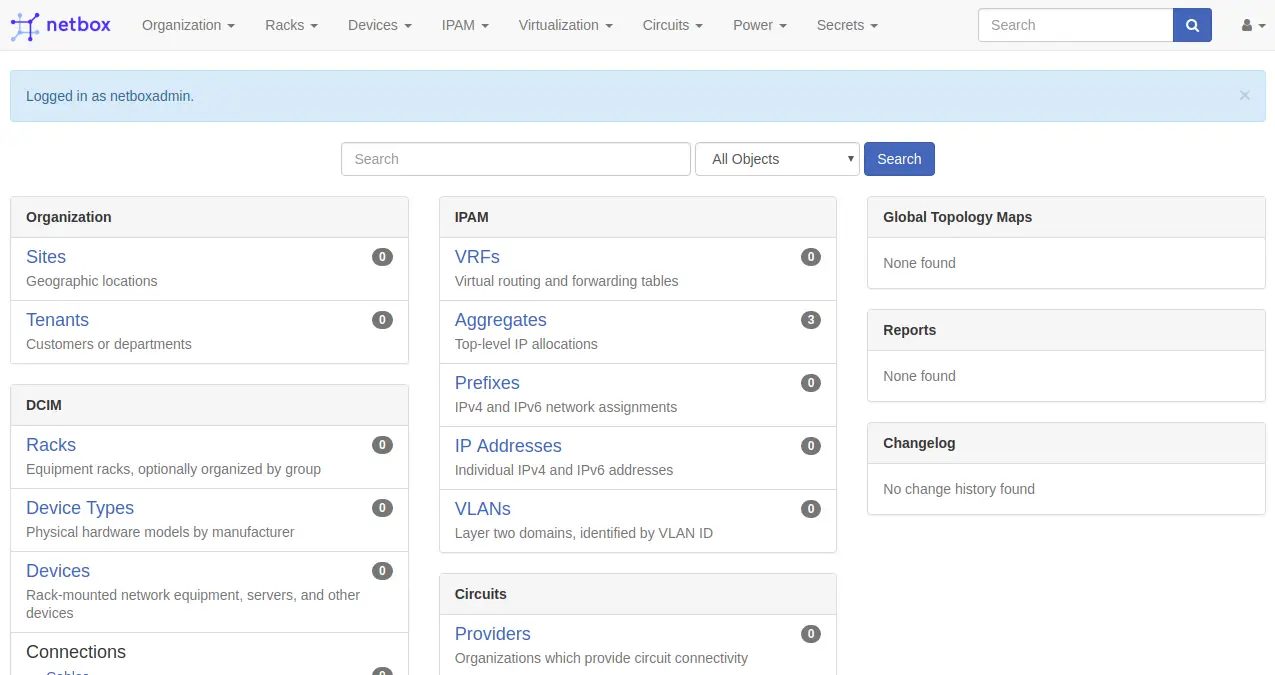
Congratulations! you have successfully installed and configured NetBox on Ubuntu 18.04 server. You can now manage and document your Network and IP address from the central location. Feel free to ask me if you have any question.

