How to Install Attendize Event Management Software on Ubuntu 18.04 LTS
Attendize is a free and open-source ticket selling and event management written in PHP on top of the Laravel framework. Attendize offers a simple solution for managing general admission events, without paying extra charges. With Attendize, you can manage multiple organizers/events and real-time event statistics easily. Attendize supports multiple payment gateways like Stripe, PayPal and many more. Attendize enables you to embed ticket selling widget into your existing WordPress blog.
In this tutorial, we will explain how to install Attendize on Ubuntu 18.04 LTS server.
Requirements
- A server running Ubuntu 18.04.
- PHP version 7.1.3 or greater with OpenSSL, PDO, Mbstring, Fileinfo, GD and Tokenizer extensions.
- A root password is configured on your server.
Install Nginx, MariaDB, and PHP
Attendize runs on a web server, written in PHP and uses MariaDB to store their data. So, you will need to install Nginx, MariaDB, PHP and required PHP extensions on your server. You can install all of them by running the following command:
apt-get install apache2 mariadb-server php7.2 php7.2-cli php7.2-fpm php7.2-common php7.2-mysql php7.2-curl php7.2-json php7.2-zip php7.2-gd php7.2-xml php7.2-mbstring php7.2-opcache php7.2-pgsql curl git unzip -y
Once all the required packages are installed, start Nginx and MariaDB service and enable them to start on system reboot with the following command:
systemctl start nginx
 systemctl enable nginx
 systemctl start mariadb
 systemctl enable mariadb
Once you are done, you can proceed to the next step.
Configure Database
By default, MariaDB is not secured. So you will need tos ecure it first. You can secure MariaDB with the following script:
mysql_secure_installation
Answer all the questions as shown below:
In order to log into MariaDB to secure it, we'll need the current
password for the root user.  If you've just installed MariaDB, and
you haven't set the root password yet, the password will be blank,
so you should just press enter here.

Enter current password for root (enter for none):
OK, successfully used password, moving on...

Setting the root password ensures that nobody can log into the MariaDB
root user without the proper authorisation.

You already have a root password set, so you can safely answer 'n'.

Change the root password? [Y/n] n
 ... skipping.

By default, a MariaDB installation has an anonymous user, allowing anyone
to log into MariaDB without having to have a user account created for
them.  This is intended only for testing, and to make the installation
go a bit smoother.  You should remove them before moving into a
production environment.

Remove anonymous users? [Y/n] Y
 ... Success!

Normally, root should only be allowed to connect from 'localhost'.  This
ensures that someone cannot guess at the root password from the network.

Disallow root login remotely? [Y/n] Y
 ... Success!

By default, MariaDB comes with a database named 'test' that anyone can
access.  This is also intended only for testing, and should be removed
before moving into a production environment.

Remove test database and access to it? [Y/n] Y
 - Dropping test database...
 ... Success!
 - Removing privileges on test database...
 ... Success!

Reloading the privilege tables will ensure that all changes made so far
will take effect immediately.

Reload privilege tables now? [Y/n] Y
 ... Success!

Cleaning up...

All done!  If you've completed all of the above steps, your MariaDB
installation should now be secure.

Thanks for using MariaDB!
Once the MariaDB is secured, login to MariaDB shell with the following command:
mysql -u root -p
Provide your root password when prompt. Then, create a database and user for Attendize with the following command:
MariaDB [(none)]> CREATE DATABASE attendizedb;
 MariaDB [(none)]> GRANT ALL PRIVILEGES ON attendizedb.* TO 'attendize'@'localhost' IDENTIFIED BY "password";
Next, flush the privileges and exit from the MariaDB shell with the following command:
MariaDB [(none)]> FLUSH PRIVILEGES;
 MariaDB [(none)]> EXIT;
Once the database is created, you can proceed to the next step.
Install Attendize
Before downloading Attendize, you will need to install Composer to your system. You can install Composer by just running the following command:
curl -sS https://getcomposer.org/installer -o composer-setup.php
 php composer-setup.php --install-dir=/usr/local/bin --filename=composer
After installing Composer, you can check the version of the Composer with the following command:
composer --version
The output should be similar to below:
Composer version 1.8.6 2019-06-11 15:03:05
Next, download the latest version of Attendize from the Git repository to Nginx web root directory with the following command:
cd /var/www/html/
 git clone https://github.com/Attendize/Attendize attendize
Next, change the directory to attendize and rename the .env.example file:
cd attendize
 mv .env.example .env
Next, open .env file with your favorite text editor:
nano .env
Define your database setting as shown below:
DB_TYPE=mysql
DB_HOST=db
DB_PORT=3306
DB_DATABASE=attendizedb
DB_USERNAME=attendize
DB_PASSWORD=password
Save and close the file, when you are finished. Then, give proper permissions to the attendize directory with the following command:
chown -R www-data:www-data /var/www/html/attendize
 chmod -R 755 /var/www/html/attendize
Once you have finished, you can proceed to the next step.
Configure Nginx for Attendize
Next, create an Nginx virtual host file for Attendize.
nano /etc/nginx/sites-available/attendize.conf
Add the following lines:
server {
    listen 80;
    listen [::]:80;

    server_name example.com;
    root /var/www/html/attendize/public;

    index index.php;

    location / {
        try_files $uri $uri/ /index.php$is_args$args;
    }

    location ~ \.php$ {
        try_files $uri =404;
        fastcgi_pass unix:/var/run/php/php7.2-fpm.sock; # Check this
        fastcgi_param SCRIPT_FILENAME $document_root$fastcgi_script_name;
        include fastcgi_params;
    }
}
Save and close the file. Then, enable the virtual host file with the following command:
ln -s /etc/nginx/sites-available/attendize.conf /etc/nginx/sites-enabled/
Next, check the Nginx for any syntax error with the following command:
nginx -t
The output should be similar to one below:
nginx: the configuration file /etc/nginx/nginx.conf syntax is ok
nginx: configuration file /etc/nginx/nginx.conf test is successful
Finally, reload Nginx and PHP-FPM service to apply all the configuration changes:
systemctl reload nginx
 systemctl restart php7.2-fpm
You can verify the status of Nginx with the following command:
systemctl status nginx
You should see the following output:
? nginx.service - A high performance web server and a reverse proxy server
   Loaded: loaded (/lib/systemd/system/nginx.service; enabled; vendor preset: enabled)
   Active: active (running) since Mon 2019-07-22 05:07:19 UTC; 3s ago
     Docs: man:nginx(8)
  Process: 17781 ExecStop=/sbin/start-stop-daemon --quiet --stop --retry QUIT/5 --pidfile /run/nginx.pid (code=exited, status=0/SUCCESS)
  Process: 17793 ExecStart=/usr/sbin/nginx -g daemon on; master_process on; (code=exited, status=0/SUCCESS)
  Process: 17783 ExecStartPre=/usr/sbin/nginx -t -q -g daemon on; master_process on; (code=exited, status=0/SUCCESS)
 Main PID: 17794 (nginx)
    Tasks: 2 (limit: 1114)
   CGroup: /system.slice/nginx.service
           ??17794 nginx: master process /usr/sbin/nginx -g daemon on; master_process on;
           ??17796 nginx: worker process

Jul 22 05:07:19 ubuntu1804 systemd[1]: Stopped A high performance web server and a reverse proxy server.
Jul 22 05:07:19 ubuntu1804 systemd[1]: Starting A high performance web server and a reverse proxy server...
Jul 22 05:07:19 ubuntu1804 systemd[1]: nginx.service: Failed to parse PID from file /run/nginx.pid: Invalid argument
Jul 22 05:07:19 ubuntu1804 systemd[1]: Started A high performance web server and a reverse proxy server.
Once you are done, you can proceed to the next step.
Access Attendize
Now, open your web browser and type the URL http://example.com. You will be redirected to the following page:
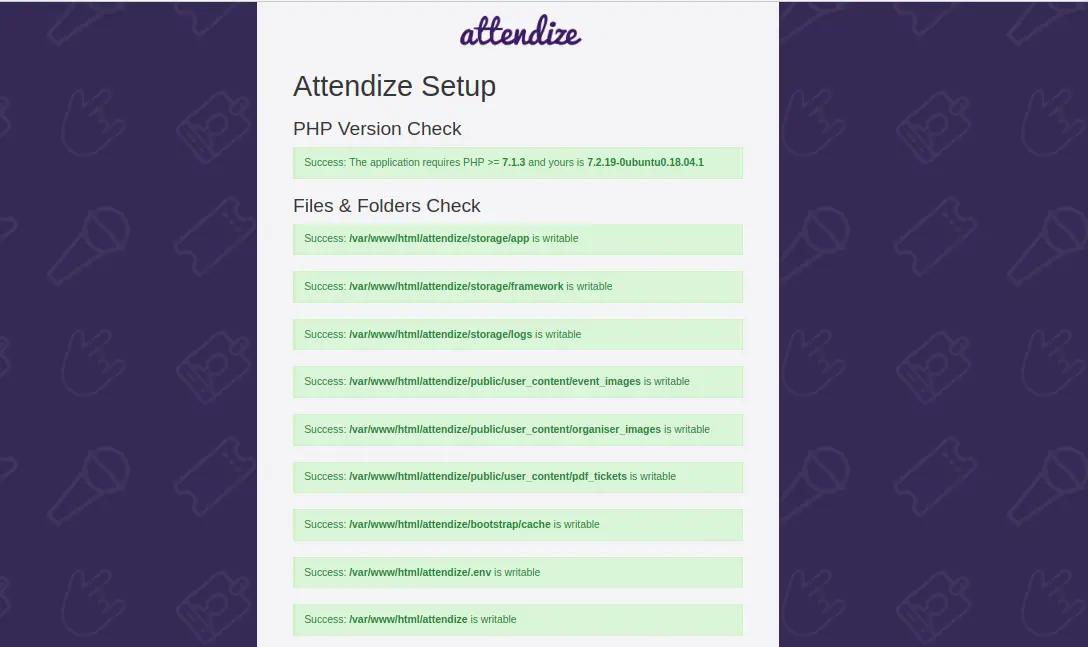
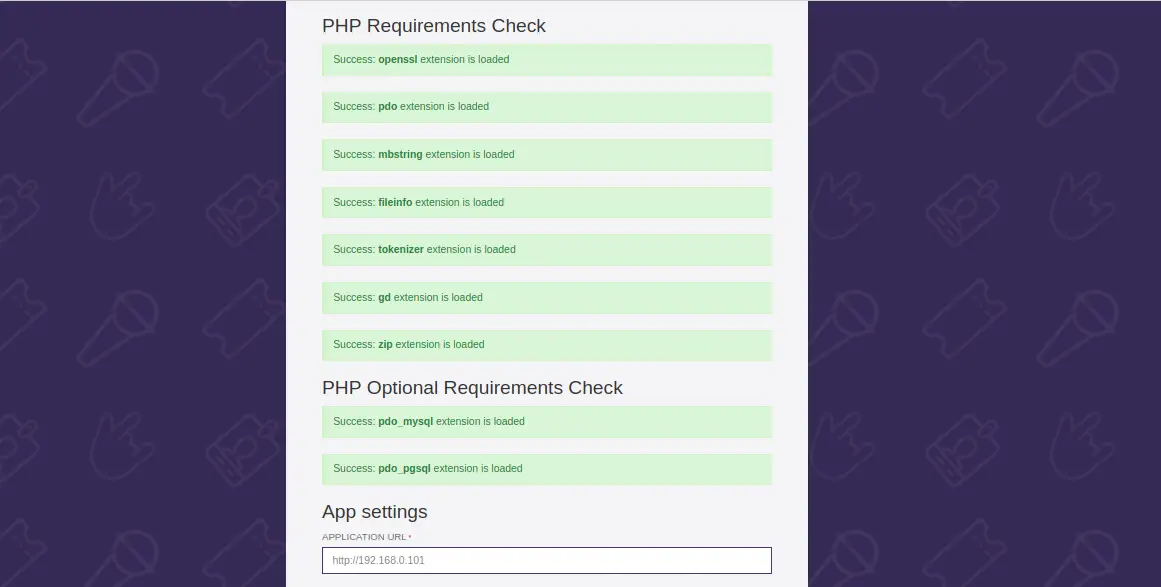
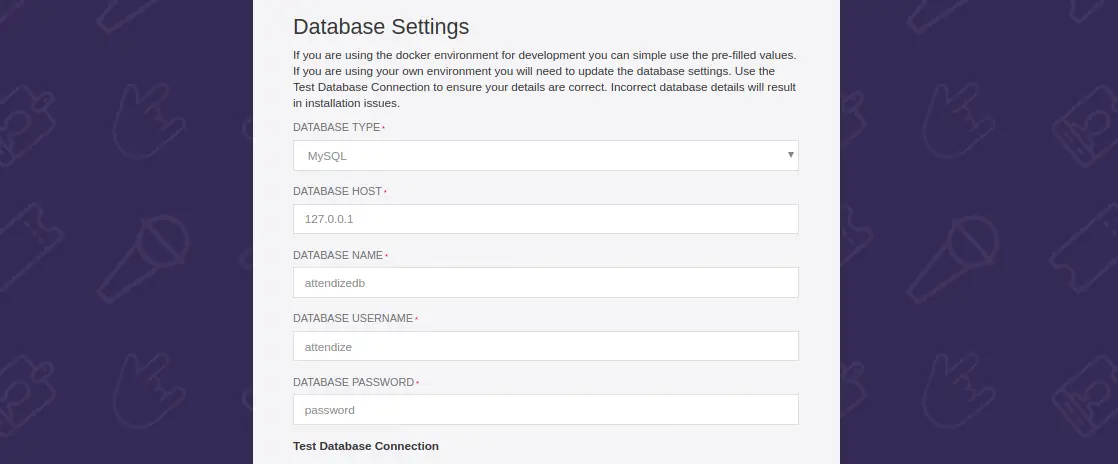
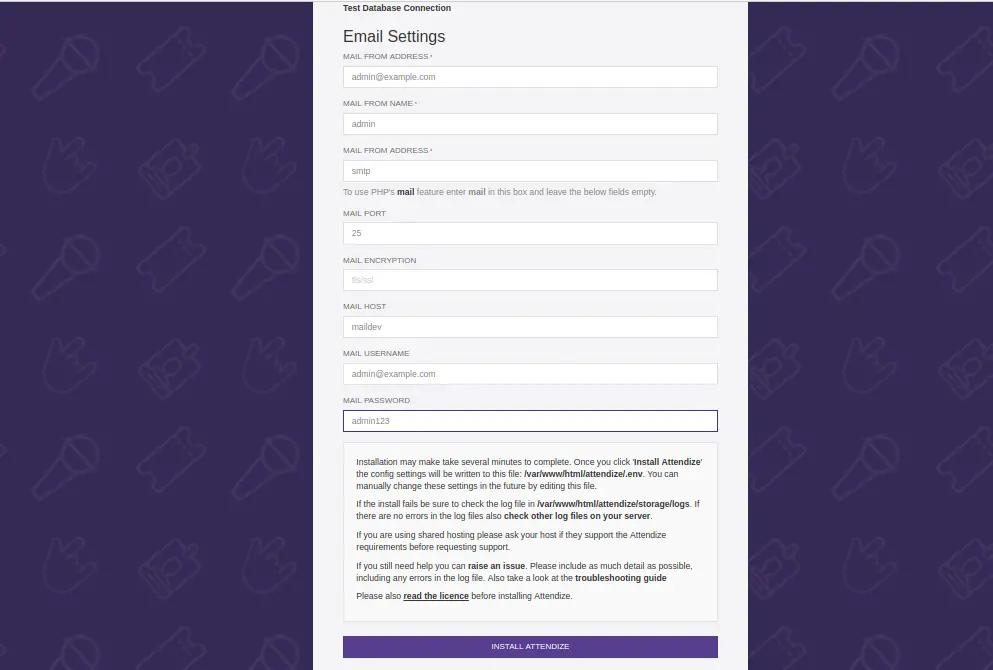
Make sure all the required extensions are installed. Then, provide your database information, email information and click on the INSTALL ATTENDIZE button. You should see the following page:

Provide your name, email address and password. Then, click on the SIGN UP button. You should see the following page:
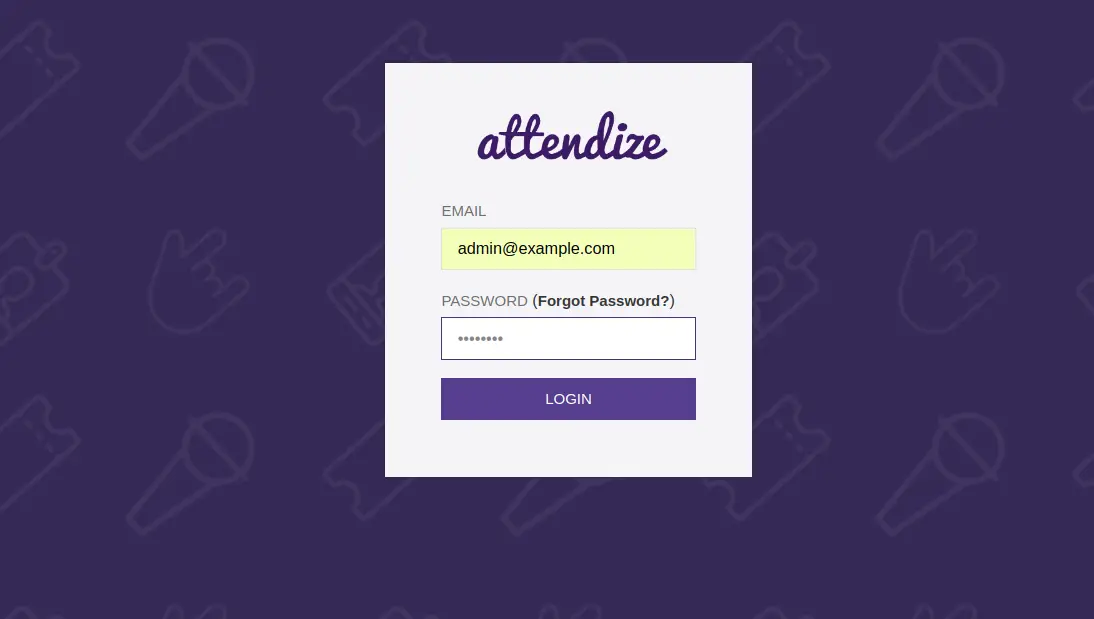
Now, provide your log in details and click on the LOGIN button. You should see the following page:
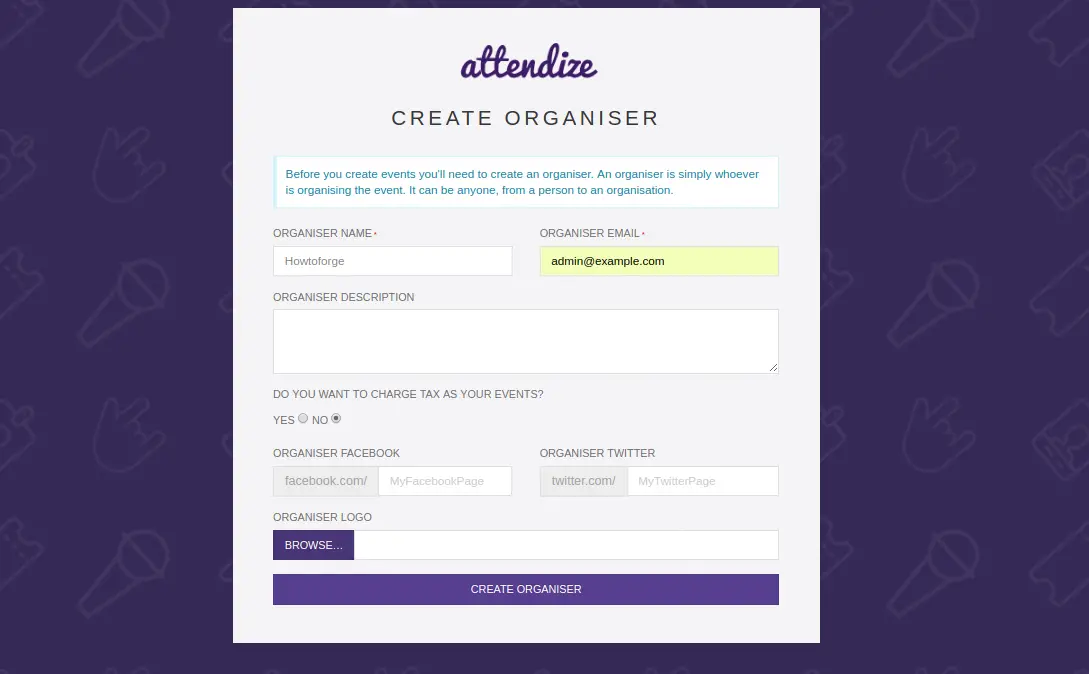
Now, provide your organizer name, email, description and click on the CREATE ORGANISER button. You should see the following page:
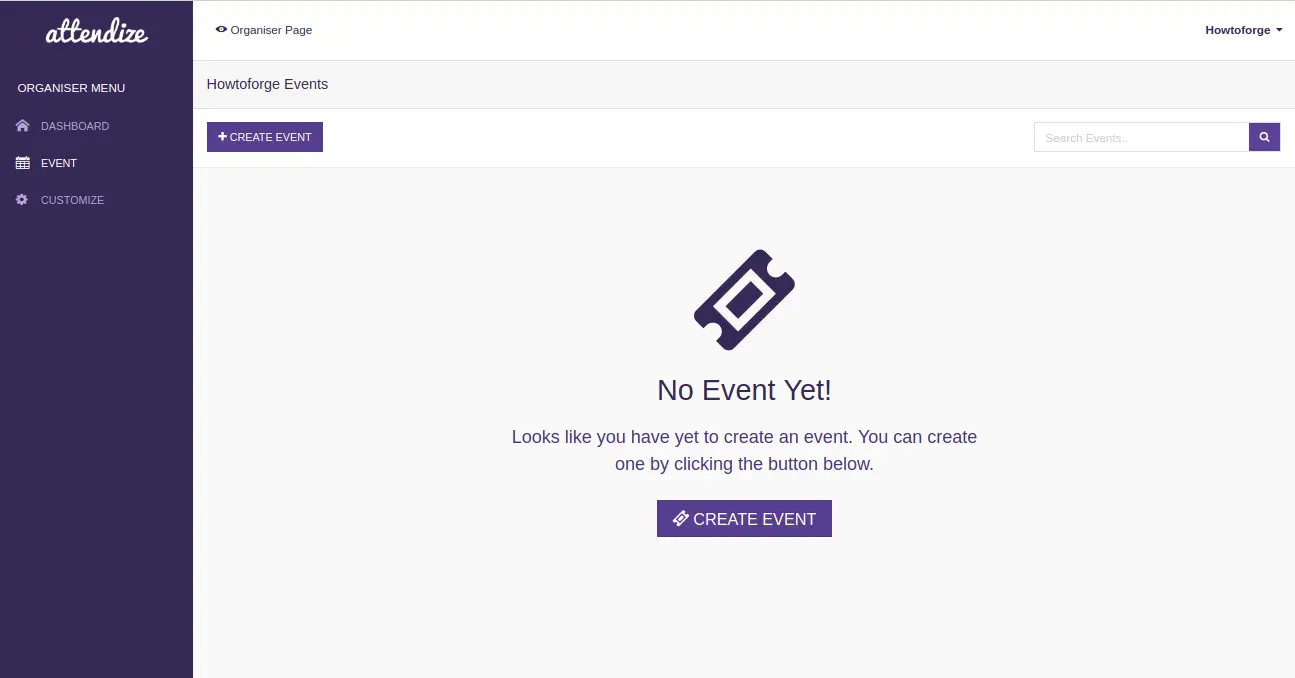
Congratulations! you have successfully installed Attendize ticket selling and event management application in your Ubuntu 18.04 server. You can now organize and manage an unlimited number of events without any extra cost using Attendize. For more information, you can visit the Attendize official documentation at Attendize Doc

