How to Setup Tonido Personal Cloud Server on Ubuntu 18.04 LTS
Tonido is a free application server that allows you to access all your files on your computer from a web browser. You can share files with your family, friends, and colleagues, and also create a secure share to only allow authorized people. Tonido can be installed on Windows, Linux, Mac, iPhone, Android, and Blackberry. With Tonido, you can stream your Photos, Audios, and Videos to any devices on your network. Tonido comes in two versions, Personal and FileCloud. Personal version is free and gives you single-user access to all of all files. FileCloud is an enterprise version that allows you to create your own private storage.
In this tutorial, we will learn how to install and configure Tonido Personal Edition on Ubuntu 18.04 LTS.
Requirements
- A server running Ubuntu 18.04.
- A root password is set up on your server.
Getting Started
First, it is recommended to update your server with the latest version. You can do it with the following command:
apt-get update -y
apt-get upgrade -y
Once the server is updated, restart it to apply all the configuration changes:
Next, you will need to install libpng library in order to install Tonido. You can download and install it with the following command:
wget http://security.ubuntu.com/ubuntu/pool/main/libp/libpng/libpng12-0_1.2.54-1ubuntu1.1_amd64.deb
dpkg -i libpng12-0_1.2.54-1ubuntu1.1_amd64.deb
Once installed, you can proceed to the next step.
Install Tonido
First, you will need to download the latest version of Tonido from their official websites. You can download it with the following command:
wget http://www.tonido.com/download.php?tonido64.tar.gz
Once downloaded, extract it on /usr/local/tonido directory with the following command:
mkdir /usr/local/tonido
tar -zxvf download.php\?tonido64.tar.gz -C /usr/local/tonido
You can now start the Tonido service with the following command:
/usr/local/tonido/tonido.sh start
By default, Tonido is listening on port 10001. You can check it with the following command:
netstat -ant
You should see the following output:
Active Internet connections (servers and established)
Proto Recv-Q Send-Q Local Address           Foreign Address         State
tcp        0      0 127.0.0.1:3306          0.0.0.0:*               LISTEN
tcp        0      0 0.0.0.0:10001           0.0.0.0:*               LISTEN
tcp        0      0 127.0.0.53:53           0.0.0.0:*               LISTEN
tcp        0      0 0.0.0.0:22              0.0.0.0:*               LISTEN
tcp        0    344 38.143.68.184:22        139.5.237.169:41523     ESTABLISHED
tcp6       0      0 :::80                   :::*                    LISTEN
tcp6       0      0 :::22                   :::*                    LISTEN
tcp6       0      0 :::443                  :::*                    LISTEN
You can also stop the Tonido service with the following command:
/usr/local/tonido/tonido.sh stop
Create Systemd Service File for Tonido
Next, you will need to create a systemd service file to manage Tonido service. You can create it with the following command:
nano /etc/systemd/system/tonido.service
Add the following lines:
[Unit]
Description=Tonido Server
After=local-fs.target network.target

[Service]
Type=forking
User=root
Group=root
ExecStart=/usr/local/tonido/tonido.sh start
ExecStop=/usr/local/tonido/tonido.sh stop
Restart=on-failure
RestartSec=5

[Install]
WantedBy=multi-user.target
Save and close the file. Then, reload systemd daemon with the following command:
systemctl daemon-reload
Next, start Tonido service and enable it to start on boot with the following command:
systemctl start tonido
systemctl enable tonido
Access Tonido
Tonido is now installed, it's time to access it through web interface.
Open your web browser and type the URL http://your-server-ip:10001. You will be redirected to the following page:

Now, select your language, provide your account name, password and email. Then, click on the Create button. You should see the following page:
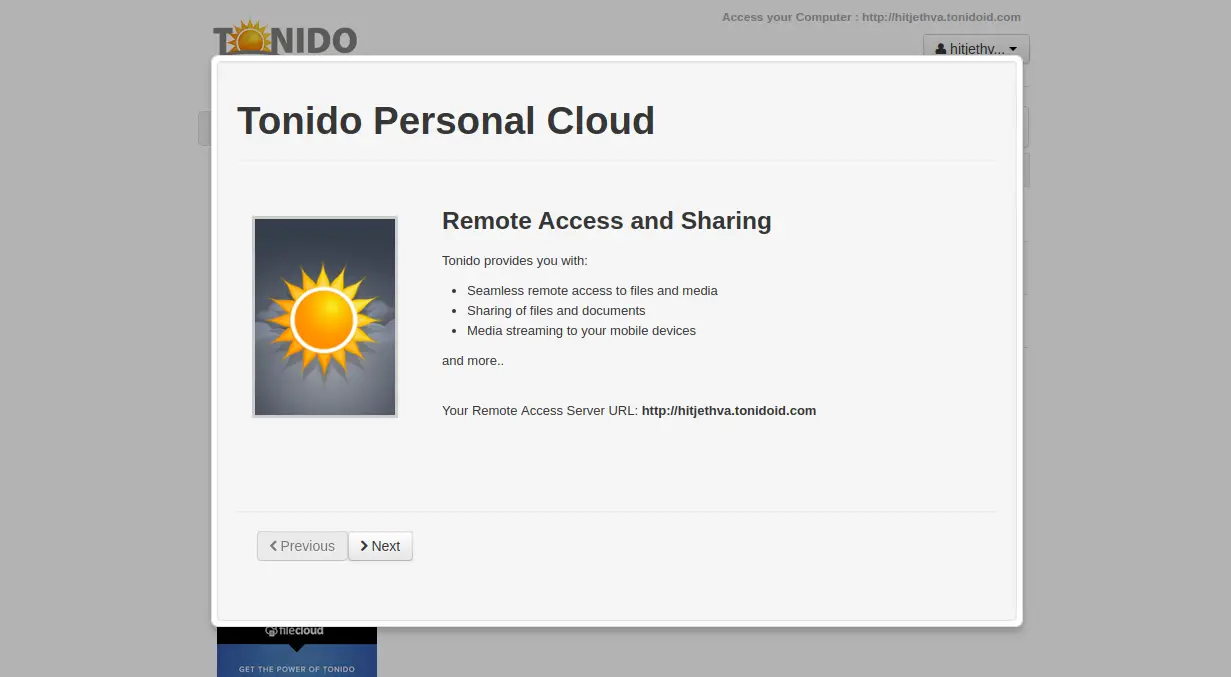
Now, click on the Next button. You should see the following page:
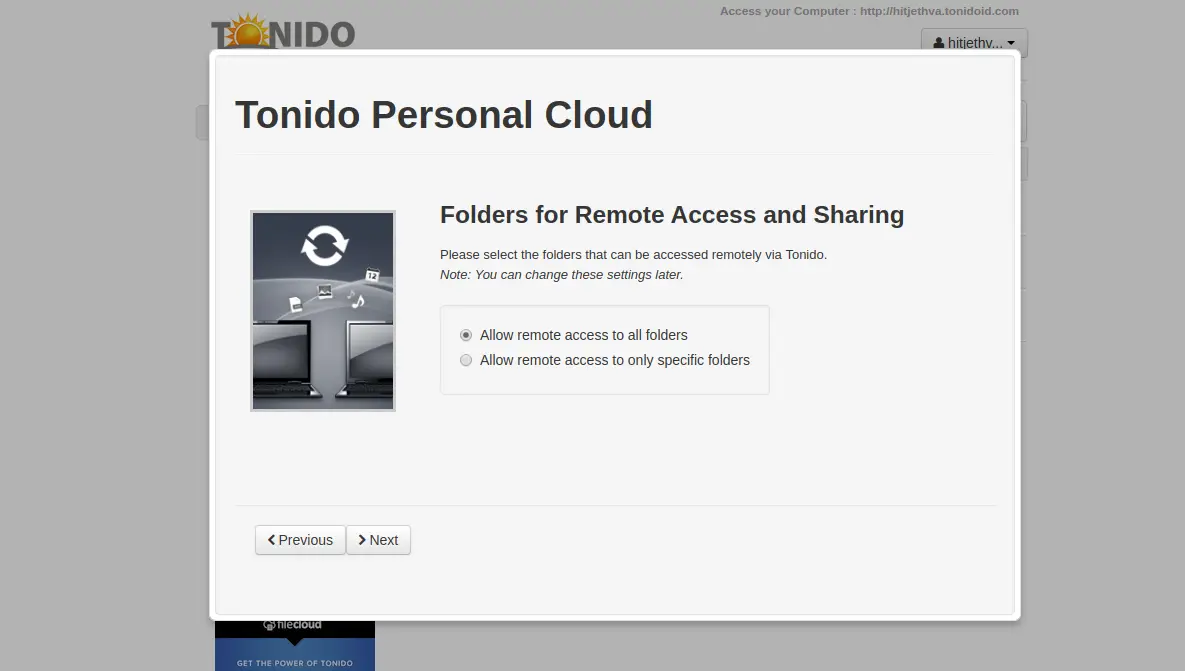
Now, select remote access permission and click on the Next button. You should see the following page:
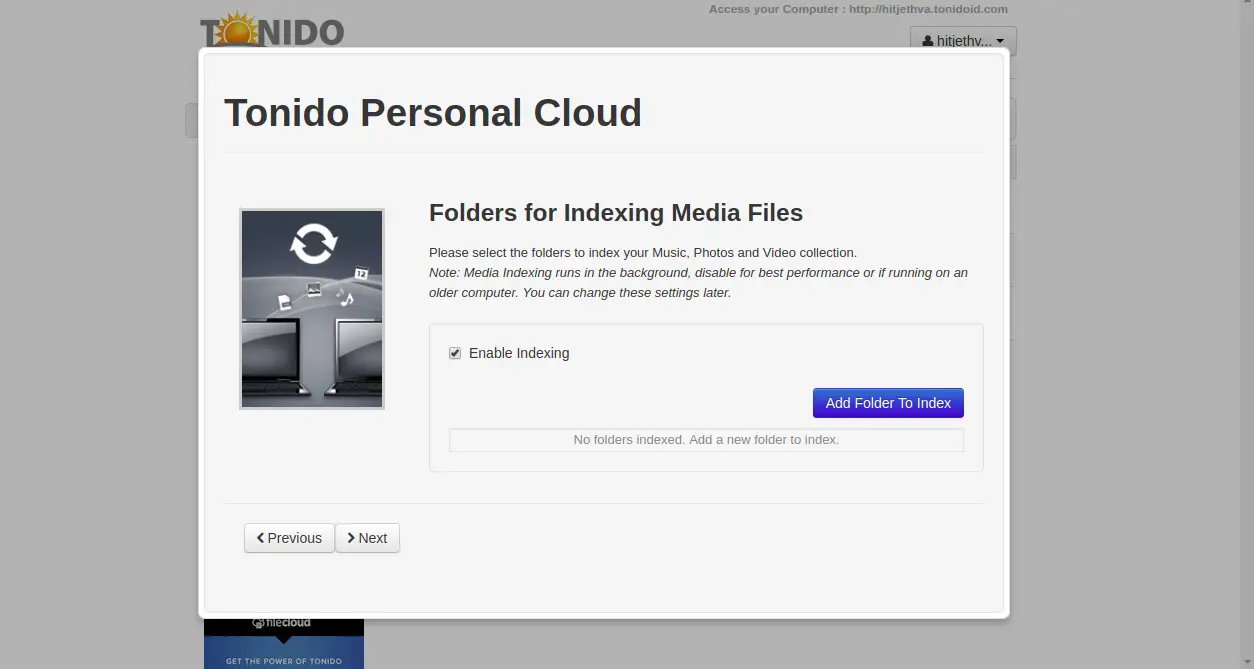
Now, enable indexing and click on the Next button. You should see the following page:
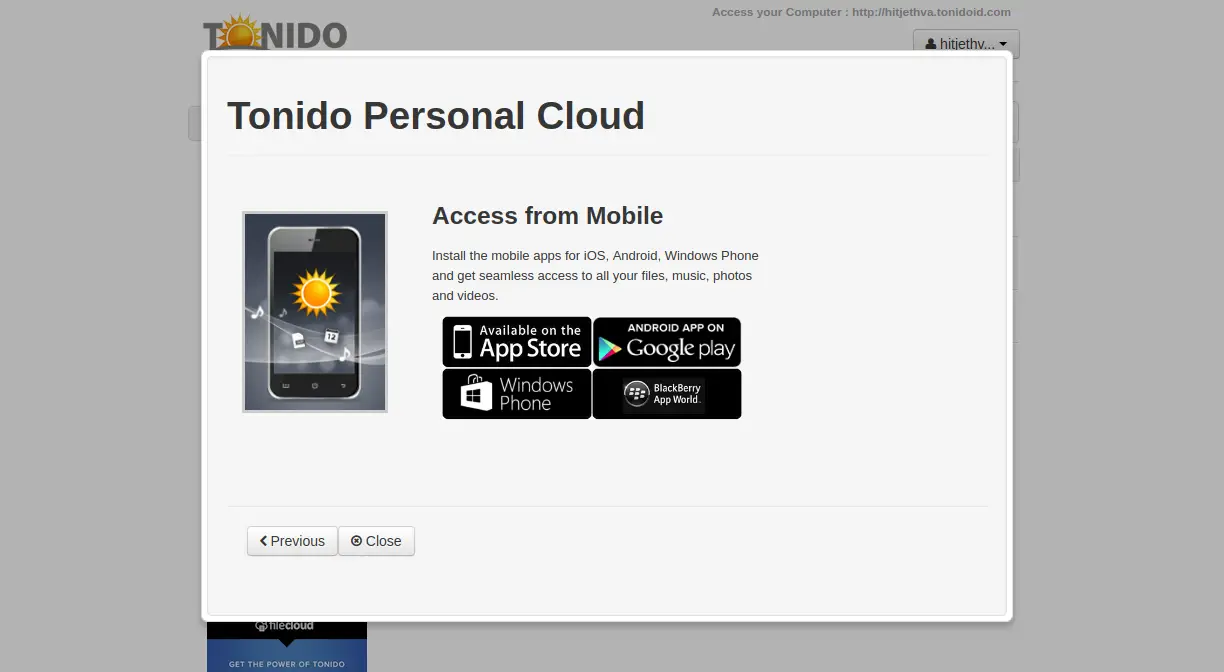
Now, click on the Close button to finish the installation. You should see the following page:
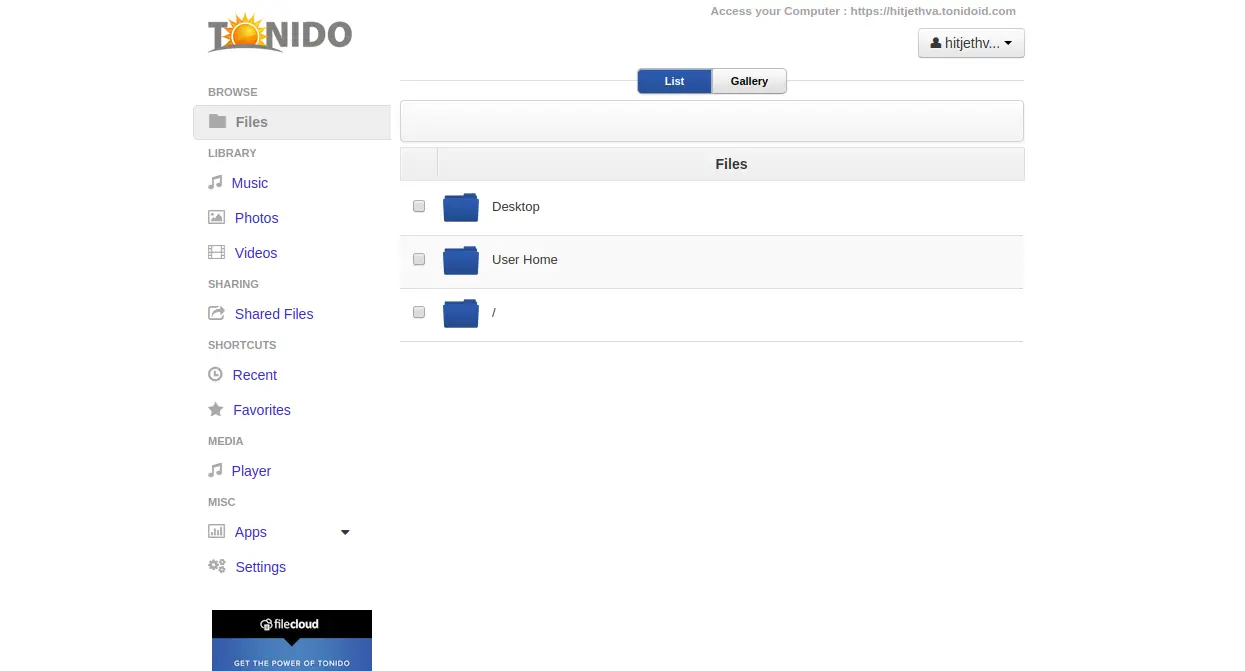
Now, click on the Shared Files to create and share your first directory. You should see the following page:

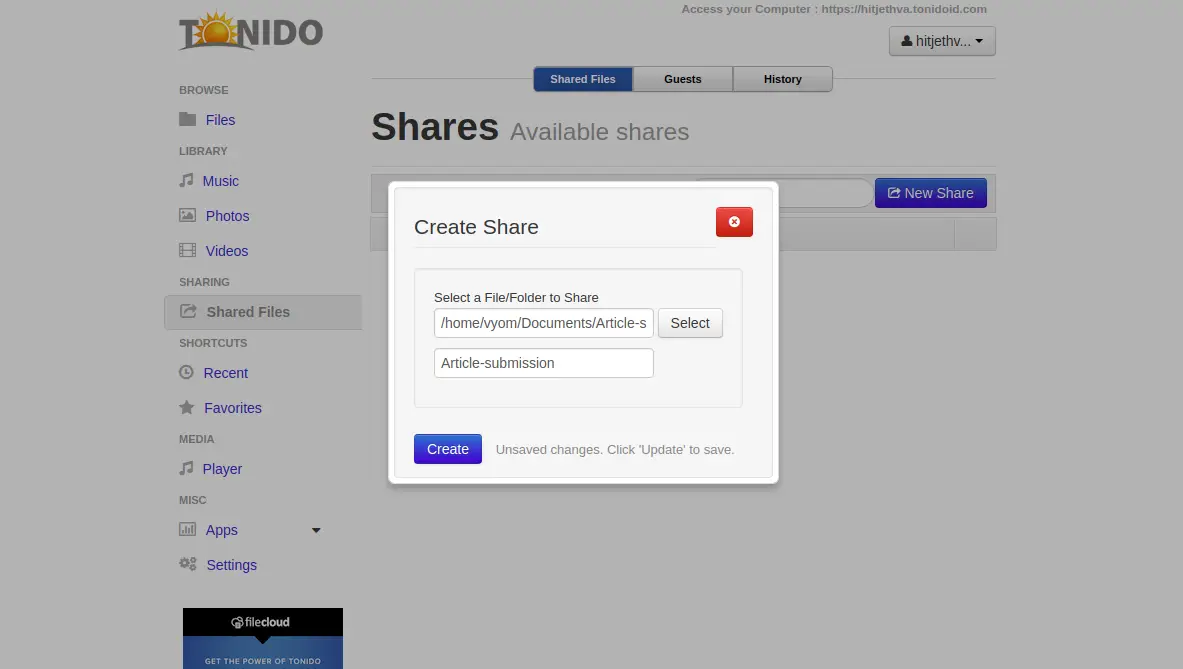
Select the directory that you want to share and click on the Create button. You should see the following page:
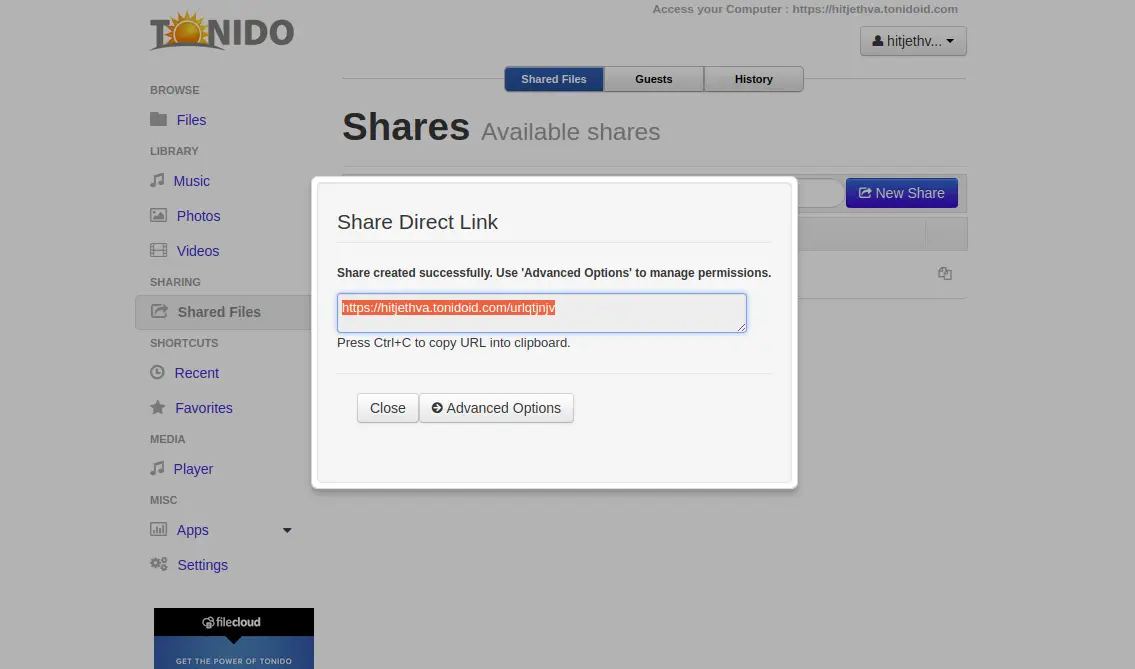
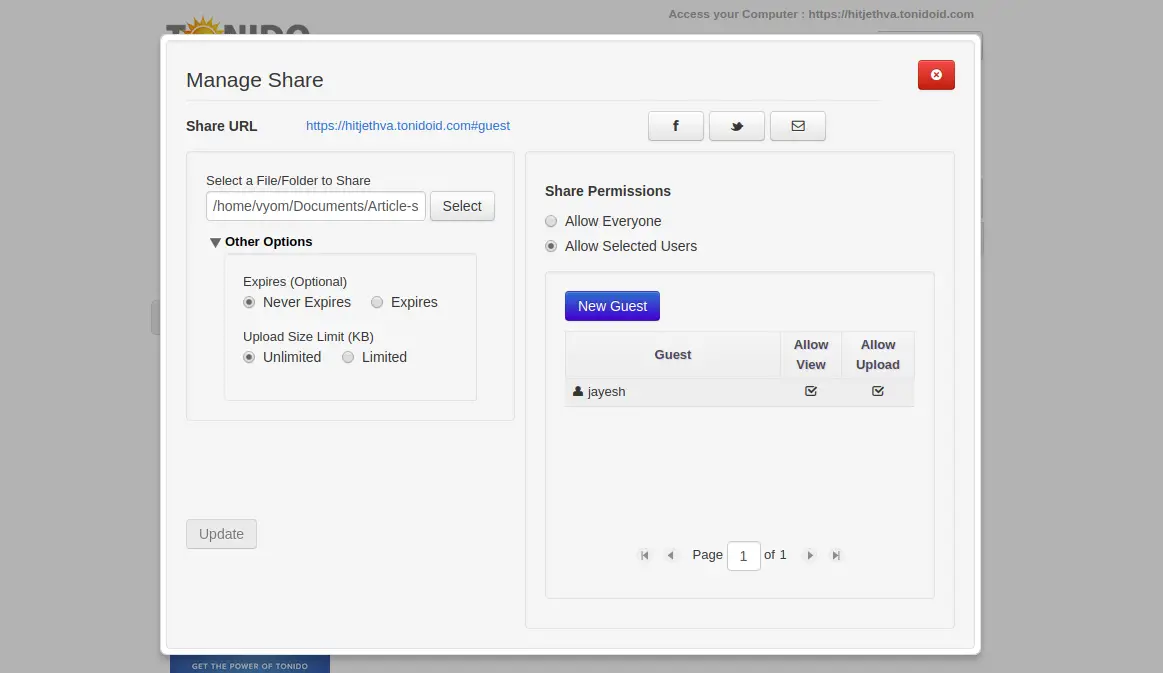
Now, click on the Advanced Options to manage permissions. You should see the following page:
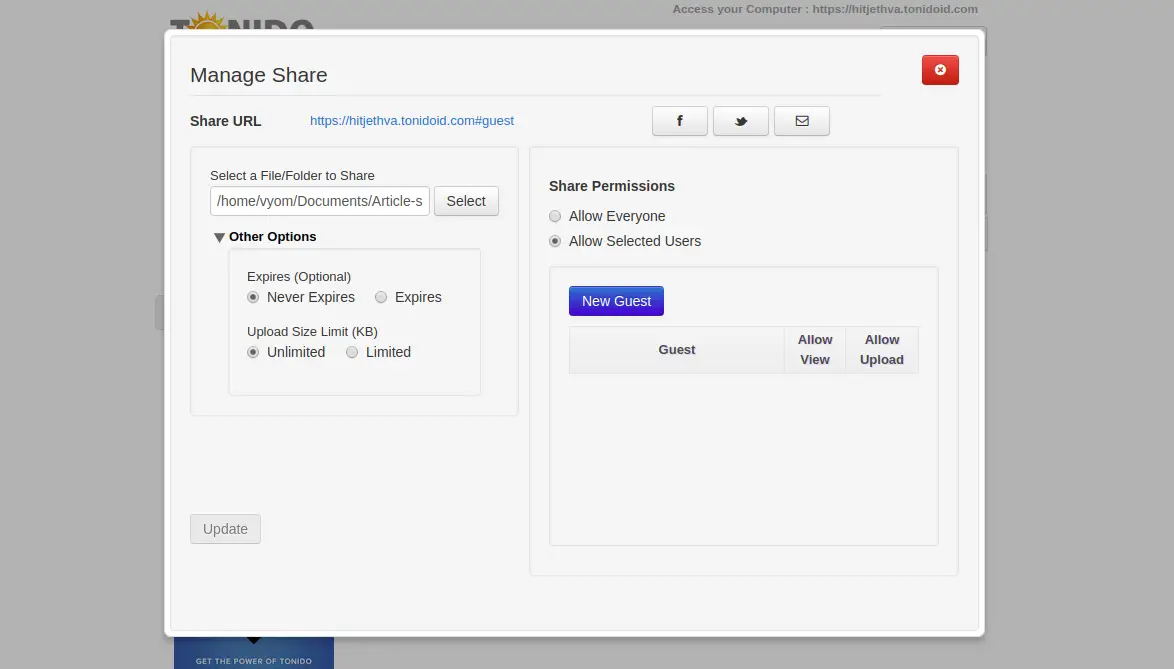
Now, click on the New Guest to create your first user to access the shared directory. You should see the following page:
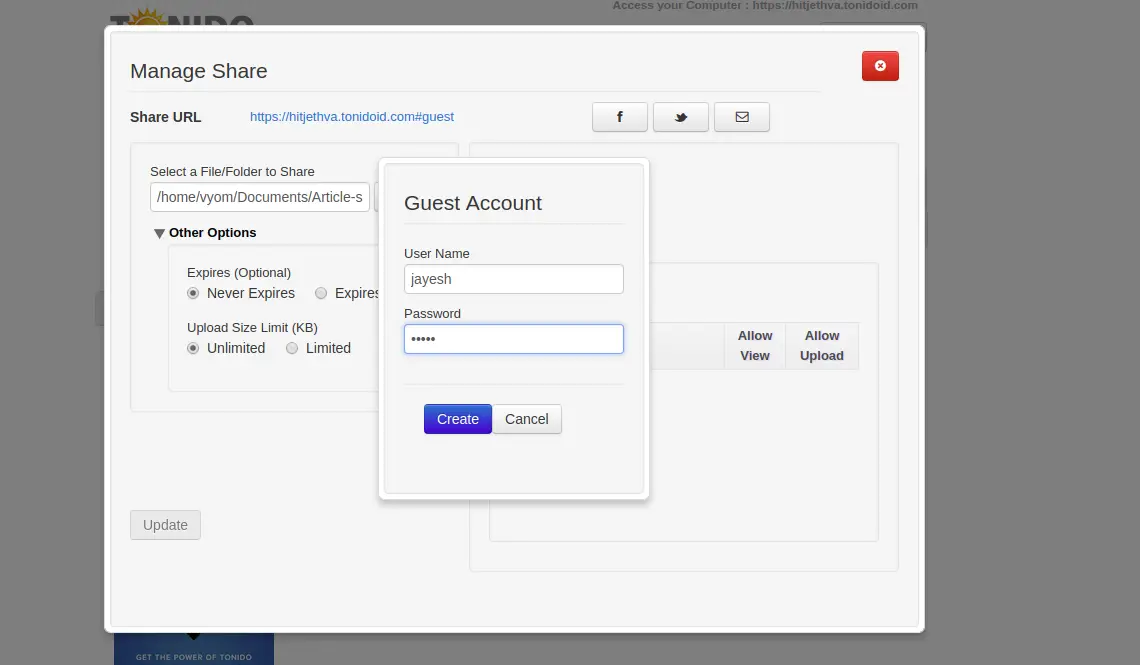
Provide username and password, and click on the Create button. You should see the following page:
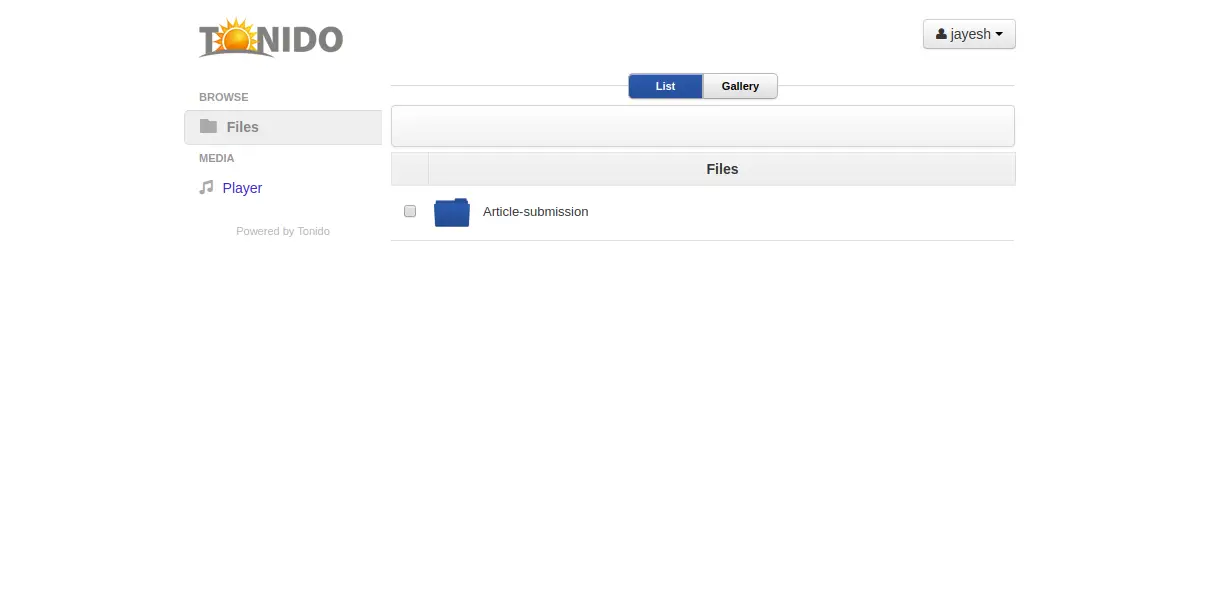
Now, open your web browser and type the URL https://hitjethva.tonidoid.com#guest. You will be redirected to the following page:

Provide your username and paasword. Then, click on the Sign in button. You should see your shared directory in the following page:
Congratulations! You have successfully installed and configured Tonido server on Ubuntu 18.04 server. You can now easily share the file, directory, and any media to your friends, family, and colleagues. Feel free to ask me if you have any questions.

