
You can find my .Net core posts here.
Note – You can find the source code of my sample application here.
Now a days, adding Username and Password is not enough for the authentication, we need some more secure ways for our application. Authenticating using Twitter is one of them
In this post, we will see how to add Twitter Login in your .Net Core project.
Let us start.
Let us create .Net Core 2.1 application with authentication step by step
First open Visual Studio 2017 -> Create New Project -> Select Core Web application

In next window, click on Change authentication link and select Individual User Accounts. Make sure .Net Core 2.1 is selected:

Then select Web Application(MVC). Visual Studio will create a well-structured application for you:

Here if you observe the project structure, you might be wondering where all the code for authentication went. You cant see Account Controller, ManageController and all the Models & views for the same.
This is because of the brand new feature of .Net Core 2.1 which is Identity UI package and scaffolder by which all the code is now moved to the templates hence it will help us to reuse the same repetitive code of Identity
Twitter Developer Application Registration
We would required to generate ConsumerKey and ConsumerSecret which we will require in our application.
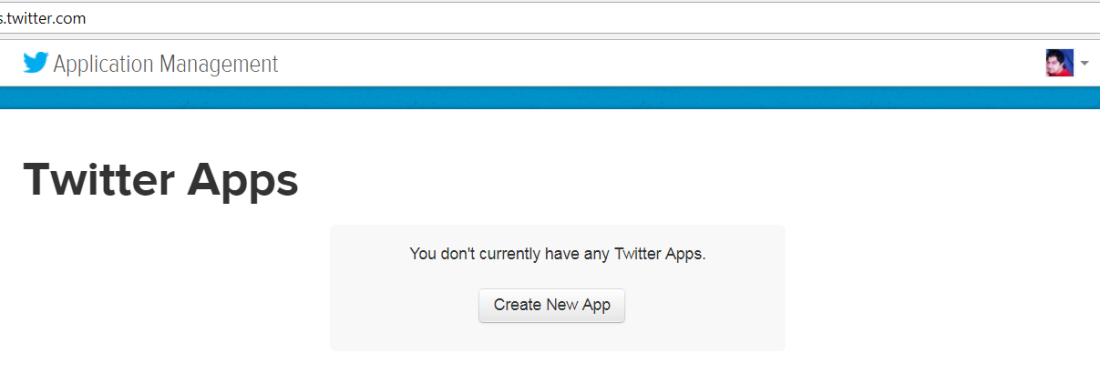
For this, visit here – https://apps.twitter.com/, if you are already logged in with your Twitter credentials then you would see below page and if you are not logged in then Login first:
Click on Create New App and fill the details required:

Few points here:
- You can add a temporary URL under the website section until you have your domain for the site
- Add the localhost URL under the Callback URL which is used to redirect the user once the authentication with Twitter is successful
- Add /signin-twitter after the localhost, this will handle the requests at /signin-twitter route to implement the OAuth flow
Click on Create your Twitter application.
Please note that, you should have your phone number attached with the Twitter account because if the phone number is not attached. You will get below error:

Once you add the mobile number, it will create the application.
Navigate to Keys and Access tokens tab, from this tab we can get the ConsumerKey and ConsumerSecret which we will use in our .Net Core application:

Note down above keys and let us add them in our application
Adding the user secrets
Let us first add Twitter App Id and App Secret into the application using Secret Manager.
What is Secret Manager?
The Secret Manager tool stores sensitive data for development work outside of your project tree. The Secret Manager tool is a project tool that can be used to store secrets for a .NET Core project during development. With the Secret Manager tool, you can associate app secrets with a specific project and share them across multiple projects.
To add the user secrets, right click on the application and click on Manage User Secrets:

A json file will be opened. In the json file, add Authentication:Twitter:ConsumerKey and Authentication:Twitter:ConsumerSecret which we have copied from the Twitter portal, as shown below(masked the keys due to security purpose):

Once the keys are added, open Startup.cs class and add below lines:
services.AddAuthentication().AddTwitter(twitterOptions =>
{
twitterOptions.ConsumerKey = Configuration["Authentication:Twitter:ConsumerKey"];
twitterOptions.ConsumerSecret = Configuration["Authentication:Twitter:ConsumerSecret"];
});
Once this is done, open appsettings.json file and make sure you have given correct Database connection string.
That is it.
Run the application
Now run the application and click on Login, it will show Login with the Twitter option:

Click on Twitter and provide your Twitter credentials and if you are already logged in the Twitter, you will see below screen:

Click on Authorize app.
If this is the first time you’re performing this action, you may be required to run migrations. The application prompts you to Apply Migrations:

Once the migration is over, the user will be authenticated using Twitter as shown below:

Once you click on Register, the user will be registered and would be added to the AspNetUsers table of your Identity database and the user would be Logged In:

Entry in the table:

Note – You can find the source code of my sample application here.
Hope it helps.

One thought on “Twitter Login setup in .Net Core(2.1) : Step by step guide”