How to install Jenkins on CentOS and connect it to GitHub
Jenkins provides widely used open source CI/CD tools. In this article, we will learn how to install Jenkins and configure it with Github for sending files to the server using SSH.
Jenkins Installation:
Jenkins is a JAVA based application so first of all, we need to install JAVA. The following command will install JAVA on centos 7.
sudo yum install java-1.8.0-openjdk-devel
Verify Java version
[root@centos ~]# java -version
openjdk version "1.8.0_212"
OpenJDK Runtime Environment (build 1.8.0_212-b04)
OpenJDK 64-Bit Server VM (build 25.212-b04, mixed mode)
Now configure Jenkins Repository using the following commands.
curl --silent --location http://pkg.jenkins-ci.org/redhat-stable/jenkins.repo | sudo tee /etc/yum.repos.d/jenkins.repo
This will show the following outputs.
[jenkins]
name=Jenkins-stable
baseurl=http://pkg.jenkins.io/redhat-stable
gpgcheck=1
Then run the following command to add Jenkins key.
sudo rpm --import https://jenkins-ci.org/redhat/jenkins-ci.org.key
Now we have configured Jenkins Repository and we are ready to install Jenkins using following simple commands.
sudo yum install jenkins
After installation completed check Jenkins service and enable it on system reboot.
sudo systemctl start Jenkins
sudo systemctl enable jenkins
Now reboot the system and make sure jenkins service running by using the following command.
sudo systemctl enable jenkins
Now allow Jenkins in the firewall.
firewall-cmd --permanent --add-port=8080/tcp
firewall-cmd --reload
Configure Settings:
We can not use Jenkins directly, we need to type the domain name or IP address in web browser followed by Jenkins default port number 8080.
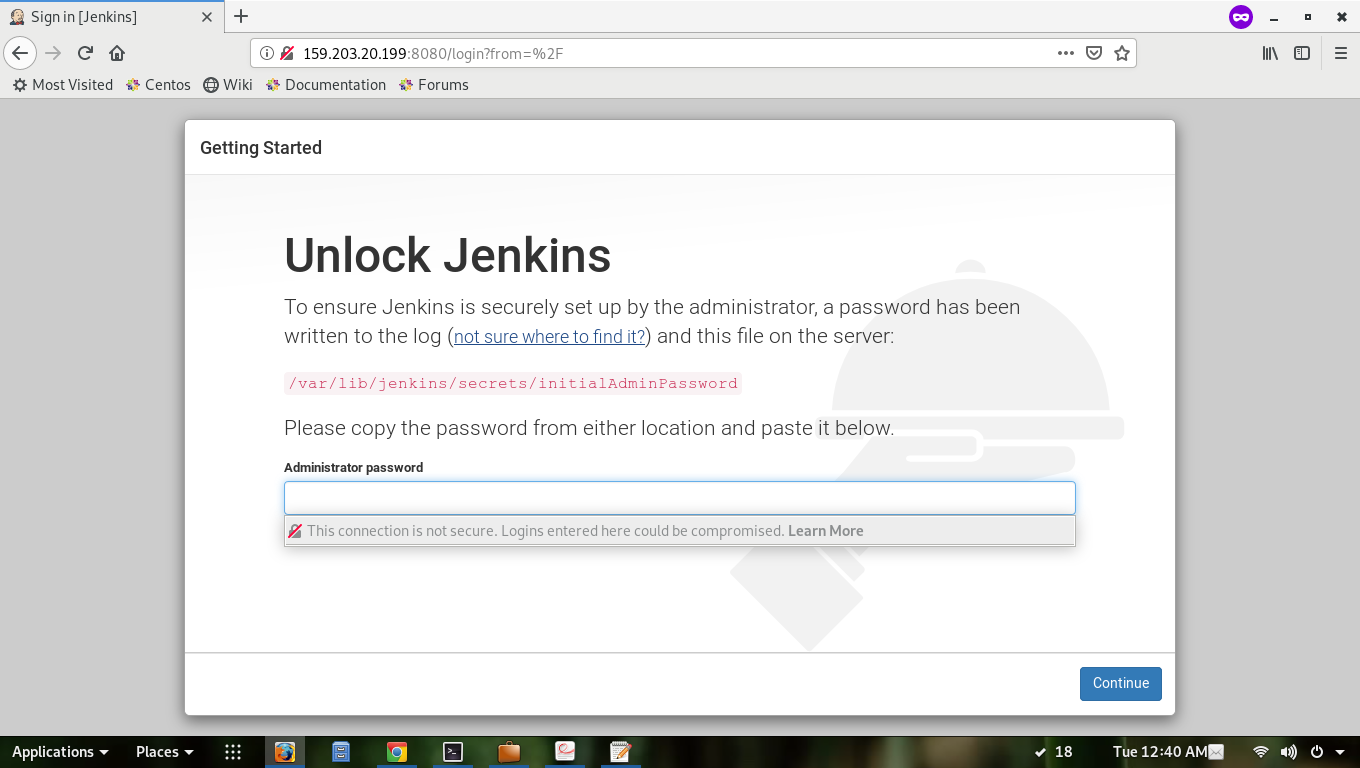
In the above screenshot, we need to type Jenkins auto-generated password for one time. Run the following command to get a password.
sudo cat /var/lib/jenkins/secrets/initialAdminPassword
This will give output like 2179c452db3b45f98cf9e4c4961ab635
After the password, we need to install plugins to Jenkins system. For that simply select installed suggested plugin to install all defaults plugin.
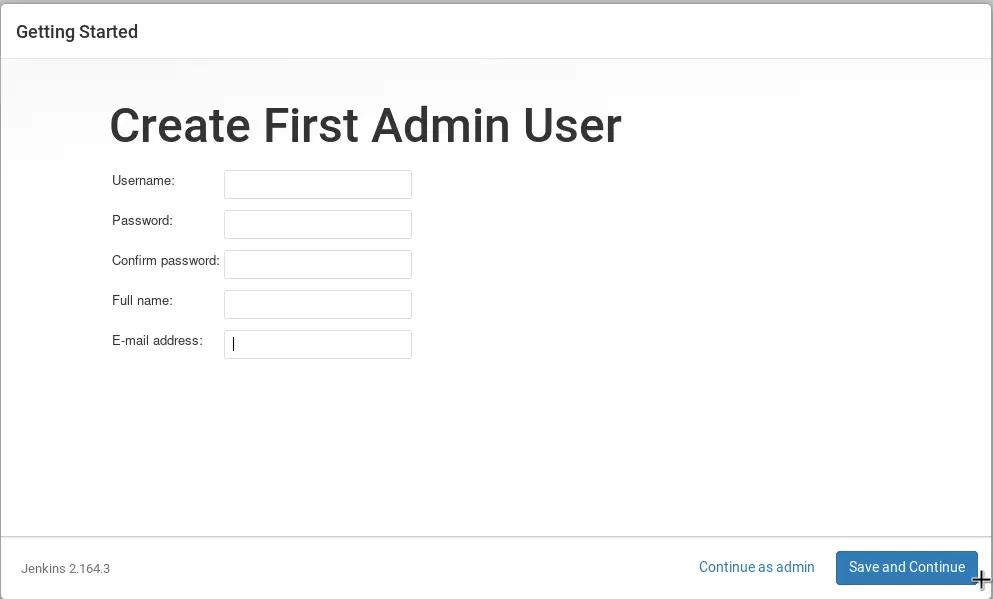
Fill all details and click on save and continue.
Now it will ask for Instance Configuration, where we can change defaults port number also.
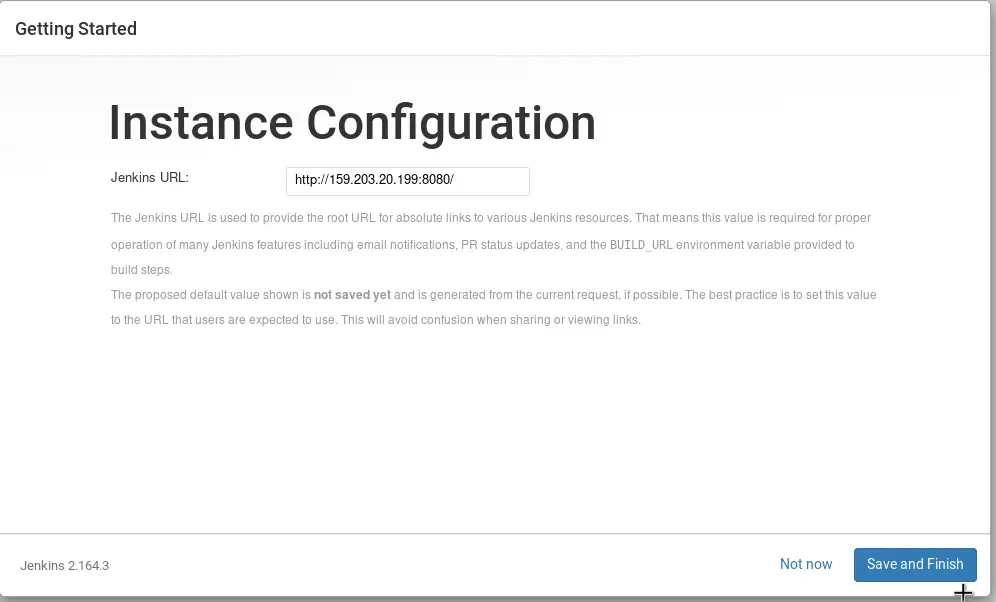
Now our Jenkins save and ready for use.
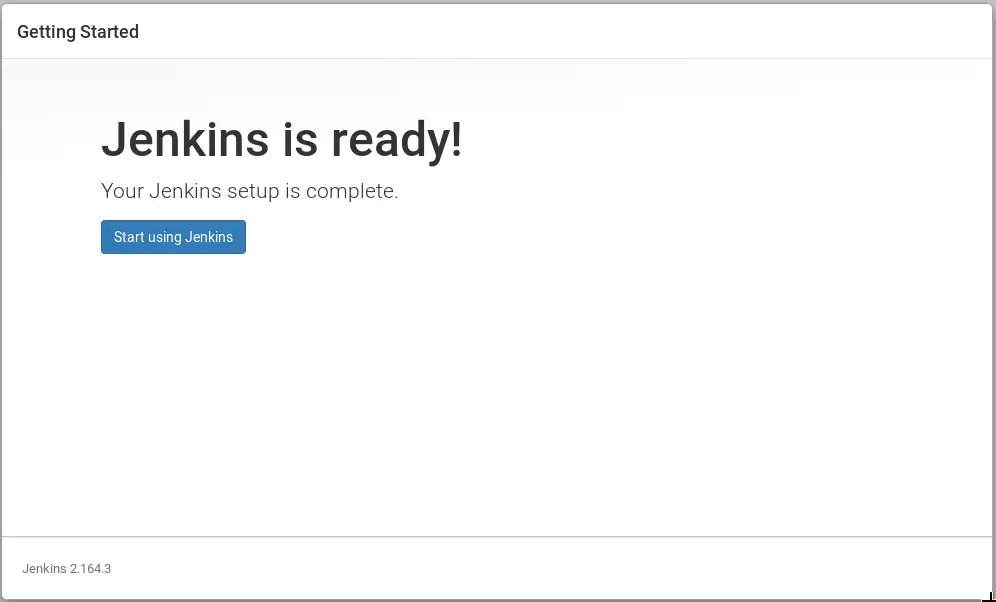
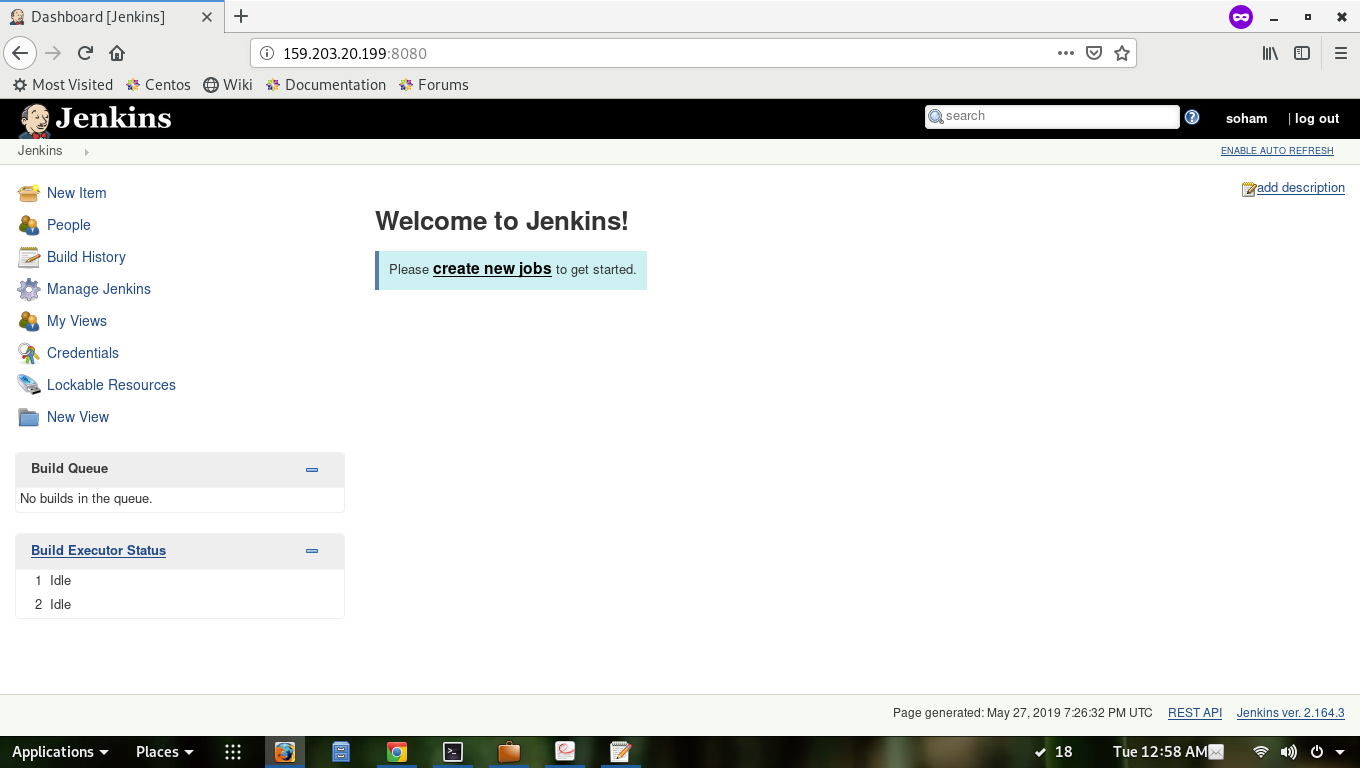
Congratulations, new Jenkins setup successfully completed and ready to use.
The following screenshot shows the default dashboard for Jenkins.
Jenkins Configuration:
Install Plugins:
Before we go to the next steps make sure to install the following plugins.
Go to Manage Jenkins -> Manage plugin -> Available -> filter -> search for the following plugin which is needed for integration with GitHub.
Publish Over SSH
Git
GitHub plugin
Git client plugin
Here, Publish Over SSH plugin needed to push our files to the server over SSH.
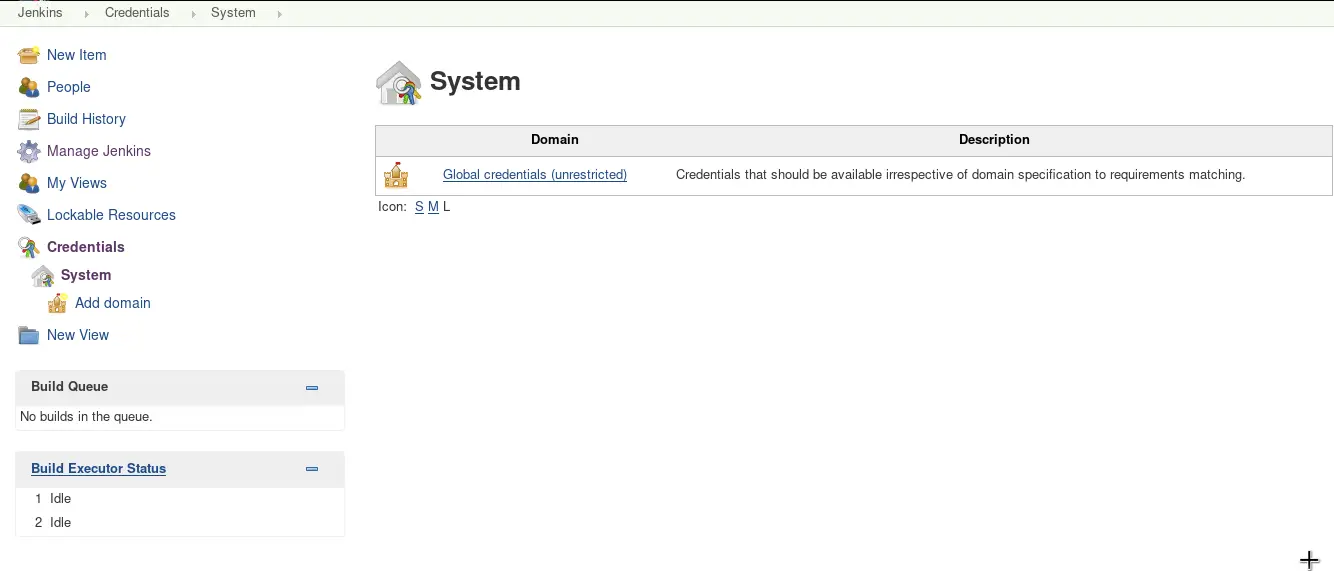
Add credentials:
We need to add server credentials in Jenkins.
Go to Jenkins Dashboard → credentials → system →Global credentials (unrestricted) → Add Credentials
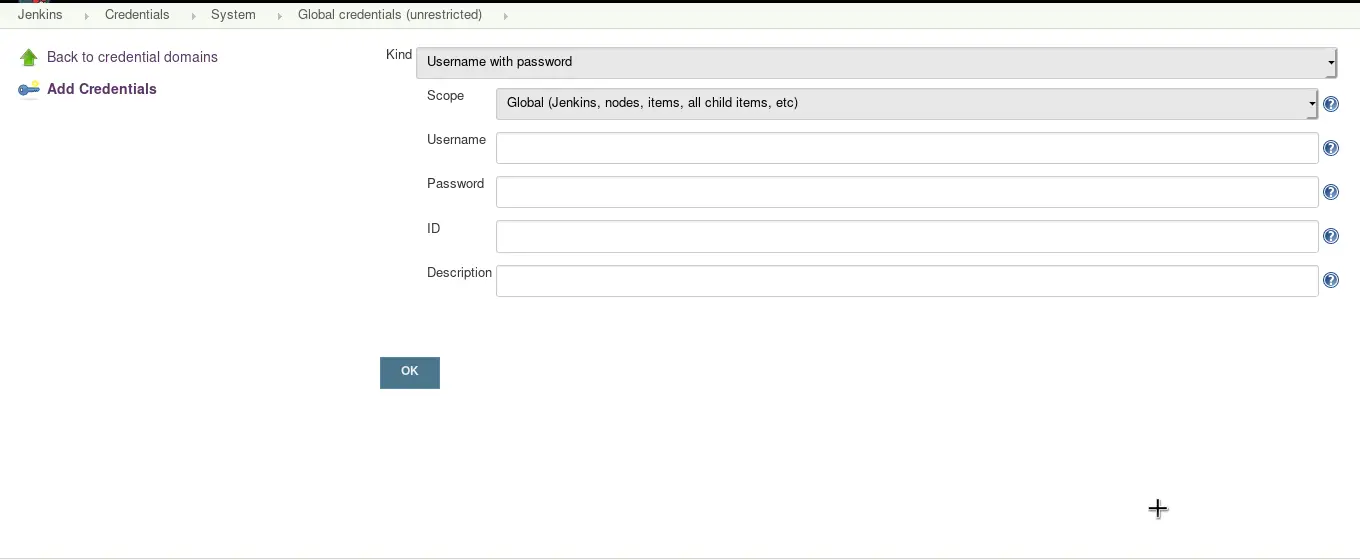
We can select the kind of credentials we want to install. Here we add GitHub credential username and password for later use.
ssh on Jenkins Server.
Jenkins can connect to a remote server using ssh and able to run script, command or copy file from one server to another server.
For this purpose, we need to create an ssh connection between Jenkins server & remote server.
Next step adds SSH credentials on Jenkins that we want to connect with Jenkins server.
We want to connect to a web server from Jenkins with user root, For example, our web server is 138.197.151.144 and user root, so we need to login to that server using ssh.
ssh [email protected]
Now go to the home directory and cd to .ssh folder.
cd ~/.ssh
Next step will be to generate a private key and public key for root user on our web server.
ssh-keygen -t rsa -f private_key_for_jenkins
After running above command it will ask for "Enter passphrase", we don't need to enter the passphrase. So click on enter two times and it will generate two keys on web server private_key_for_jenkins and private_key_for_jenkins.pub.
Here private_key_for_jenkins is the private key of 138.197.151.144 and we need to use the contents of this file into our Jenkins server.
We have the second file called private_key_for_jenkins.pub which is the public key of web server. We need to copy it's data to another file called authorised_keys located on the same directory.
In most cases authorised_keys files present into ~/.ssh/ folder but sometimes it is missing and we need to generate new authorised_keys files. Simply run the following command to copy it's to authorised_keys, this command also generates new authorised_keys if it is for available.
cat private_key_for_jenkins.pub > authorized_keys
Now login to Jenkins server then go to Manage Jenkins -> Configure Systems
An alternative we can direct write http://ip_address:8080/configure in the web browser, this will open Configure Systems for ssh configurations.
Now, look for SSH servers Server section in "Configure Jenkins". Please take note that this section only available if we have ‘SSH Credential Plugin’ installed on Jenkins server.
Go to Publish over SSH section go to key and paste the content of private_key_for_jenkins
Now in SSH Servers option, click on Add button and enter SSH Server details. We can change ssh port and other settings from Advanced option.
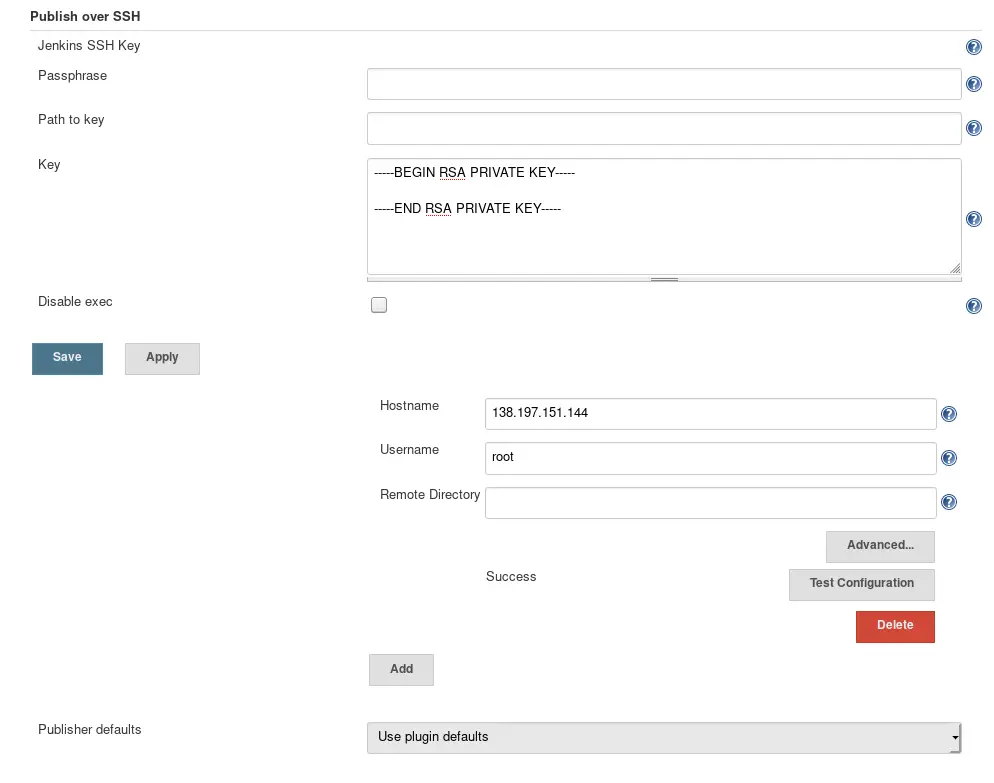
After making the changes, click on ‘Test Configuration’ and we should get a success message as shown in the above screenshot if all the settings are correct.
Please note that we can add multiple servers as per our requirement for publishing the same code on multiple server using ssh.
For that, we need to generate the private key for each server as we mention earlier and need to add their private key to the Jenkins server.
Finally, click on ‘Save’ button and save our changes. We have successfully created an ssh connection to a remote server. Now we can send the file to remote server and also can execute any command or script on that server.
Jenkins Configuration with Github
For automation of builds triggered by PUSH and PULL request, a Jenkins WebHook needs to be added to each GitHub repository or organization webhooks.
Steps to configure webhook from Github repository.
1. Log in to your GitHub accounts
2. Click on the repository on which we need to set webhook
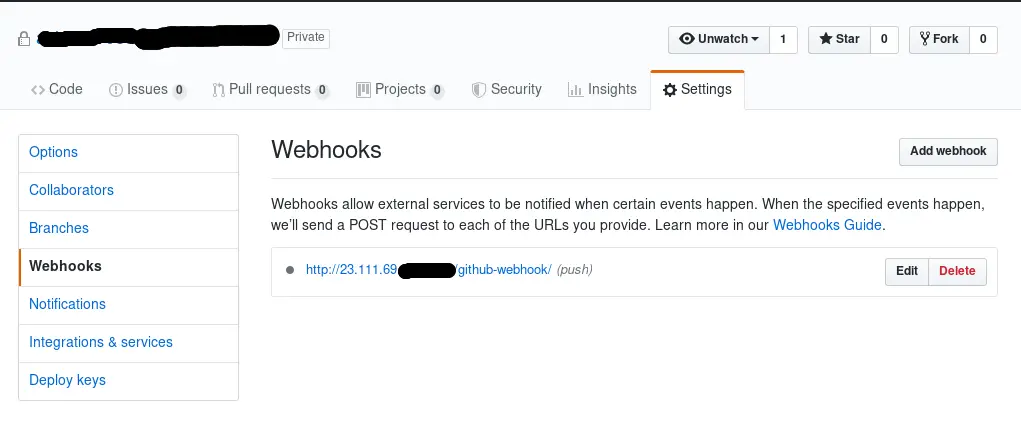
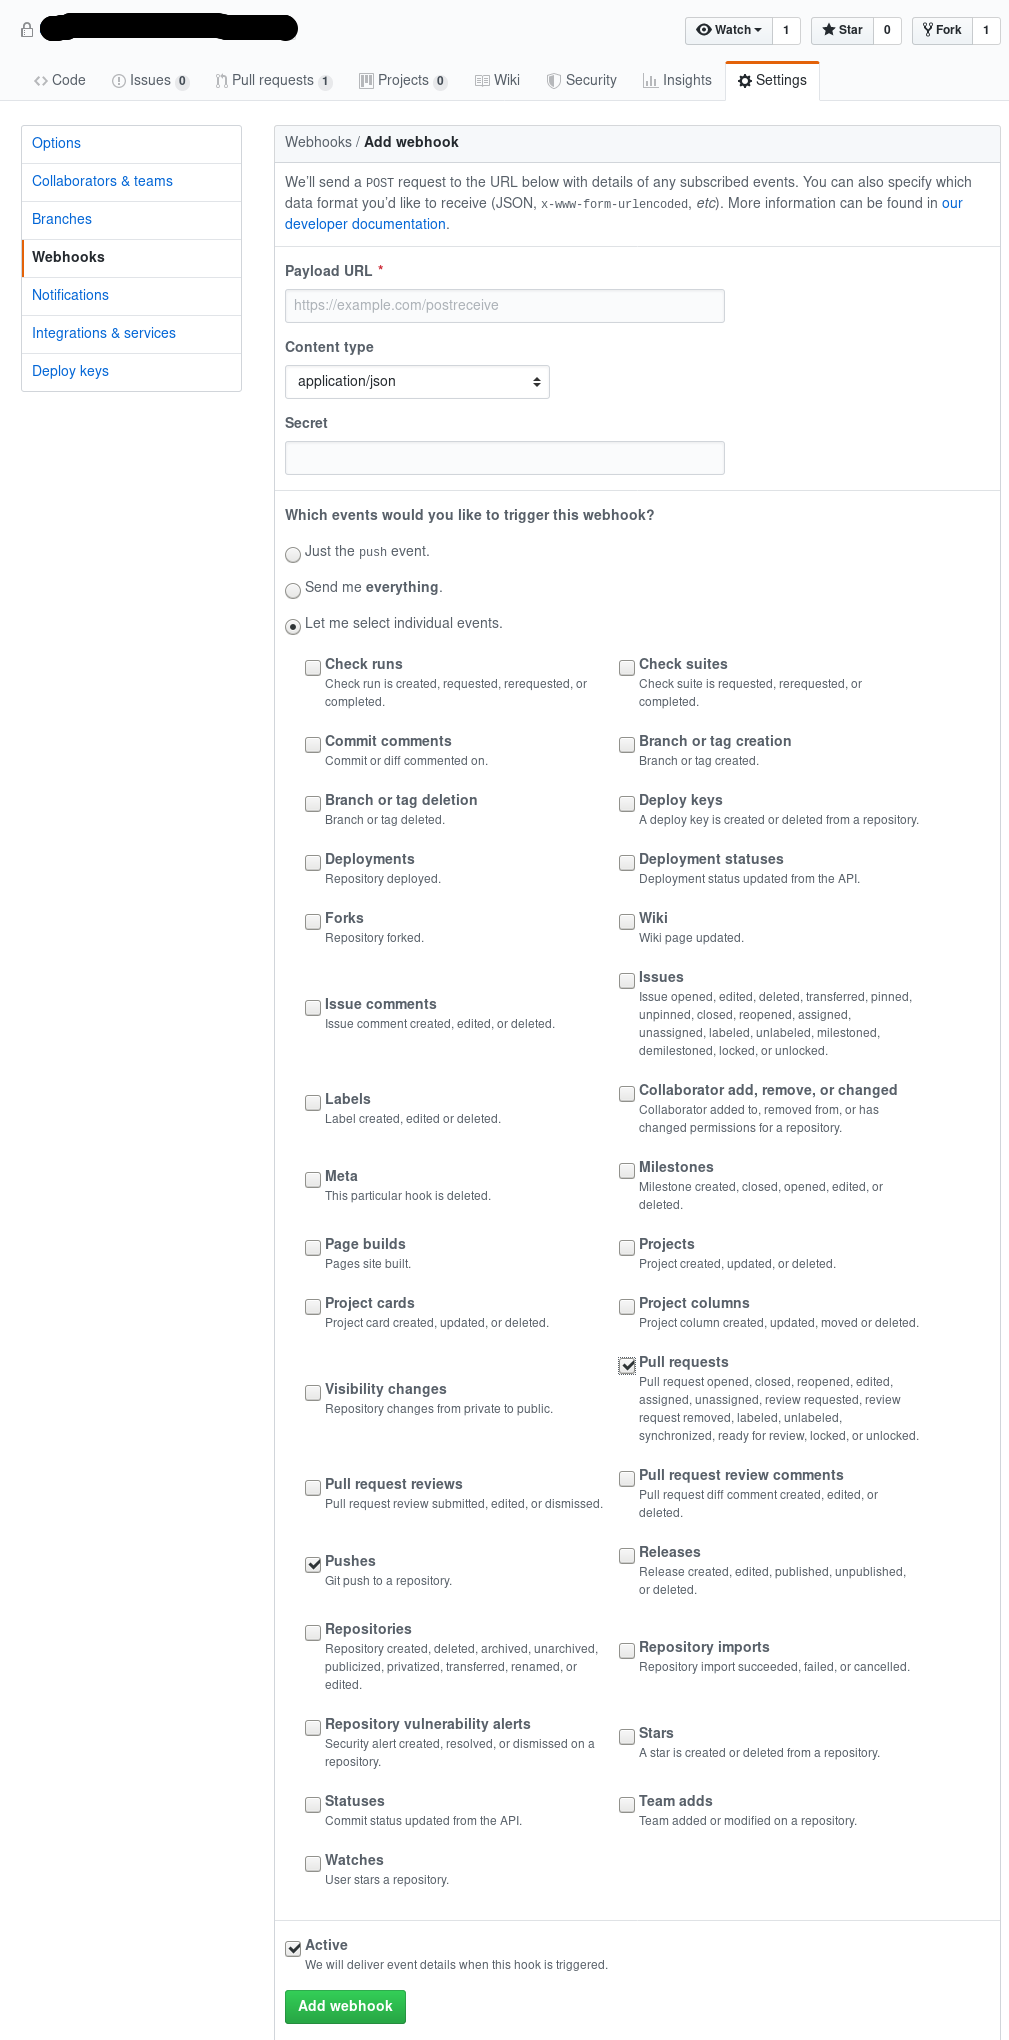
3. go to settings option for that repository
4. Click on Webhooks and add Payload URL, It looks like http://jenkins_ip:8080/github-webhook/
5. Select "application/json" as the encoding type from Content type
6. Leave "Secret" blank (unless a secret has been created and configured in the Jenkins "Configure System -> GitHub plugin" section)
7. Select "Let me select individual events"
8. Enable PUSH and Pull Request event
9. Make sure "Active" is checked
10. Click "Add Webhook" button at last.
Check the below screenshot for details.
Jenkins will now receive push and pull request notifications for that repository and related builds will be automatically triggered.
Creating the first job on Jenkins
Now go to our Jenkins dashboard select New Item then Enter an item name select Freestyle Project.
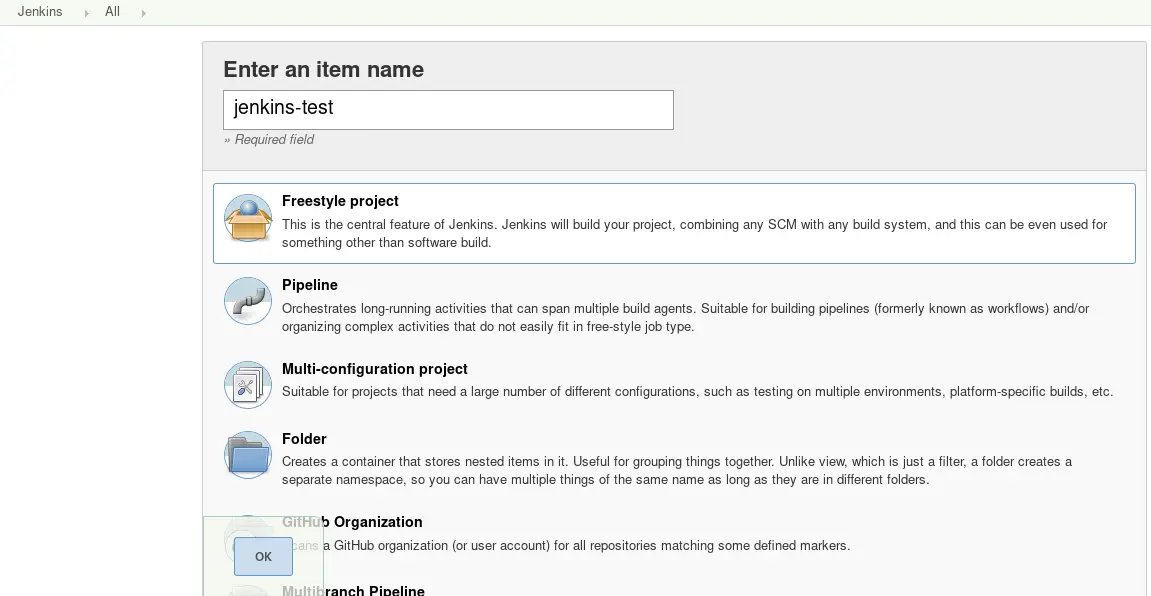
After click on ok you will be redirected to configuring section.
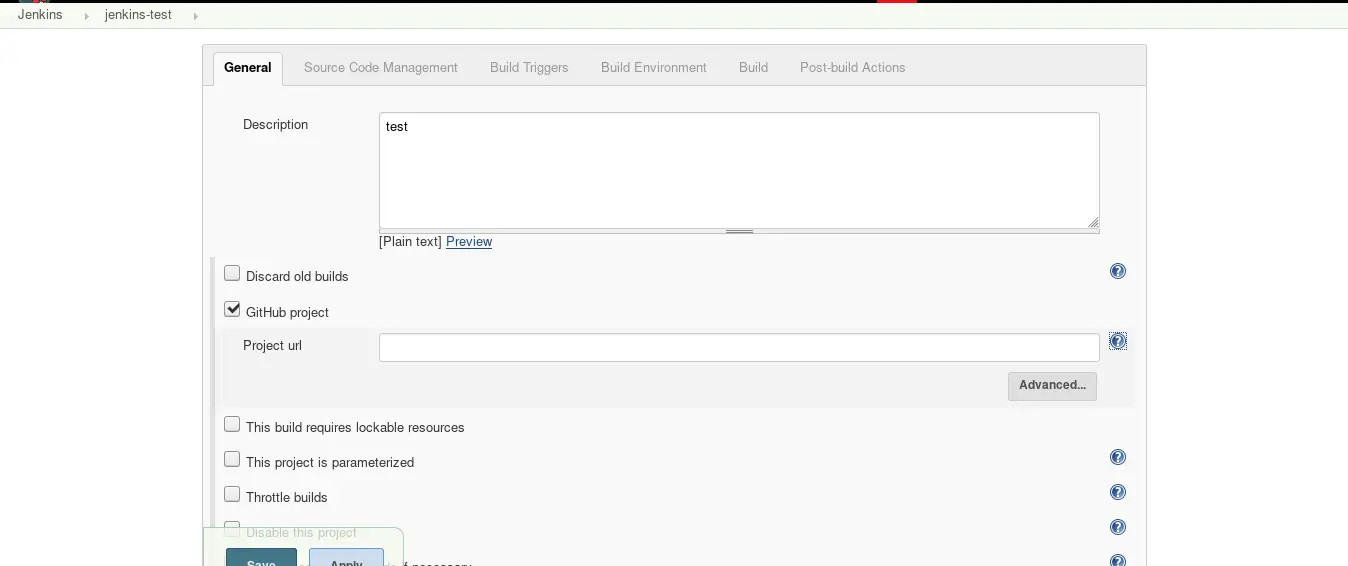
We are at general tab right now as shown in below screenshot. In general, tab give the description of the project and click on Github project, Here enter our GitHub URL for the project.
Now Go to Source code management, then click on Git and enter our Repository URL from where we want to take codes.
We already add GitHub credential, click on drop-down menu and select GitHub username and password.
Next, go to Branches to build and select */master branch, we can add any branch as per our project requirements.
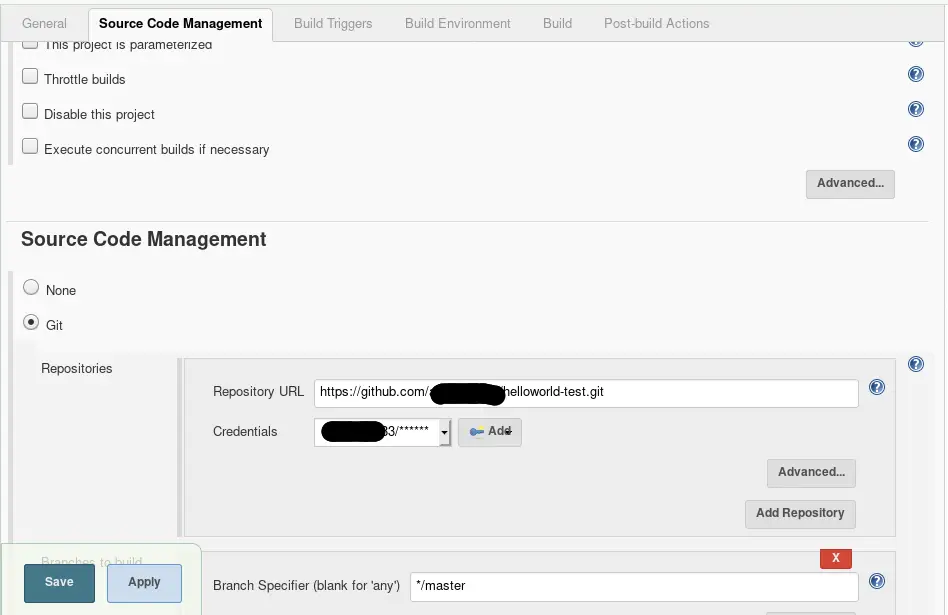
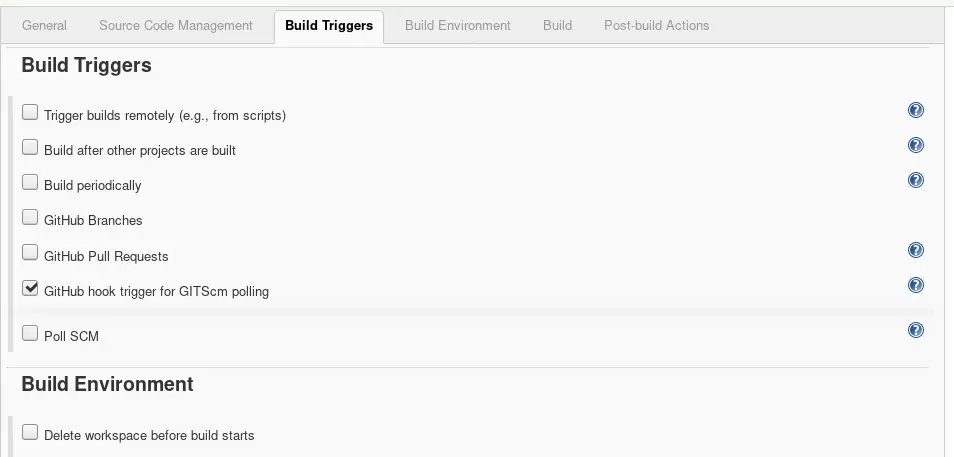
Now Go to Build Trigger tab and select Github hook trigger for GITScm polling option, This will automatically
build whenever we make any changes to the GitHub repository.
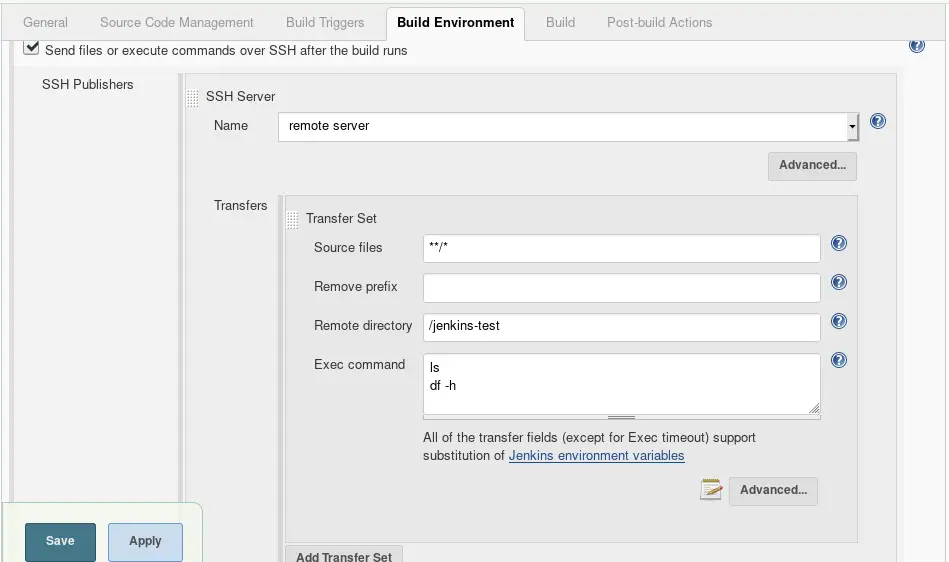
Now go to build Environment and select Send files or execute commands over SSH after the build runs.
This will send files to remote server after build runs.
Goto SSH Publishers --> SSH Server --> select server name from the drop-down menu
Here We can set Advanced parameter also but currently, we go with basic settings.
Now we need to add which kind of file we want to copy over ssh, Here we select all folders and file of our GitHub repository. For add files and folder selection just add **/* in source files.
Similar way we can give any command in Exec command text box, that will be executed on our remote server.
Then specify Remote directory in which we need to copy our files. This is an optional option.
SSH Publishers --> Transfers --> Transfers Set --> Source files --> add **/*
SSH Publishers --> Transfers --> Transfers Set --> Remote directory --> /jenkins-test
SSH Publishers --> Transfers --> Transfers Set --> Exec command --> command
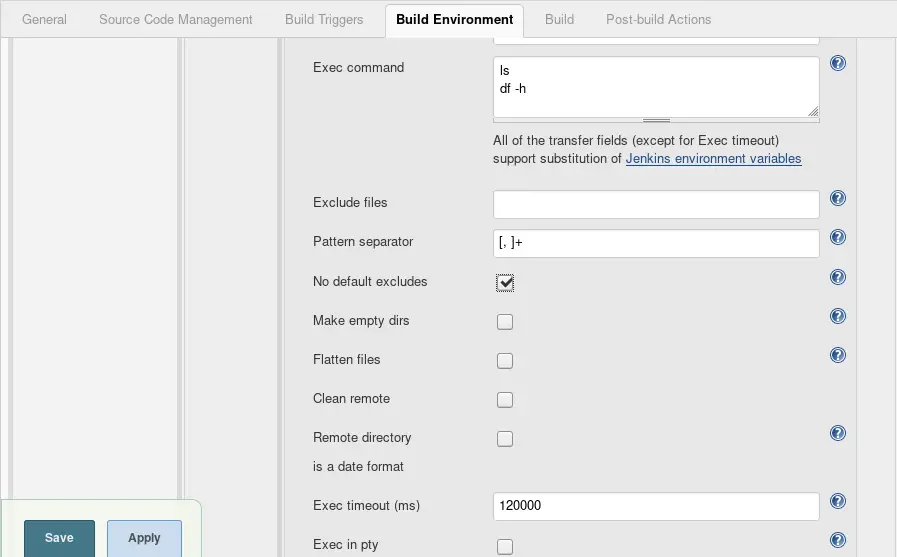
By default Jenkins will excludes certain files like .git .svn .gitignore etc. Here we want to copy all files to the remote server. For that Click on Advanced button just below Exec command and check on "No default excludes" option.
That’s it, we have many options in Post-build Actions which we can use according to our project needs.
Build Test
It's time to test our configuration.
Go to Jenkins dashboard and then click on our project Jenkins-test.
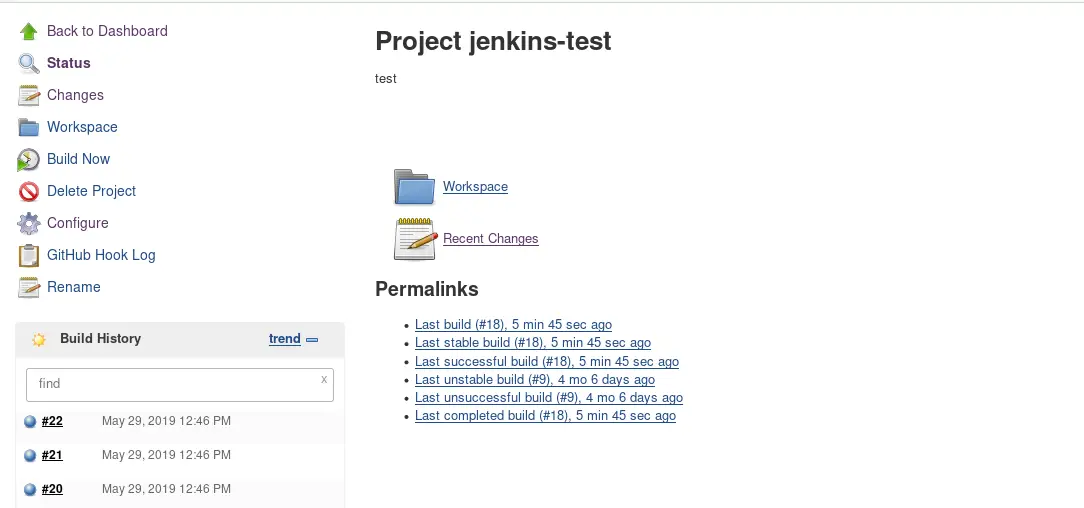
Then click on Build Now option for the build, If the build process failed it will show build version number with a yellow icon.
Let's verify our build process, simply click on build number as shown in the screenshot.
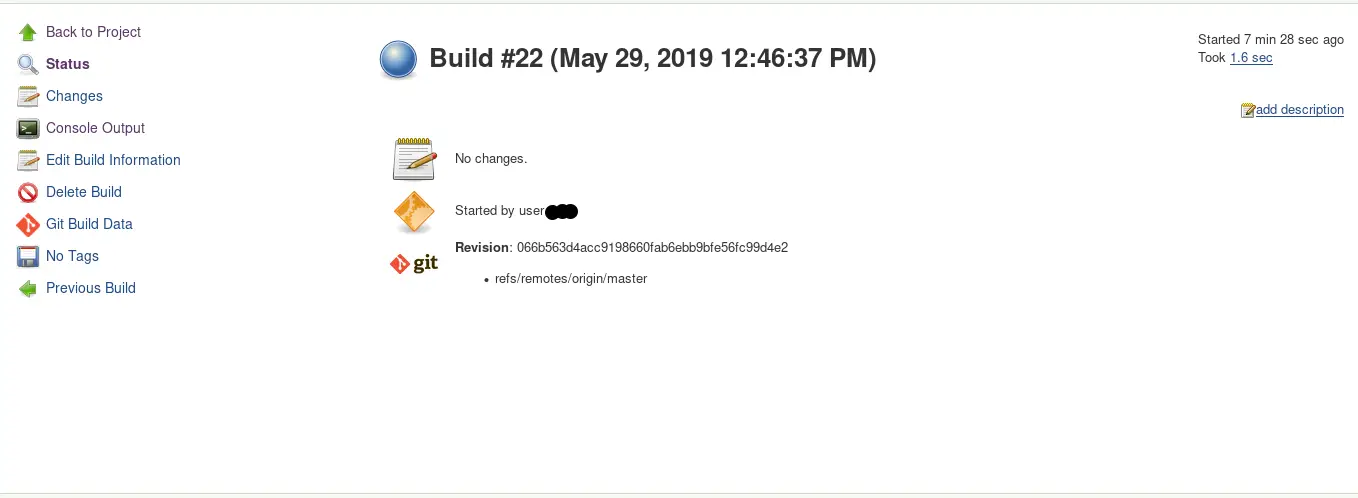
Now click on Console Output. Here we can see every process in verbose mode.
At last, we will see "Finished: SUCCESS" line at the end of the console output.
Congratulations! our Jenkins successfully integrated with GitHub now and ready to use.

