Hello Coders,
This article aims to help less experienced programmers to code a secure RESTfull node using Flask-RESTfull on top of an existing Flask dashboard application.
Thanks for reading! - Content provided by App Generator.
Topics like adding a database, authentication, and basic setup of a Flask application are explained in the other two articles: Learn Flask by coding and Adding a database to Flask.
App Features
- Open-Source, MIT license
- Live DEMO
- Backend - Flask
- RESTnode coded in Flask-RESTful, protected by authentication
- Database - SQLite
- ORM - SQLAlchemy
Implementation steps
In order to connect the Dashboard to real data, we need to implement three items:
- A new table that holds the charts information,
- The REST API node, to serve data,
- A consumer (client), responsible to read the information from the REST service and update the charts. Let's code!
Adding a new table
The Stats table has a simple structure built with key/value pattern. The key, identify the information and can store integers in val field or strings in val_s.
class Stats(db.Model):

    id    = db.Column(db.Integer,     primary_key=True)
    key   = db.Column(db.String(64),  unique=True)
    val   = db.Column(db.Integer)
    val_s = db.Column(db.String(256))
To create the new table and query the content we can use the Flask shell
$ flask shell
$ >>>
$ >>> from app import db
$ >>> db.create_all()
$ >>>
$ >>> from app.models import Stats
$ >>> Stats.query.all()
[]
Let's add a new row, on the table, to be later used by the dashboard
$ flask shell
$ >>>
$ >>> from app.models import Stats
$ >>> traffic = Stats('traffic') # create a new counter
$ >>>
$ >>> traffic.val = 10 # set the value
$ >>> traffic.save() # save the new value in database
$ >>>
$ >>> Stats.query.all()
[<Stats traffic / 10 /  >]
As we can see, the latest query shows one counter defined, with value 10. At this point we have data in our database, let's build the REST point to release it into the wild.
The REST API node
Flask offers many REST libraries, Flask-RESTful is just one of them. Flask-RESTPlus also looks very promising. Now back to our REST point, the relevant changes are:
ApiStats class that handles the stats requests - the source. The endpoint will serve information only for authenticated users, and return a 401 (not authorized) response otherwise.
from flask_restful import Resource
from flask_login   import current_user

from app.models    import Stats

class ApiStats(Resource):

    def get(self,segment):

        if not current_user.is_authenticated:
            return {'err': 'auth'}, 401

        # See the model for details
        val = Stats( segment ).val

        if 'traffic' == segment:
            return { segment : val }, 200
Activate the endpoint
The ApiStats class, built on top of Flask-RESTful must be added in the core of the application, during the init phase. If we look at the source of __init.py file, our app constructor, we can easily spot the relevant lines:
from flask import Flask
from flask_restful import Api # <-- import the RESTfull magic

app = Flask(__name__)
api = Api(app) #  bind the RESTfull library to our application

# Define the routes resolved by the REST API
api.add_resource(ApiStats, '/api/stats/<string:segment>')
The API can be tested directly in the browser by accessing http://localhost:5000/api/stats/traffic

At this point, we have the information saved in the database, the RESTfull endpoint published, all we need is the consumer to inject the information collected from the REST API into the dashboards.
Update the dashboard with RESTfull data
Inject the information can be done with a simple jQuery call via $.getJson() helper. The API consumer code is saved into app.js Javascript file:
'use strict';

$(function() {

    // Update the Traffic cell
    $.getJSON('/api/stats/traffic', function( data ) {
        //console.log( ' -> ' + data['traffic'] )
        $('#stats_traffic').html( data['traffic'] );
    });

});
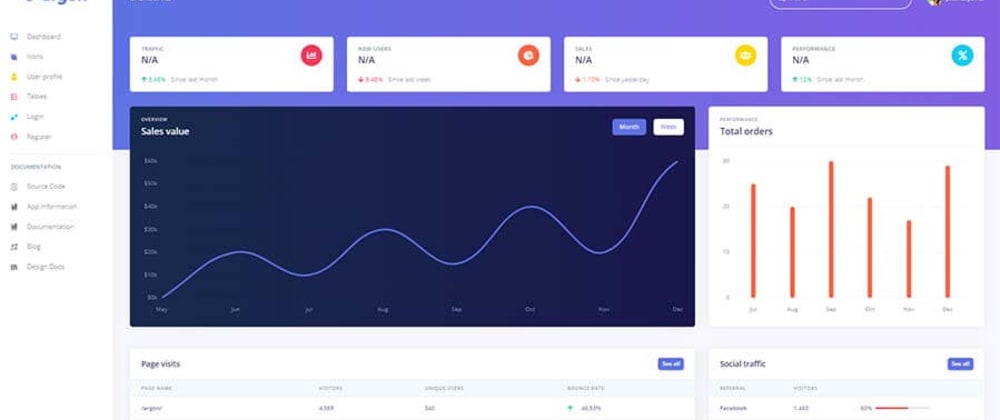
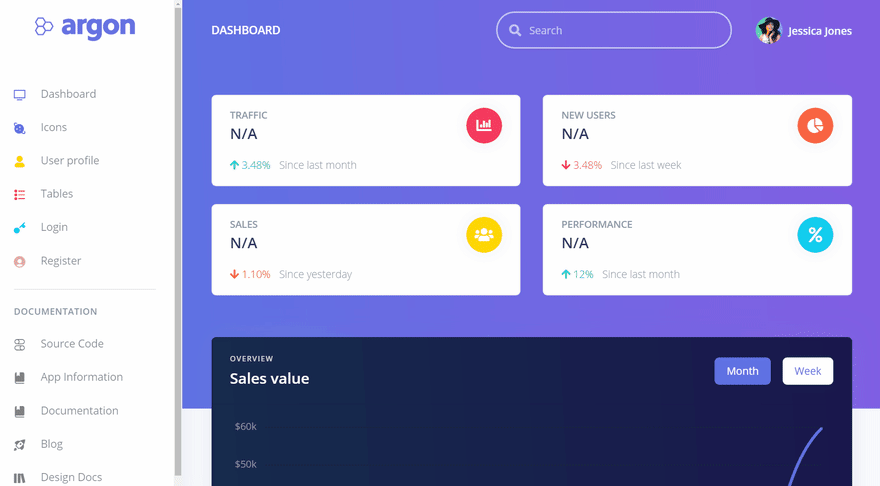
This simple API consumer, request the information from the API endpoint and inject the value in the dashboard. Let's visualize the dashboard:
- User is not authenticated

- User is authenticated
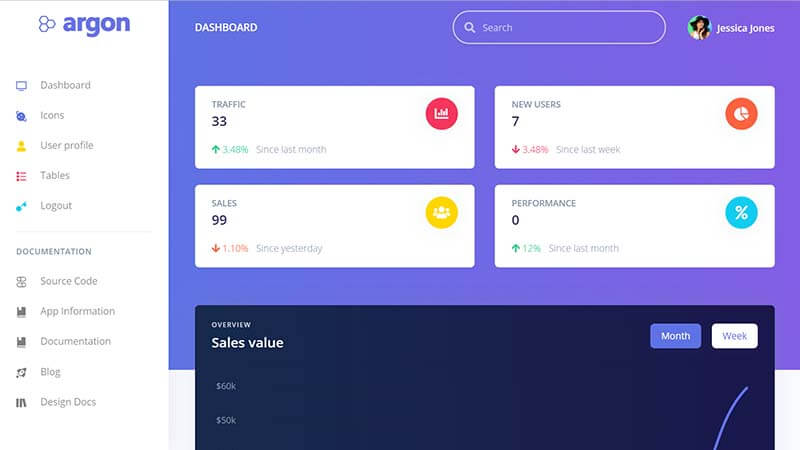
If we update the value of the traffic counter in the database and refresh the page, the new value will be displayed in the traffic card.
Thank you!
Resources
- Flask Dashboard Argon - app info
- Admin Dashboards - index provided by AppSeed
- Curated list of Admin Dashboards - open-source project with apps submitted by developers


Top comments (0)