 There’s an easy way to display the system UI for incoming or outgoing calls, much like the standard phone app. In this article you’ll get an intro to CallKit so you can provide a consistent experience for your users when they make calls using your app.
CallKit
CallKit has been around for a few years now. If you’ve ever wondered why your favourite IM apps’ incoming call looks almost exactly like the system incoming call UI, it’s because of CallKit 🙂 CallKit will display the incoming/outgoing call UI just like your normal phone call. It can do a few more things for you, like handle the audio interruptions, the ‘do not disturb’ mode, etc. But in this article we’ll focus on displaying the incoming and outgoing call UIs. Once you get all set up, you can dig in a lot deeper.
Project Setup
Before we begin integrating CallKit into our project we just need to enable the ‘Voice over IP’ background mode. So, go to your target capabilities tab, enable the background modes and select ‘Voice over IP’:

That’s pretty much it for the project setup, let’s write some code 🙂
The Code
We’ll build a simple controller that will handle incoming and outgoing calls. And, just so we can test it easily, we’ll add a bit of a delay to our incoming call. The UI for the app is not really worth mentioning, it’s just a few buttons on a view controller, so we’ll skip that part 🙂
CallKit is pretty simple. It has two classes ‘CXCallUpdate’ and a subclass of ‘CXCallAction’. We’ll see how those two work on an example below. But first, let’s configure the provider…
Provider
We need to create a ‘CXProvider’ instance. We’ll use this to notify the system about incoming/outgoing calls using ‘CXCallUpdate’ and it will give us a chance to respond to system events.
We’ll use a singleton pattern for our class. Normally you would use the provider from a lot of different classes in your app, so you can either have it in the AppDelegate or have it as a singleton. You could have it as a normal instance variable of your view controller, just make sure you invalidate it in the deinit of the view controller.
Configuring our provider is pretty simple:
In the example above we’re just setting the name that’s going to be displayed in the CallKit UI and a few properties. You can check out the CXProviderConfiguration documentation and see what other properties are available for customization (like ringtone and custom icon).
We’ll need the delegate as well:
In the delegate callback you would handle your audio/video sessions and manage the call. Just make sure that you fulfil (or fail) your actions. In this article we’ll only focus on the CallKit UI part of it. There are many different ways and libraries for making calls, it’s just beyond the scope of this article.
Incoming Calls
Displaying the incoming call UI is actually quite simple. We just need to post an update to the system:
If we weren’t using background tasks it would be just three lines of code 🙂 We use the ‘.emailAddress’ as the handle type, we’ve registered for it in the provider configuration. And we use the caller email as the value. This email will display on the UI. If you run the app and trigger this function you’ll get a nice fancy screen:
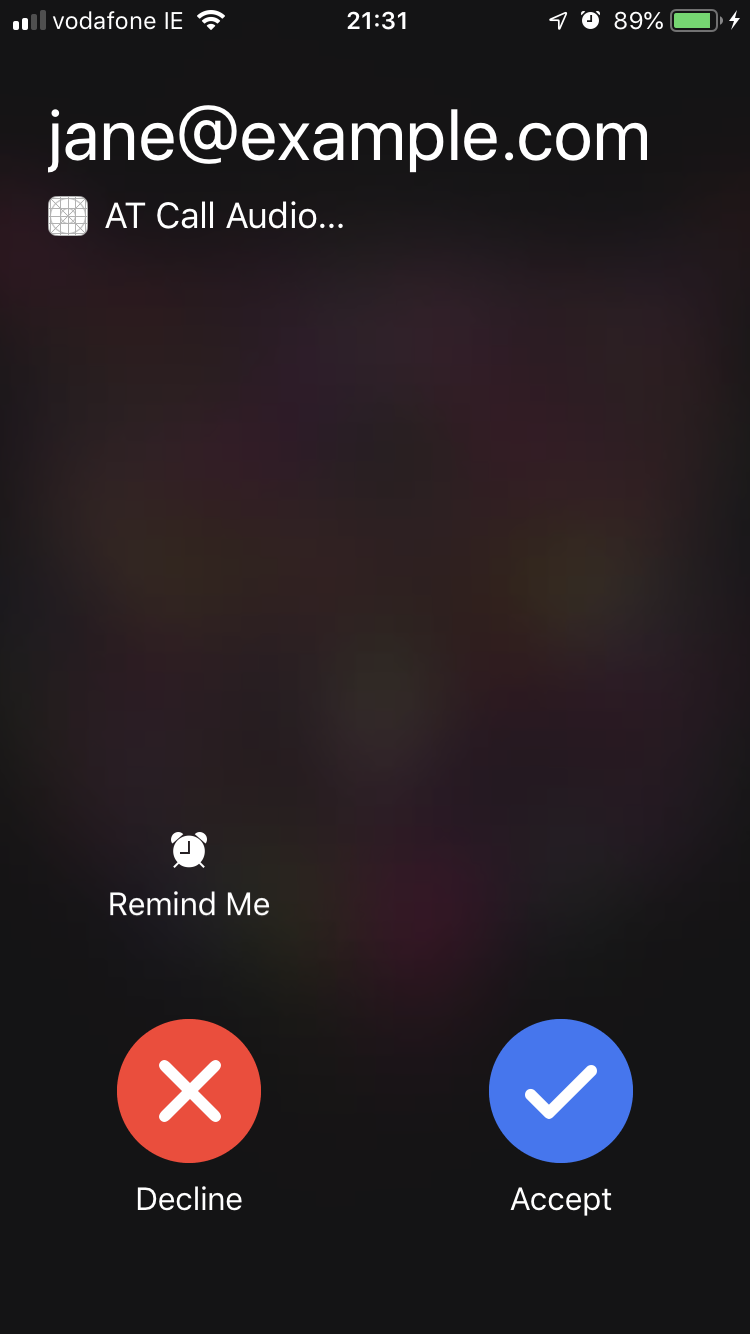
Not bad for a few lines of code 🙂 Selecting ‘Decline’ or ‘Accept’ would trigger those delegate callbacks that we’ve implemented before. It’s up to you to handle the actual logic of the call.
Let’s make some outgoing calls next…
Outgoing Calls
Making outgoing calls is only slightly more involved:
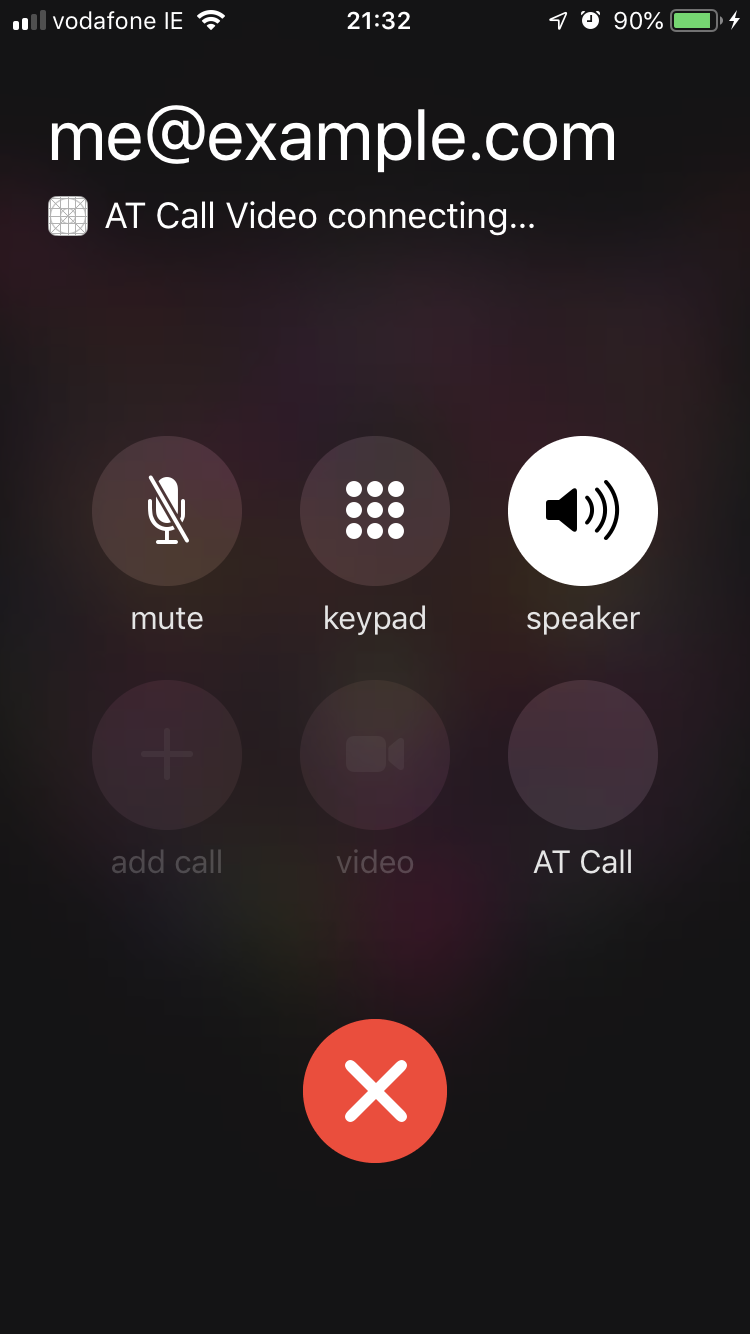
We need to create an action that we wrap into a transaction. And then we just pass it on to the controller. You’ll notice that we’re using the provider here to report two states. The first one will display the ‘connecting’ screen, the second one will display the screen with a timer.
Here’s the ‘connecting’ screen:
And this is how the screen would look like in the ‘connected’ state:
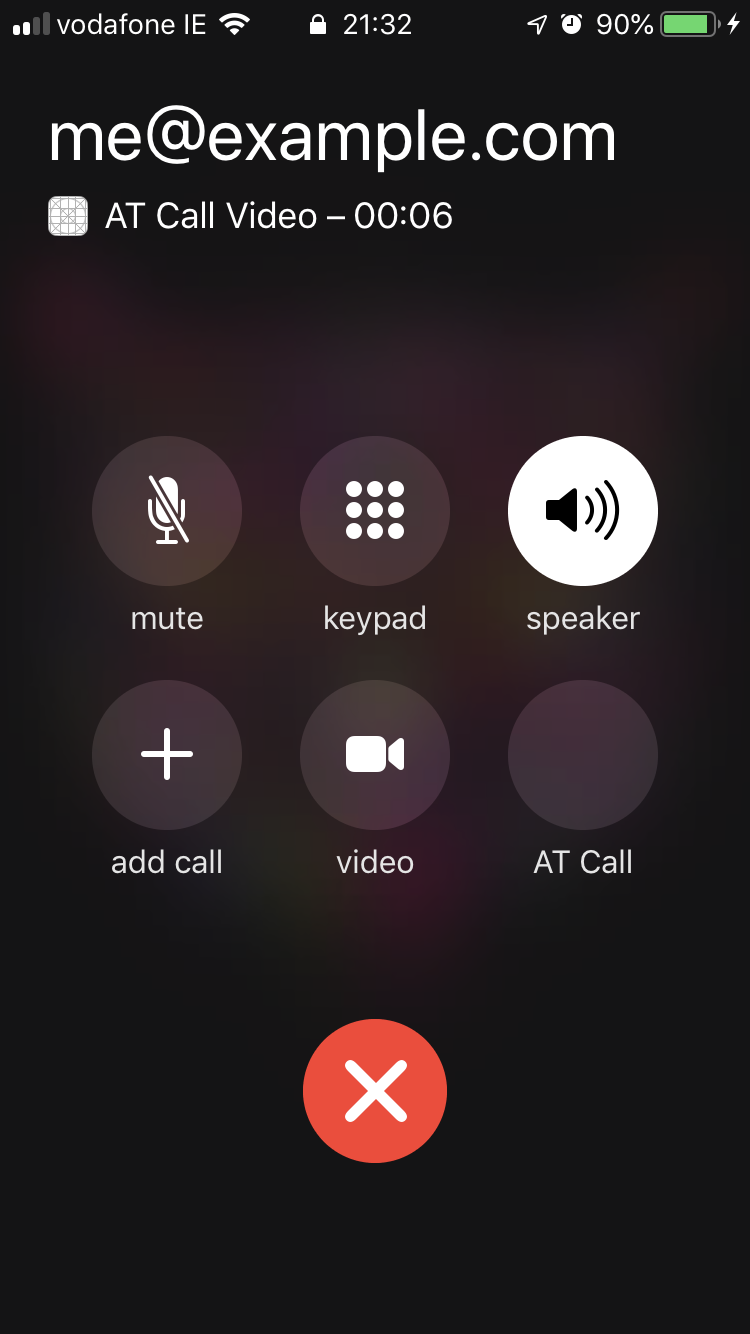
Obviously, we’re simulating the connection here with the async block. In reality, you would wait for the other person to pick up the call and then you would report an outgoing call with a connectedAt date.
Some Extras
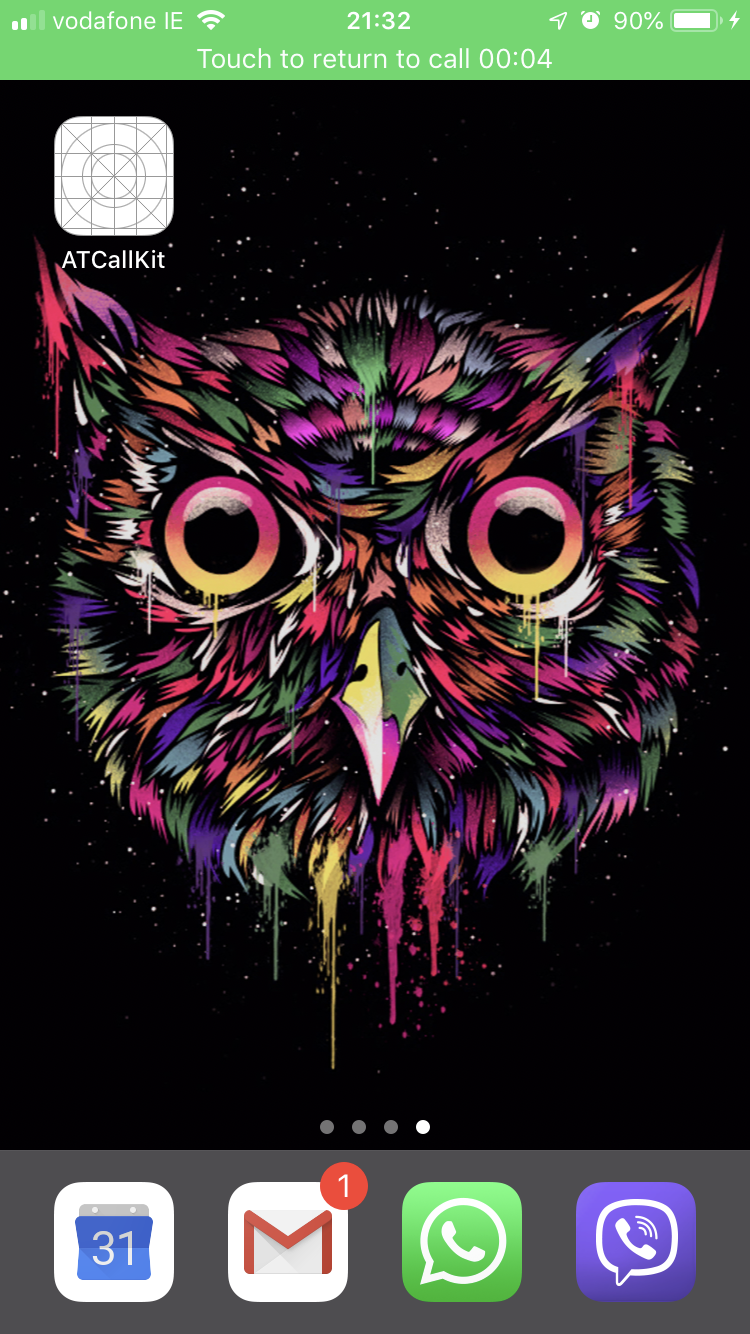
Having the incoming and outgoing call UIs is great, but you do get a few extra bits by using the CallKit. One of the cool little things that you’ll get for free is the green status bar when you’re in a call:
Also, all your calls will be displayed in the ‘Recents’ tab of the Phone app (you can opt out of that if you want):
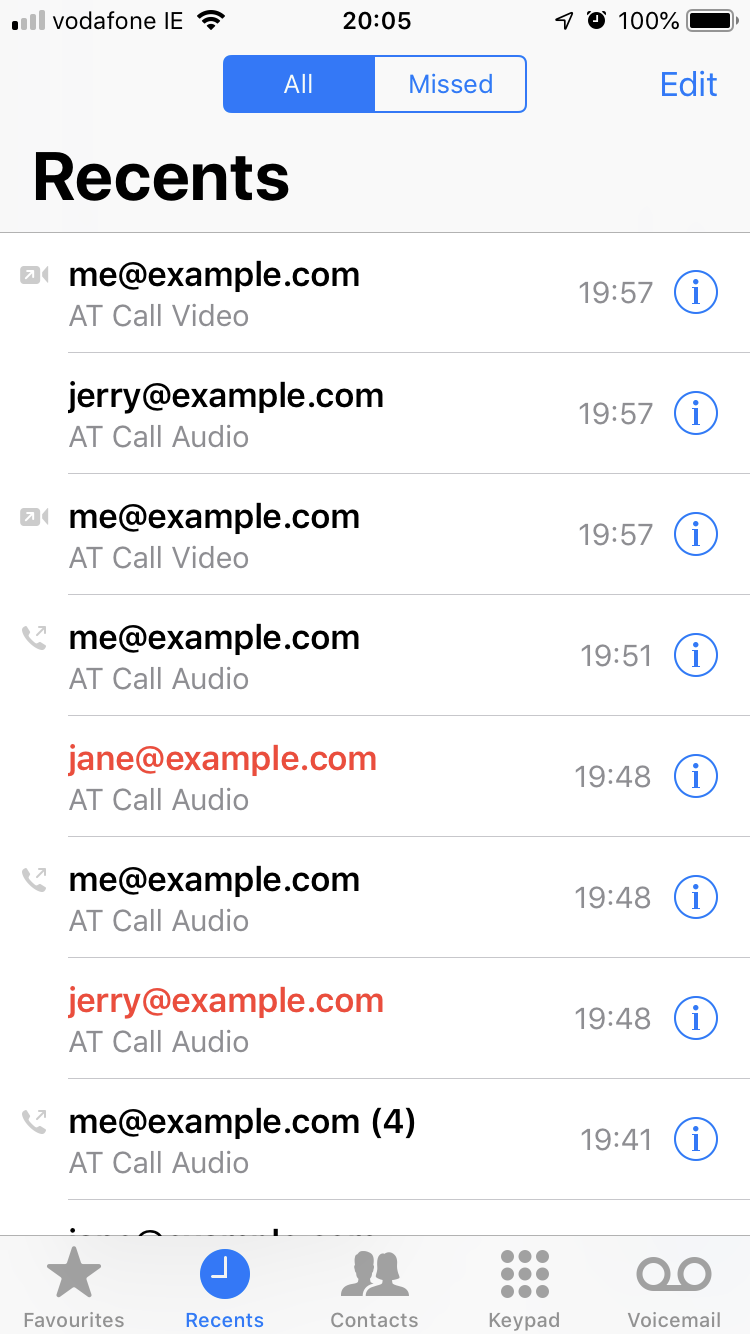
We got all these things with just a few lines of code. Pretty neat 🙂
Conclusion
With CallKit you can get a native UI that will give your users the consistent experience that they expect on the platform. We’ve seen how easy it is to integrate and if you have a VoIP app there’s no reason why you shouldn’t use CallKit.
If you want to learn more about CallKit you can check out the official documentation. You can also check out this video on WWDC about CallKit. If you just want to see it in action, check out the demo app on GitLab.
I hope you learned something new today, and as usual…
Have a nice day 🙂
~D;
I don’t get the connecting state screen or connected one like you show.
I don’t get the ‘connecting’ screen or the ‘connected’ state screen.
Incoming call shows full screen , but not getting outgoing full screen shown as demo.
Note – Download your project and that aisles doesn’t show outgoing full screen,
Is it issue related to OS ? Im using iOS13