How to Install phpIPAM IP Address Management on Ubuntu 18.04 LTS
PhpIPAM is a free, open source and best Internet Protocol (IP) address management software tool written in the PHP language. It is a simple but powerful tool that provides a modern and useful web interface for IP address management. PhpIPAM provides automatic ping scans and status reports that can be used to verify which hosts are up and which are down. PhpIPAM also supports Active Directory, LDAP and OpenLDAP. You can easily import and export IP addresses to and from XLS / CSV file.
Features
- Supports IPv4 and IPv6.
- Provide notification via Email with IP details.
- Management of user, subnet and section.
- Automatic IP status checks.
- VLAN and VRF management.
- Integrates with PowerDNS.
- Provides IPv4 and IPv6 calculator.
In this tutorial, we will explain how to install PhpIPAM on Ubuntu 18.04 server.
Requirements
- A server running Ubuntu 18.04.
- A root password is setup to your server.
Getting Started
Before starting, you will need to update your system with the latest version. You can do this by running the following command:
apt-get update -y
 apt-get upgrade -y
Once your server is updated, restart your server to apply the changes.
Install Apache, PHP and MariaDB
First, you will need to install Apache, MariaDB, PHP and other required packages to your system. You can install all of them with the following command:
apt-get install apache2 mariadb-server php7.2 libapache2-mod-php7.2 php7.2-curl php7.2-mysql php7.2-curl php7.2-gd php7.2-intl php-pear php7.2-imap php-memcache php7.2-pspell php7.2-recode php7.2-tidy php7.2-xmlrpc php7.2-mbstring php-gettext php7.2-gmp php7.2-json php7.2-xml git wget -y
Once all the required packages are installed, start Apache and MariaDB service and enable them to start on boot time with the following command:
systemctl start apache2
 systemctl start mariadb
 systemctl enable apache2
 systemctl enable mariadb
Once you have finished, you can proceed to setup MariaDB database.
Configure MariaDB
By default, MariaDB is not secured. So you will need to secure it first. You can secure it by running the following script:
mysql_secure_installation
Answer all the questions as shown below:
    Enter current password for root (enter for none):
    Set root password? [Y/n]: N
    Remove anonymous users? [Y/n]: Y
    Disallow root login remotely? [Y/n]: Y
    Remove test database and access to it? [Y/n]:  Y
    Reload privilege tables now? [Y/n]:  Y
Once the MariaDB is secured, log in to MariaDB shell with the following command:
mysql -u root -p
Enter your root password when prompt, then create a database and user for PhpIPAM with the following command:
MariaDB [(none)]> create database phpipamdb;
 MariaDB [(none)]> grant all on phpipamdb.* to phpipam@localhost identified by 'password';
Next, flush the privileges with the following command:
MariaDB [(none)]> FLUSH PRIVILEGES;
 MariaDB [(none)]> EXIT;
Once your database configured properly, you can proceed to install PhpIPAM.
Install PhpIPAM
First, you will need to download the latest version of PhpIPAM from Git repository. You can download it with the following command:
git clone --recursive https://github.com/phpipam/phpipam.git /var/www/html/phpipam
Next, change the directory to the phpipam and copy config.dist.php to config.php:
cd /var/www/html/phpipam
 cp config.dist.php config.php
Next, open config.php file and define your database settings:
nano config.php
Make the following changes:
/**
* database connection details
******************************/
$db['host'] = 'localhost';
$db['user'] = 'phpipam';
$db['pass'] = 'password';
$db['name'] = 'phpipamdb';
$db['port'] = 3306;
Save and close the file. Then, import the SQL file with the following command:
mysql -u root -p phpipamdb < db/SCHEMA.sql
Next, give proper permissions to the phpipam directory with the following command:
chown -R www-data:www-data /var/www/html/phpipam
 chmod -R 755 /var/www/html/phpipam
Once you are done, you can proceed to configure Apache for PhpIPAM.
Configure Apache for PhpIPAM
Next, you will need to create an Apache virtual host file for PhpIPAM. You can do this with the following command:
nano /etc/apache2/sites-available/phpipam.conf
Add the following lines:
<VirtualHost *:80>
    ServerAdmin [email protected]
    DocumentRoot "/var/www/html/phpipam"
    ServerName example.com
    <Directory "/var/www/html/phpipam">
        Options Indexes FollowSymLinks
        AllowOverride All
        Require all granted
    </Directory>
    ErrorLog "/var/log/phpipam-error_log"
    CustomLog "/var/log/phpipam-access_log" combined
</VirtualHost>
Save and close the file, when you are finished. Then, enable Apache virtual host file with the following command:
a2ensite phpipam
Next, enable Apache rewrite module and restart Apache service to apply all the changes with the following command:
a2enmod rewrite
 systemctl restart apache2
You can now check the status of Apache with the following command:
systemctl status apache2
You should see the following output:
? apache2.service - The Apache HTTP Server
   Loaded: loaded (/lib/systemd/system/apache2.service; enabled; vendor preset: enabled)
  Drop-In: /lib/systemd/system/apache2.service.d
           ??apache2-systemd.conf
   Active: active (running) since Sun 2019-03-17 06:29:39 UTC; 9min ago
  Process: 31397 ExecStop=/usr/sbin/apachectl stop (code=exited, status=0/SUCCESS)
  Process: 31402 ExecStart=/usr/sbin/apachectl start (code=exited, status=0/SUCCESS)
 Main PID: 31418 (apache2)
    Tasks: 11 (limit: 1113)
   CGroup: /system.slice/apache2.service
           ??31418 /usr/sbin/apache2 -k start
           ??31440 /usr/sbin/apache2 -k start
           ??31441 /usr/sbin/apache2 -k start
           ??31442 /usr/sbin/apache2 -k start
           ??31443 /usr/sbin/apache2 -k start
           ??31449 /usr/sbin/apache2 -k start
           ??31454 /usr/sbin/apache2 -k start
           ??31456 /usr/sbin/apache2 -k start
           ??31491 /usr/sbin/apache2 -k start
           ??31494 /usr/sbin/apache2 -k start
           ??31504 /usr/sbin/apache2 -k start

Mar 17 06:29:39 ubuntu1804 systemd[1]: Starting The Apache HTTP Server...
Mar 17 06:29:39 ubuntu1804 apachectl[31402]: AH00558: apache2: Could not reliably determine the server's fully qualified domain name, using 192
Mar 17 06:29:39 ubuntu1804 systemd[1]: Started The Apache HTTP Server.
Access PhpIPAM Web Inetrface
Open your web browser and type the URL http://example.com. You will be redirected to the following page:
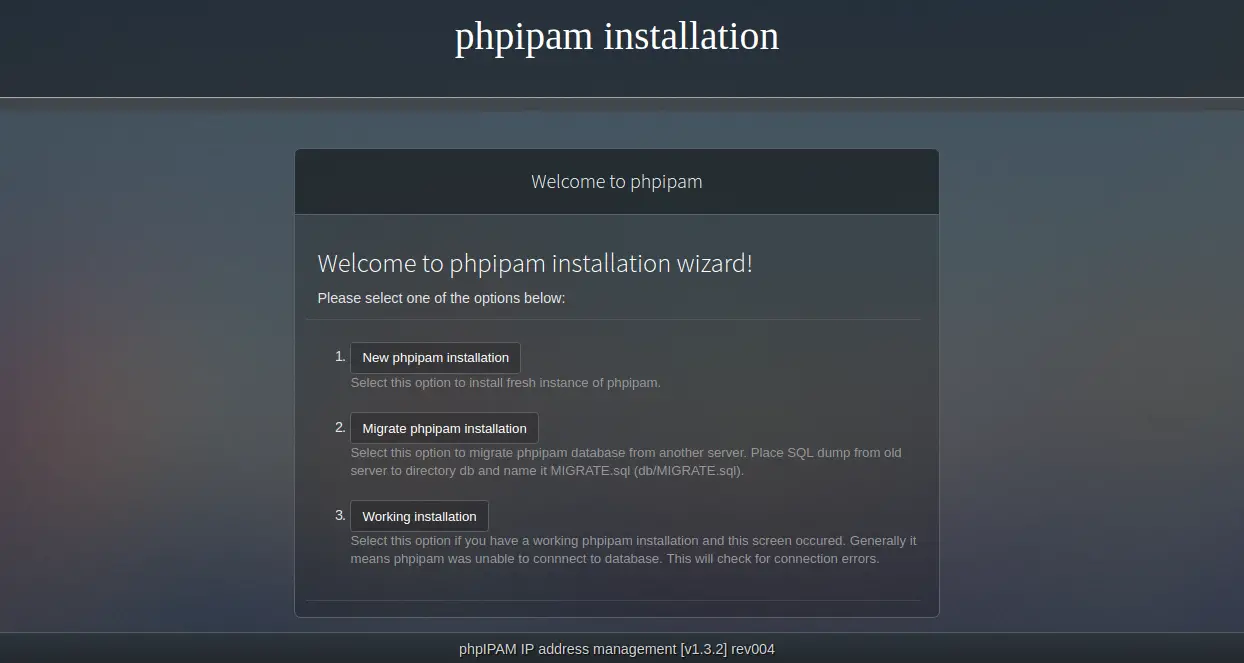
Now, click on the New phpipam installation, you should see the following page:
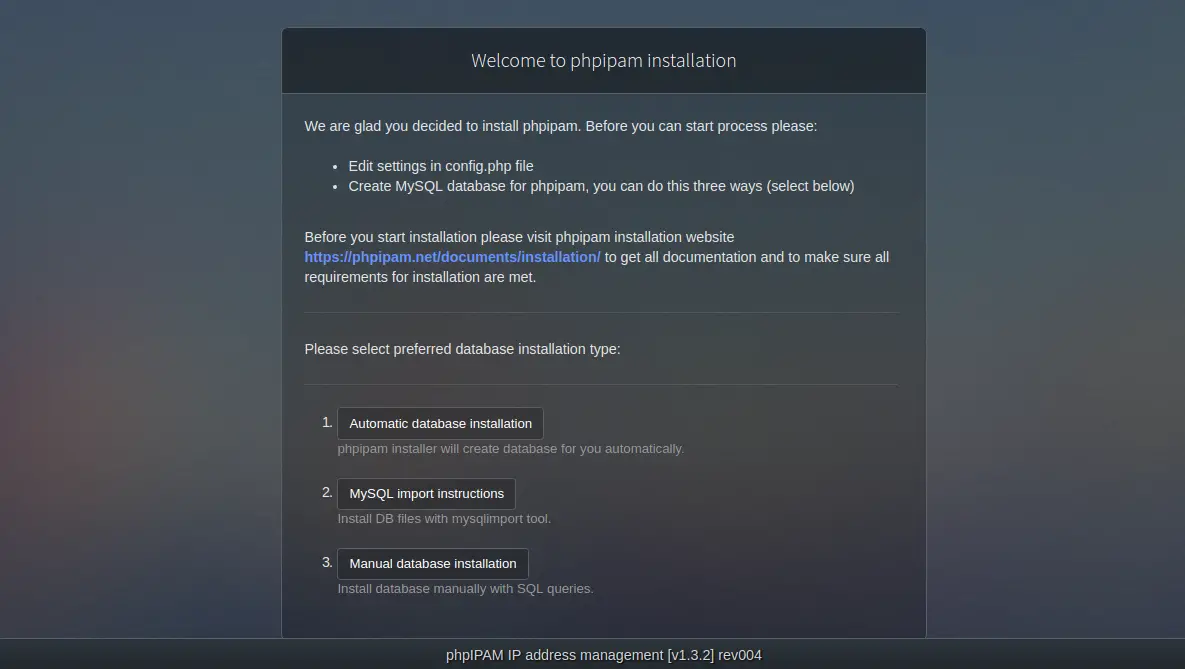
Now, click on the MySQL import instructions, you should see the following page:
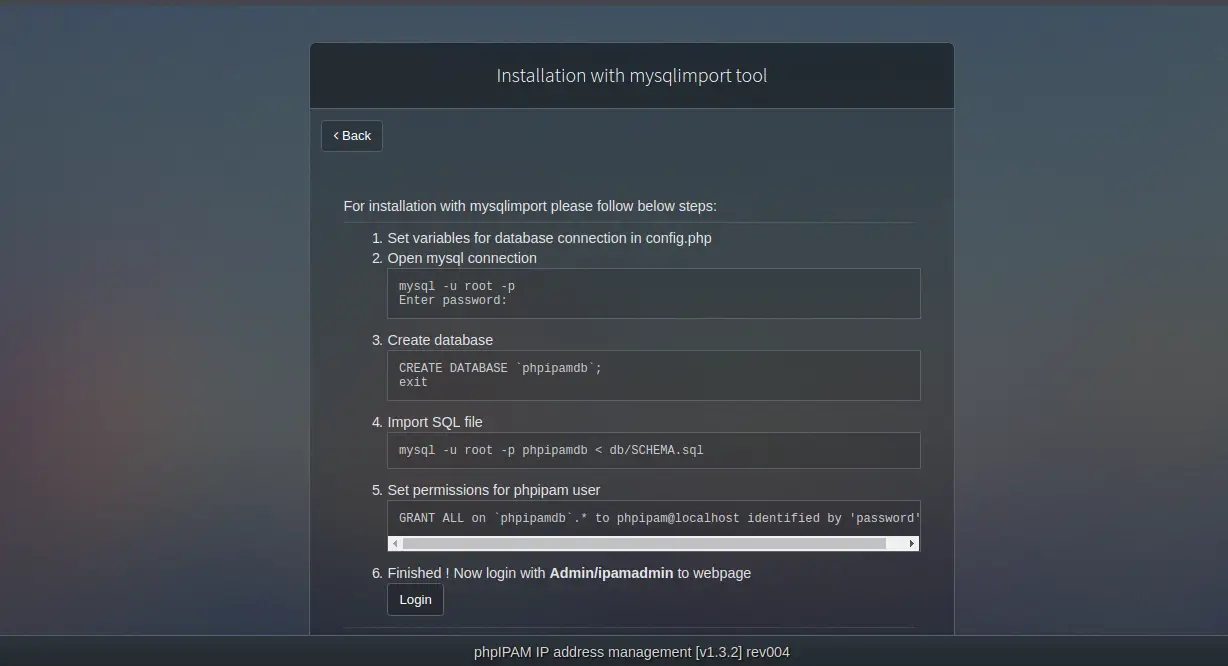
Now, click on the Login button, you should see the following page:
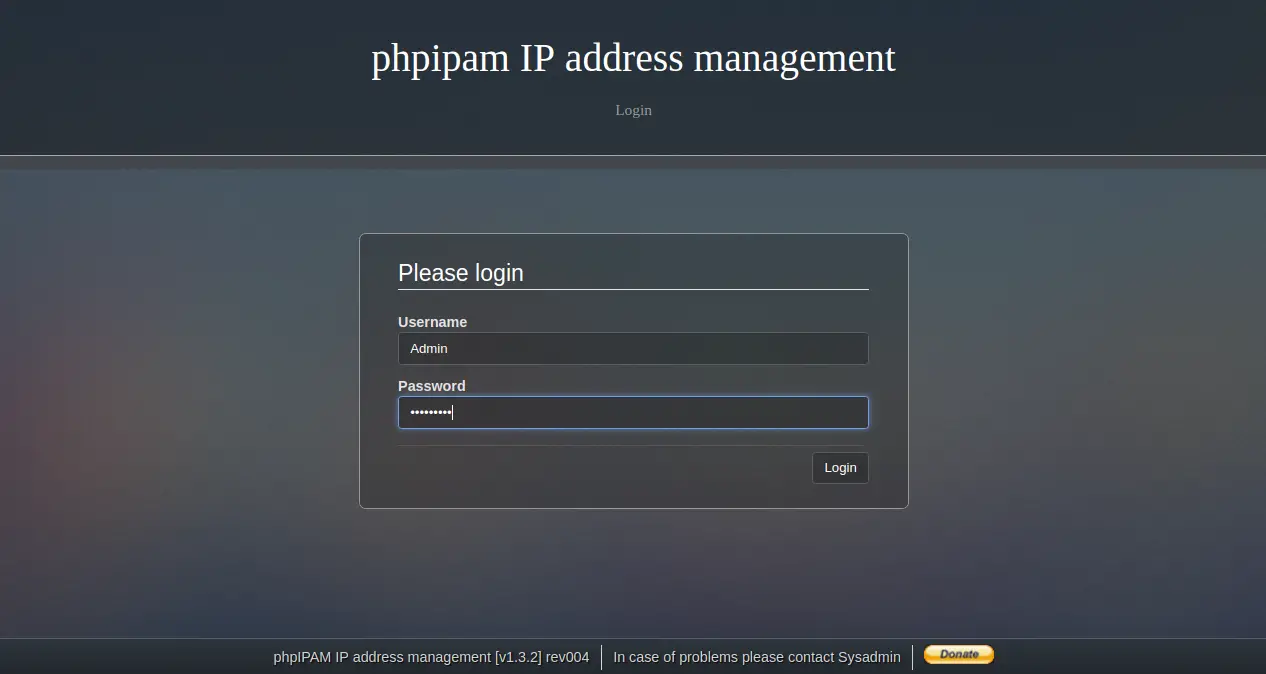
Provide your admin username / password as Admin / ipamadmin and click on the Login button. You should see the following page:
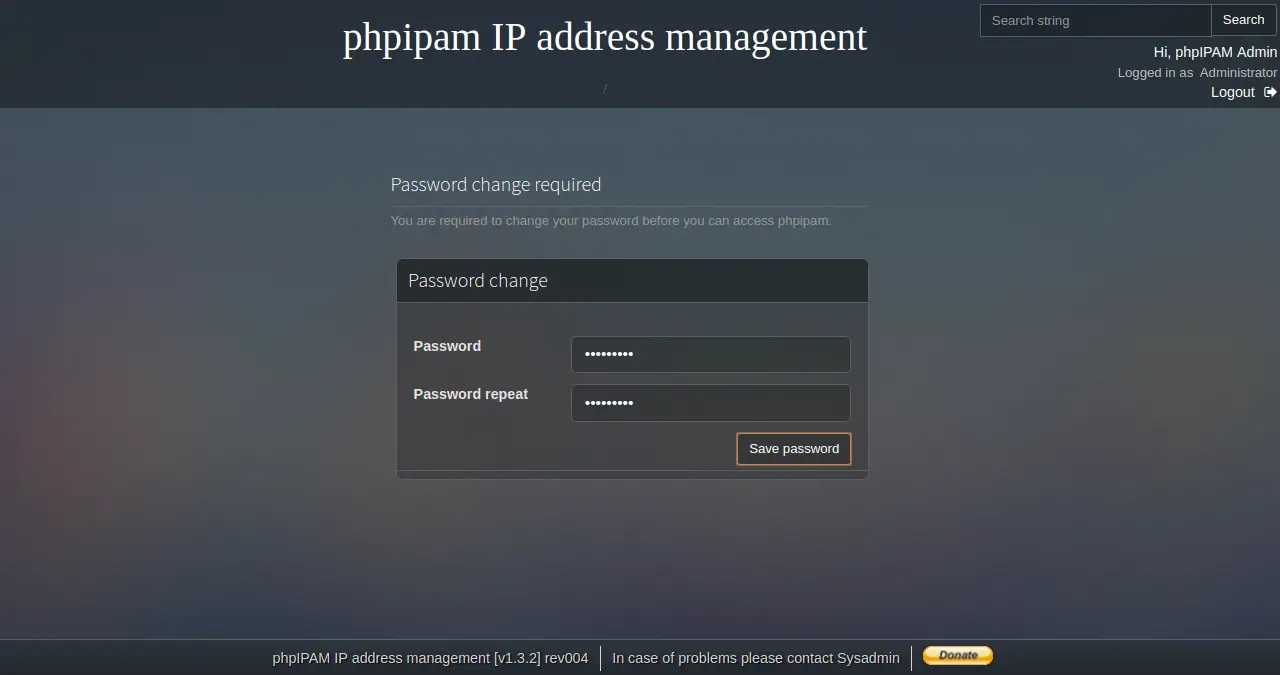
Now, change the default password as you wish and click on the Save password button. You should see the following page:
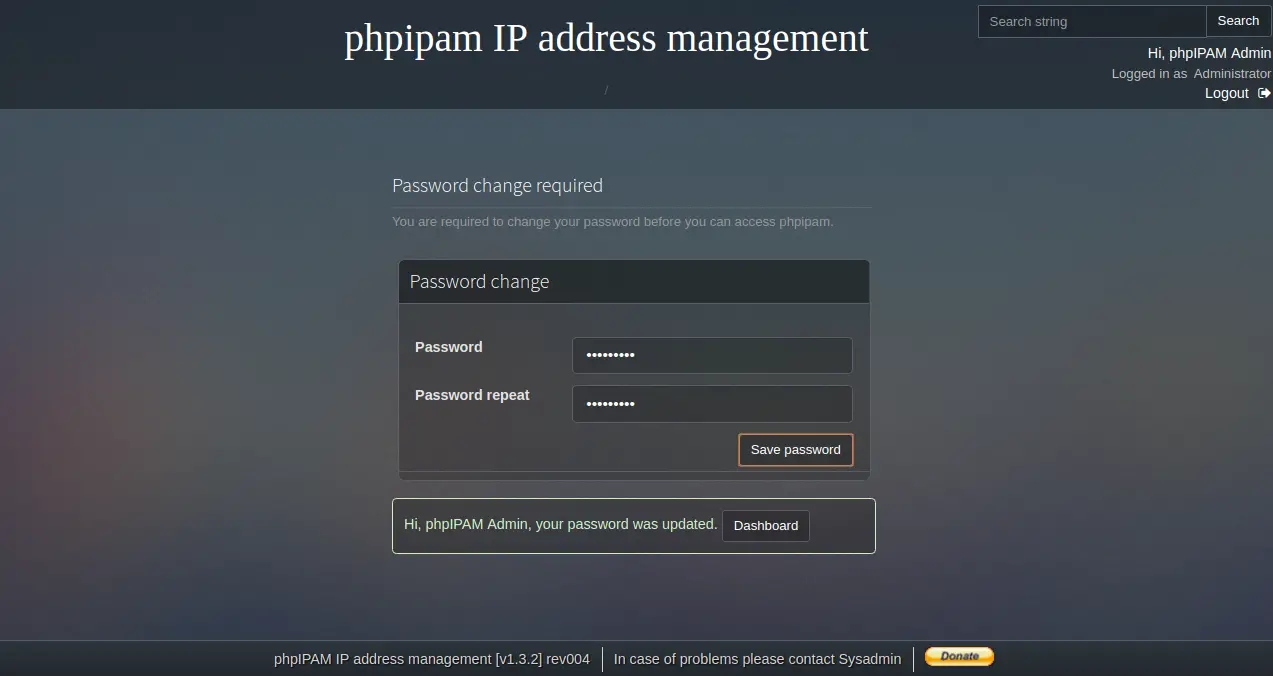
Now, click on the Dashboard button. You will be redirected to the PhpIPAM dashboard in the following page:
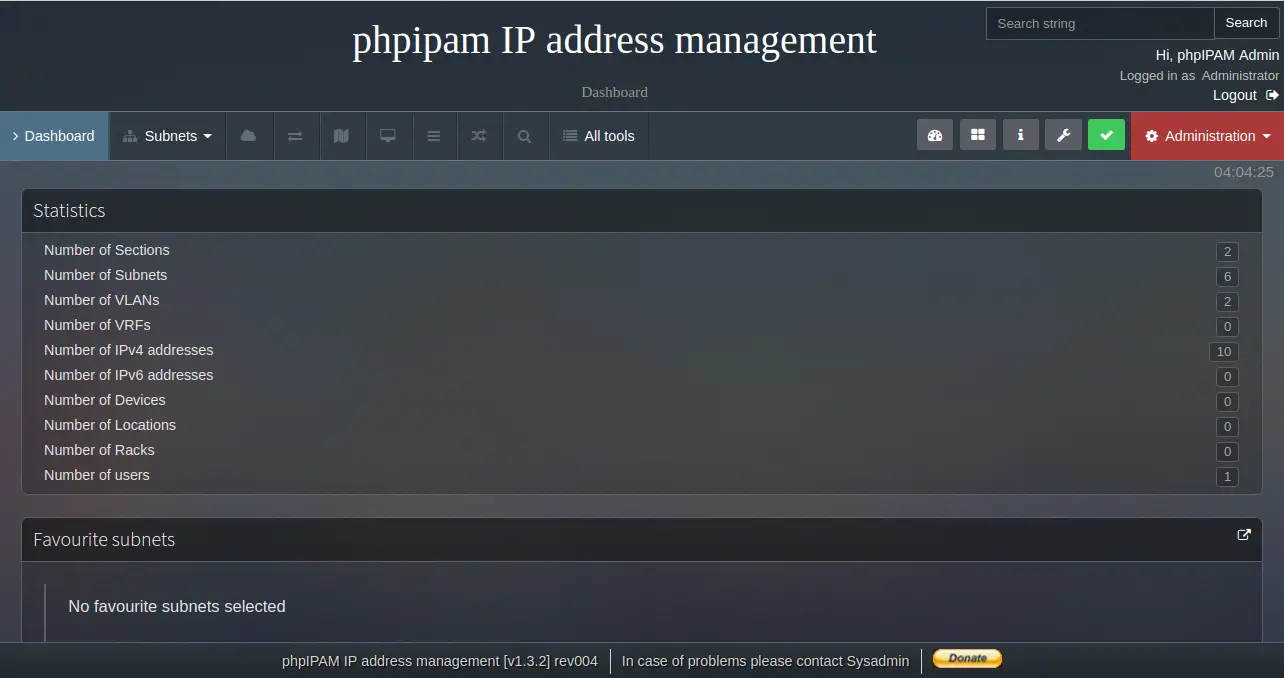
Congratulations! you have successfully installed PhpIPAM on Ubuntu 18.04 server. You can now easily manage IP address, Subnet, VLAN and many more through web browser. Feel free to ask me if you have any questions.

