
WebAssembly-ifying .NET with Blazor

WebAssembly is one of the newest technologies to hit the web dev world with some promising new features around performance and expanding the boundaries of web languages. We’ll take a look at using it with Blazor to allow .NET developers to create a SPA.
WebAssembly allows you to execute code built in other languages within the browser. Traditionally, writing a web app with .NET would involve ASP.NET with an IIS server. With the introduction of WebAssembly, new frameworks are being developed to allow new languages to start being web languages by being compiled down into WebAssembly. In this article, we will explore one of those frameworks: Blazor. Blazor allows .NET developers to write .NET code to create a SPA (Single Page Application). Since every new language brings a new perspective, it'll be interesting to see how a new wave of .NET developers shape SPA designs and patterns going forward.
Microsoft is definitely starting on the right foot with Blazor by providing an easy way to get started along with some boilerplate code. We are going to explore a little of what makes Blazor unique. Then, we are going to create our site and get it ready to be hosted. The source code for this article is available on GitHub: BlazorEx.
Let's jump into it.
What is Blazor?
Like I mentioned earlier, Blazor is a SPA framework that can be compiled down to WebAssembly and run in a browser. At this time, Blazor comes in two flavors: server-side and client-side.
Server-side Blazor is very similar to traditional ASP.NET, but uses SignalR to communicate between client and server and needs to be hosted from an IIS server. This flavor of Blazor has all the ups and downs of ASP.NET — a server is managing multiple client connections, and the bundle cannot be hosted via CDN. Server-side Blazor is expected to shift with .NET Core 3.0 later this year.
Client-side Blazor, which I'm just going to refer to as Blazor from this point forward, allows the bundle to be hosted from a static location, which offloads work from the servers. This flavor of Blazor has recently moved from experimental to official preview status. Blazor accomplishes browser compatibility for C# by compiling down code into .NET assemblies, which are converted into WebAssembly.
While Server-side and Client-side Blazor share the same programming model, client-side Blazor will not ship with .NET Core 3.0 on initial release, but it has been committed to shipping out in a future release of .NET Core 3.0.
Setting Up an Environment for Blazor
We are going to need to download some new tooling. Due to Microsoft's push towards .NET Core, this post is not limited to those with Windows; all types of operating systems can participate. I'll include notes for each OS where it differs from the others.
- Download Visual Studio 2019 (macOS and Windows only)
-
Download the latest .NET Core 3.0
Follow the directions for your OS in the link. After this step, you should be able to run
dotnet --list-sdksfrom your Terminal or Command Prompt to see .NET Core 2.1 (if you downloaded Visual Studio) and 3.0. - Get the templates for Blazor by running the following command in your Terminal or Command Prompt to download the templates:
dotnet new -i Microsoft.AspNetCore.Blazor.Templates::0.9.0-preview3-19154-02
If you run into any problems, you can see all dotnet templates where you can download the latest Blazor templates.
At this point, we should have everything we need installed to create our app.
Creating Our App
First, we need to create our app. In your Command Prompt or Terminal, run:
dotnet new blazor --name BlazorEx --output BlazorExThis command will create a new Blazor project named BlazorEx and place it in a new folder called BlazorEx.
macOS Note: After creating a Blazor app, you need to initialize an ASP.NET Core 3.0 app (ASP.NET Core Web App) using
dotnet new webapp, thendotnet run. There is a bug where a Blazor app will not run due to missing dependencies, which are installed if you run any other project first.
While inside the BlazorEx folder, run:
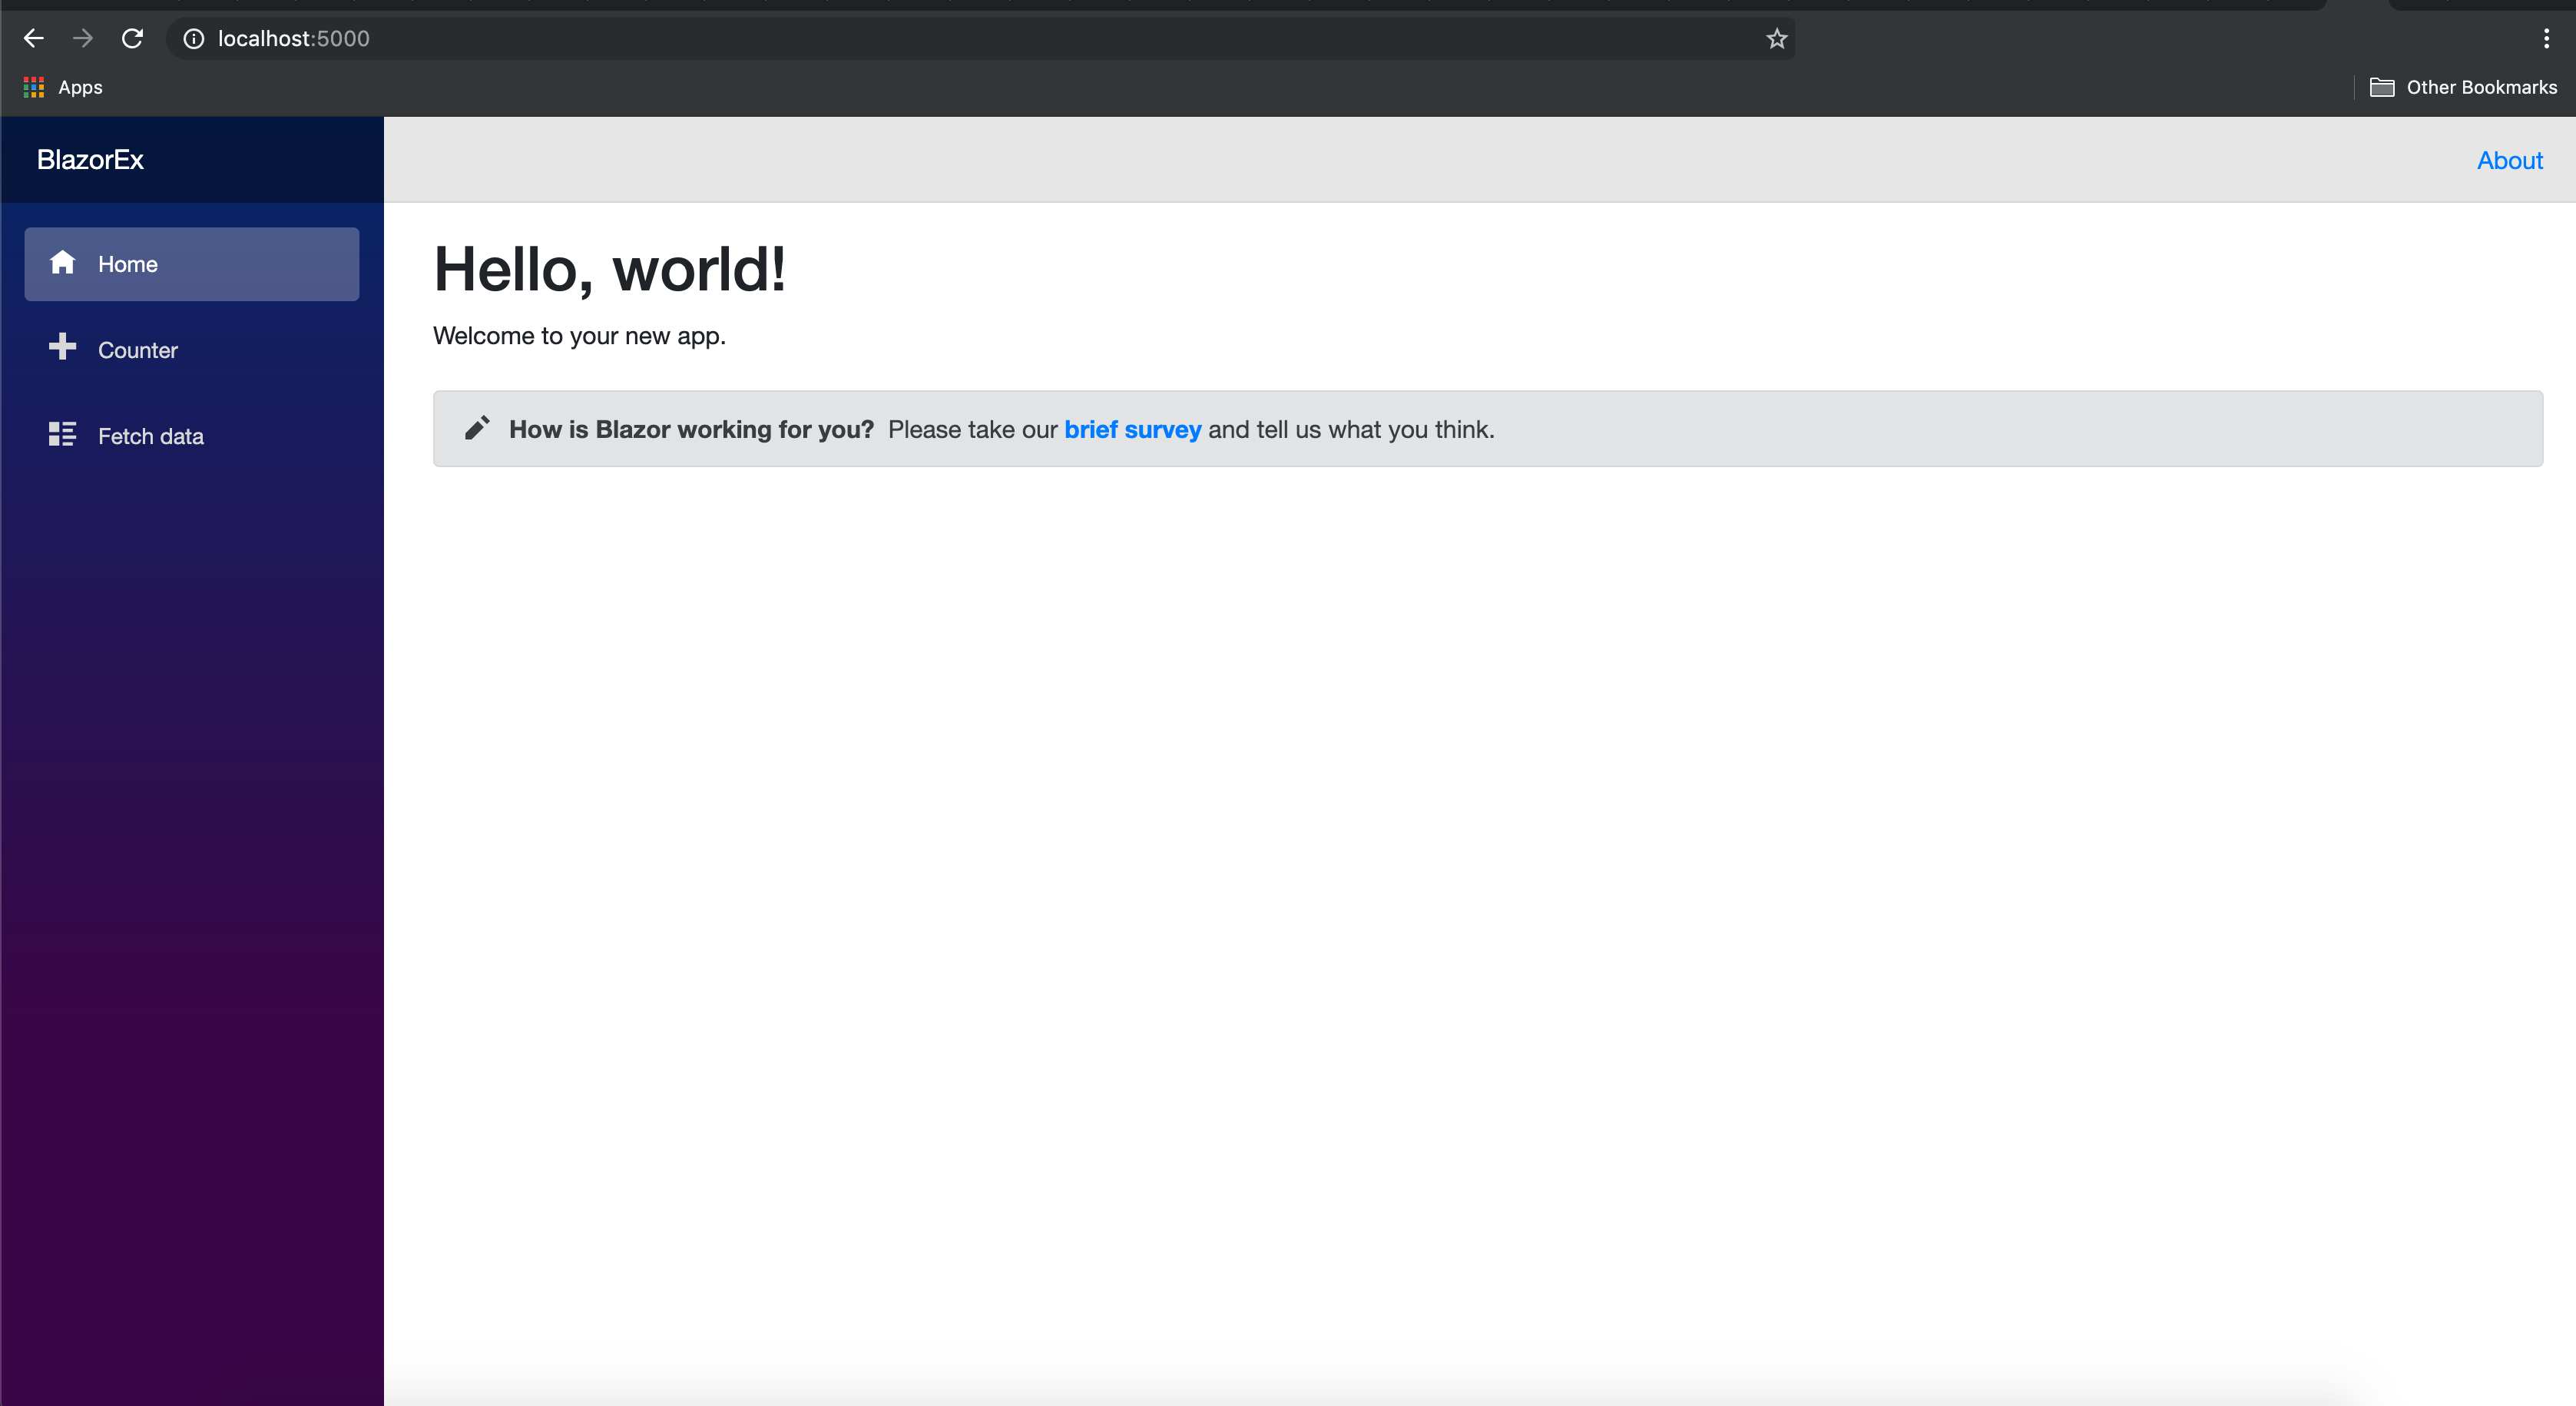
dotnet runTo start the app. If you navigate to http://localhost:5000, the following page is displayed:
We have built our foundation from which to start exploring Blazor at this point. In the next section, we are going to start adding new content.
Modifying Our App
This foundation for our Blazor app is a good start, but we are going to keep the momentum going by adding a profile page. The .cshtml pages contain Razor components, so if you are looking for further guides into check out this resource.
First, we need to create a Profile.cshtml in the folder, BlazorEx/Pages:
@page "/profile"
@inject HttpClient Http

<h1>Profile</h1>
<p>Pulling data from another API.</p>

@if (currentProfile == null)
{
  <div>Loading...</div>
}
else
{
  <div>
    <span>First Name:</span>
    <span>@currentProfile.Name</span>
  </div>
  <div>
    <span>Last Name:</span>
    <span>@currentProfile.Surname</span>
  </div>
  <div>
    <span>Region:</span>
    <span>@currentProfile.Region</span>
  </div>
}

@functions {
  // data retrieved from HTTP GET request
  ProfileData currentProfile;

  protected override async Task OnInitAsync()
  {
    currentProfile = await Http.GetJsonAsync<ProfileData>("https://uinames.com/api/?&amount=1&ext");
  }

  // parsed response data
  class ProfileData
  {
    public string Name { get; set; }
    public string Surname { get; set; }
    public string Gender { get; set; }
    public string Region { get; set; }
  }
}
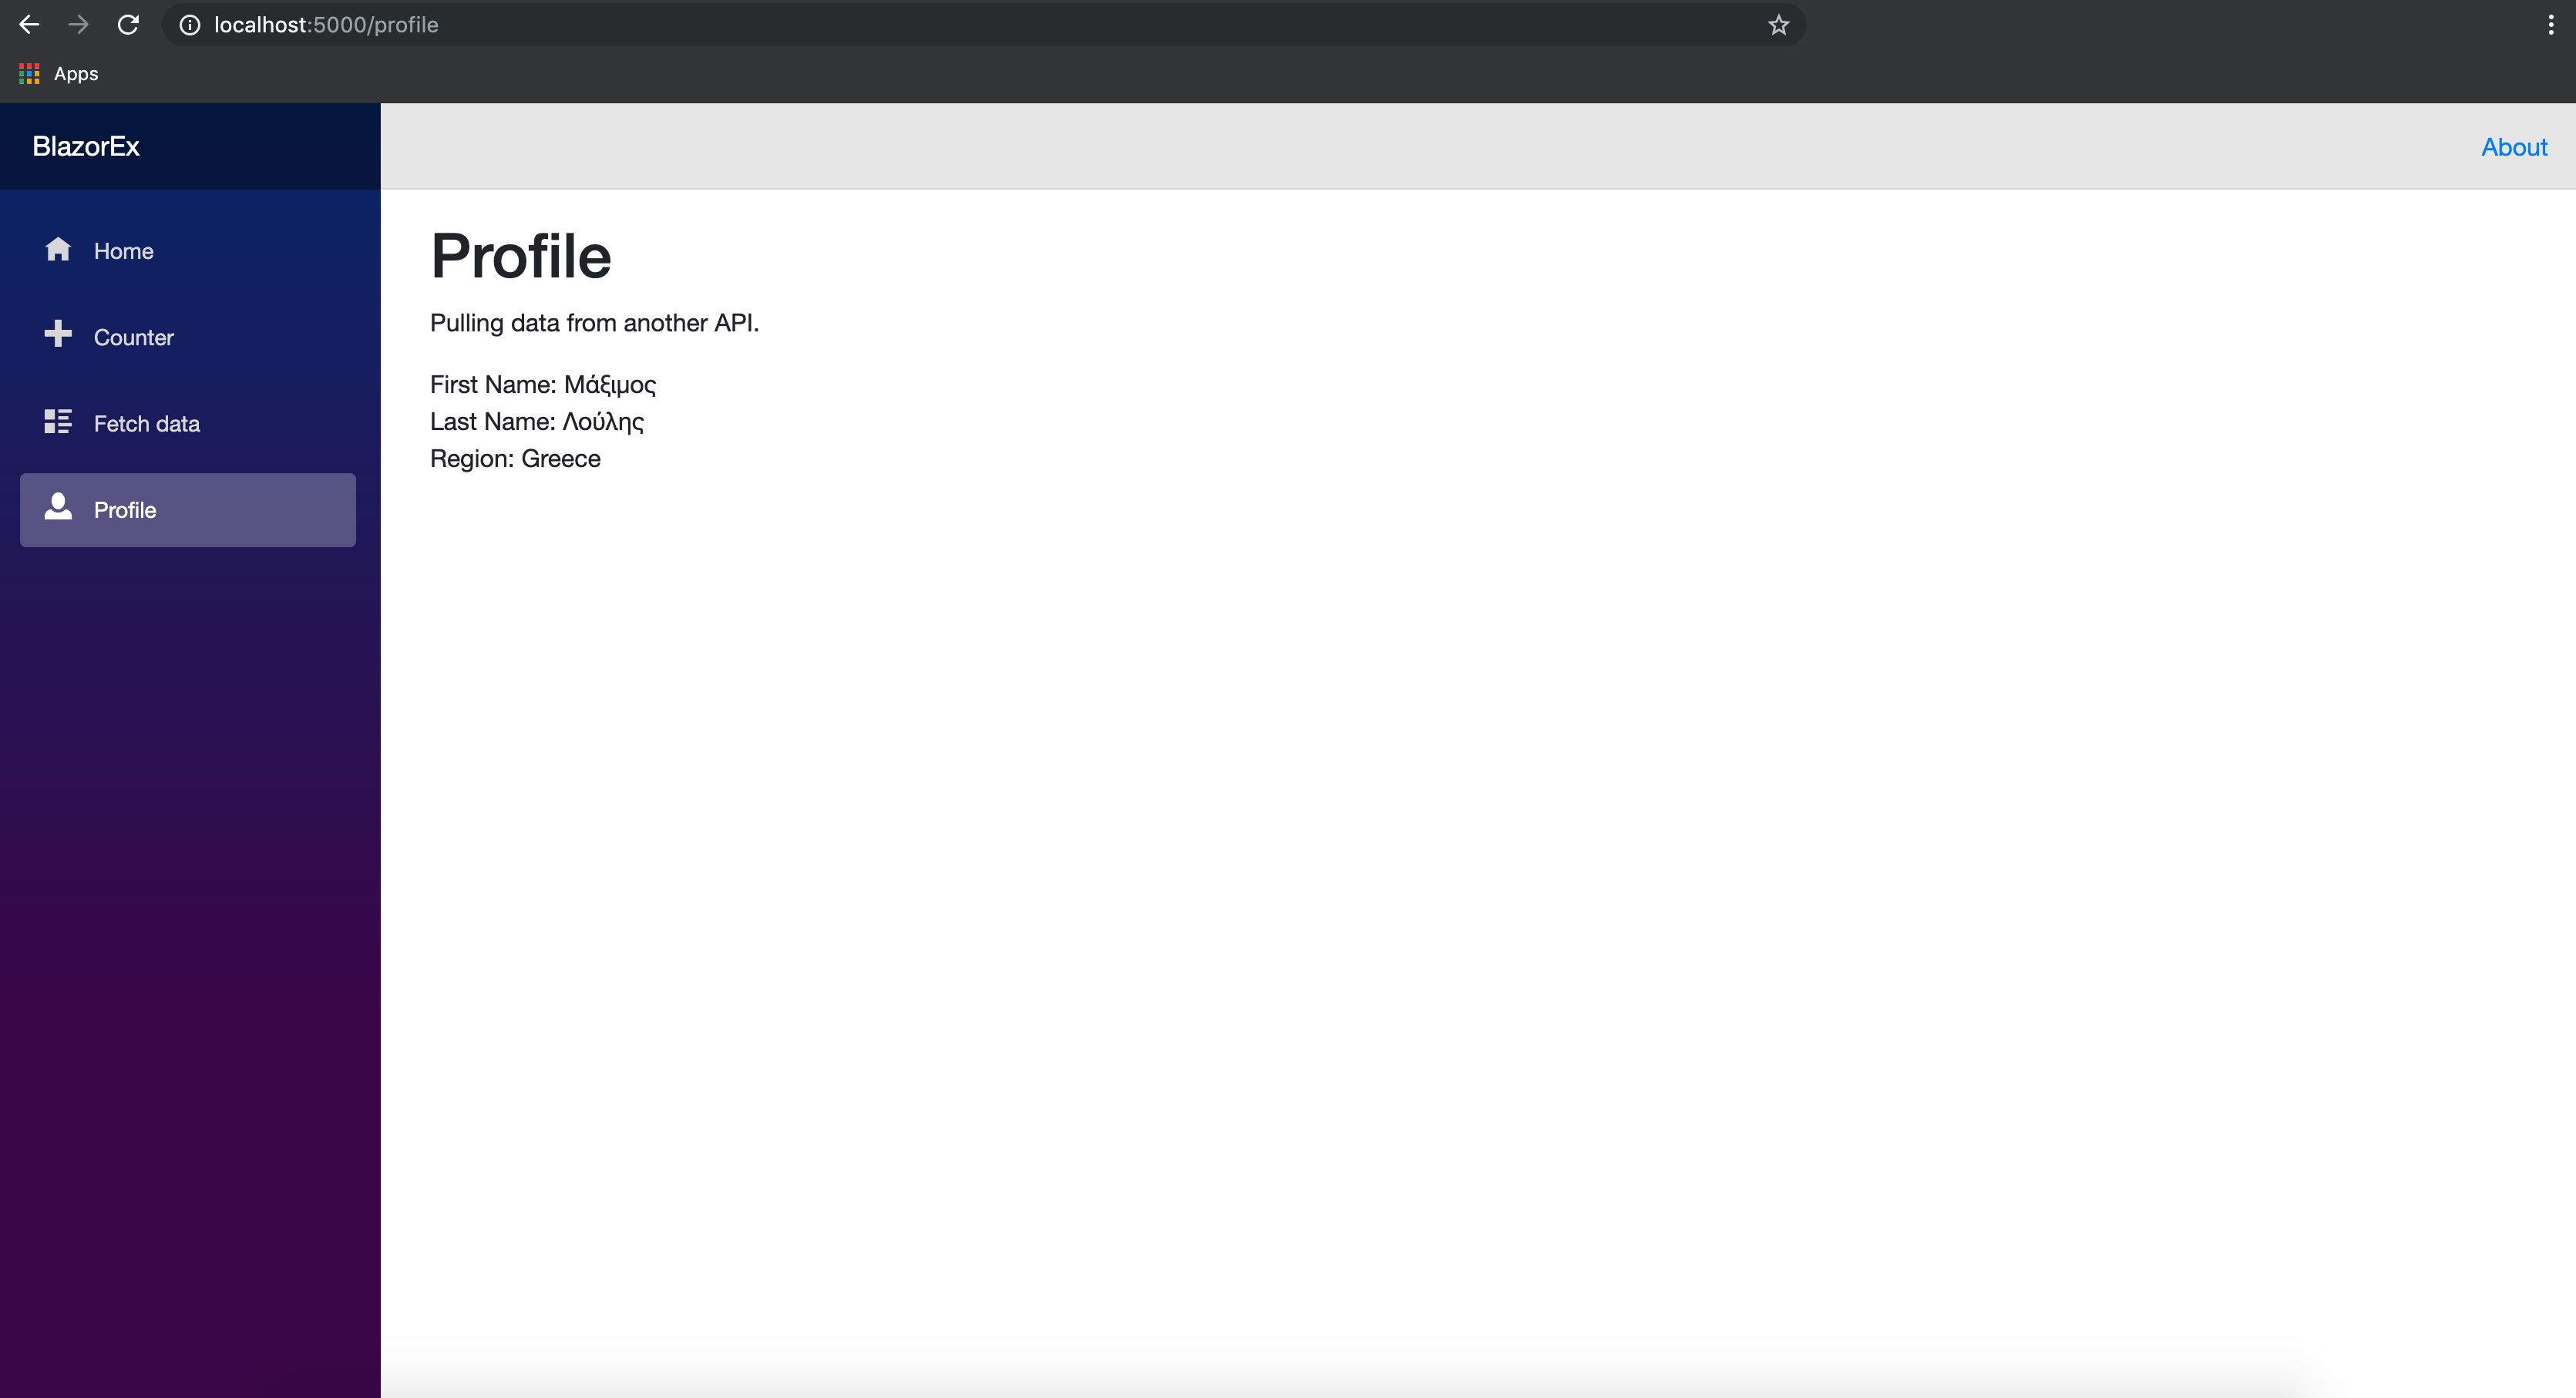
After adding the profile page, you'll need to restart the app for the profile page to be accessible. Afterward, you'll be able to navigate to it via http://localhost:5000/profile. Next, we'll modify our NavBar to add this link.
Open up the file, BlazorEx/Shared/NavMenu.cshtml. We are going to add another entry to point to our profile page in the Navigation Bar.
<li class="nav-item px-3">
  <NavLink class="nav-link" href="profile">
    <span class="oi oi-person" aria-hidden="true"></span> Profile
  </NavLink>
</li>
Restart the service, and you'll see a new link on the left side of the page:
Hosting
One of the primary benefits of Blazor is being able to host our app as a static file, but up to this point, we have been using dotnet run to serve it up locally using .NET. Let's package up our project and get it ready to be hosted from as a static file.
First, we need to publish it in release mode.
dotnet publish -c ReleaseNext, you want to copy the build artifacts into a more manageable location.
cp -av ./bin/Release/netstandard2.0/publish/BlazorEx/dist/. ./buildDepending on where you want this hosted, you'll need to change the <base> tag in the index.html. If you want to host it from a custom domain, you can delete the tag. If you are going to host it from a specific path (i.e. https://reedyrm.github.io/BlazorEx/), you will need to specify that path in the href attribute of the base tag.
<base href="https://reedyrm.github.io/BlazorEx/" />Finally, let's test this locally to verify that everything is being built correctly. We can install a static file hoster called serve.
yarn global add serveNext up, you can run the following command and navigate to the URL to see the site hosted.
serve -s buildYou should be able to view it locally.
Now you're all set to keep building your new site or to start migrating over some functionality from your existing ASP.NET app. Some of your components may be close to a simple copy & paste to get them working in Blazor.
Conclusion
We have walked through Blazor as a concept, jumped into getting our environment setup, made some changes, and finally got it ready to be hosted. While this framework is still in development, Blazor elevates .NET to the same tier of languages like Node which allow developers to have the same frontend and backend languages.
As a whole, WebAssembly has started opening the doors of web dev by allowing new languages (.NET and Rust) to be web languages. WebAssembly has even found its way into other non-web environments like IoT devices and server execution. It'll be exciting how you use it in your ecosystem.
Looking to Create Beautiful UI with Blazor?
Don't forget to check out the new Telerik UI for Blazor, our native UI component suite for the Blazor framework. Get up and running quickly with grids, charts, calendars and much more. You can start a free trial today.

Richard Reedy
Richard Reedy has been working in the software field for over 12 years. He has worked on everything from operations to backend server development to really awesome frontend UI. He enjoys building great products and the teams around them. His latest venture is enabling technology to better serve food trucks around the United States.
Related Posts
Comments
All articles
Topics
Latest Stories
in Your Inbox
Subscribe to be the first to get our expert-written articles and tutorials for developers!
All fields are required